Easy Halloween Cat Project Tutorial Video and Halloween Cat Project Coloring Page
Below you’ll find an easy step-by-step tutorial for a Halloween Cat Project Tutorial Video and a Halloween Cat Coloring Page. There are a even a couple of variations on the idea, so you can find the one best for your needs.

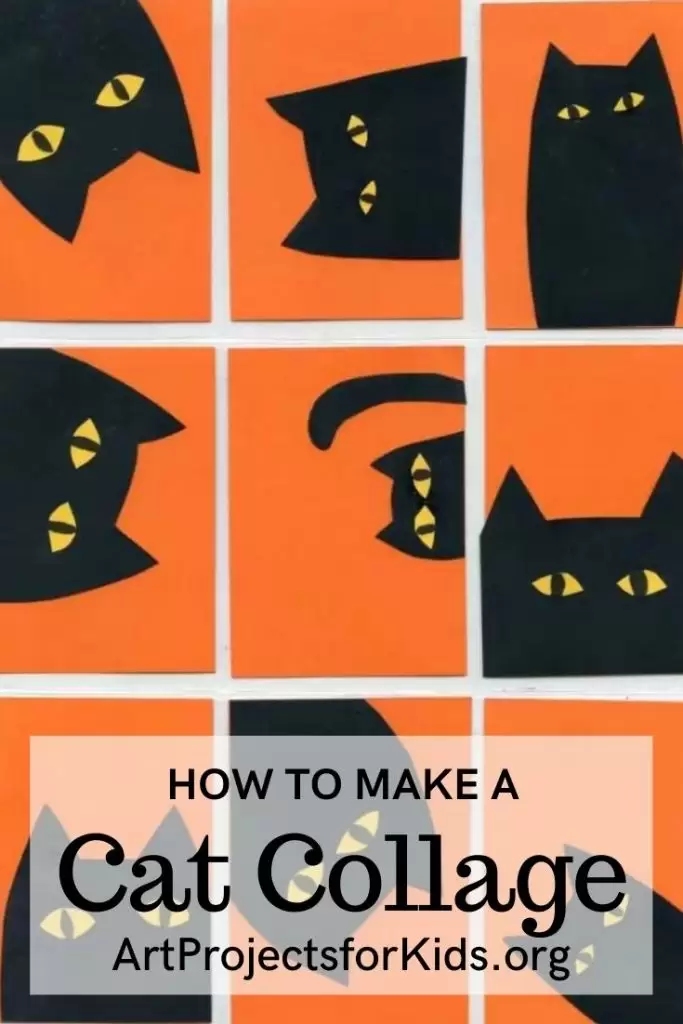
Halloween Cat Project Collage

Halloween Cat Tutorial Video
Student Art Gallery

Livya, age 9 Eliana, age 13 
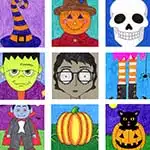
Art Trading Cards by 5, 7 and 8 graders
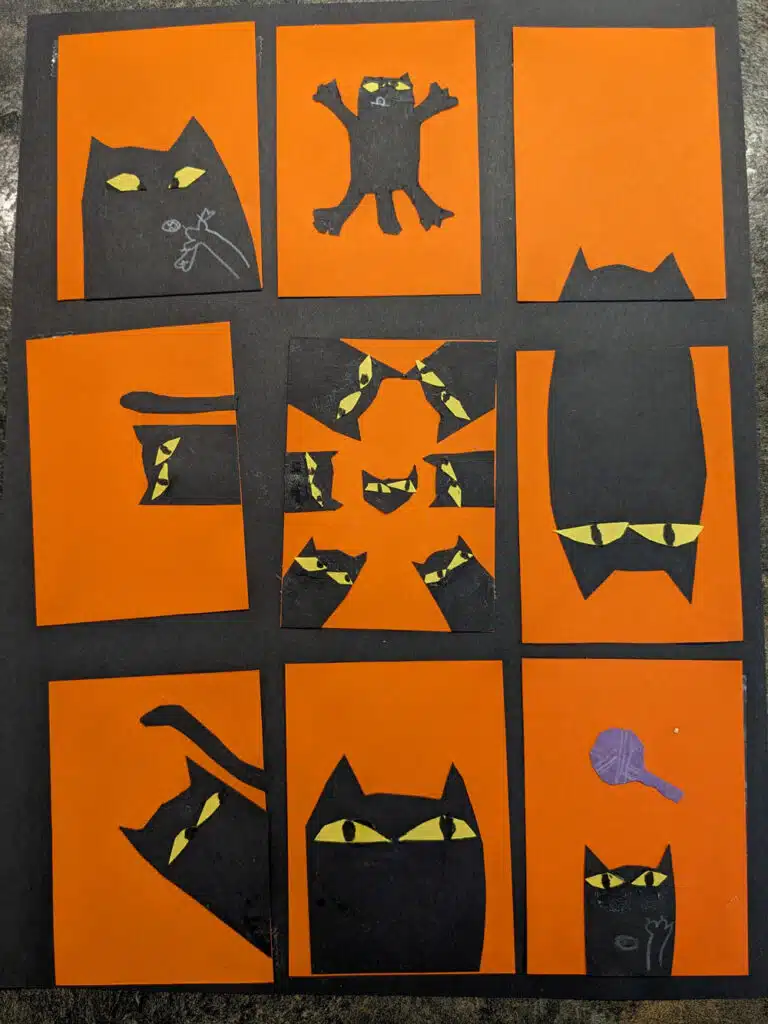

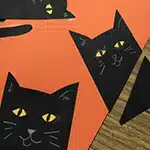
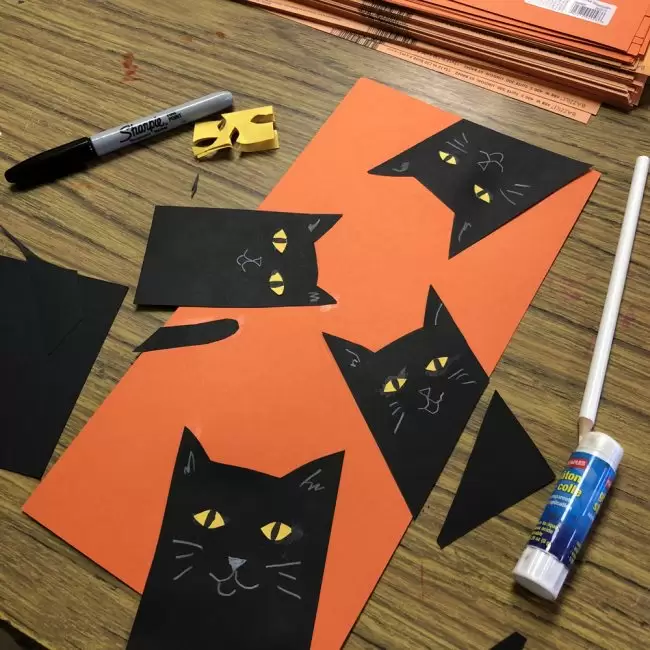
This Halloween cat project is made by playing around with some simple black cat shapes placed in different fun pose. If you simplify the outline of their bodies, and place them on some really bright card stock paper, – you’re bound to end up with a really fun and cute Halloween collage!
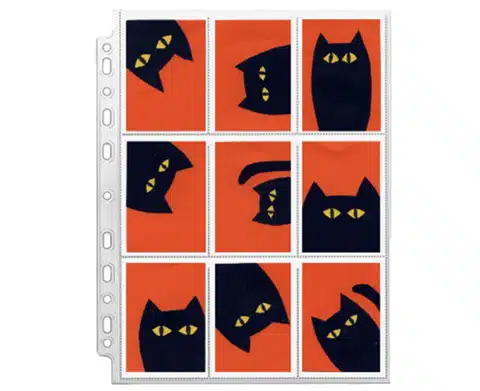
The version above uses paper that is the size of trading cards, which could then be stored in a plastic trading card sleeve. Art Trading Cards are very popular in some art circles, and can offer all kinds of inspiration too! Watch my video to see some more examples.
Use the Button below to download a PDF Tutorial
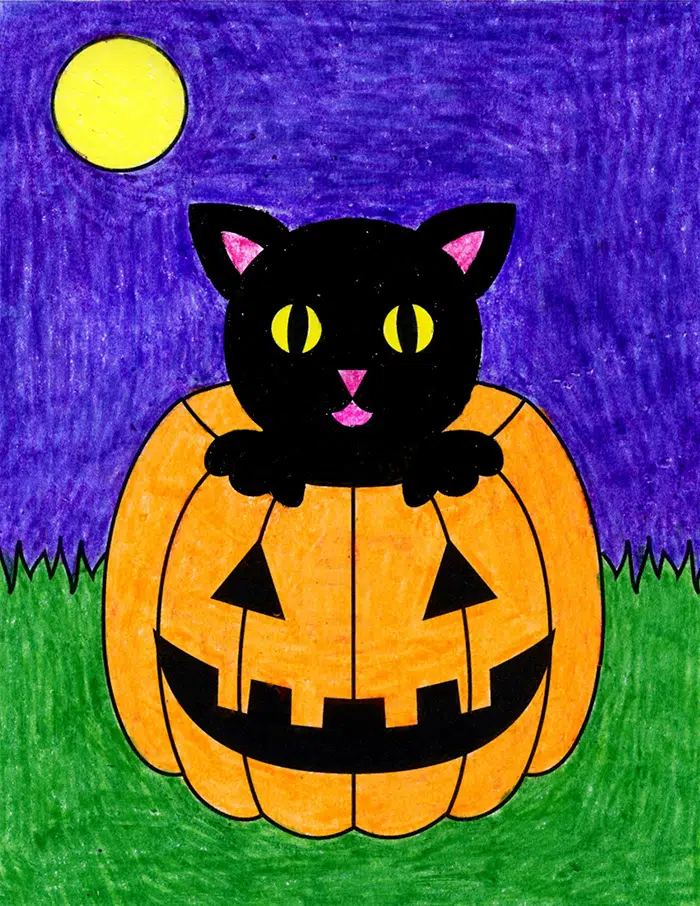
Halloween Cat Coloring Page
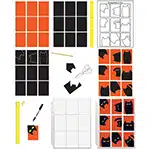
Materials for a Halloween Cat Project
- Orange Card stock paper
- Black Card stock paper
- Scissors
- Glue stick
- Black marker
- Plastic Trading Card Sleeve (optional)
- White Colored Pencil (for versions shared below)
- Paper Cutter (optional, but very helpful)
Step by Step Directions for a Halloween Cat Project
Time needed: 45 minutes
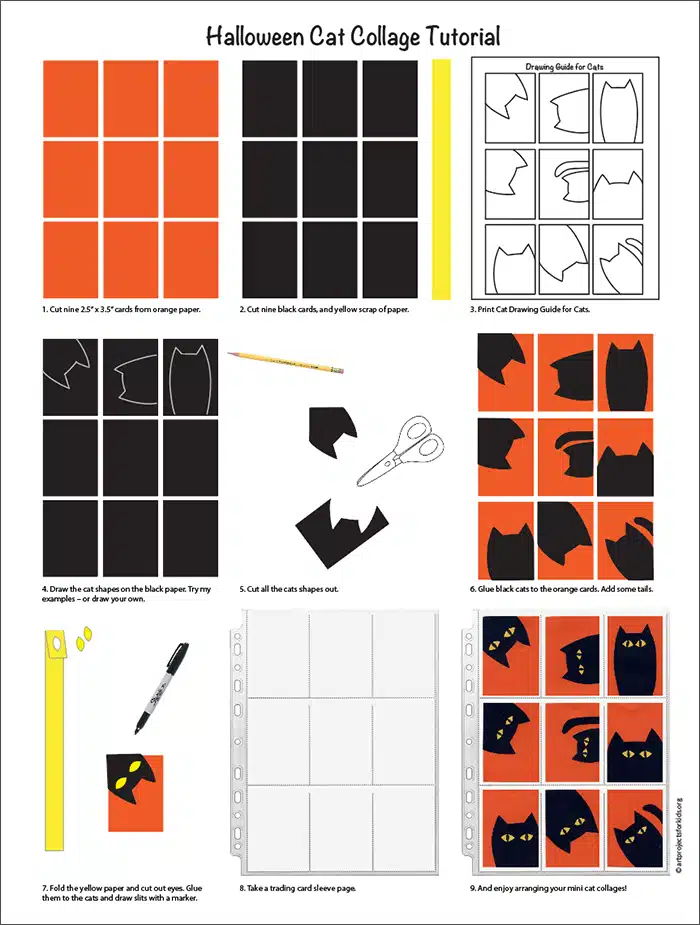
Step by step directions to make a Halloween cat project
- Cut nine 2.5″ x 3.5″ cards from orange paper.

- Cut nine black cards and a yellow strip of paper.

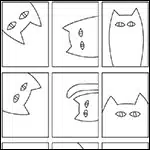
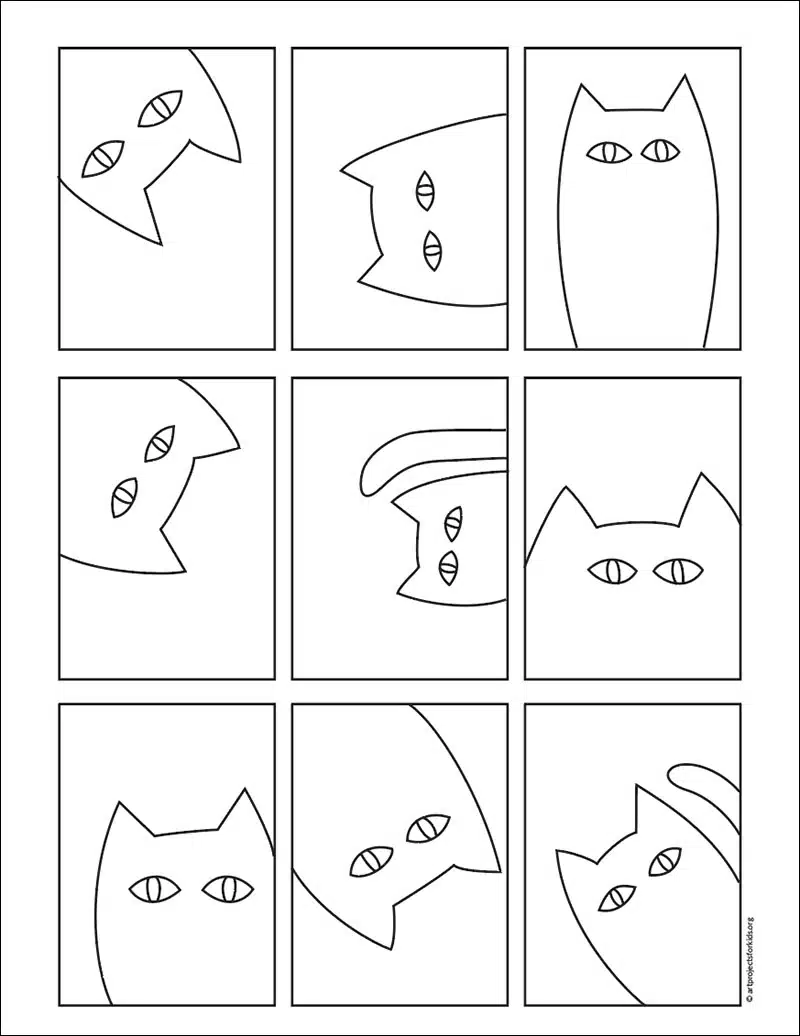
- Print the Drawing Guide for Cats.
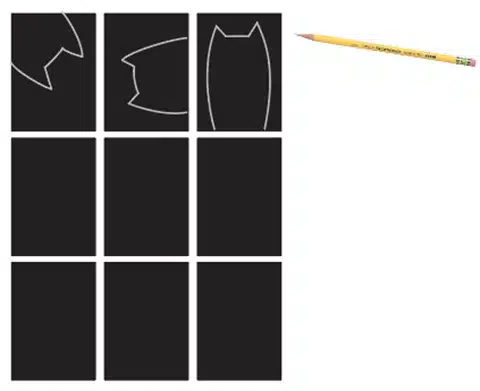
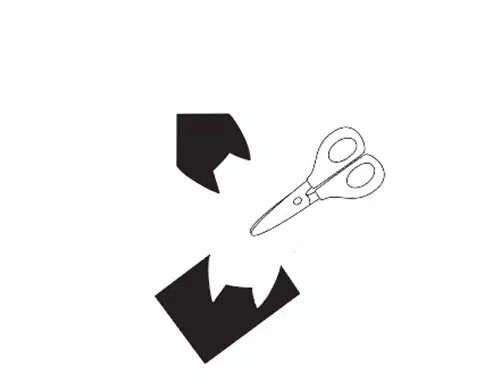
- Draw the cat shapes on the black paper.
Try my examples, or better yet, draw your own.

- Cut all the cat shapes out.
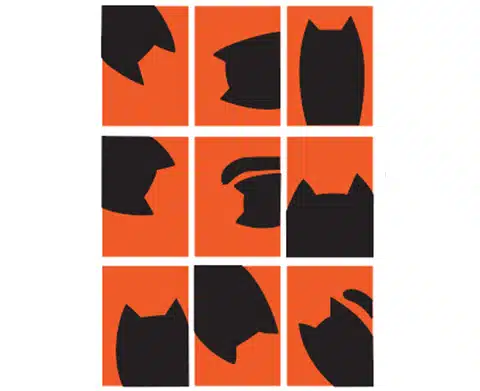
- Glue the black cats to the orange cards.
Add tails to some of them.
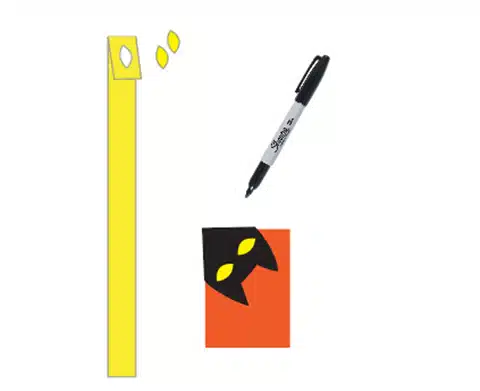
- Fold the yellow paper and cut out the eyes.
Glue them to the cats and draw slits with a marker.
- Take a trading card sleeve…
- and enjoy arranging your mini cat collages.


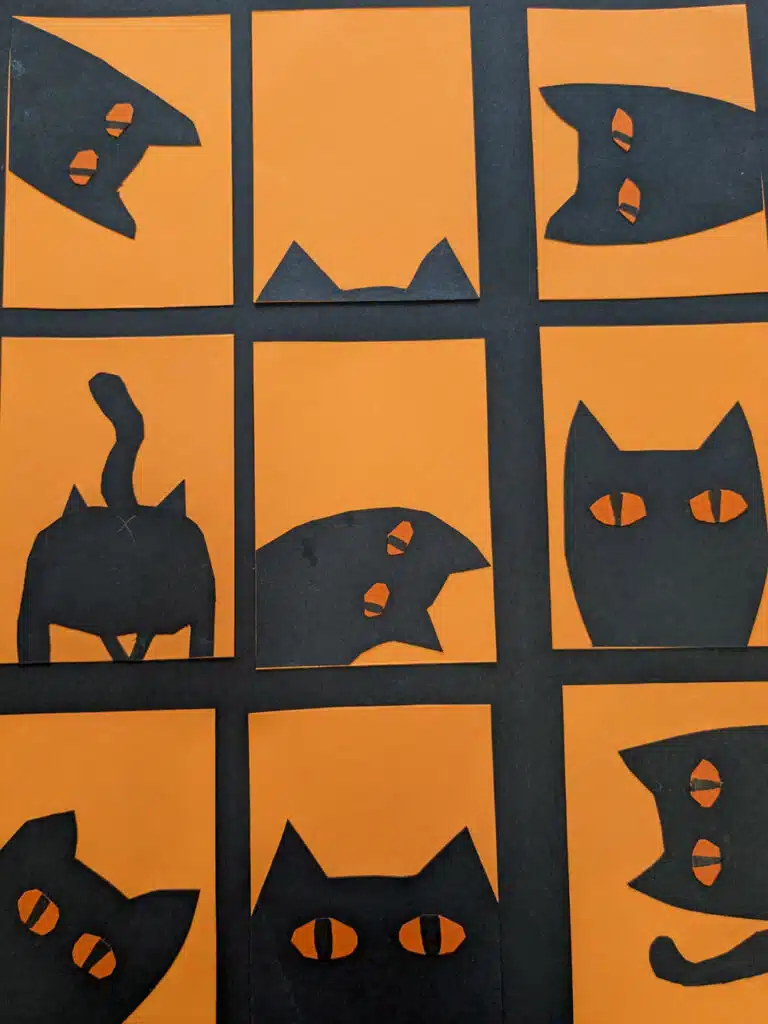
Another Peek a Boo Cat Collage Option
If you like the idea of black cats peeking out from the sides of paper, but need a larger, simpler version for younger students, here’s another approach. Start with one larger sheet of orange paper. The size can vary, but it does help to make it narrow, so the cats fill the paper better. Students can start with several rectangle of black paper and just cut down the top to look like cat ears. For extra fun, try using a white colored pencil to add some features to the face.
Another Cat Project Idea: Collage on Long Paper
Cat Projects for Kinders
Kinders are usually just learning how to cut and draw things in a centered format, so the peeking in view might be a little too confusing for them.
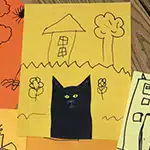
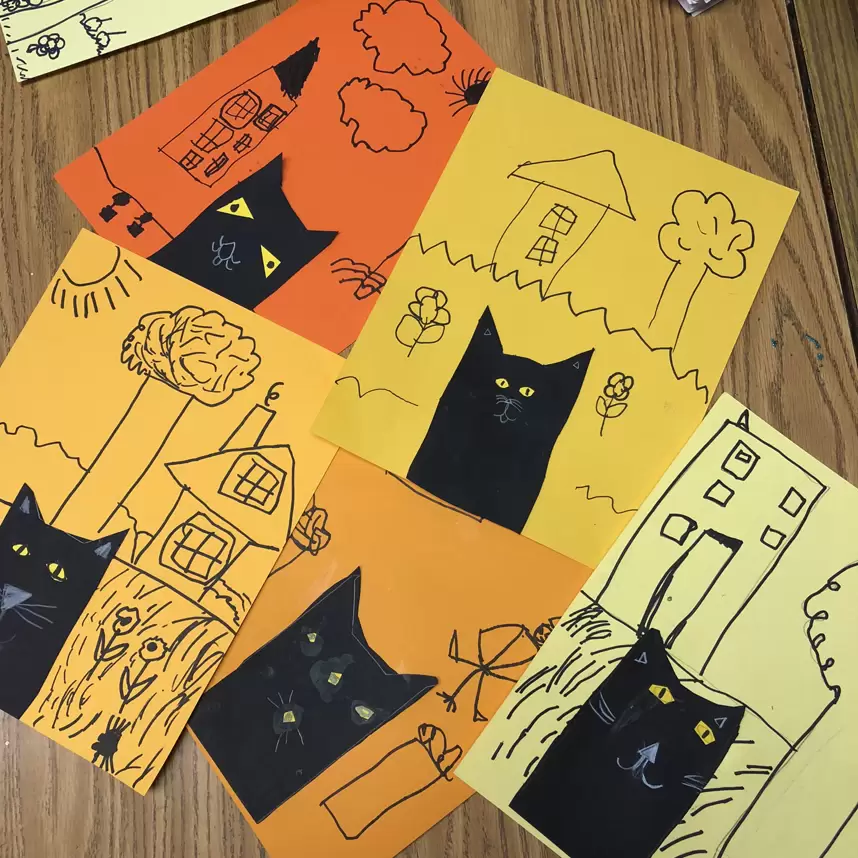
My solution? Give them one large cat template to trace and cut (you can see pencil lines on black paper). They can cut out little triangle eyes, and then use JUST a black marker to add detail to their background.
My experience from working with lots of kinder teachers over the years is that the focus on that age is all about learning to add details. The more details they can draw, the more details they talk and later write about. The two skills go hand in hand.
Directions for Kinder Cat
- Students use a large cat template to trace and cut.
- Yellow eyes are cut from small pieces of paper (use your discretion as they whether they can cut out their own shapes, or need a guide.
- The eyes are glued on the cat, and marker lines added inside.
- Students use a white pencil crayon to draw a mouth and whiskers.
- The cat is glued to the orange paper, and background details are added with ONLY a black marker.