10 Easy Model Magic Craft Project Ideas
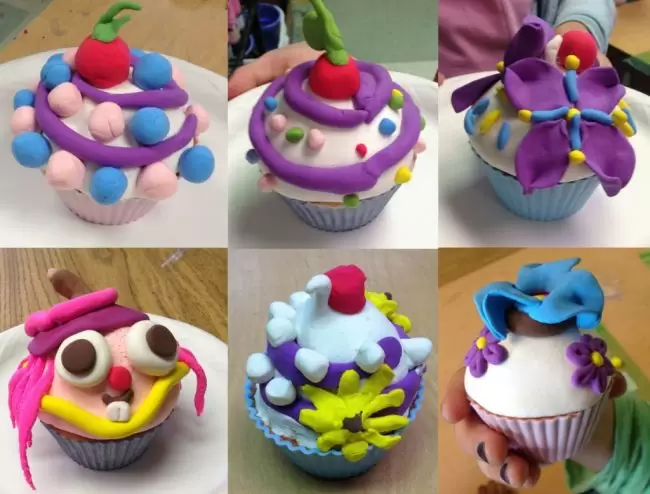
Here’s a collection of Model Magic craft project ideas for young elementary students. The soft and sticky quality of Model Magic is perfect for hands that are just learning how to shape and create things.

Snowman 
A Melting Frosty the Snowman
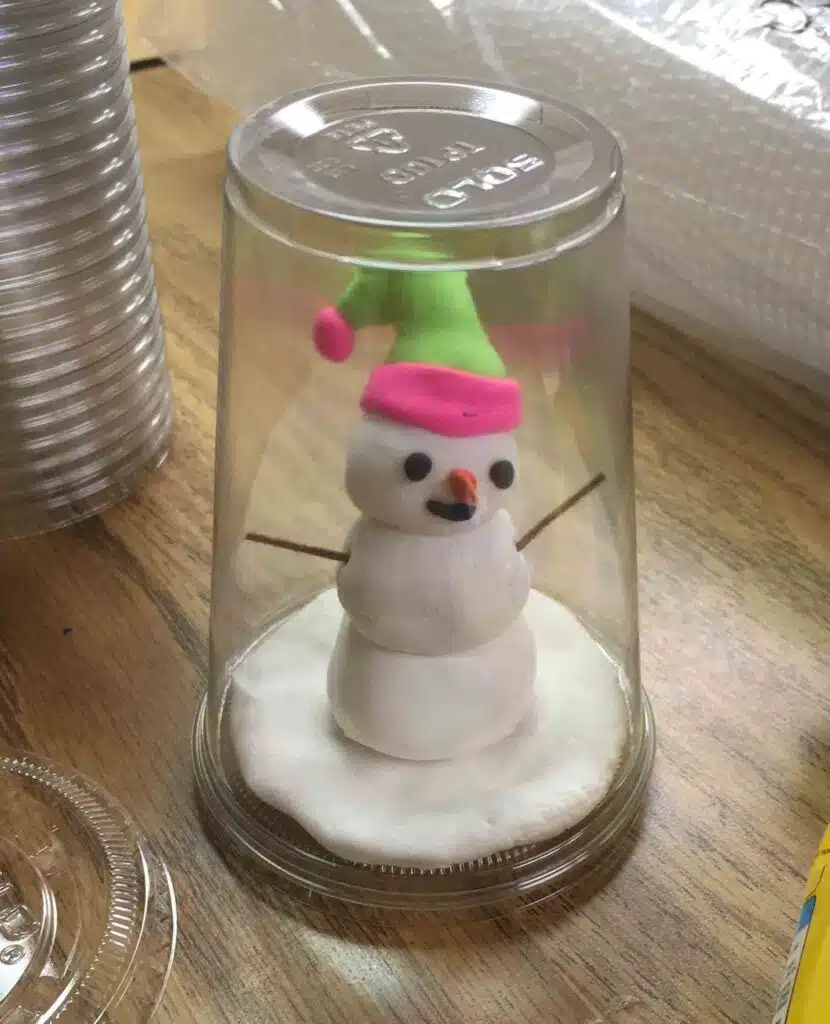
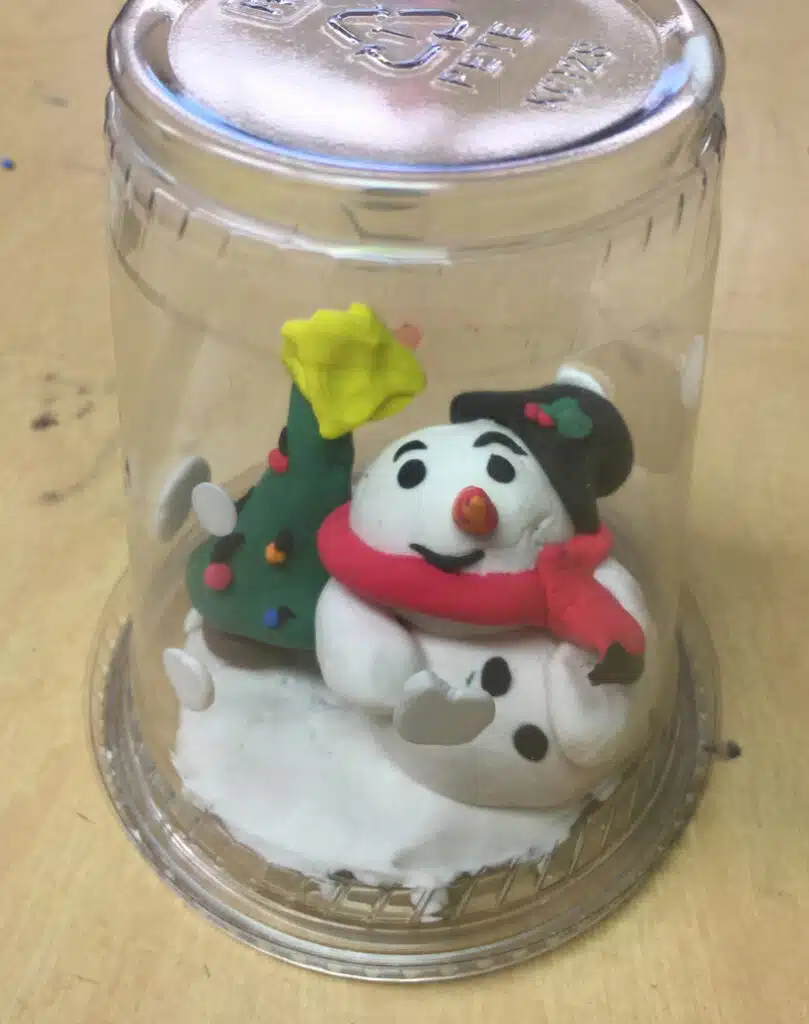
If you are looking for a cute Christmas craft project that doesn’t cost a lot of money, lets students work on their modeling skills, and will even travel home safely in backpacks – this Snowman in a Cup might be just what you are looking for!
Here’s the process that I used to make this with elementary students, years ago. The beauty was that kinders got to just focus on rolling balls, a basic skill, and 5th graders could spend time adding add all kinds of details.
Basically everyone gets a plastic drinking cup and matching lid, white Model Magic (Crayola makes it) for the body of the snowman, a little black, orange and others for a scarf, and little sticks from outside for the arms.
Step One. Take a small walnut size piece of Model Magic and press it firmly onto the inside of the cup. Work it until it fills and sticks to the plastic, but doesn’t spill into the rim at all.
Step Two. Students create a snowman with the white Model Magic (it will stick to the white in the lid) and add arms with some kind of small twig or dried leaf stems.
Step Three. The cup is placed over the snowman and snapped in place. Names may be added on the bottom with a black Sharpie marker.
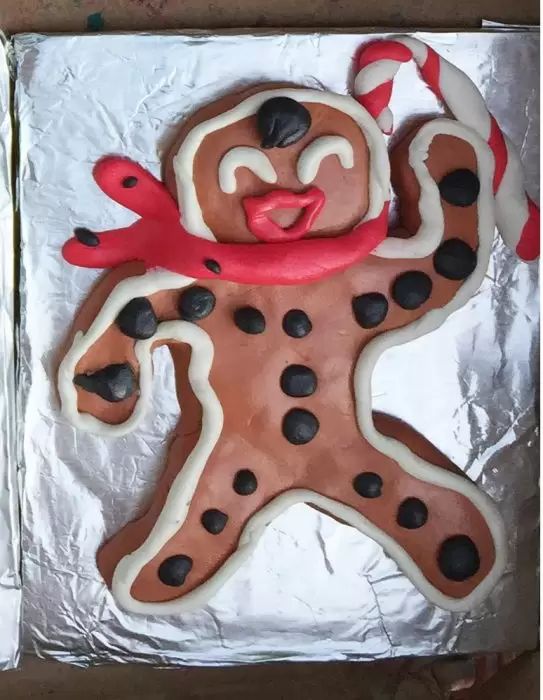
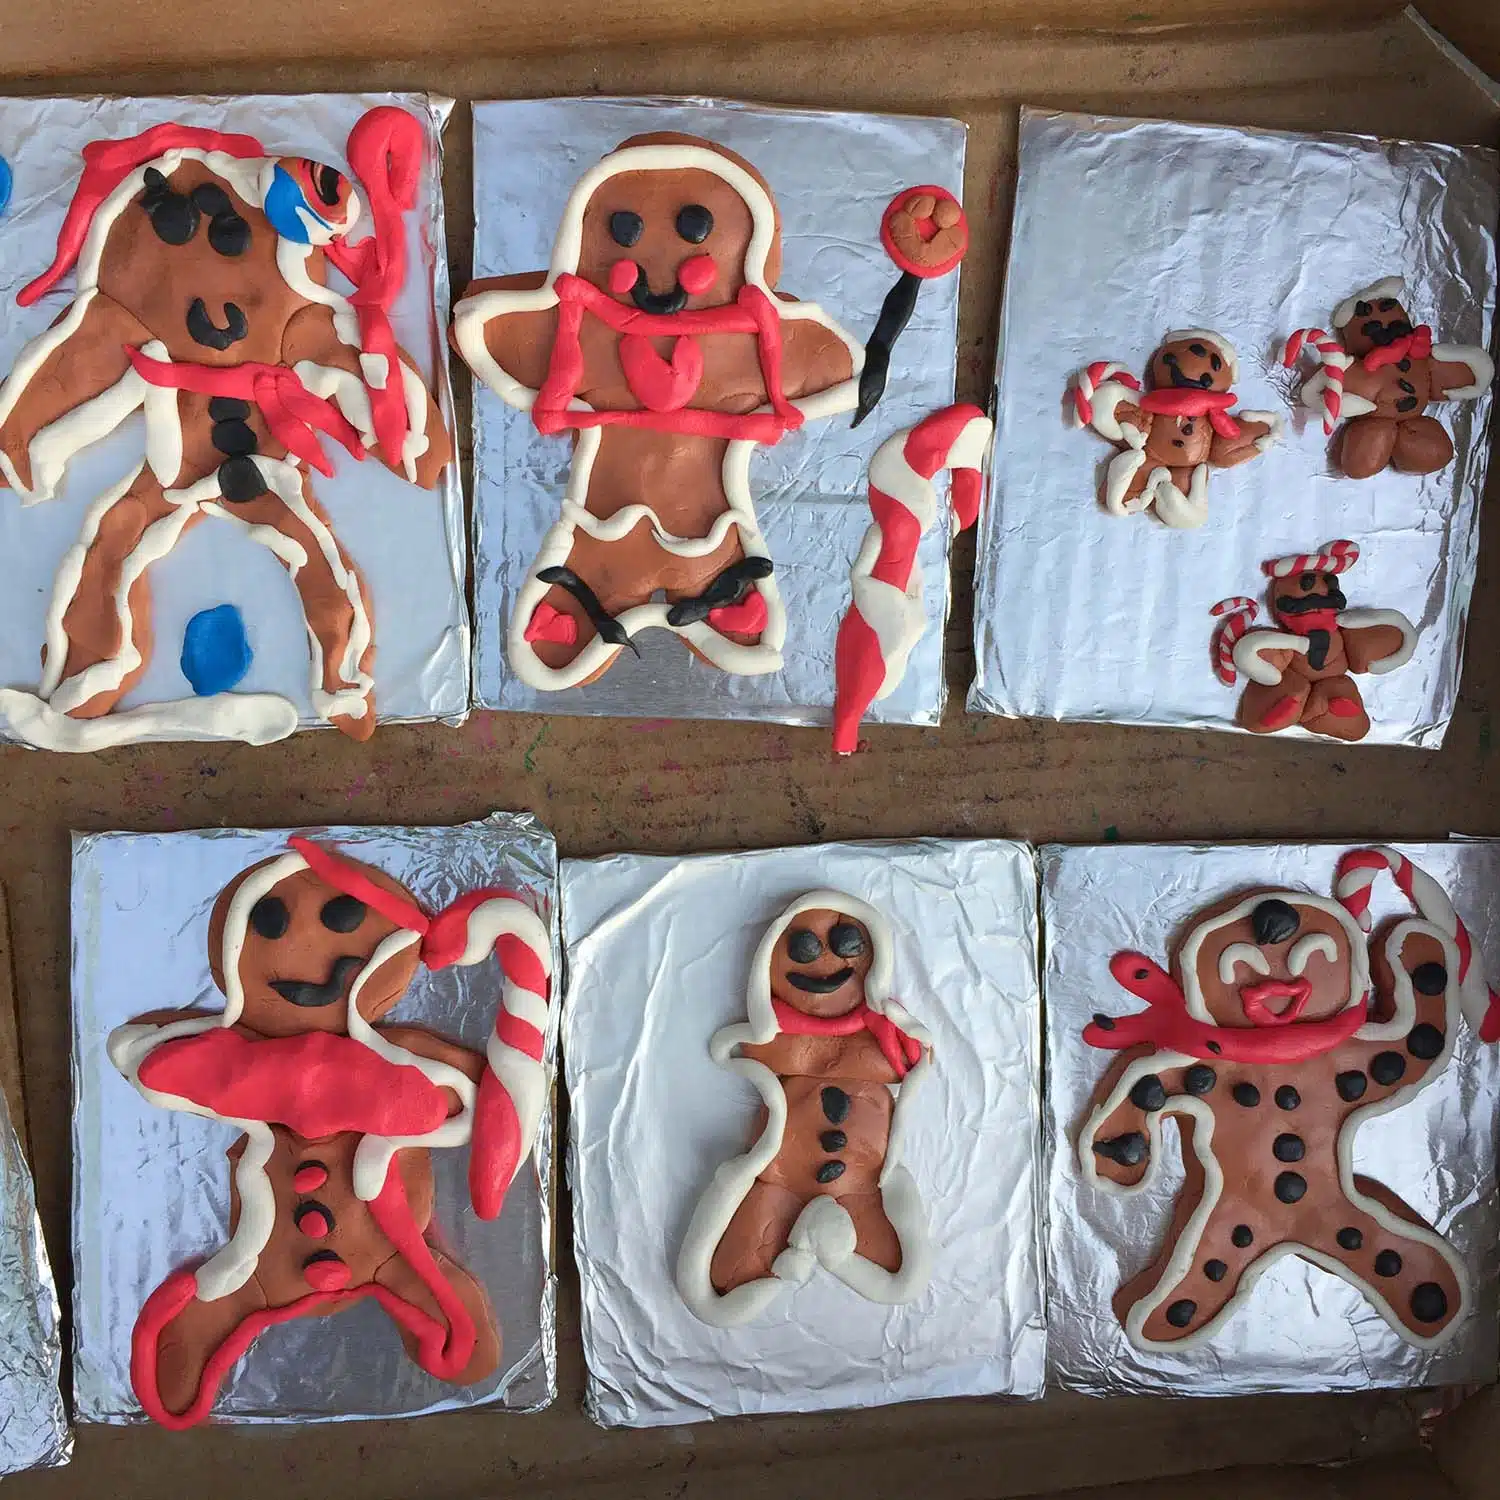
Gingerbread Man from Model Magic
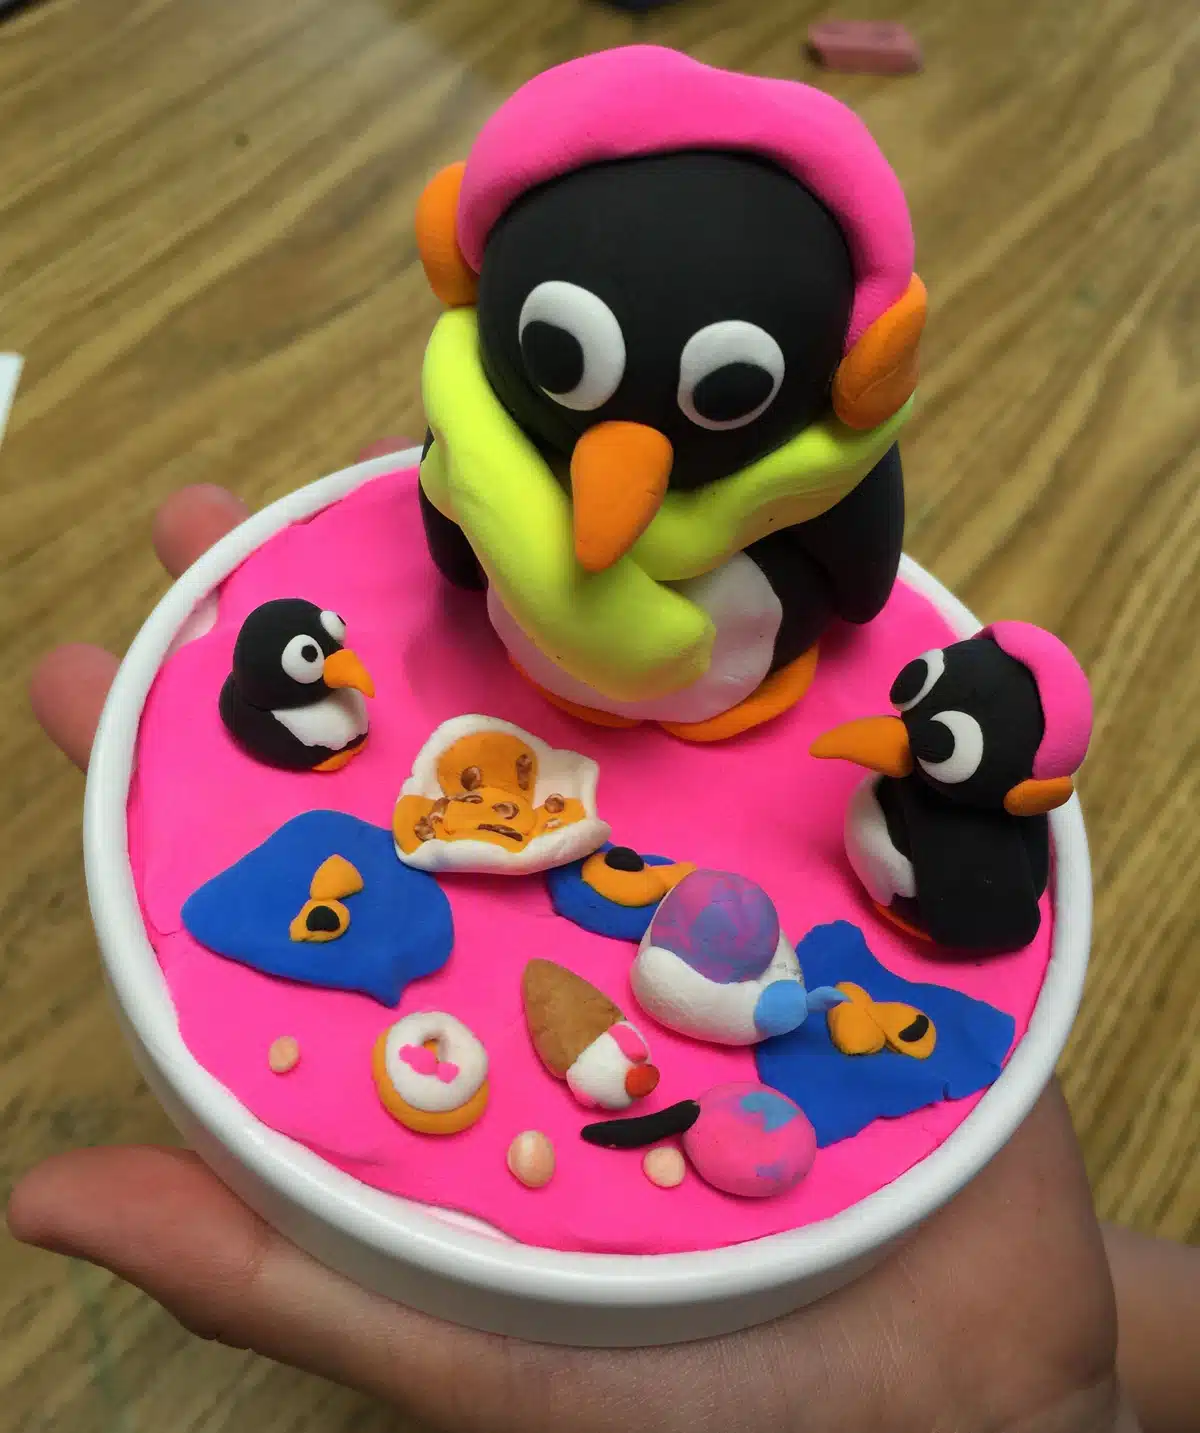
Model Magic Penguins
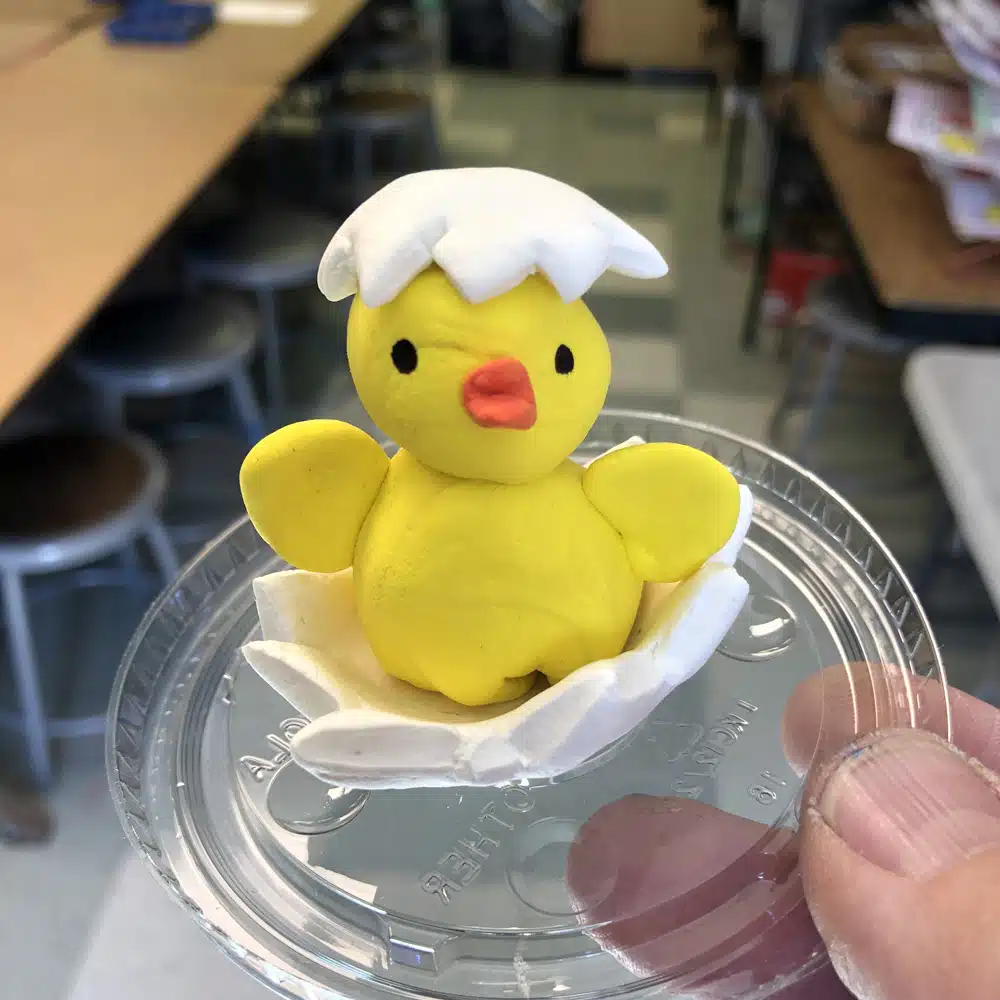
Model Magic Baby Chick
Young students that might struggle with making detailed things out of clay, will most likely really enjoy working with the next best sculpture material ever — Model Magic, make by Crayola. The soft and sticky quality it has is perfect for building and attaching shapes together, and the bright colors mean there’s nothing to finish, or paint, when complete.
Directions
- Make a large yellow ball for the body, and a small one for the head. Stick them together.
- Roll two little yellow balls for the wings, press them flat, and attach them to the sides.
- Use a tiny bit of orange for a beak.
- Small black balls may be used for the eyes, OR just made dots with a black Sharpie.
- Make a small bowl shape with white Model Magic, and use a scissors to cut the edges.
- Do the same with a smaller piece for the head.
- TIP: Make this sculpture so that it fits on the inside of a plastic drinking cup, and seal it with the cup on top. Perfect for getting it home in one piece AND looking fresh and lovely for days to come.
Materials
- Model Magic, yellow
- Model Magic, white
- Model Magic, orange
- Model Magic, black
- Black Sharpie marker
- Plastic Drink containers with lids
Model Magic Snail
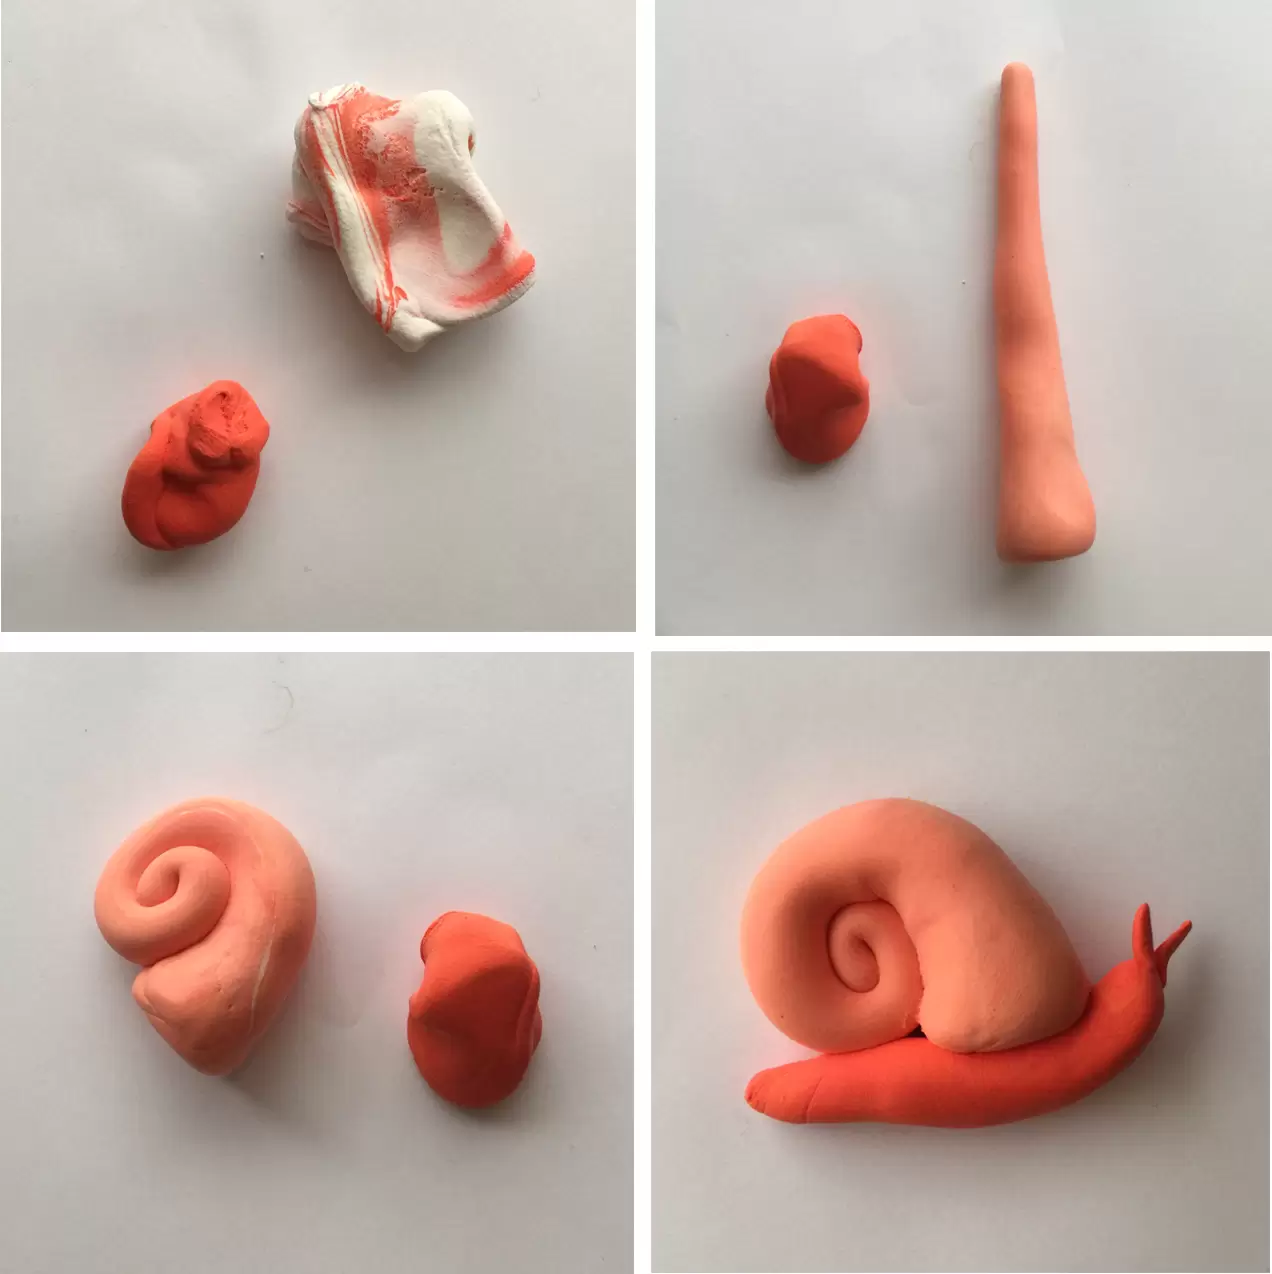
This snail craft was inspired by a cake decoration found over on Pinterest. I love how simple it is to make something look real, just maybe prettier colors.
Directions
1. Start with a main color of Model Magic, and mix part of it with a lot of white Model Magic.
2. Roll the mixed color to make a tall snake with one flat and one pointy end.
3. Roll the snake to make a shell.
4. Form a snail body. Attach the shell. Add small antennae.
Model Magic Worms
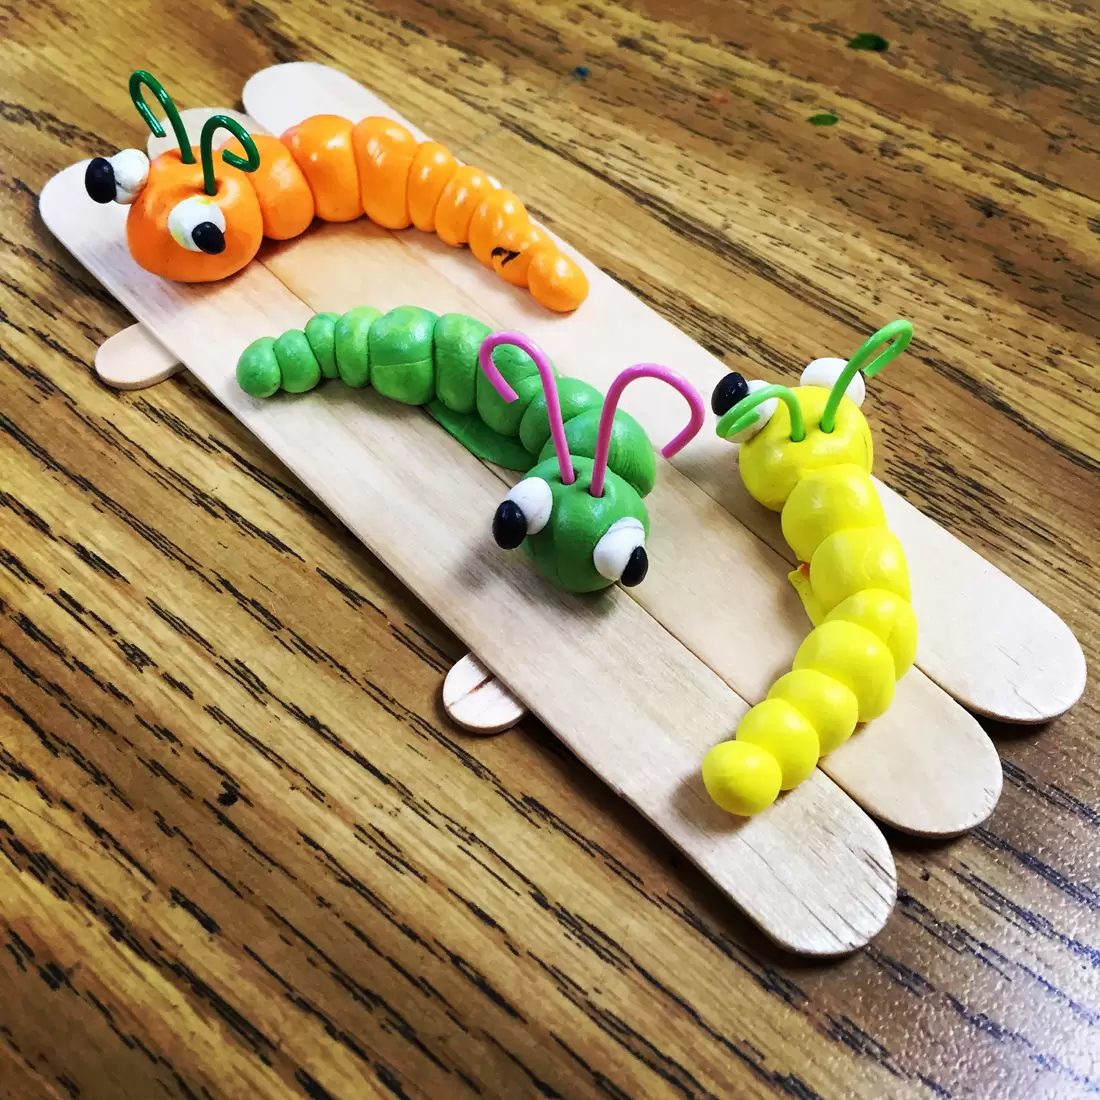
I found this idea under cake decorations on Pinterest, which is where I’m getting the most inspiration for my classes. A tip on making the worms stick to the board is to smash a little bit of Model Magic on it first, and then pressing the worms on top. The stuff just loves to stick to itself.
Students will need to roll lots of balls, trying to make them consecutively smaller before attaching together. The antennae are made from craft wires.
• Craft sticks, jumbo
• Scissors
• Craft glue, quick dry
• Crayola Model Magic
• Craft wire
• Clear acrylic sealer
• Make a small board with craft sticks and glue. The cross sticks may be made with jumbo sticks cut in half.
• Roll about 10 small balls for each worm, all progressively smaller. Press together.
• Add white eyes with tiny black spots from the Model Magic.
• Cut small lengths of wire, curl and insert into the head.
• Using your fingers, firmly press a small dot of Model Magic onto craft board wherever you want your worm to sit. Place worm on top. It will keep the worms from rolling off the boards.Note: This post contains affiliate links.
Model Magic Ocean Life


Making Food with Model Magic