Easy How to Draw a Bike Tutorial and Bike Coloring Page
Below you’ll find an easy step-by-step tutorial for how to draw a Bike and a Bike Coloring Page. The classic version never goes out of style!
Drawing of a Bike
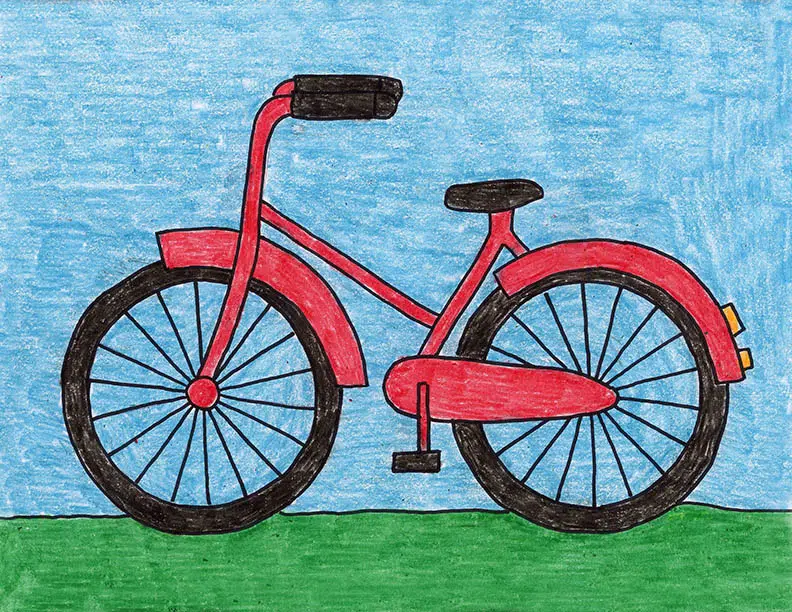
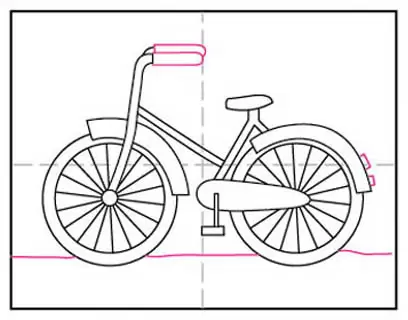
This how to draw a bike tutorial walks a beginner artist through the drawing of a simple bicycle, one with sturdy wheels, fenders and handlebars. It could certainly be customized with racing stripes and bright colors, but for those that would just like to learn how to draw a bike, it’s ready to go.
Bicycles may be a kind of simple transportation, but if you had to draw one from memory, it might become trickier than you think. Remembering what connects to what, and where, can become difficult if you don’t have one in front of you. Or maybe haven’t been on one recently. Not to worry, this step by step tutorial makes it easy to remember and understand.
Have you ever wondered how long bicycles have been around? A pretty long time! A baron in Germany named Karl von Drais created the first steerable, two-wheeled contraption in 1817. Known sometimes as the “velocipede,” “hobby-horse,” and “running machine,” this early invention made him widely considered as the father of the bicycle.
Getting Started with Drawing Guides
The best way to get students off to a good start to any of my drawing lessons, is to show them how drawing guides can help.
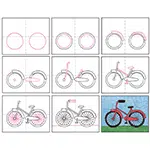
You may have noticed that all of the tutorials on this site have a dashed line running through the center of each step, both in the horizontal and vertical direction. If students make their own centered lines on their own paper, before drawing, they will have an easy reference to follow.
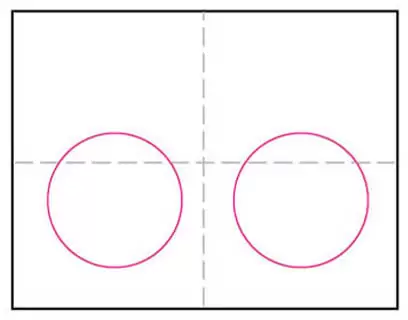
For instance, as seen in Step 1 below, the two circles for the wheels are centered in the two halves of the paper, and extend just a bit above the center horizontal line. It’s important to get these two shapes to scale and in place to make the rest of the bike shapes come together. Drawing skills are all about getting the size and placement of lines on paper, so having some visual reference point to get started, will always help anyone learn how to be a little more accurate.
So does that mean students need to get out a ruler to draw a big fat line down the center of their paper before they start? Goodness no, please don’t! That will most likely be hard to erase and distract from any finished art. No, simply fold the sheet of paper in half both ways, make a crease, and unfold. The beauty is that by the time the drawing is done and colored in, the creases will disappear.
Use the Button below to download a PDF Tutorial
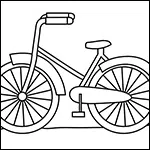
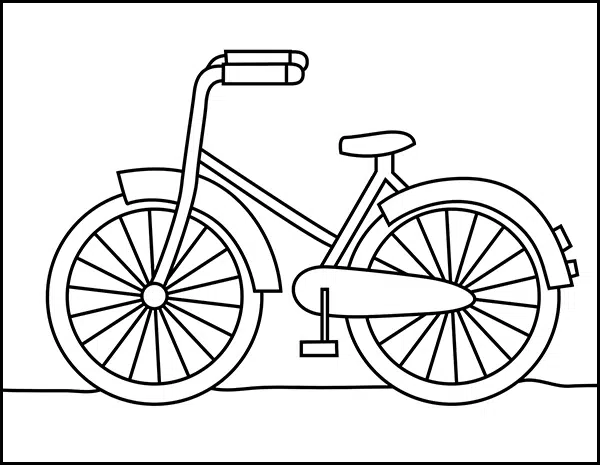
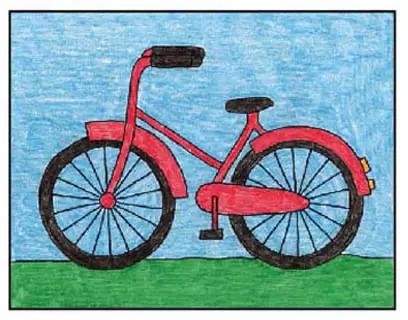
Bike Coloring Page
Materials for Bike Drawing
- Drawing Paper. This is the good stuff you can buy in bulk for a good price.
- Pencils. I like how this brand always makes nice dark lines.
- Black Marker. A permanent marker will give you a dark black color.
- Crayons. The larger packs are nice for more color choices.
- Note: All of the above are Amazon affiliate links.
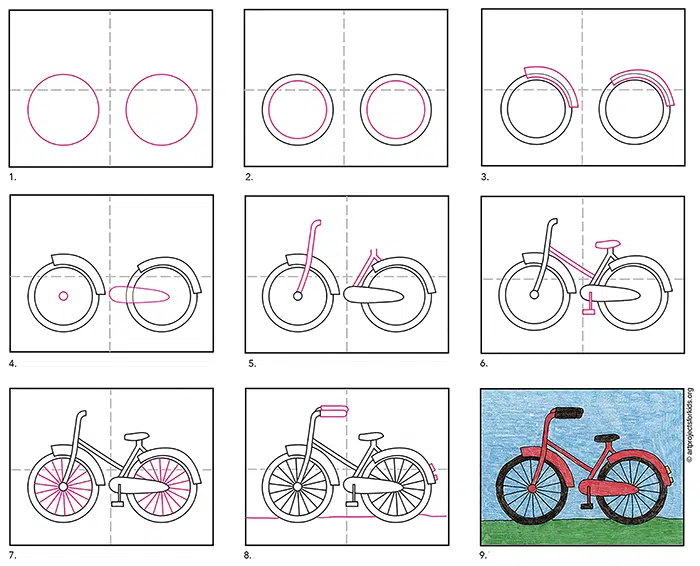
Directions for Bike Drawing Step by Step
Time needed: 1 hour
Draw a Bike with Step by Step Instructions
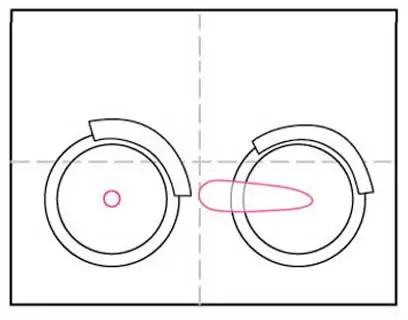
- Draw a circle for the front wheel and rear wheel.

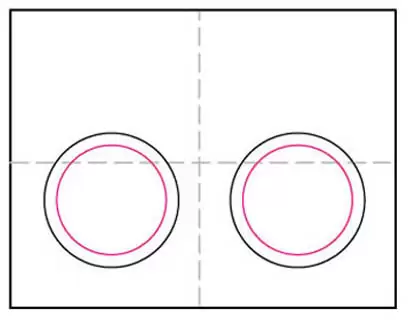
- Draw smaller circles in the center of each wheel.
- Add a fender for the front of the bike and the back wheel.
- Add the wheel center and oval shape that holds the bike’s chain.
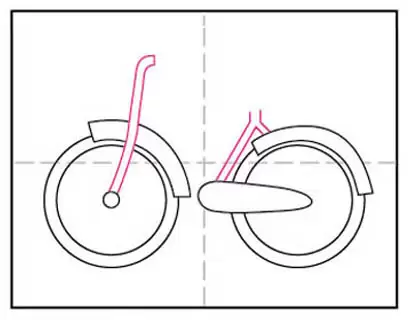
- Start the bike bars.
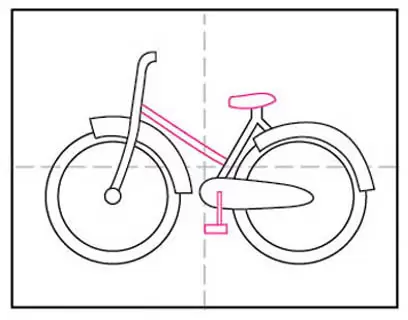
- Add a foot pedal, bike seat and bar.
-
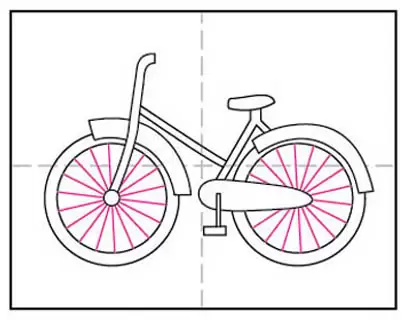
- Add handles and reflectors for a complete bike drawing.
- Trace with marker and color with crayon.

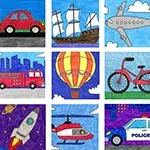
More Fun Means of Transportation Projects