Easy How to Draw an Op Art Cube Tutorial and Op Art Cube Coloring Page
Below you’ll find an easy step-by-step tutorial for how to draw an Op Art Cube and Op Art Coloring Page. A dot to dot guide is included to help students get their drawing started.
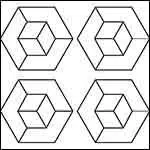
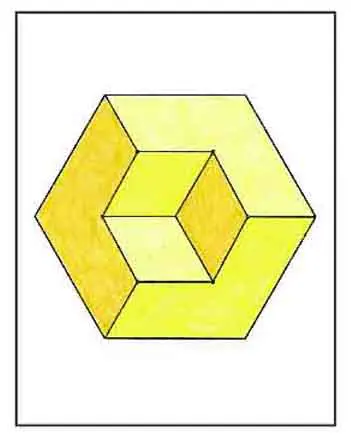
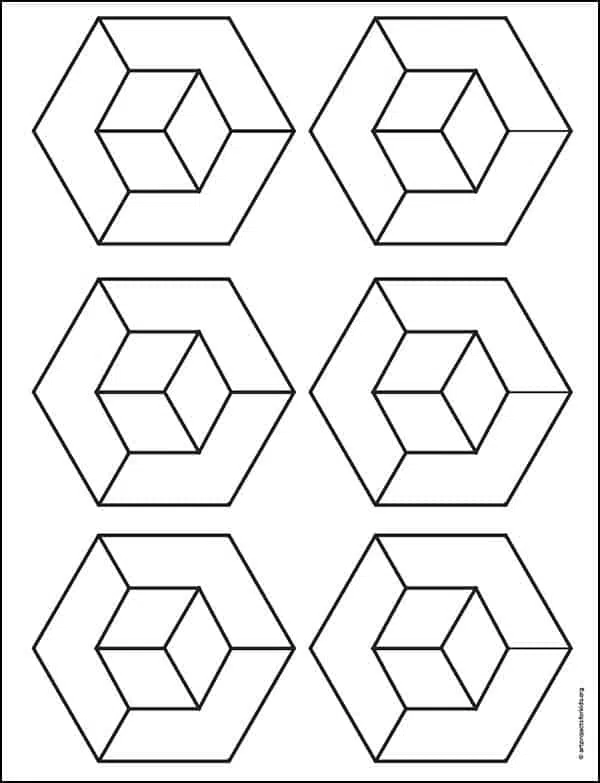
Drawing of Op Art Cubes

Now students can learn how to draw an Op Art Cube, one of the simplest forms of illusion around. Op art, short for optical art, is a style of visual art that uses optical illusions. It began in the 1960s when artists used shapes, colors and patterns to create images that tricked the eye. Although the term was coined and the exhibition held in the mid-1960s, most people who have studied these things agree that Victor Vasarely pioneered the movement with his 1938 painting “Zebra.”
Use the Button below to download a PDF Tutorial
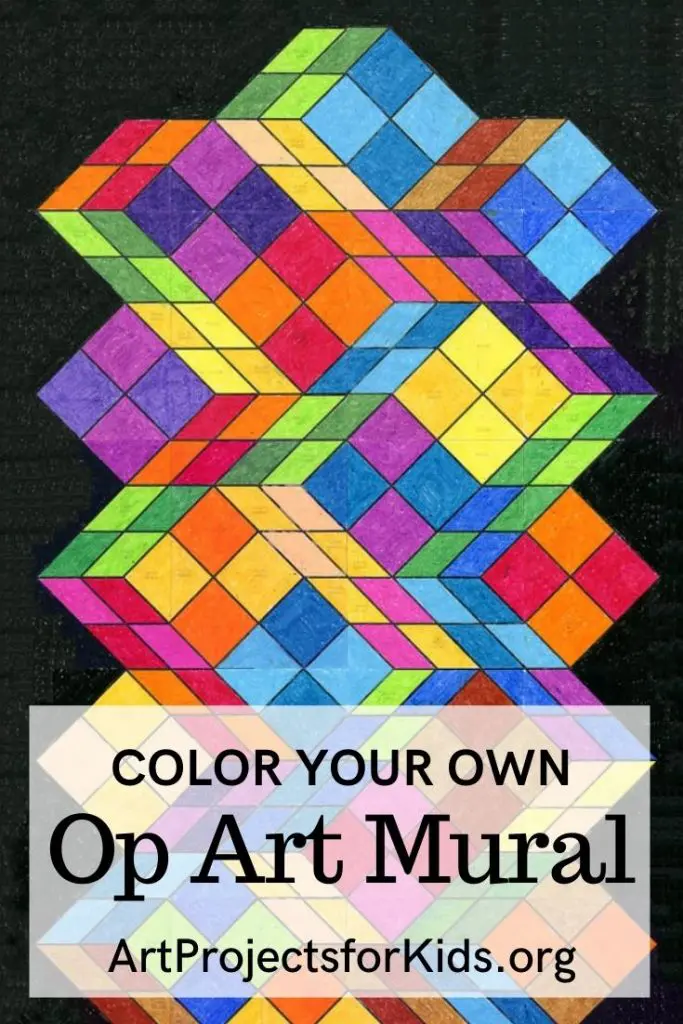
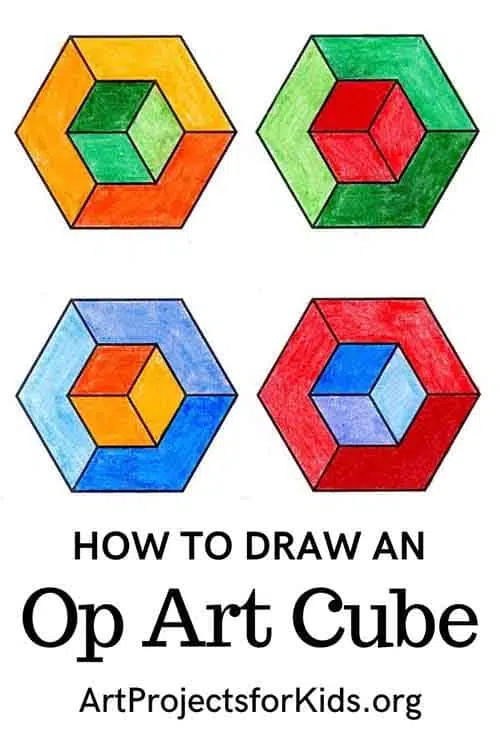
Pin me to your Pinterest Board!
Op Art Cube Coloring Page
Materials for an Op Art Cube Drawing
Note: This post contains affiliate links.
- Drawing Paper. Don’t substitute it with copy paper or construction paper. The surface will get fuzzy, erasing might cause holes, and the colors will generally not look as bright.
- Stabilo Markers. The large pack provides lots of fun color choices, several shades of each color, including a few choices for skin. The tips are perfect for coloring, and there’s even a promise that they will work after being uncapped for 8 weeks!
- Pencil. The Ticonderoga brand are the most reliable, make nice dark lines when you need them, and are the easiest to erase.
- Eraser. Large ones you can hold in your hand do a much better job than just the pencil tips. Stabilo Markers. They have the best colors, the best tips, and last the longest.

- Black Sharpie Marker. These fine point permanent markers are great for making a crisp outline to your drawing. Use them when you want your outline show up, but not be so heavy that it detracts from other things.
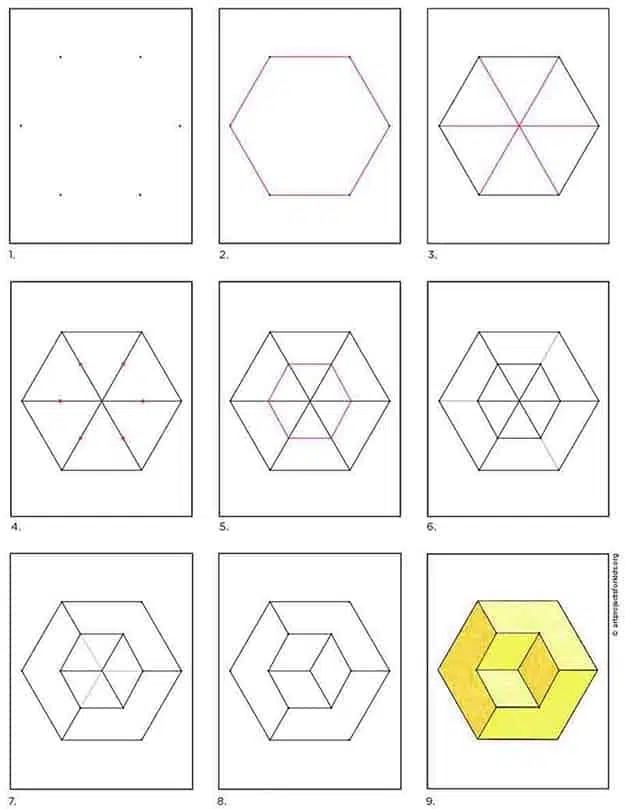
Step by Step Directions to Draw an Op Art Cube
Time needed: 45 minutes
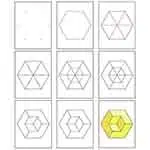
Op Art Cube Directions
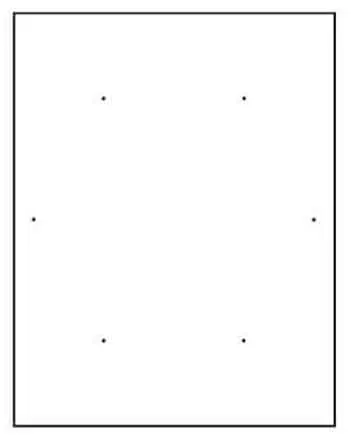
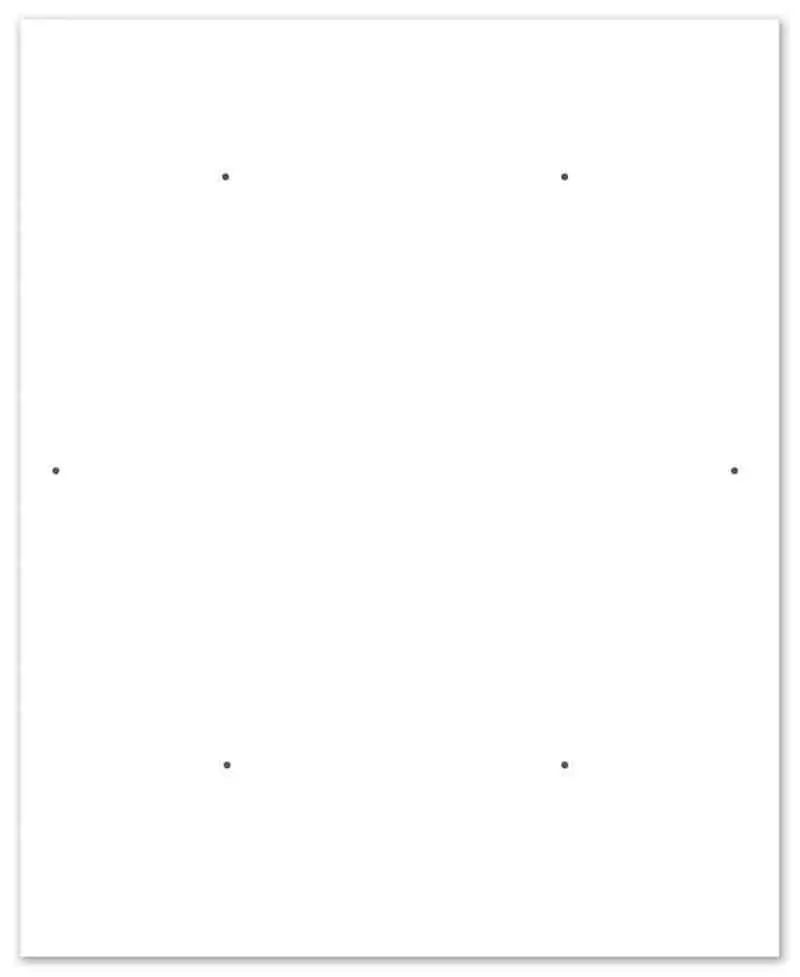
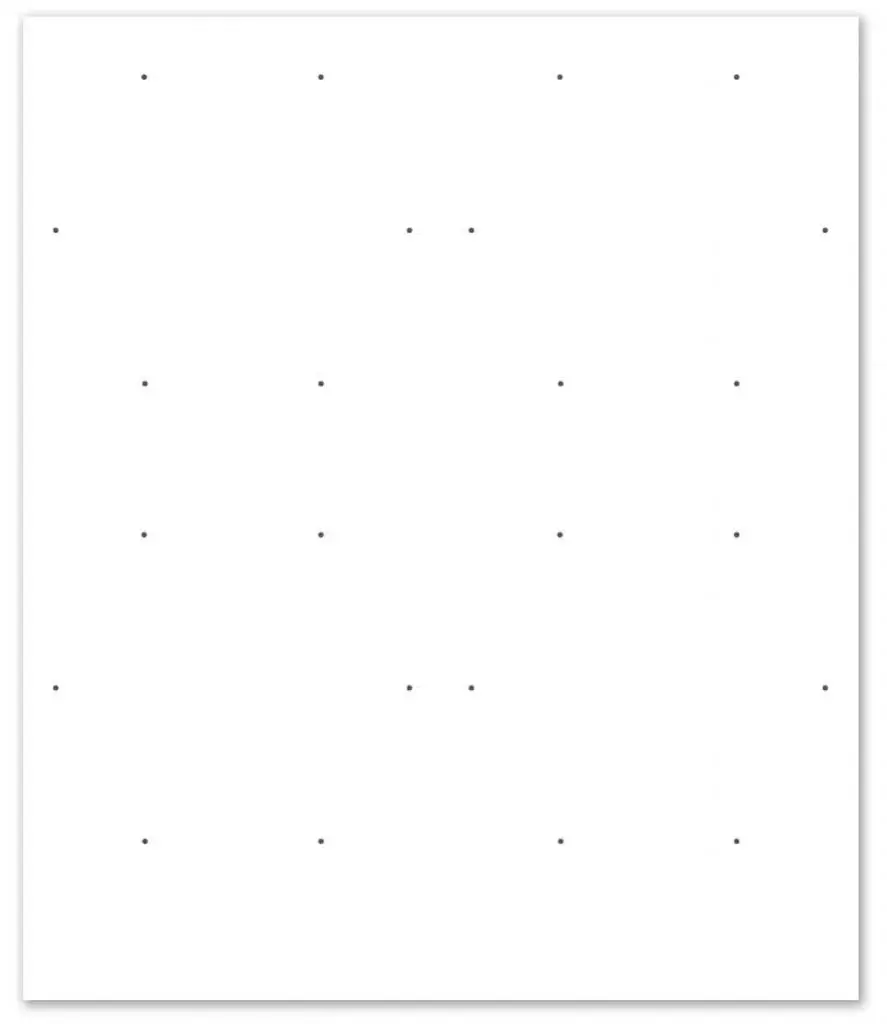
- Print the template page with dots.

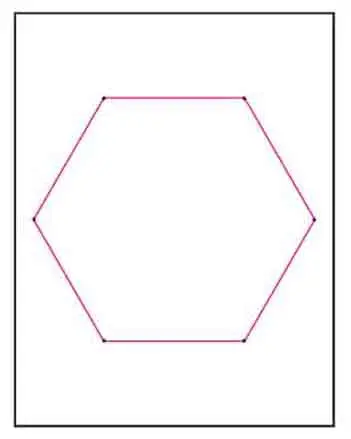
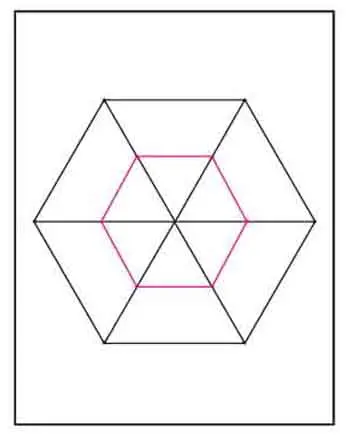
- Use a straight edge to connect the dots.
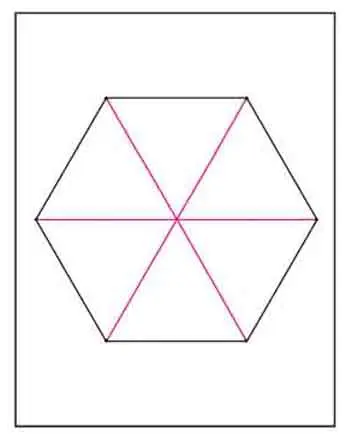
- Connect the dots inside with diagonal lines.
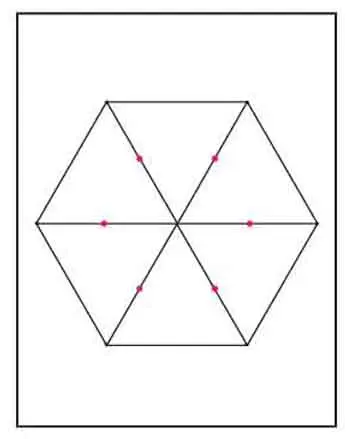
- Add dots that are centered on each line.
- Connect those dots with a straight edge.
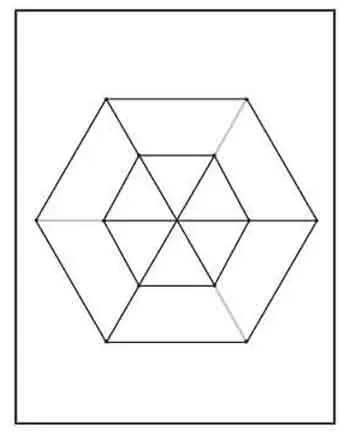
- Erase the gray lines shown.
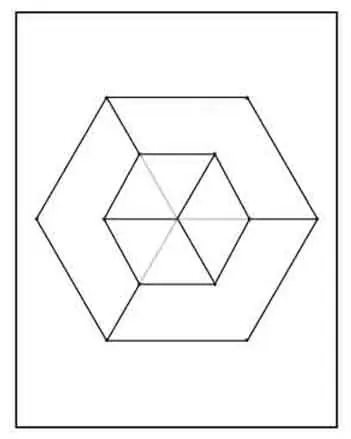
- Erase three more lines.
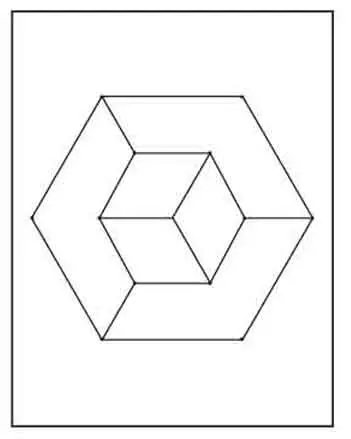
- Trace the drawing with a marker.
- Color the shapes with a light, medium, and dark shade of one color.