Easy How to Draw a Fall Banner with Giant Ears of Corn
Below you’ll find an easy step-by-step tutorial for how to draw a fall banner. All you need is a roll of white paper, thick black markers, and lots of crayons. Oh, and lots and lots of kids to color.
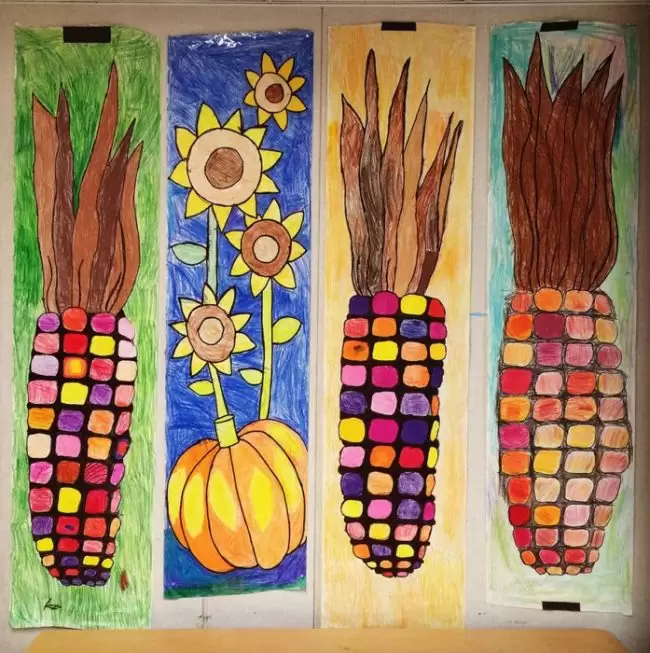
When you teach your students how to make a fall banner, they not only get to see how great drawings can look when done on a large scale, they also see what can be quickly created when they all work together. These banners are proof that you don’t have to have fancy supplies to make your event, or classroom, or even your home, full of colorful hand drawn art. It turns out the lowly crayon can make some pretty good looking decorations, without a lot of time or expense. You just need a bit of patience and a lot of elbow grease. Check out the tutorial below to see how easy these are to draw.
Use the Button below to get this download, now with Pumpkin added!
Materials to make a Fall Banner
- Large roll of butcher paper, about 20″ wide
- Black Sharpie marker, chisel tip*
- Crayons
Step by Step Directions for a Fall Banner Drawing
Time needed: 1 hour
How to draw a Fall Banner
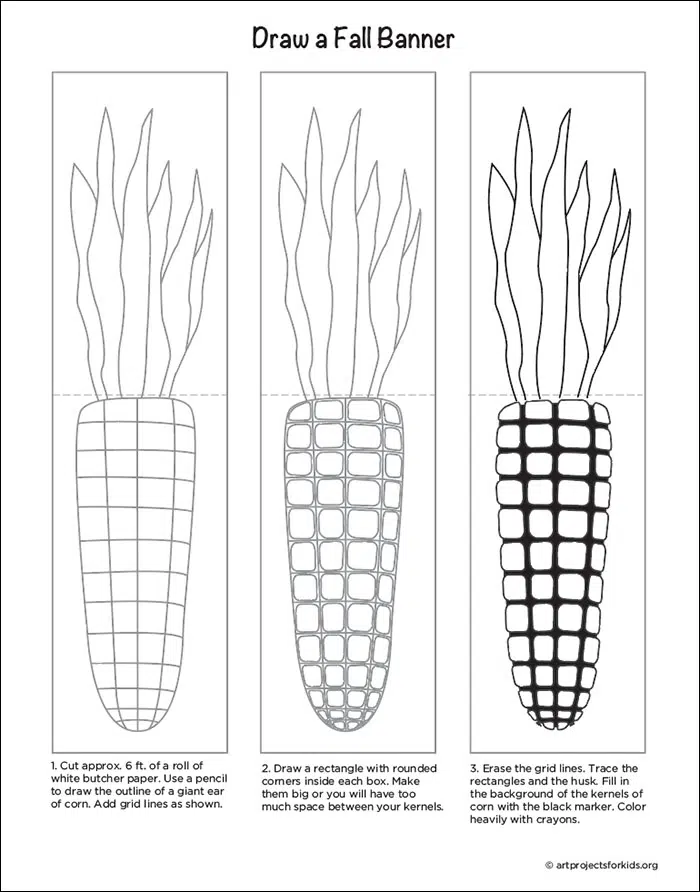
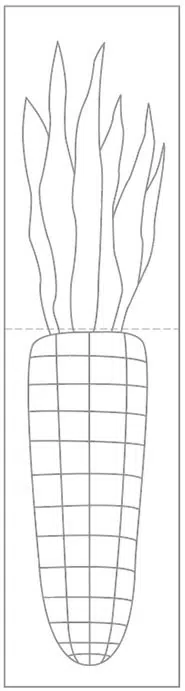
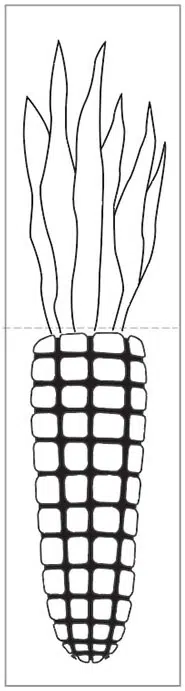
- Cut approx. 6 ft. of paper. Draw an outline of an ear of corn as shown. Add grid lines.

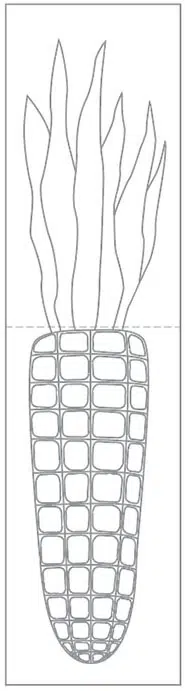
- Draw a rectangle with rounded corners in each square.
- Erase the grid lines. Trace with a black marker and fill in as shown. Color heavily with crayons.
More Fall Projects