Easy How to Draw a Ladybug Tutorial and Ladybug Coloring Page
Below you’ll find an easy step-by-step tutorial for how to draw a Ladybug and a Ladybug Coloring Page. Learn how to draw a ladybug with a side view to show off all those lovely spots on her back.


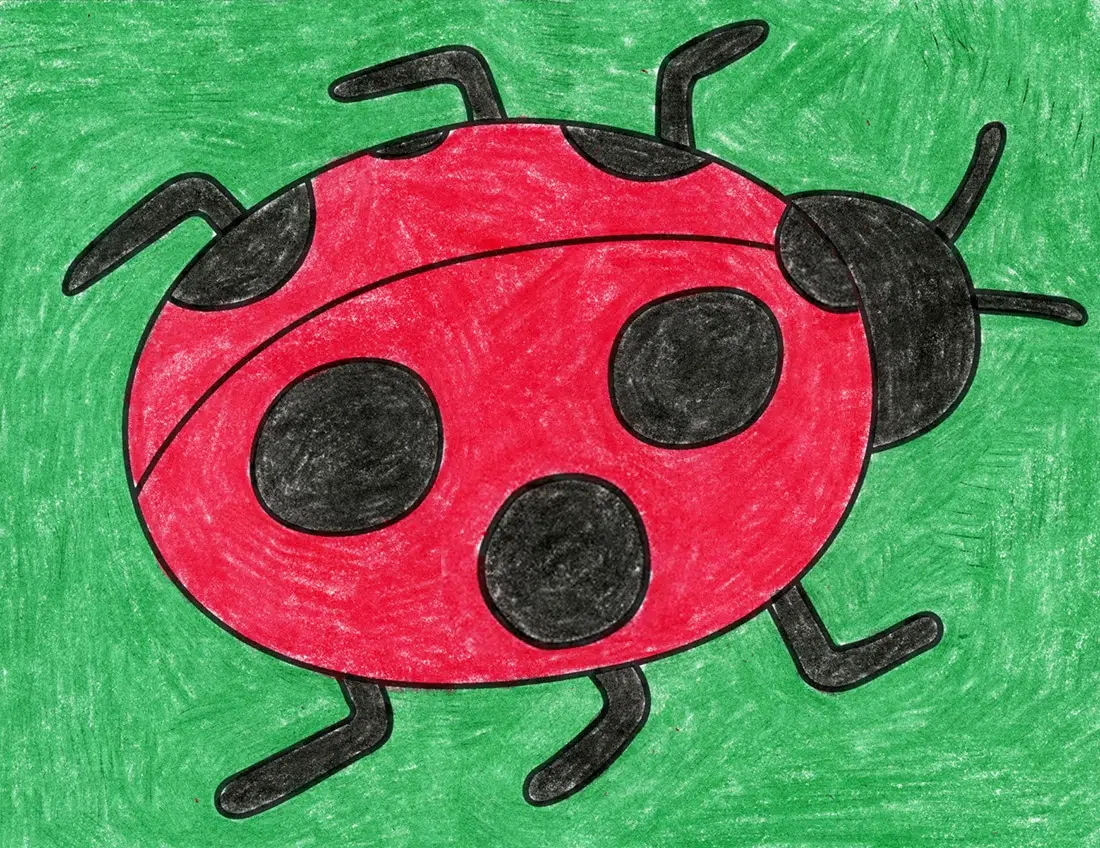
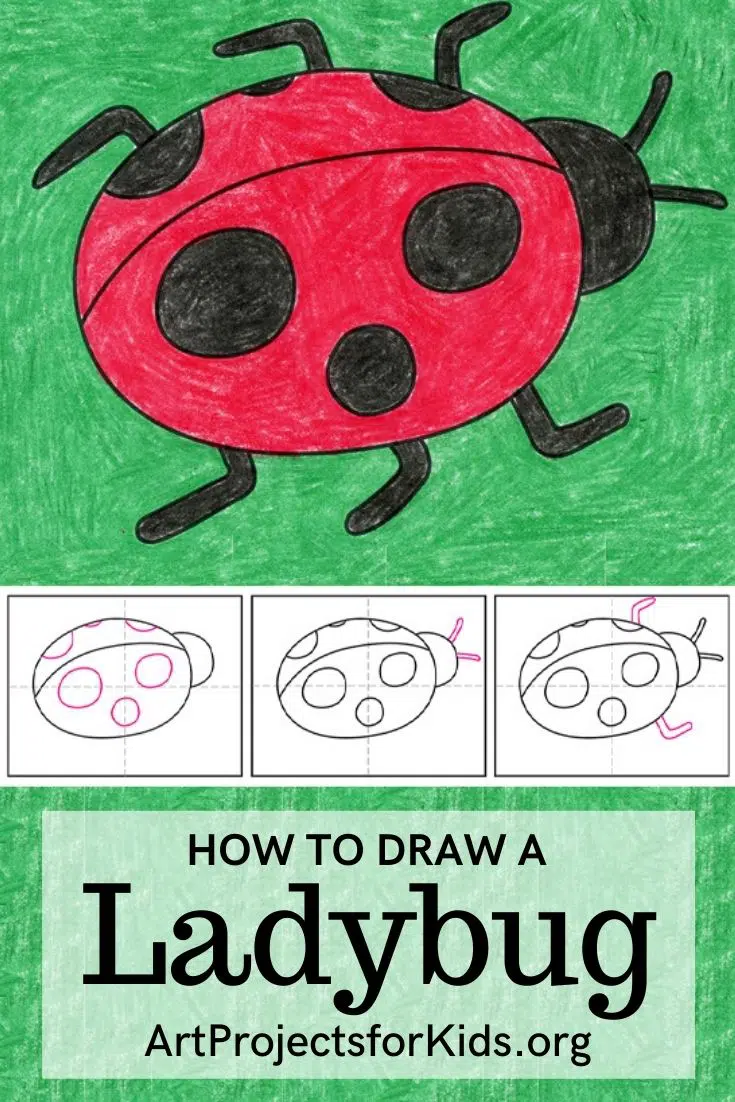
This how to draw a ladybug tutorial shows how some strategic lines can make a flat oval look dimensional. The key is the curved wing line along the back, and spots that seem to be evenly divided on both sides. It’s a clear example of how LINES can make a SHAPE look like it has more FORM, all Elements of Arts, by the way.
Did you ever wonder where the name “ladybug” came from? After all, it doesn’t really sound very scientific. It was actually coined by European farmers who prayed to the Virgin Mary when pests began eating their crops. After ladybugs came and wiped out the invading insects, the farmers named them “beetle of Our Lady.” This eventually was shortened to “lady beetle” and “ladybug.”
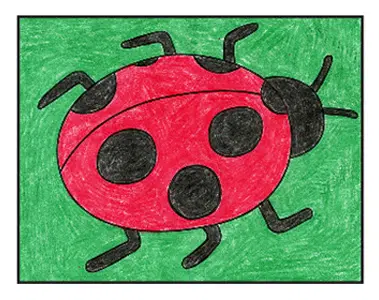
Most ladybugs have oval, dome-shaped bodies with six short legs. Depending on the species, they can have spots, stripes, or no markings at all. Seven-spotted ladybugs are red or orange with three spots on each side and one in the middle.
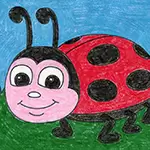
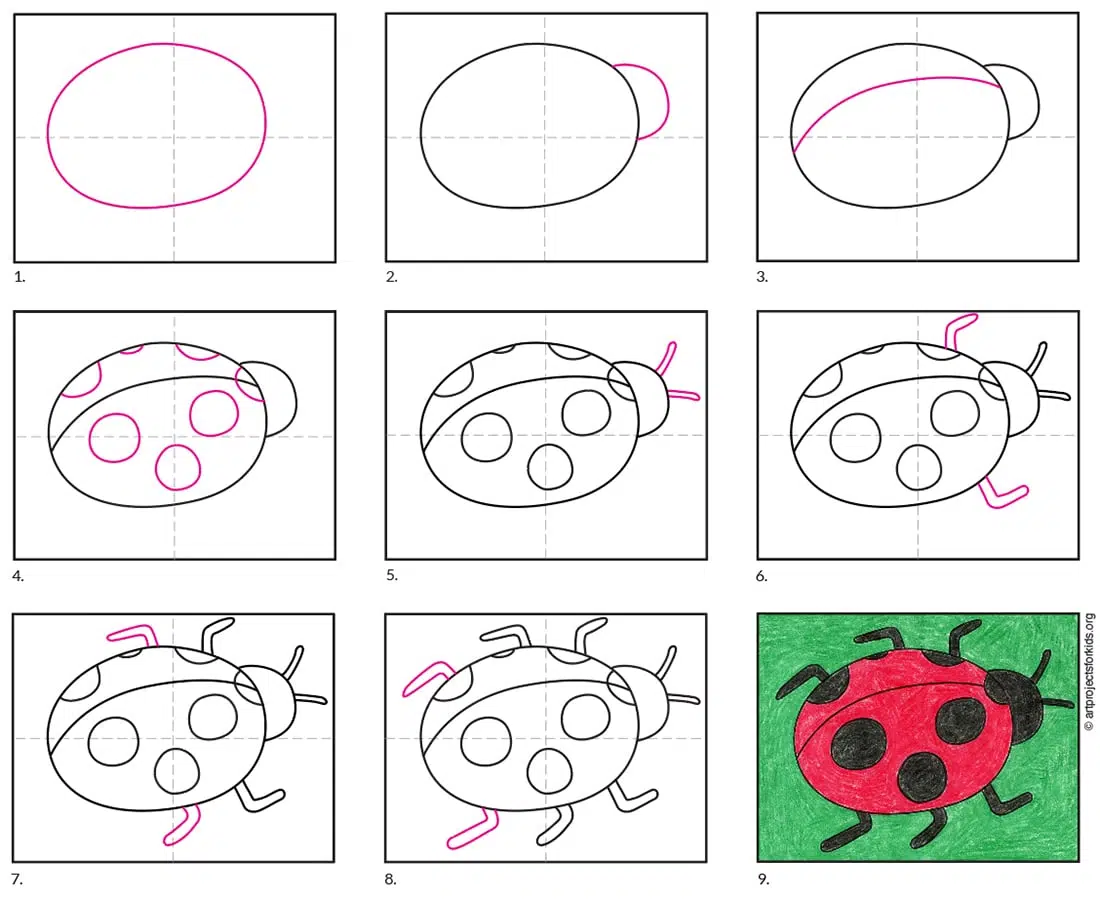
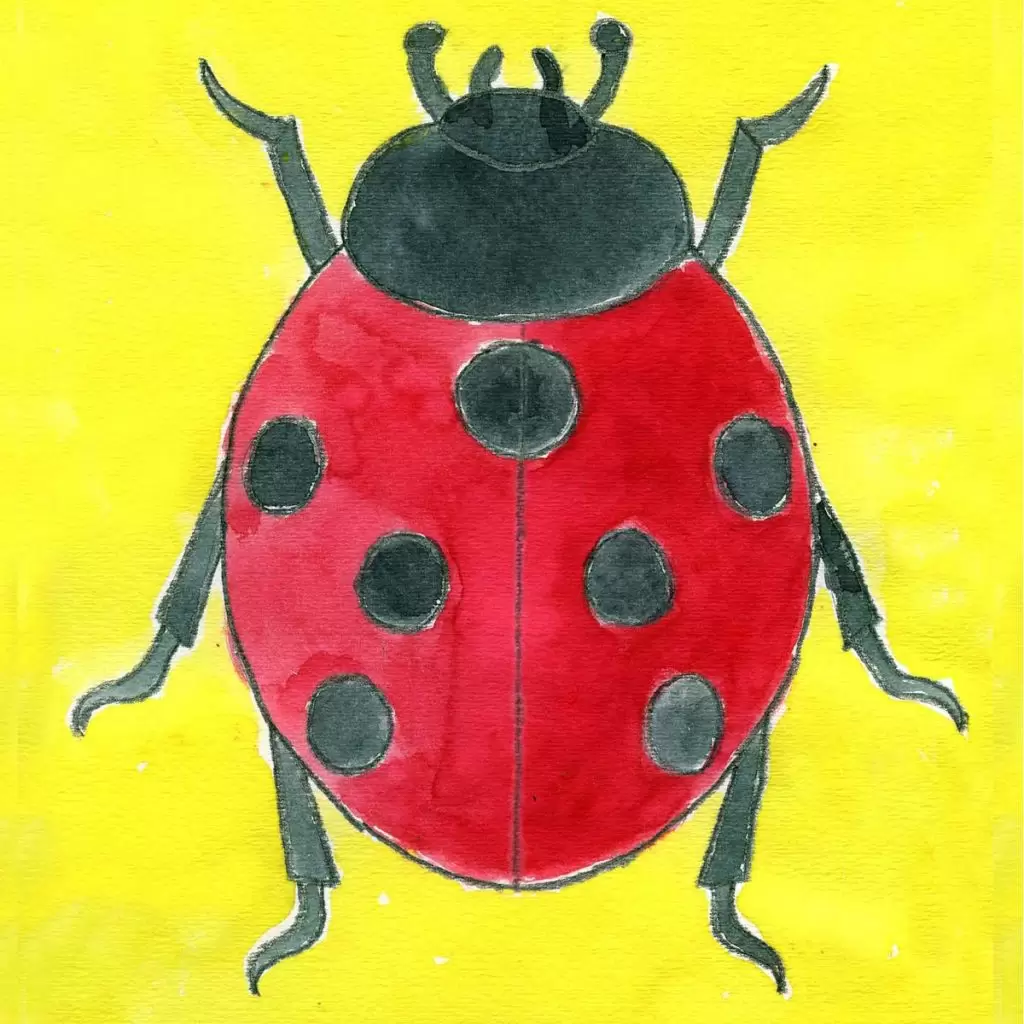
Preview of the Step by Step Ladybug Tutorial
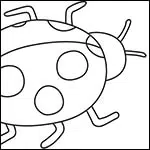
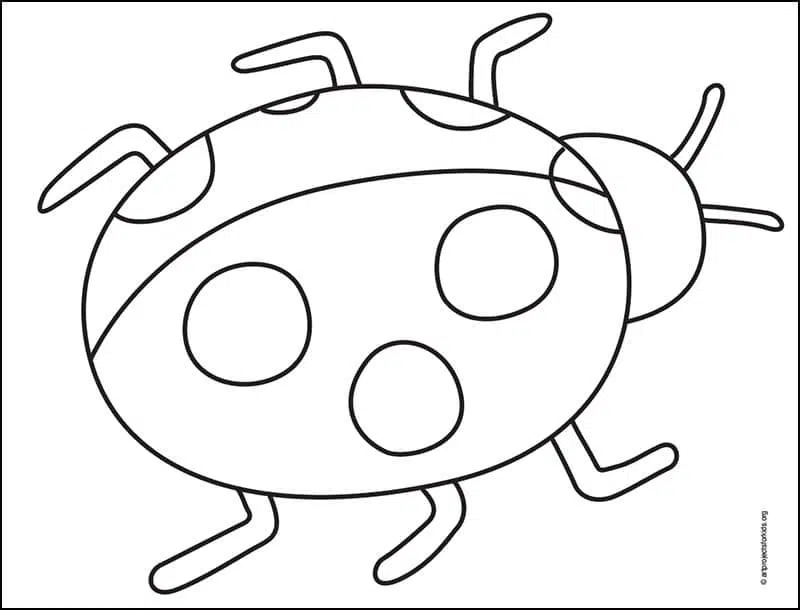
Ladybug Coloring Page
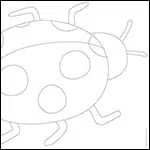
Ladybug Tracing Page

Materials
- Drawing Paper. This is the good stuff you can buy in bulk for a good price.
- Pencils. I like how this brand always makes nice dark lines.
- Black Marker. A permanent marker will give you a dark black color.
- Crayons. The larger packs are nice for more color choices.
- Note: All of the above are Amazon affiliate links.
Step by Step Directions
Time needed: 45 minutes
How to Draw a Ladybug Step by Step
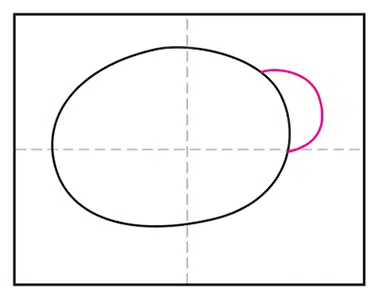
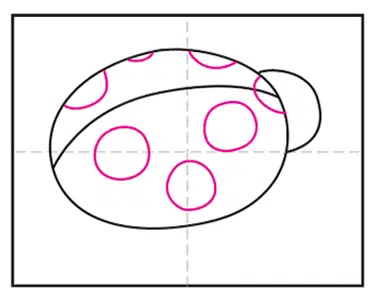
- Draw a large oval for the body.

- Add a small bump for the head.
- Draw a curve on the back.
- Add the seven spots on the back as shown.
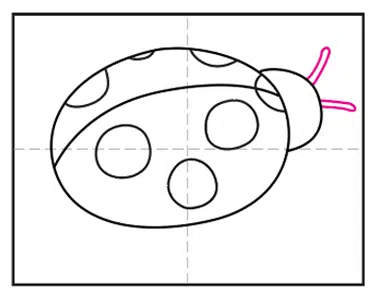
- Draw two antennae on the head.
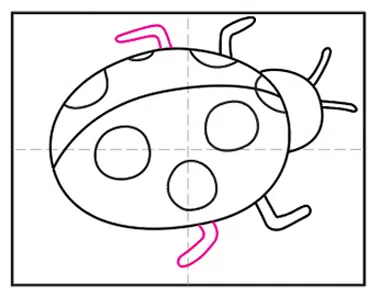
- Add the two front legs bending forward.
- Draw the two middle legs bending back.
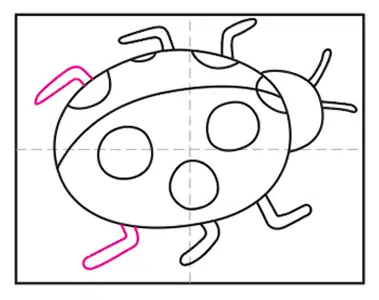
- Add the two back legs bending backwards.
- Trace with a marker and color.


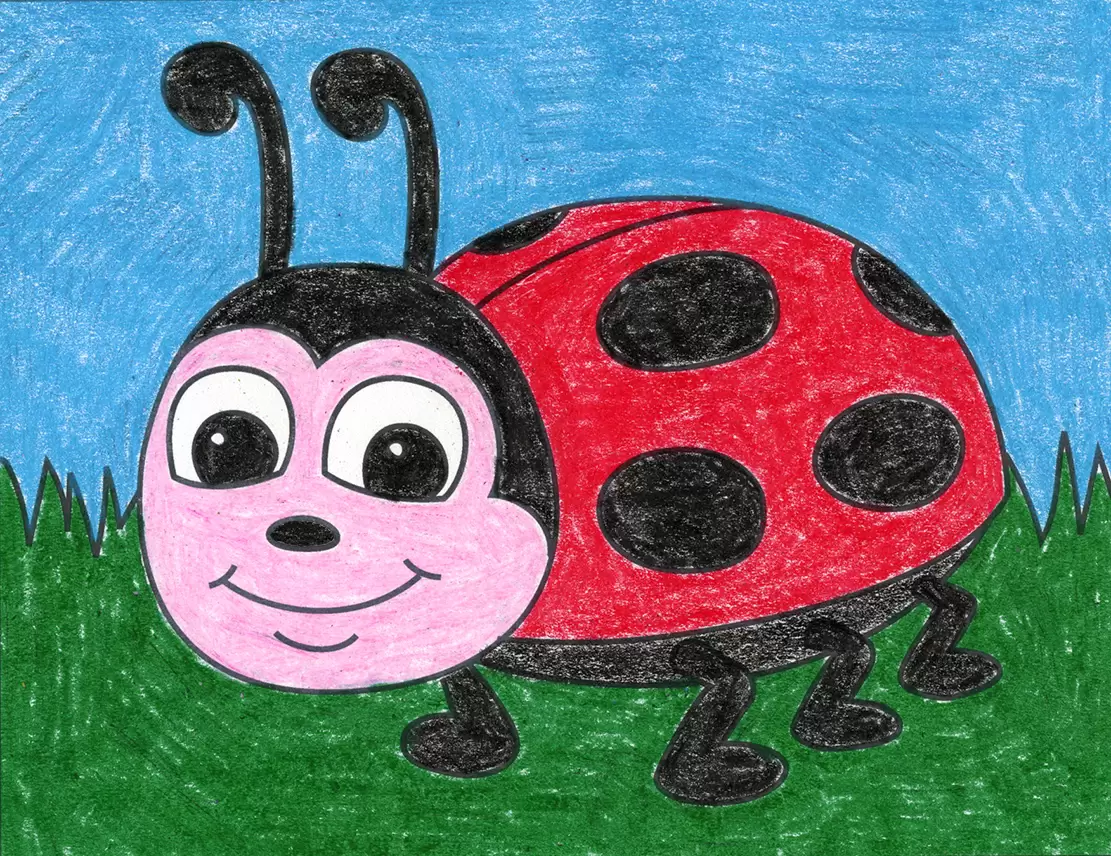
More Ladybug Projects
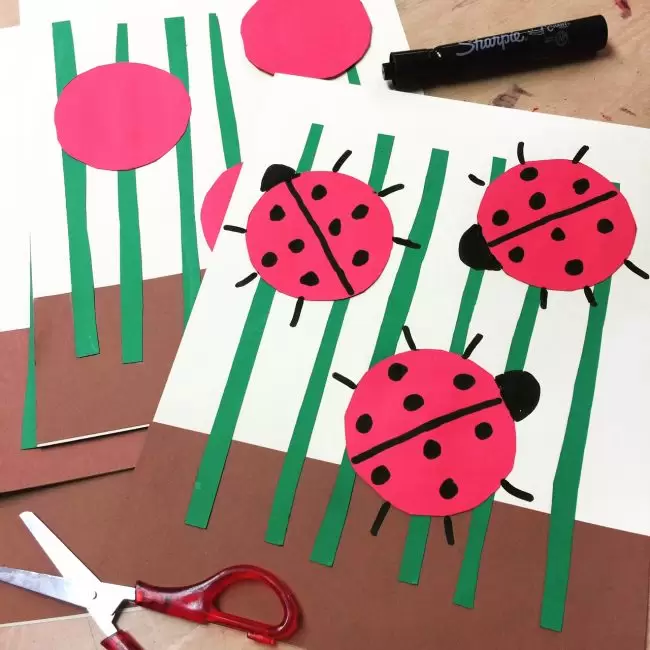
More Ladybug Inspiration

Save me to Your Pinterest Board
More Fun Insects to Draw