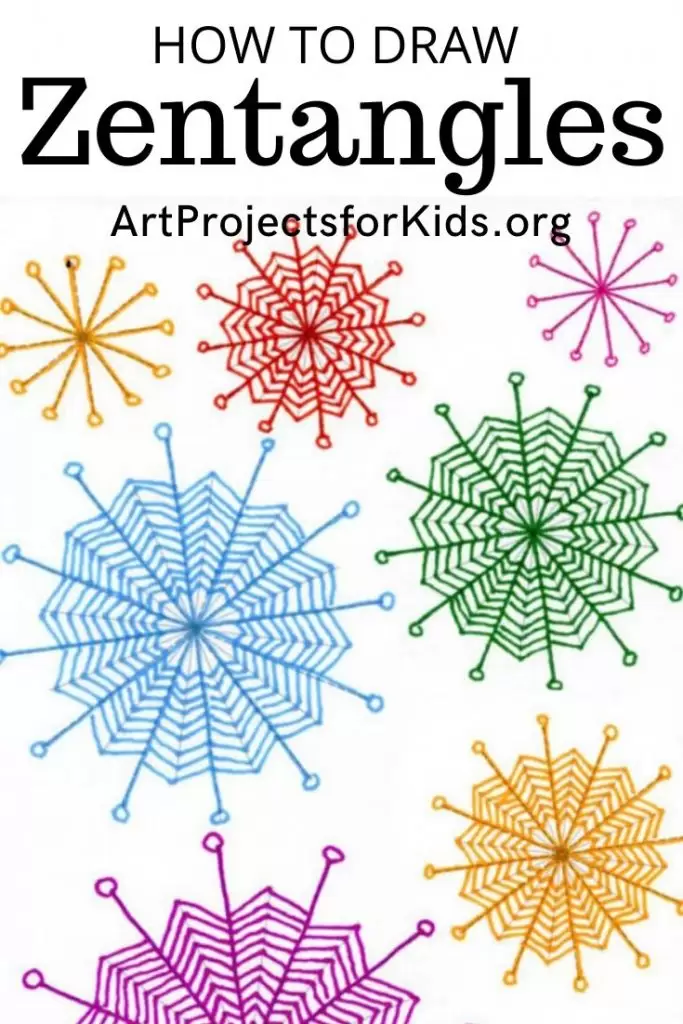
How to Draw a Zentangle Snowflake
Below you’ll find an easy tutorial for how to draw a Zentangle Snowflake. A simple line template helps artists of all ages try one out.
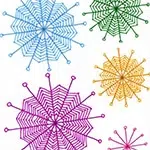

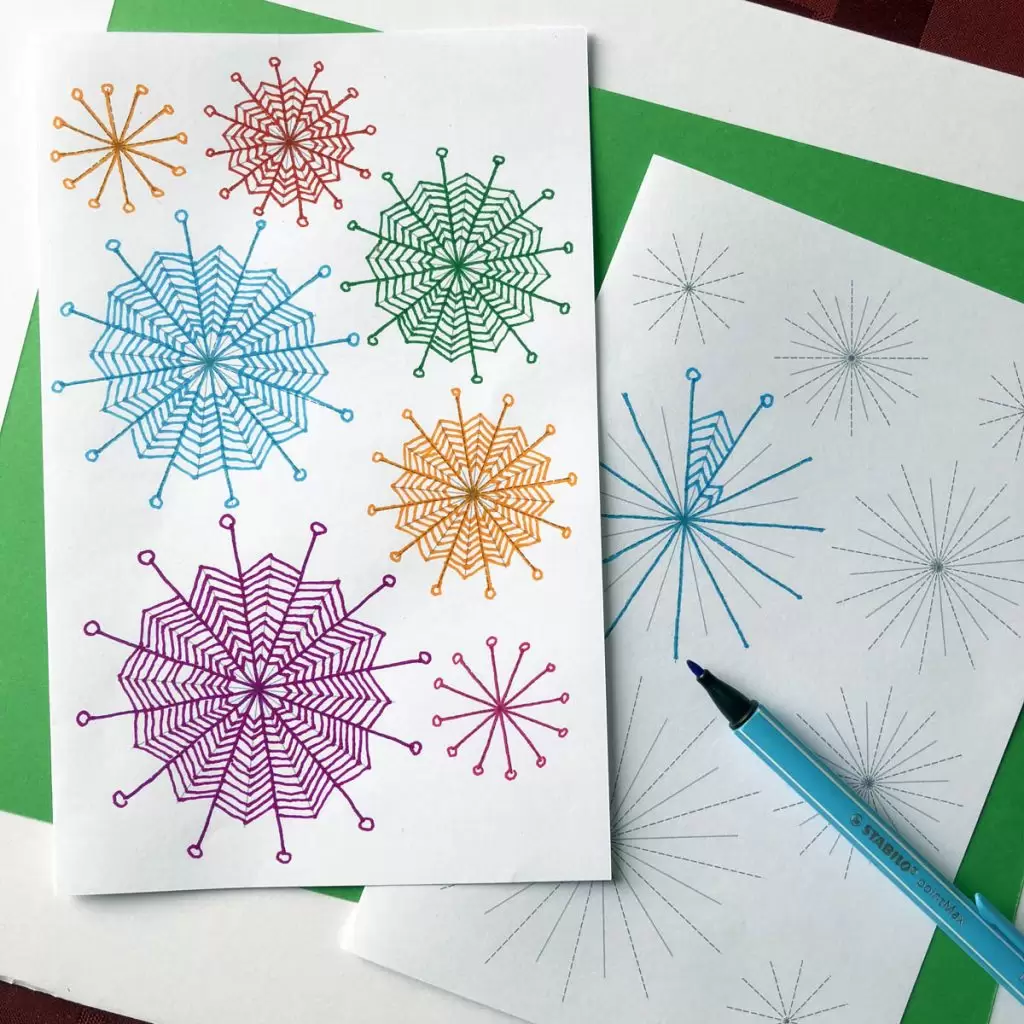
Zentangle Snowflake Card

This simple template is designed to help students of all ages learn how to draw a Zentangle snowflake. A Zentangle is a relaxing and fun way to draw by simply making structured patterns. It is meant to be non-representational so artists can concentrate on each stroke and not worry about the results.

Now, with the help of a basic star framework, students can easily add their own angles, spaced the way they want, with as much detail as they want.
To use this template in your classroom, just download the PDF below, print, and cut each paper in half. The smaller paper is easy to finish in one class session. To turn the drawing into a pretty card, just trim the outside a little and glue to a sheet of folded card stock paper.
Encourage your students to use these star templates as just a starting point. The small circles can be replaced with angles, or diamonds, or squares or triangles. Ambitious students can even add lots more small “snowflakes” around in all the empty spaces.
Use the Button below to Download a PDF Tutorial
Save me to your Pinterest Board
Materials to draw a Zentangle Snowflake
Note: This post contains affiliate links. If you click and take action, I will be compensated a small amount at no expense to you.
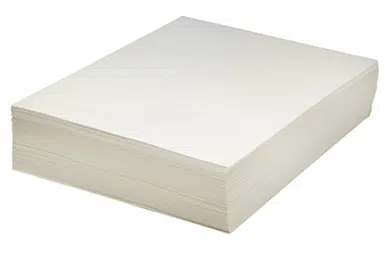
- Drawing Paper. Don’t substitute it with copy paper or construction paper. The surface will get fuzzy, erasing might cause holes, and the colors will generally not look as bright.

- Stabilo Markers. This brand has the very sturdy thin tips that are needed to make lots of fine lines. They may be too delicate for early elementary students, but older will enjoy the precision and color that they offer.
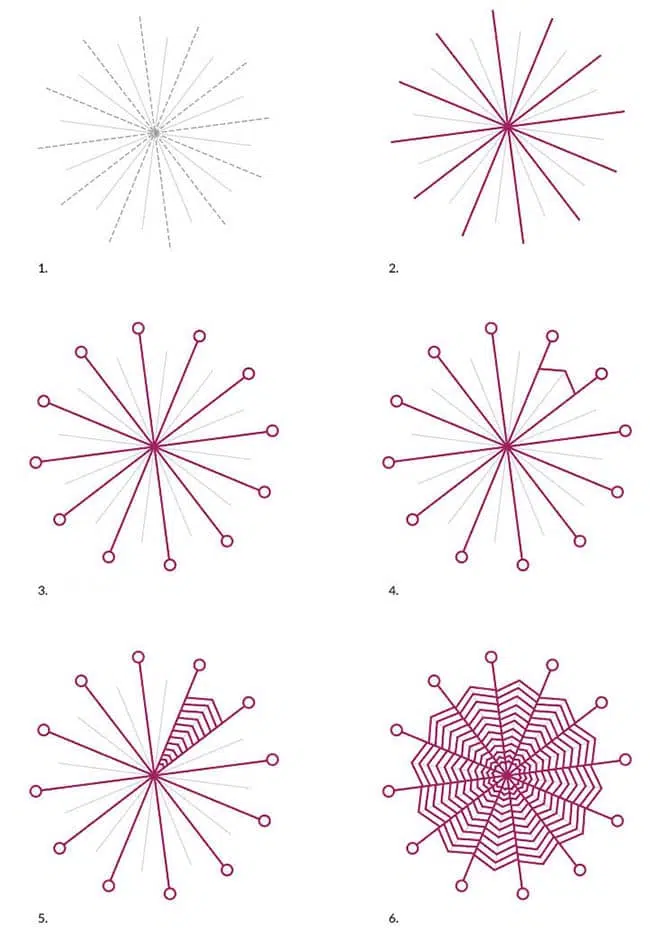
Step by Step Directions to Draw a Zentangle Snowflake
Time needed: 1 hour
Zentangle Snowflake for Beginners
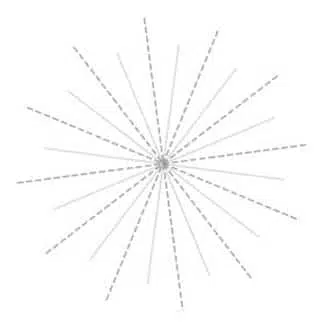
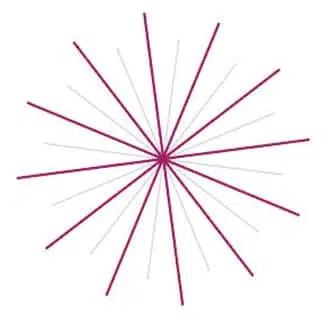
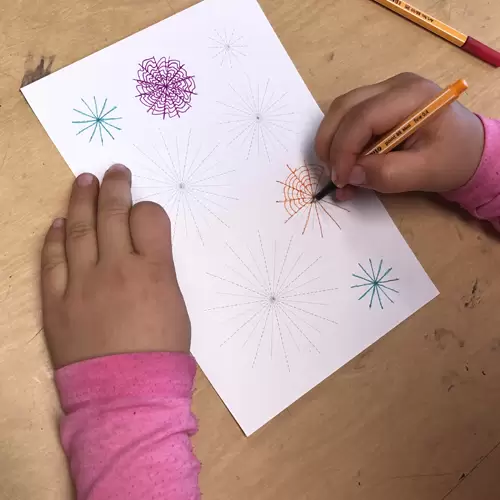
- Print the template, noting that some lines are dashed and some are solid.

- Trace the dashed lines first with a thin marker.
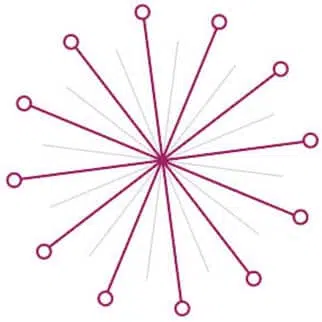
- Add a small circle or other shape on the end of each line.
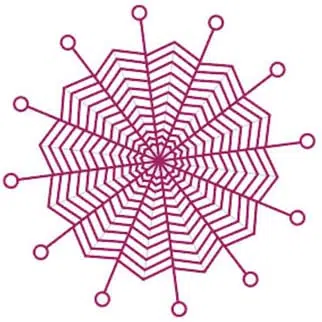
- Connect two of the lines with an arrow shape as shown.
- Add progressively smaller arrows down towards the center of the snowflake.
- Repeat until all the spaces are filled. Try to make them as similar as possible.