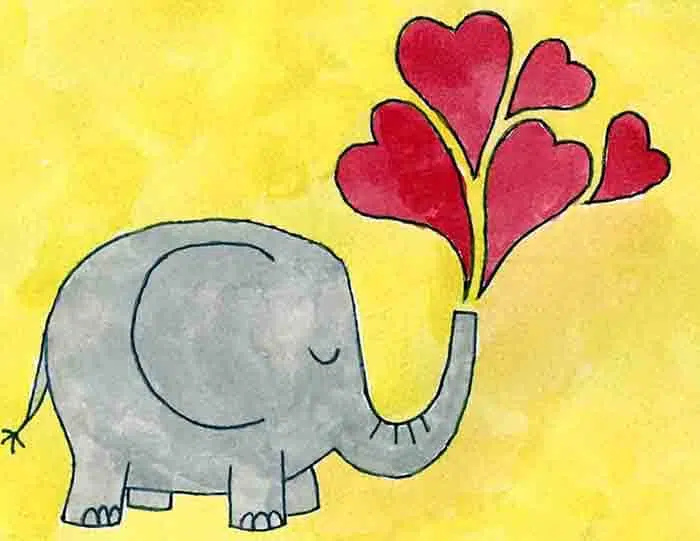
Easy How to Draw a Sharpie Heart Tutorial
Below you’ll find an easy step-by-step tutorial for how to draw a Sharpie Heart. Coloring on dry wax paper and then collaging the drawing to a canvas makes a super colorful work of art!


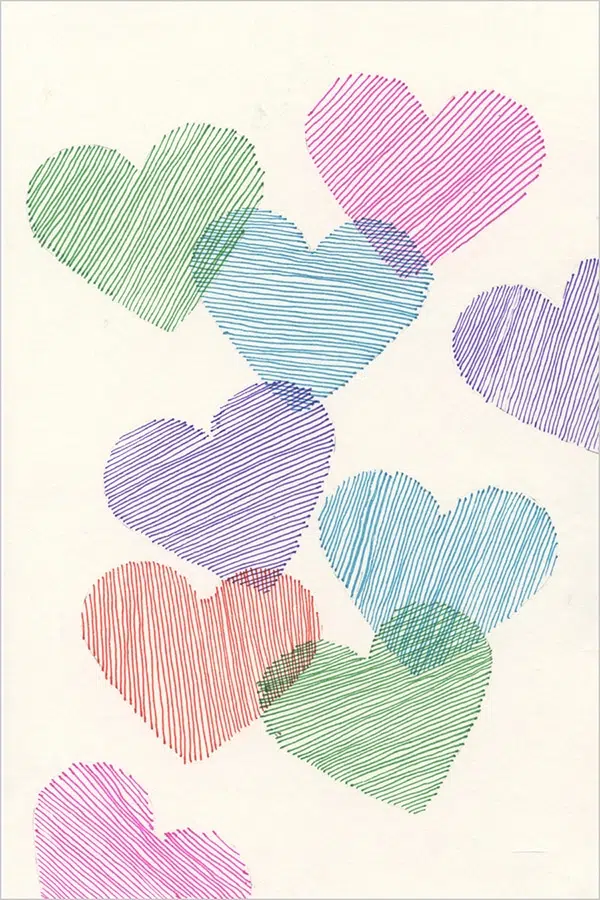
Sharpie Hearts on Canvas
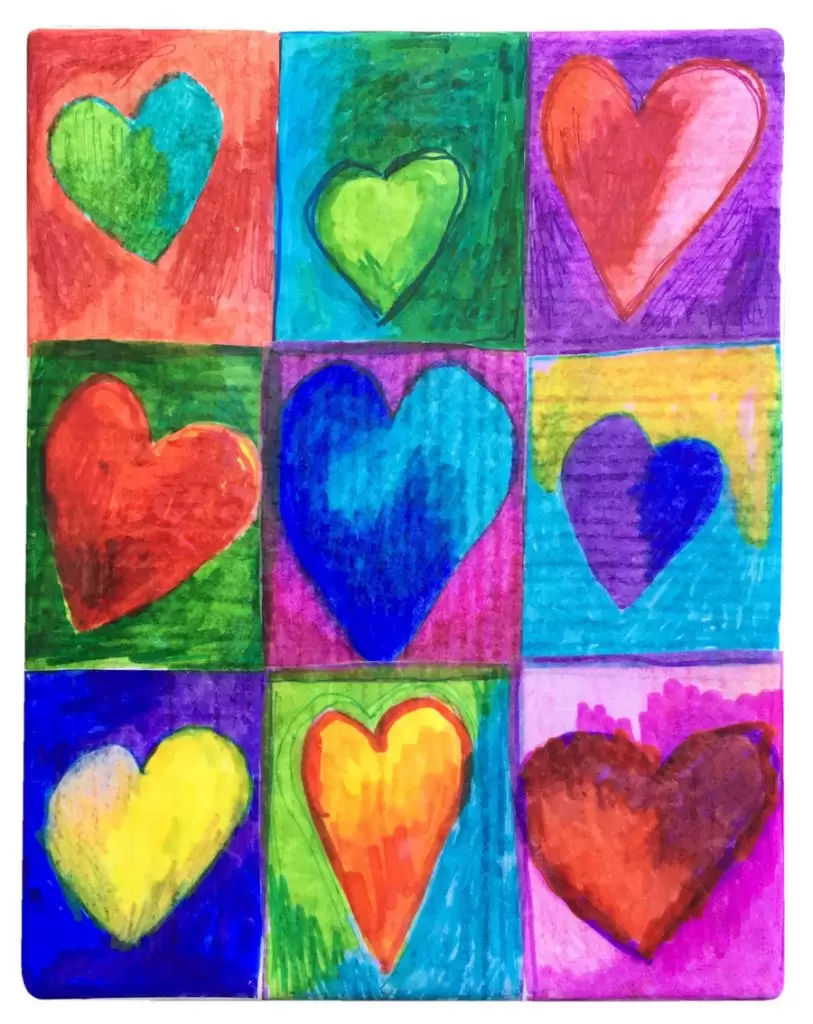
When you need art for a special occasion, this Sharpie Heart project can really deliver because it combines a few of my favorite things: Children’s drawings, in all their wobbly glory, Sharpie markers, in all their colorful glory, and stretched canvases, with all their inexpensive options. This is a technique I experimented with for years at my elementary school. Students draw with Sharpies on something called “dry wax paper”. You can find it in restaurant supply stores, or on Amazon. Each drawing is decoupaged with watery white glue to a stretched canvas. When the wet tissue dries, it kind of hugs the fabric of the canvas. When everything is dry, it looks like students drew directly on the canvas, which is the goal, but not practical for many reasons, in real life. Try this technique out and then see how many adaptations you can use it for. It will make a special gift, as a home project, or a wonderful fundraiser when you need art that the whole class contributes to.
Use the Button below to Download a Tutorial

Materials to draw a Sharpie Heart
- Stretched canvas
- Dry Wax Paper* (Different than regular WAX paper)
- Sharpie Markers* fine tip
- Sharpie Markers* brush tip (these are SO much fun!)
- Sharpie Markers* ultra fine tip
- Brush
- Scissors
- White glue
- Spray gloss sealer
- *Affiliate link, so I may be compensated in a small amount if you use this link and then take action.
Step by Step Directions to Draw a Sharpie Heart
Time needed: 2 hours
How to Make Sharpie Hearts
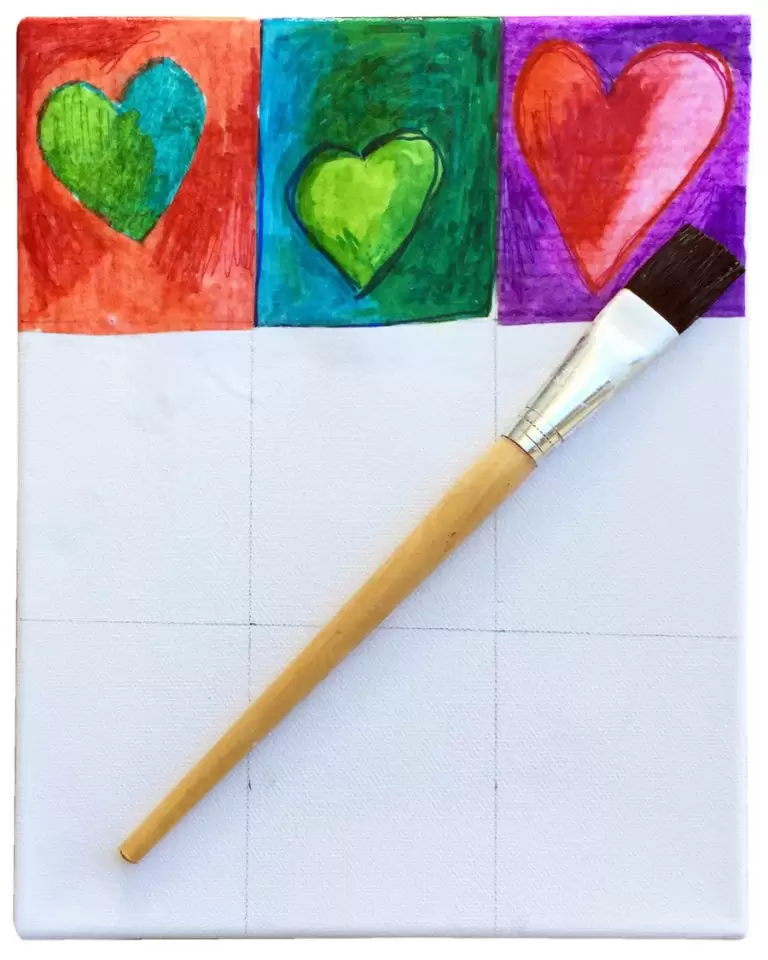
- Lightly draw grid lines on canvas.

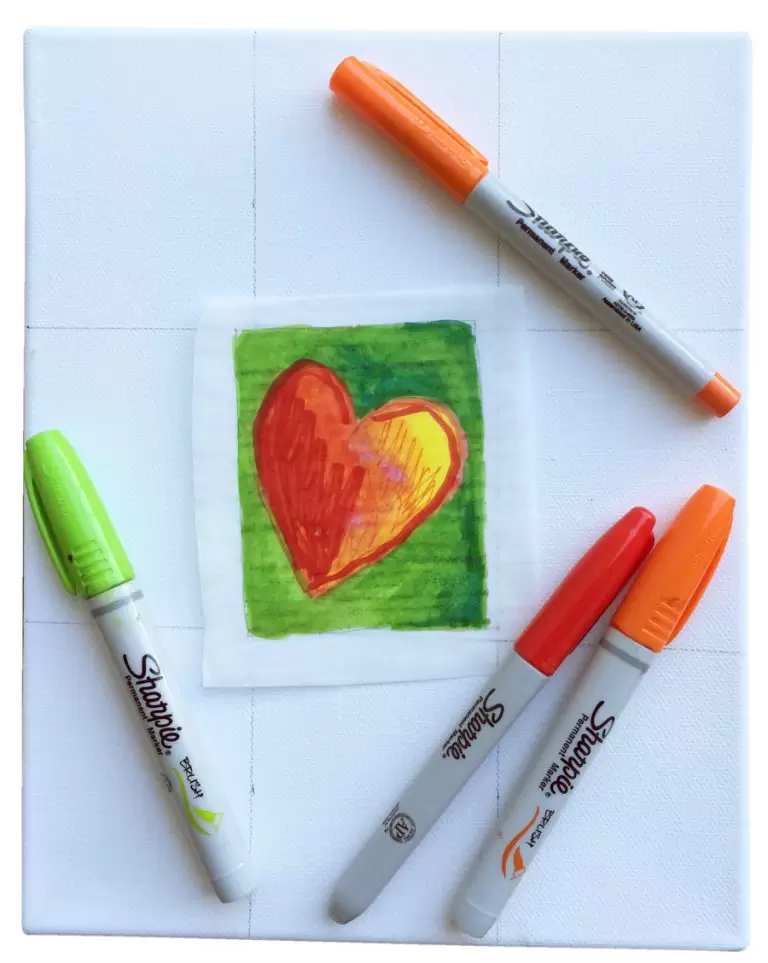
- Color heart on dry wax paper with Sharpies.

- Repeat, trim out each, and arrange in a pleasing way.

- Apply each heart to canvas with watery white glue (50/50 ratio). Be sure to saturate.

- Repeat to finish the rows. Overlapping is fine to help them fit.

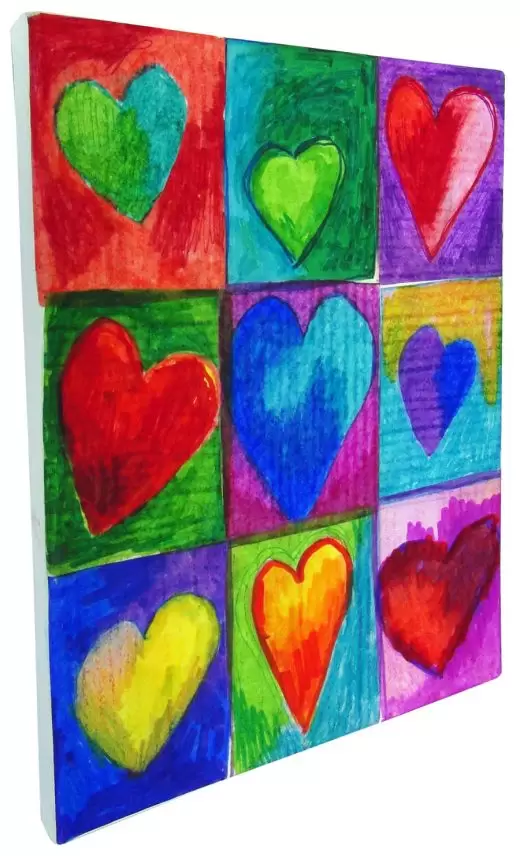
- Repeat until finish. For a shine, spray with gloss finish when dry.


More Helpful Tips
- Buy a canvas that can accommodate the total number of drawings your students will be making. Allow for a roughly 3″ x 4″ rectangle for each. Use a pencil to draw a light grid.
- Give students a piece of dry wax tissue that has a matching rectangle drawn on it. Their job is to make a heart using several colors on the inside, and several colors in the background. Choose your color lesson as desired, just make sure that everything is filled in. No white spaces. If your budget allows, Sharpie Brush markers are a dream to color with.
- Trim off any excess paper around the hearts. Make a layout plan that looks pleasing to you.
- Mix white glue to water, about a 50/50 ratio. To make sure the art is really saturated, apply first to the canvas, then the back of the drawing. Place the drawing on the canvas, and add more mixture on top. Smooth with your fingers.
- Continue applying the drawings. Don’t worry if they overlap a bit, the sketchy look is very forgiving. When you are done, check the art closely to see if there are any bubbles. If so, smooth with your fingers. Don’t worry about little wet wrinkles. They will disappear as the tissue dries.
- When the canvas is dry, you can spray with a glossy fixative to give it an extra shine. Now you know how to make large collaborative works of art with just a few inexpensive supplies.
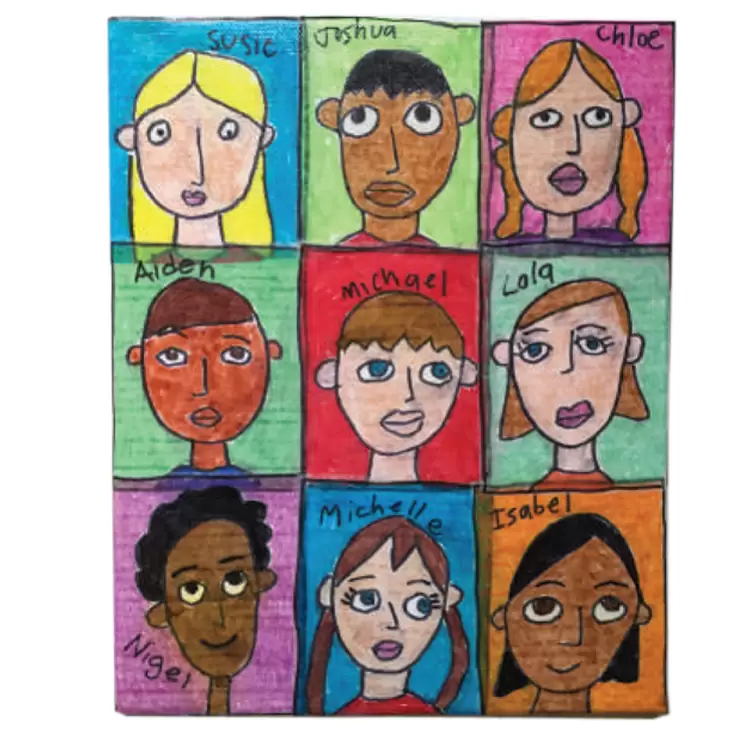
Classroom Self Portraits on Canvas