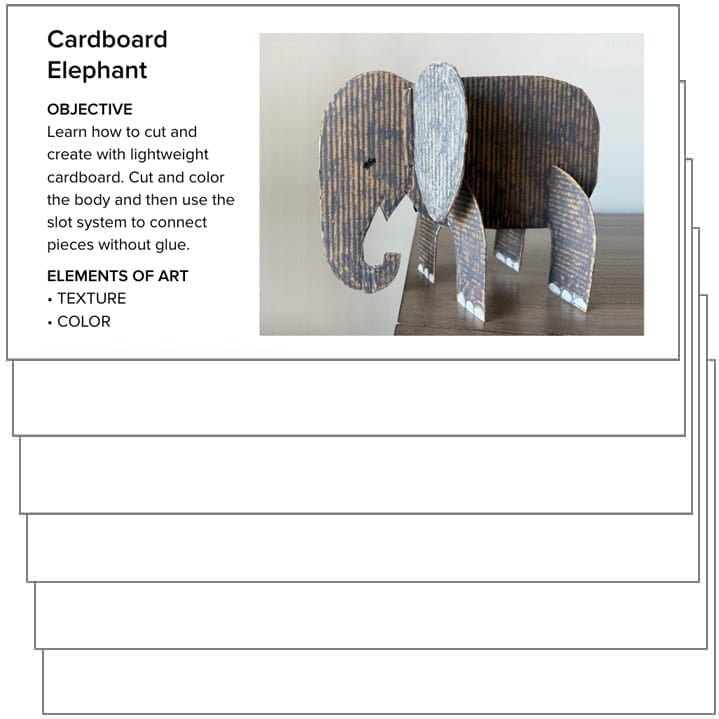
Cardboard Elephant
Looking for a hands-on art project that builds skills and sparks creativity?
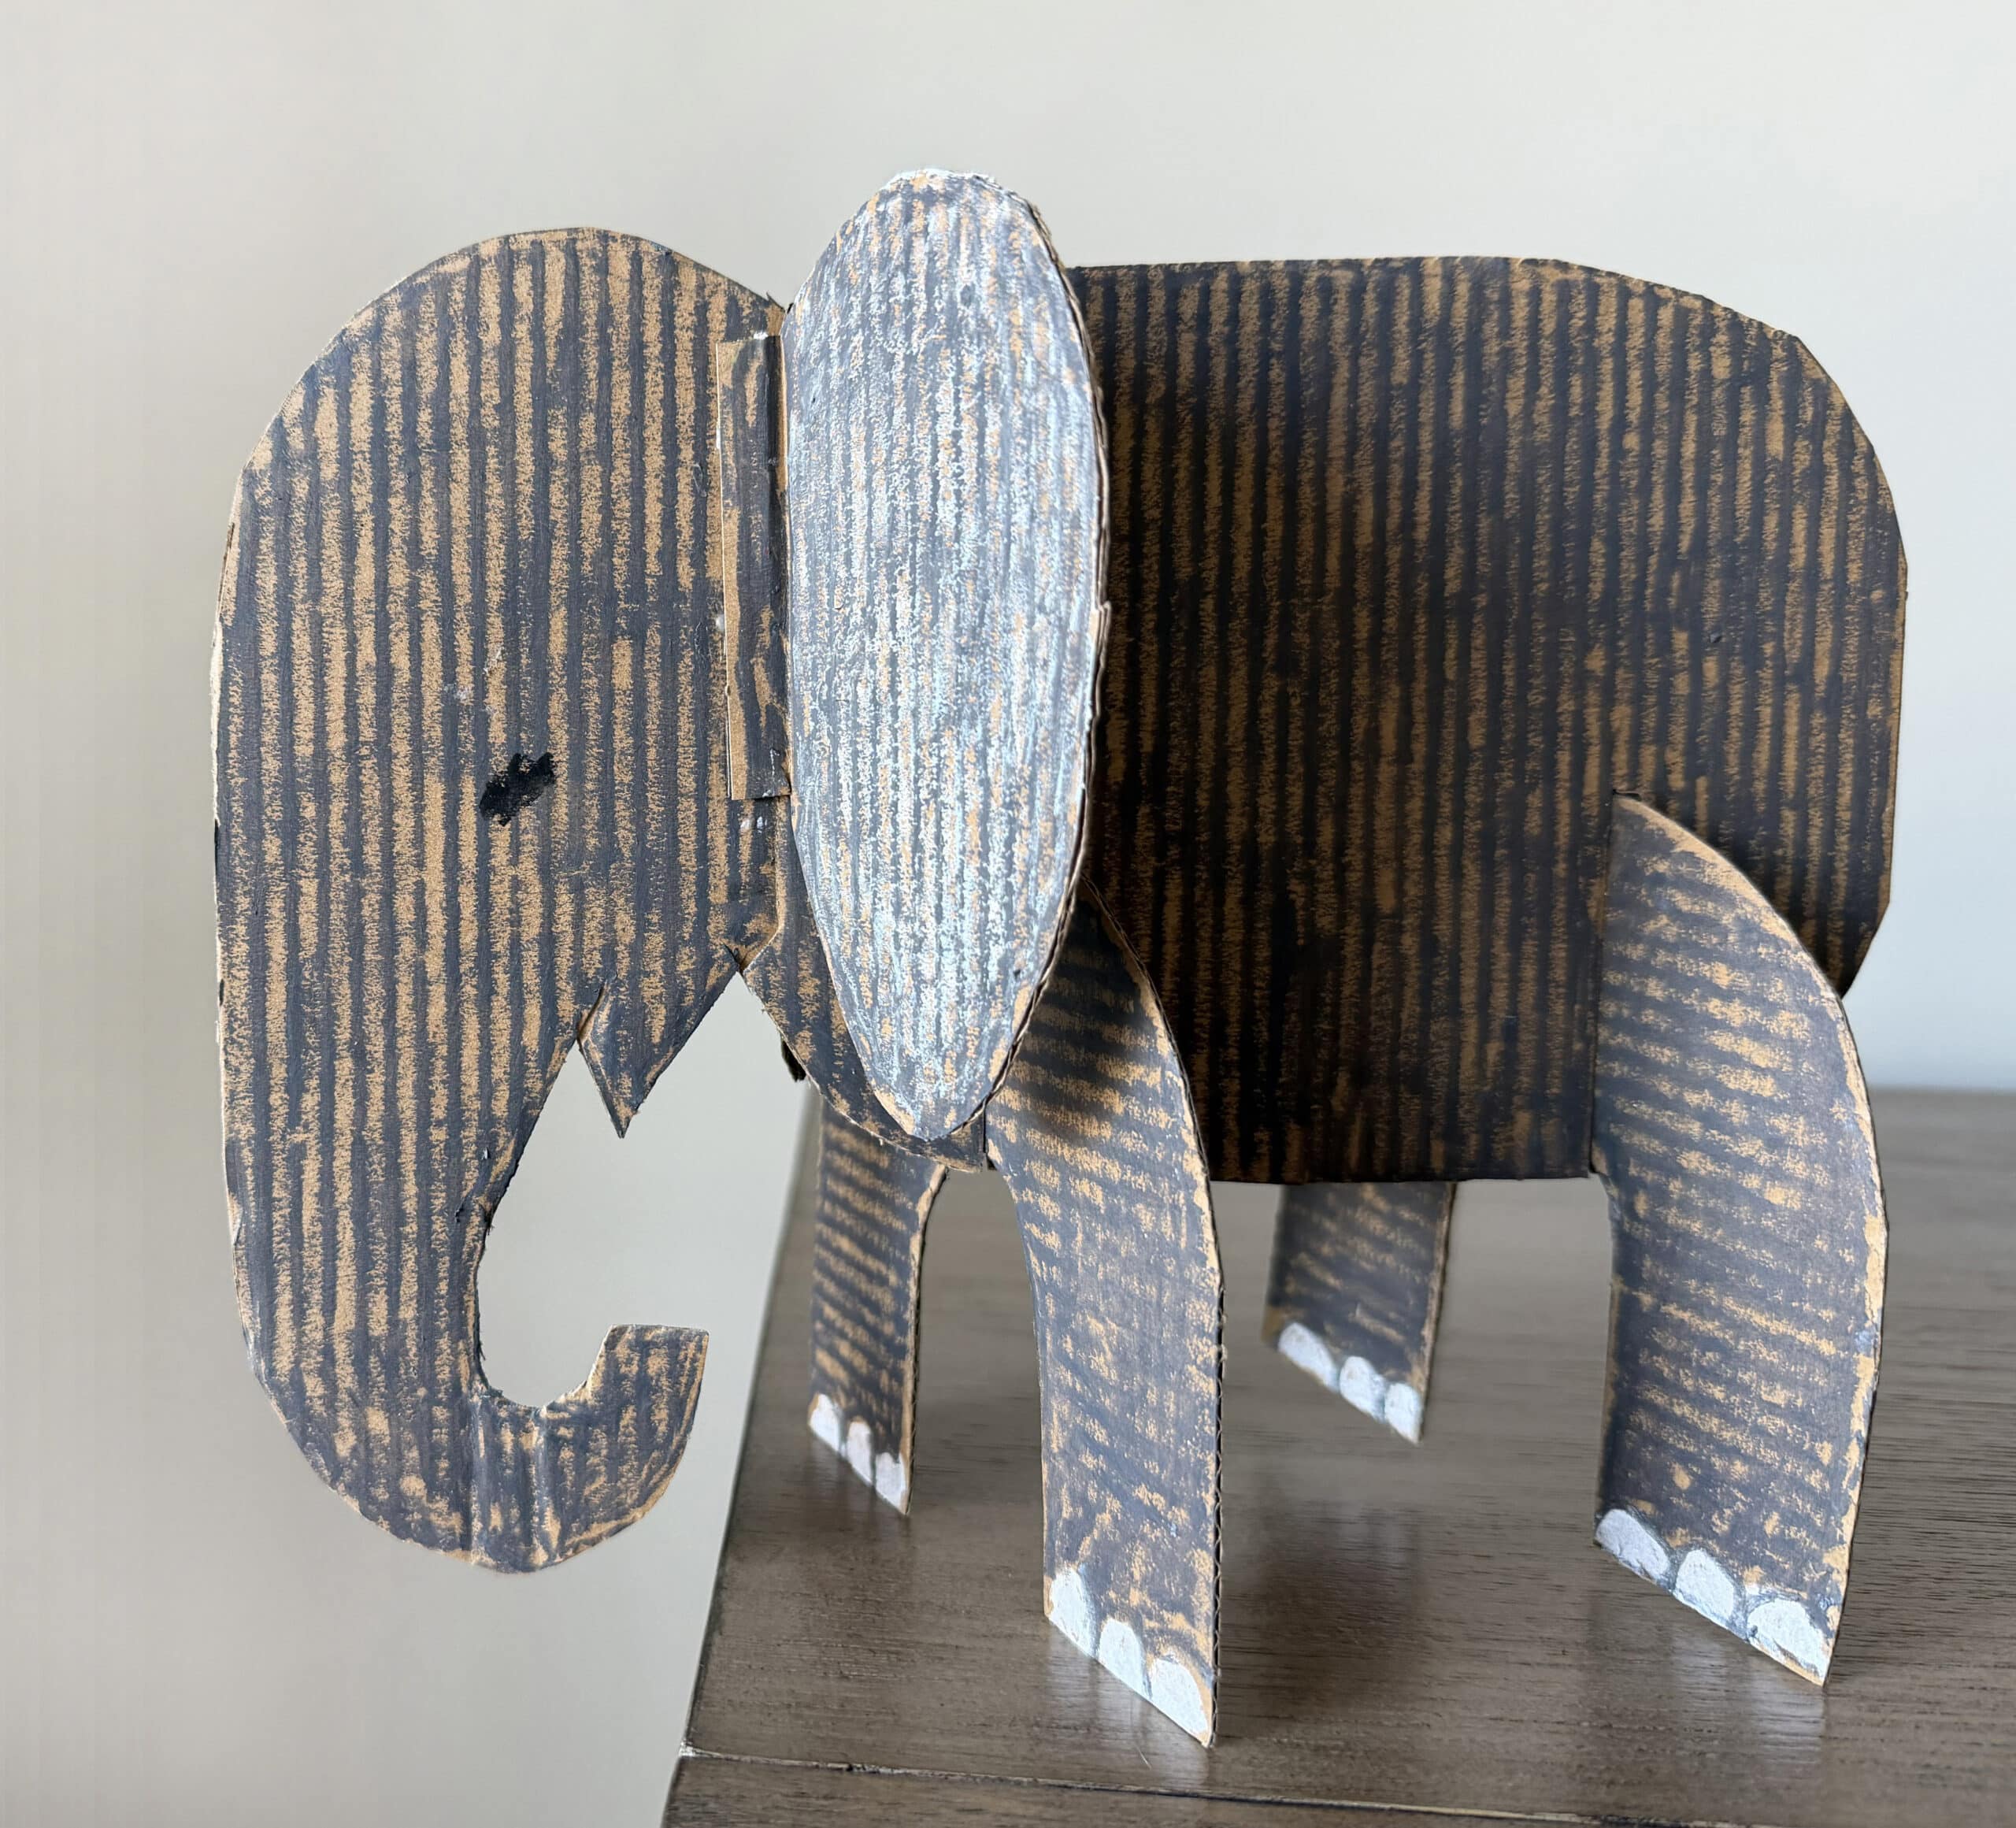
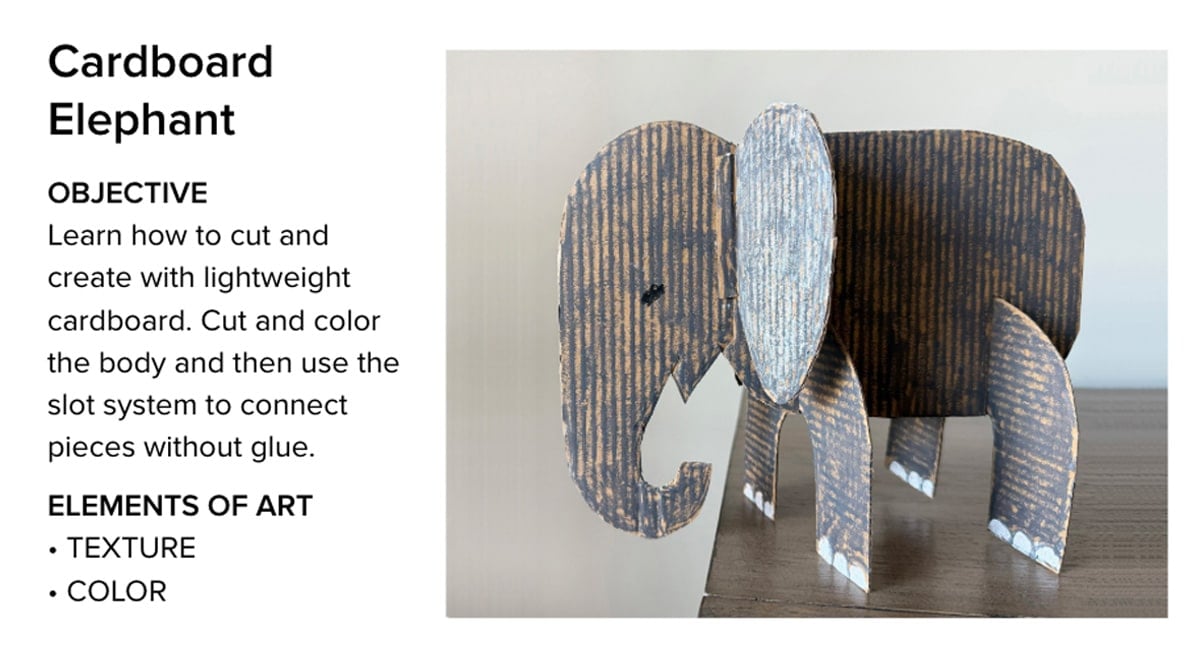
Students will practice careful cutting, explore textured coloring techniques, and use the slot method to make their flat pieces stand upright in a simple 3D design.
It’s a great way to tie in with a science or social studies unit on elephants or habitats. The base design is flexible—kids can go realistic or get creative with color and pattern. Either way, it’s the perfect mix of structure and imaginative freedom.
Cardboard Elephant Teaching Tools
Cardboard Elephant Video
Cardboard Elephant Video Short
Elephants for Kids on YouTube

Cardboard Elephant PDF Tutorial
Cardboard Elephant Google Slides
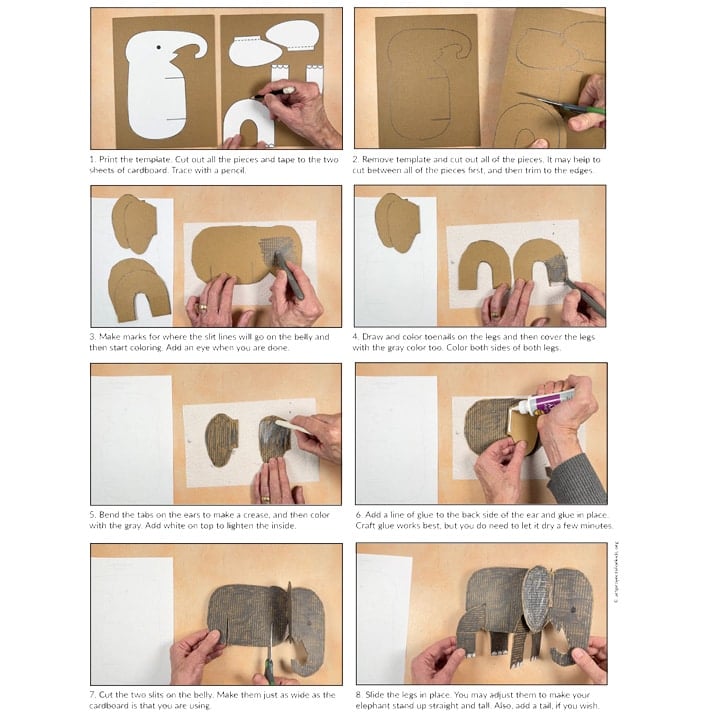
Step by Step Directions
Time needed: 45 minutes
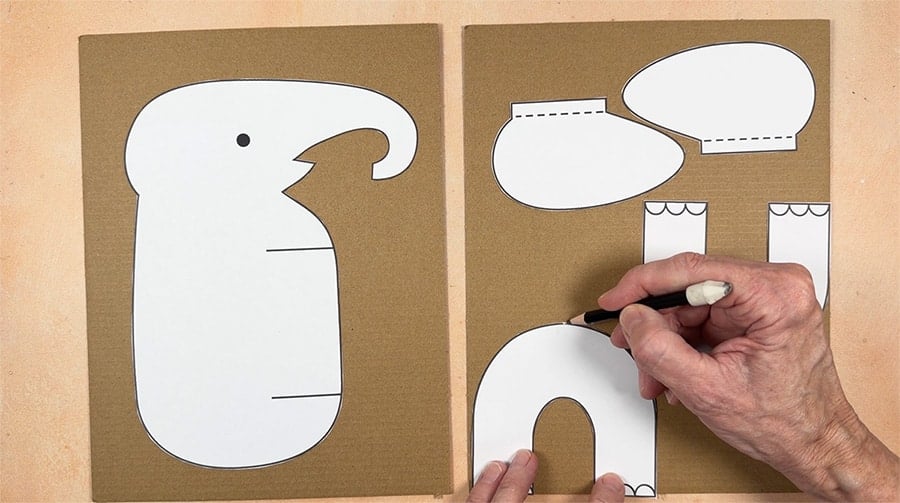
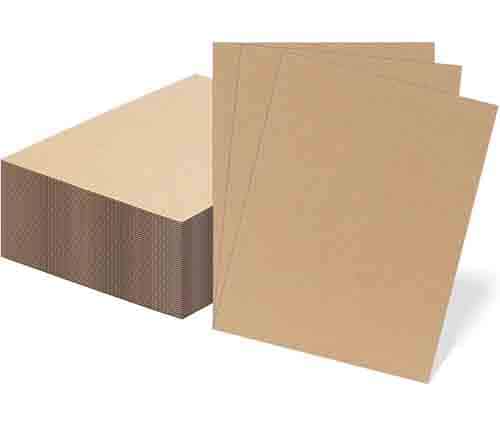
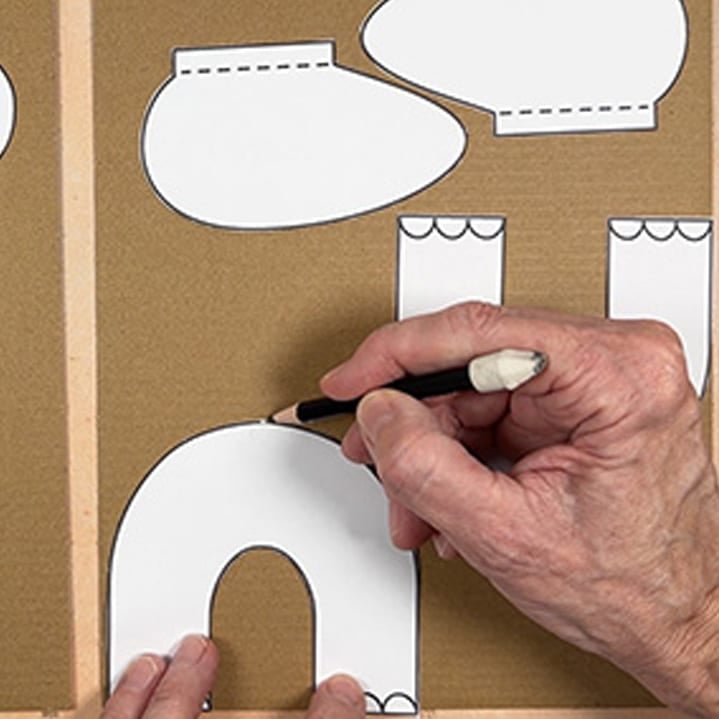
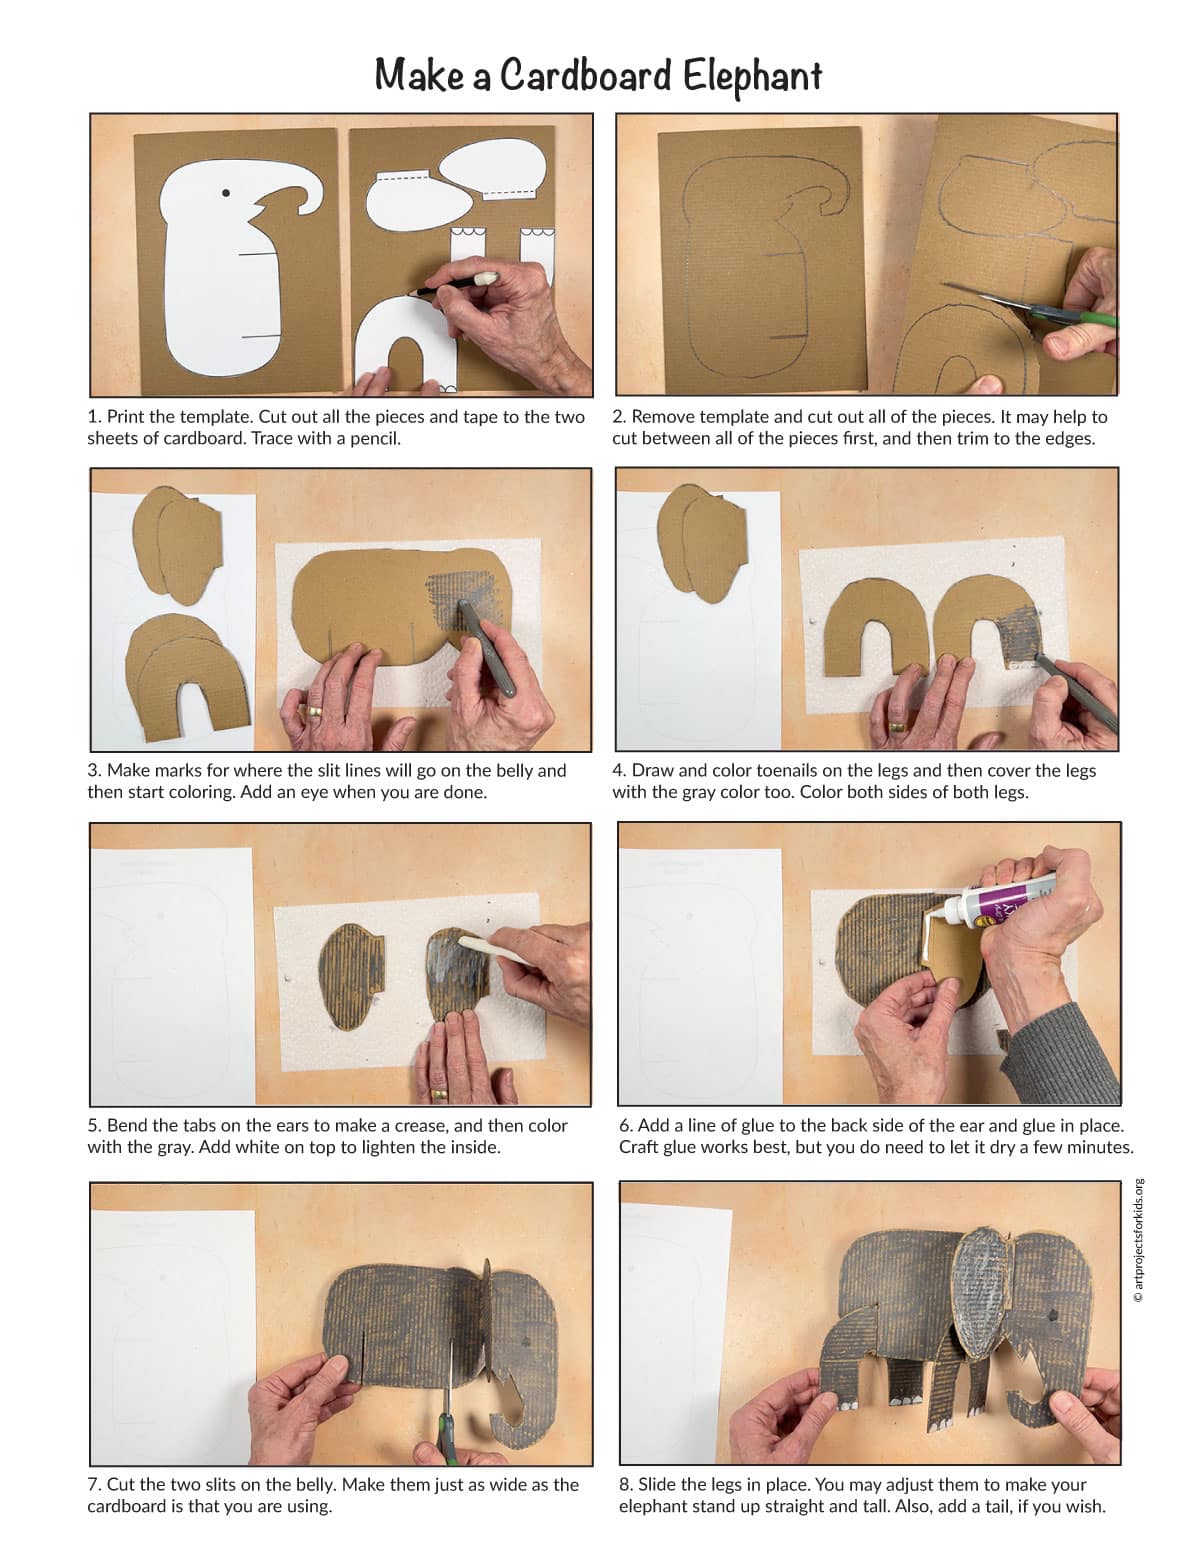
- Print the template. Cut out all the pieces and tape to the two sheets of cardboard. Trace with a pencil.

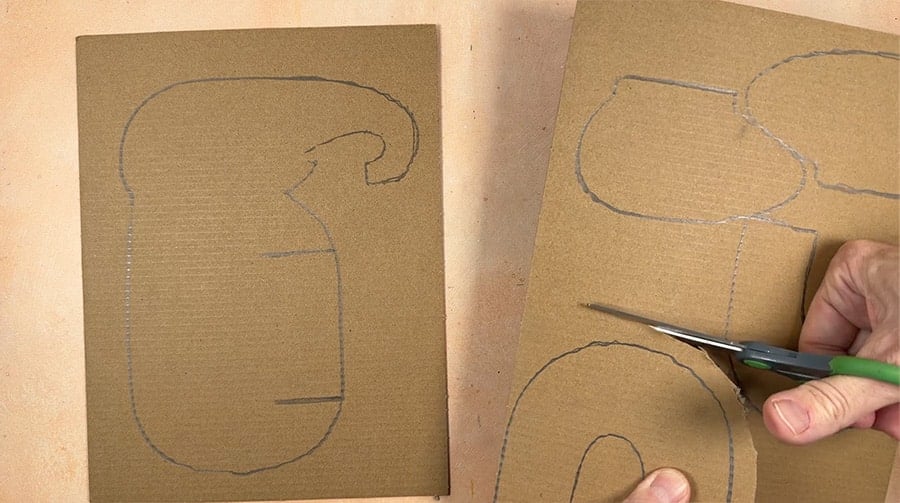
- Remove template and cut out all of the pieces. It may help to cut between all of the pieces first, and then trim to the edges.
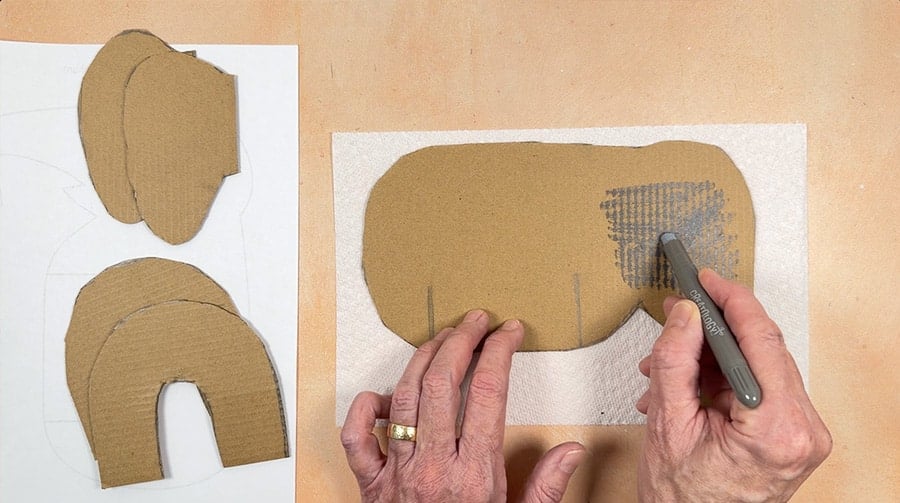
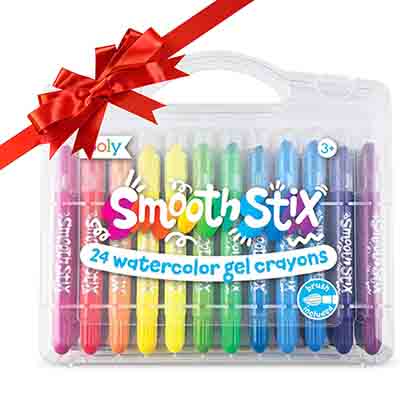
- Make marks for where the slit lines will go on the belly and then start coloring. Add an eye when you are done.
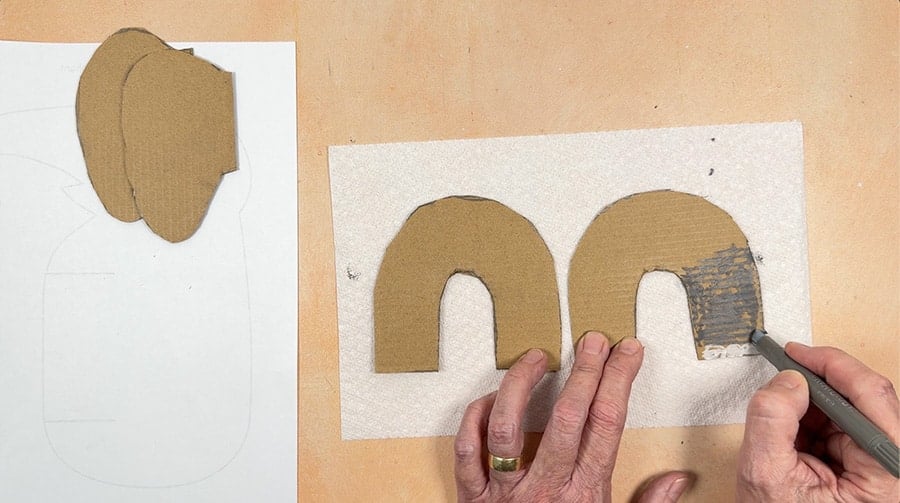
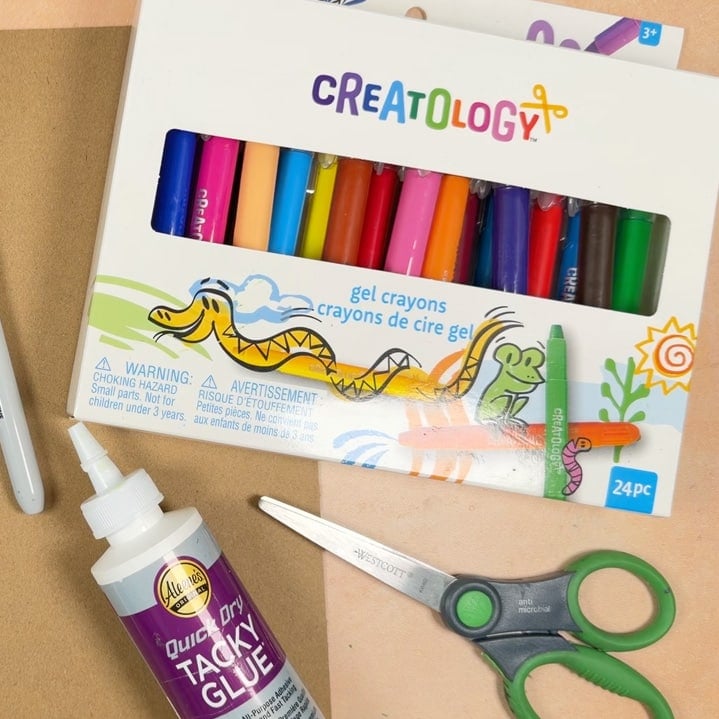
- Draw and color toenails on the legs and then cover the legs with the gray color too. Color both sides of both legs.
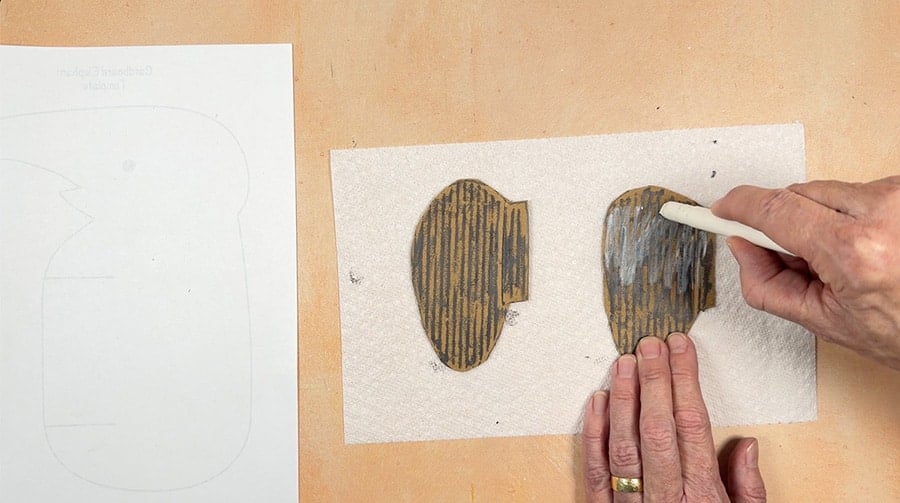
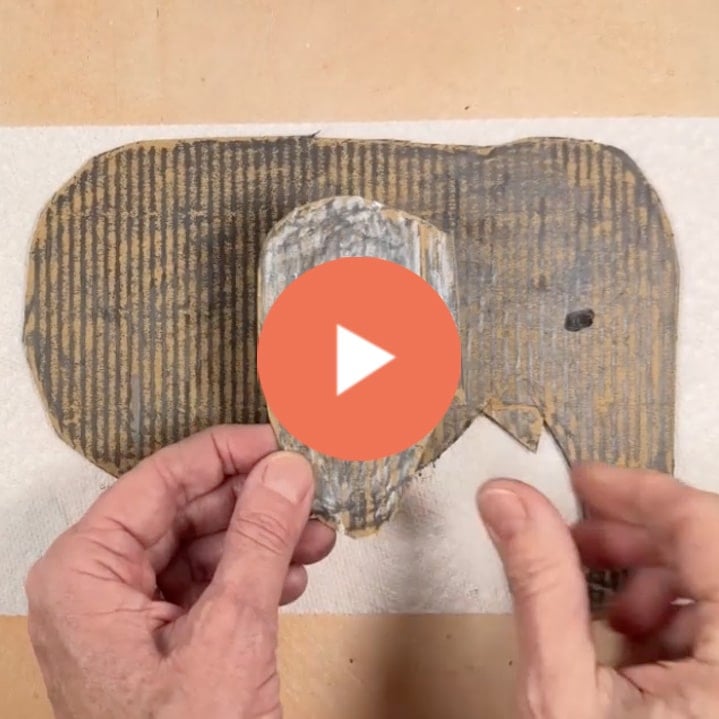
- Bend the tabs on the ears to make a crease, and then color with the gray. Add white on top to lighten the inside.
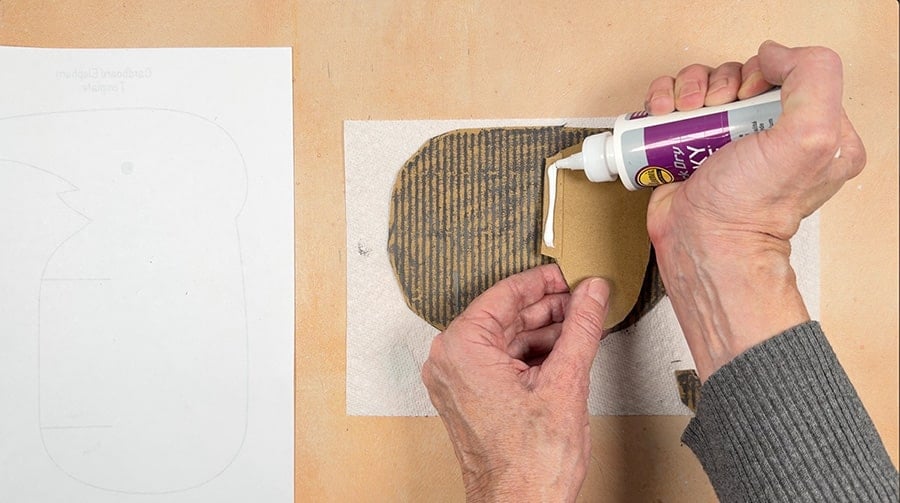
- Add a line of glue to the back side of the ear and glue in place. Craft glue works best, but you do need to let it dry a few minutes.
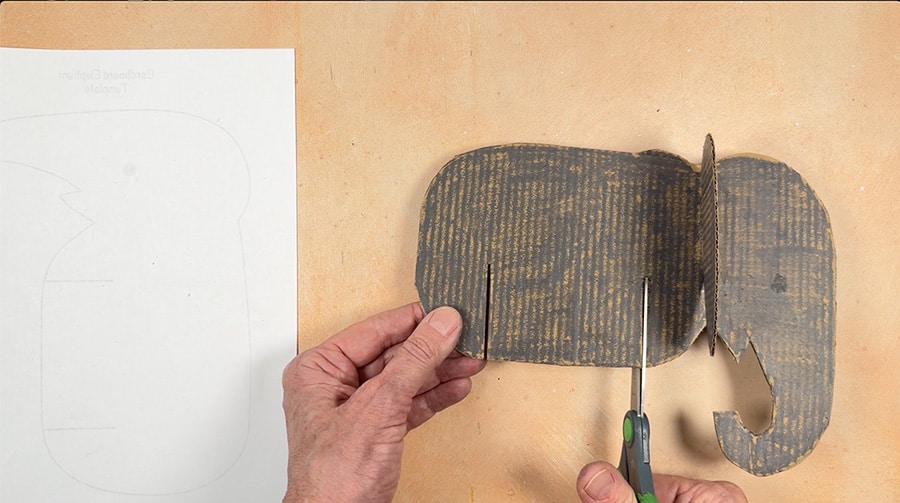
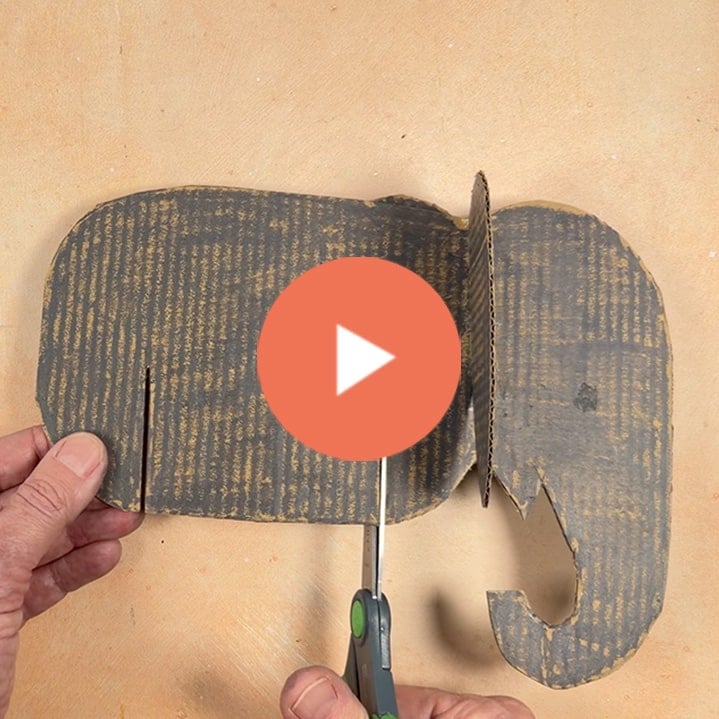
- Cut the two slits on the belly. Make them just as wide as the cardboard is that you are using.
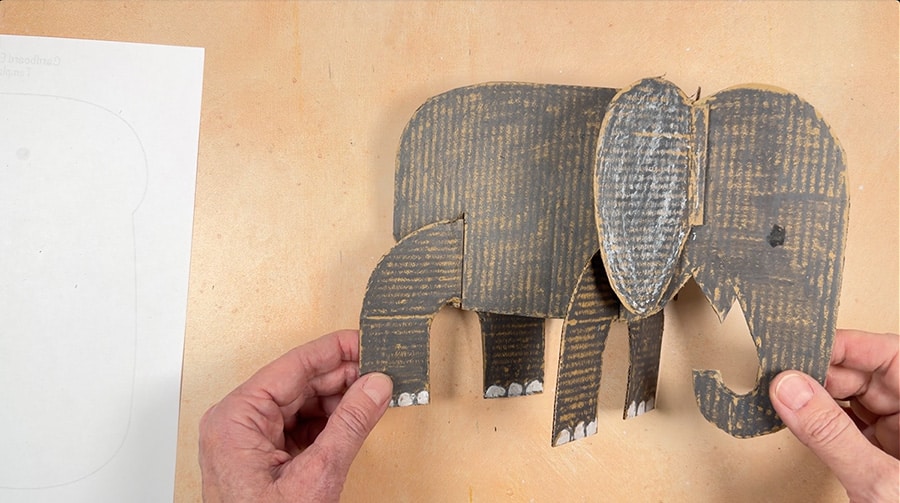
- Slide the legs in place. You may adjust them to make your elephant stand up straight and tall. Also, add a tail, if you wish.