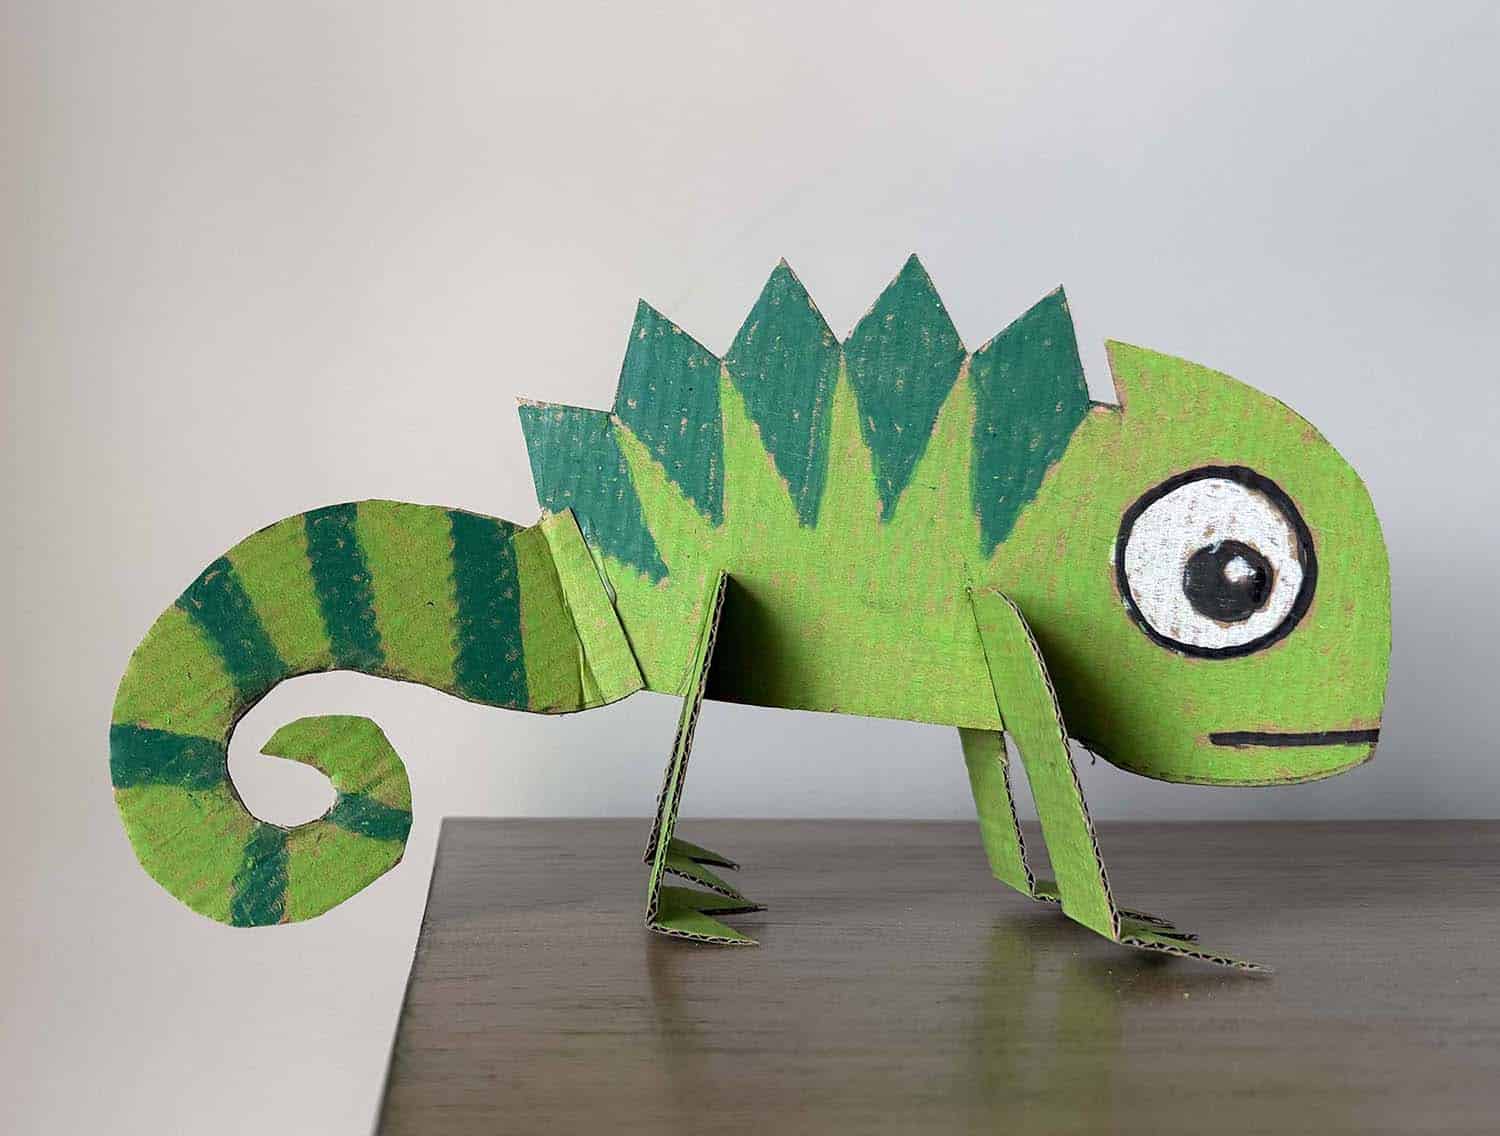
Cardboard Chameleon
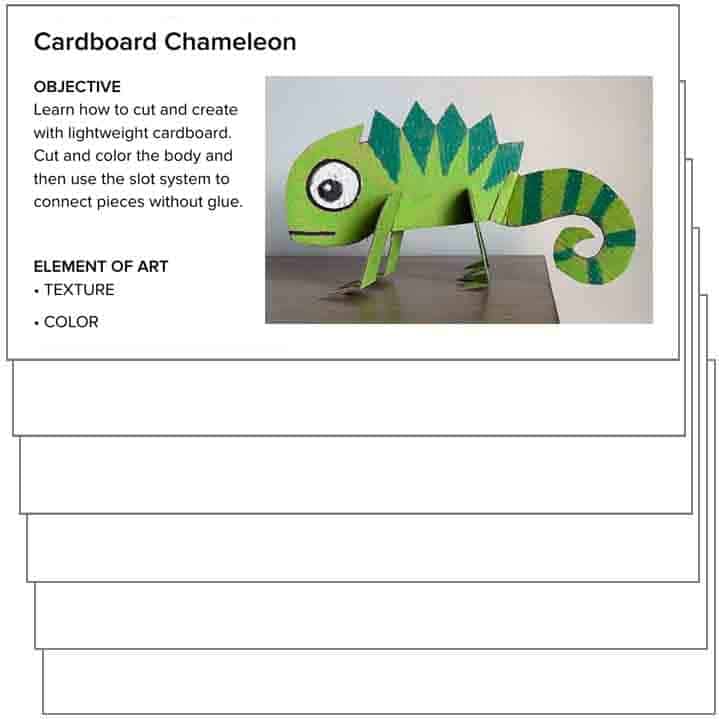
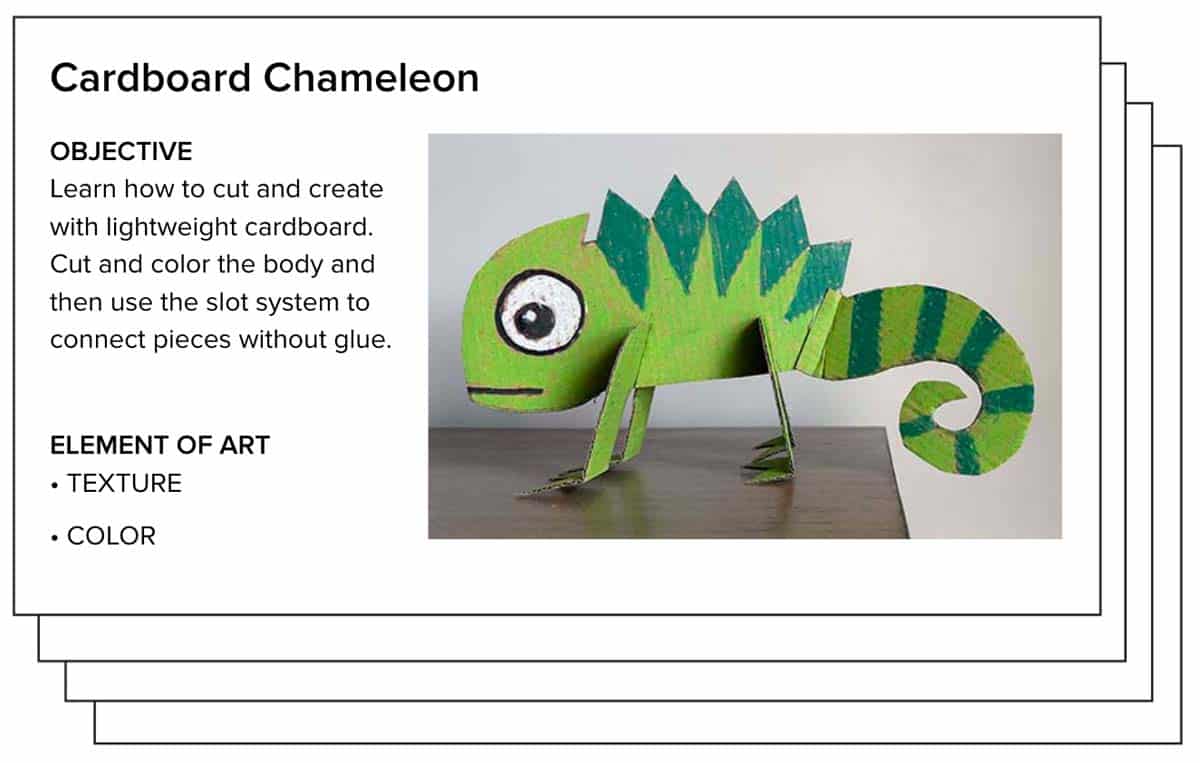
This Cardboard Chameleon activity is a colorful introduction to basic sculpture and construction skills using the simple slot system—no messy adhesives required!
Students will get a little help tracing the body shape, but the cutting, assembling, and coloring are all their own. It’s a great way to explore the chameleon’s amazing color-changing abilities while teaching essential 3D building techniques with cardboard.
Cardboard Chameleon Teaching Tools
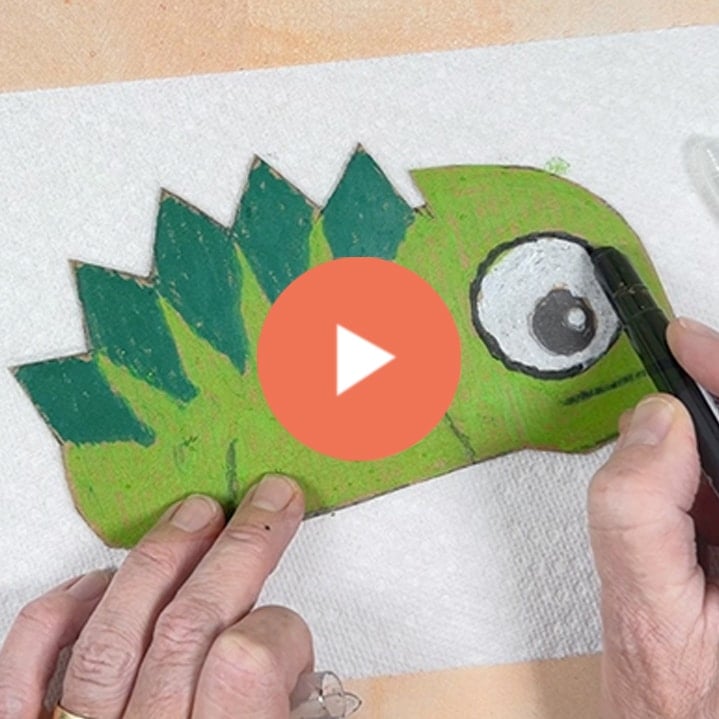
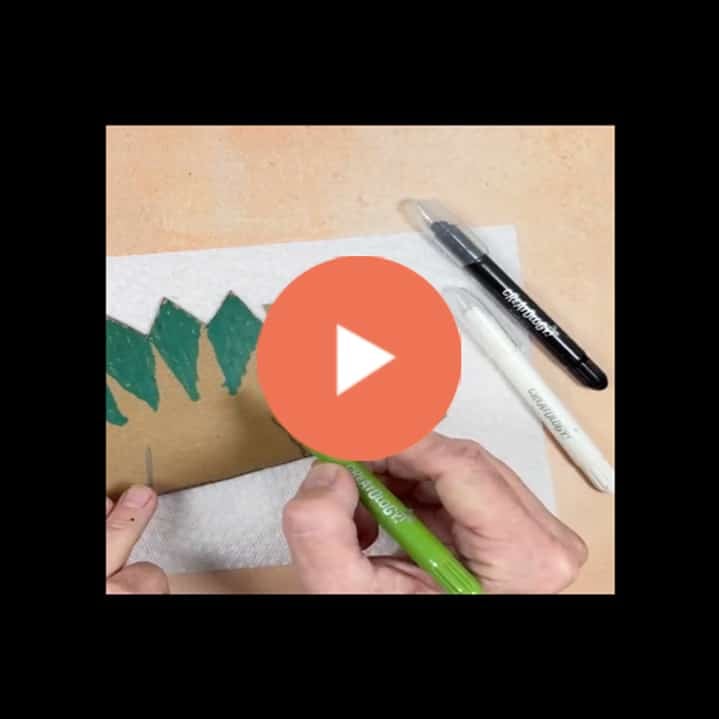
Cardboard Chameleon Video
Cardboard Chameleon Video Short
Chameleons on YouTube

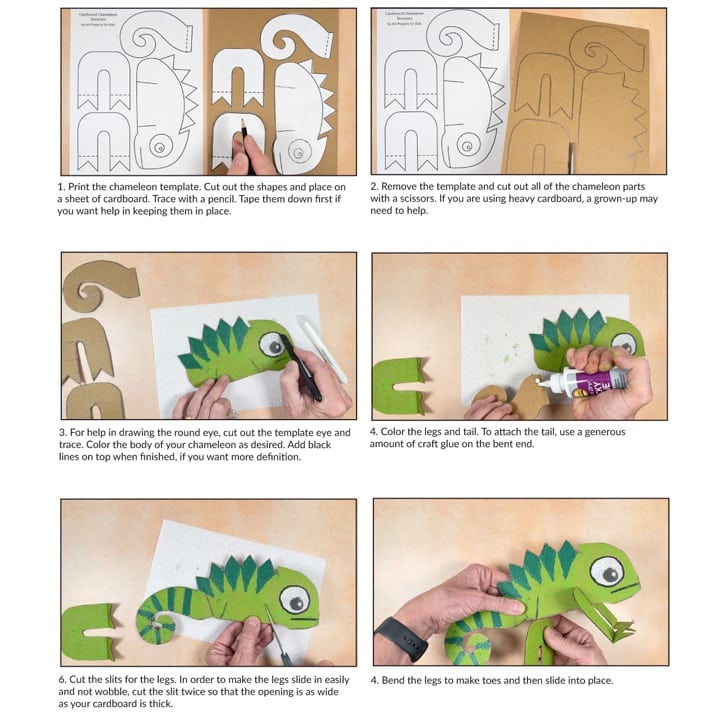
Cardboard Chameleon PDF Tutorial
Cardboard Chameleon Google Slides
Step by Step Directions
Time needed: 45 minutes
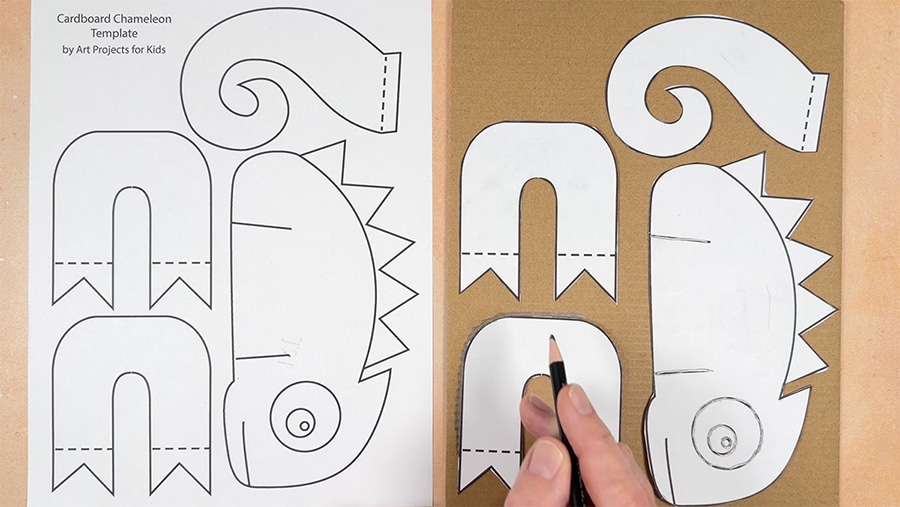
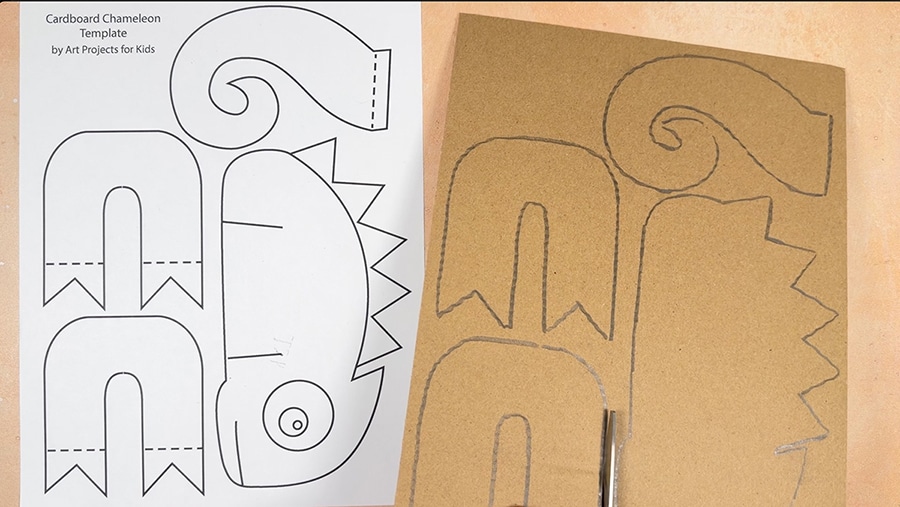
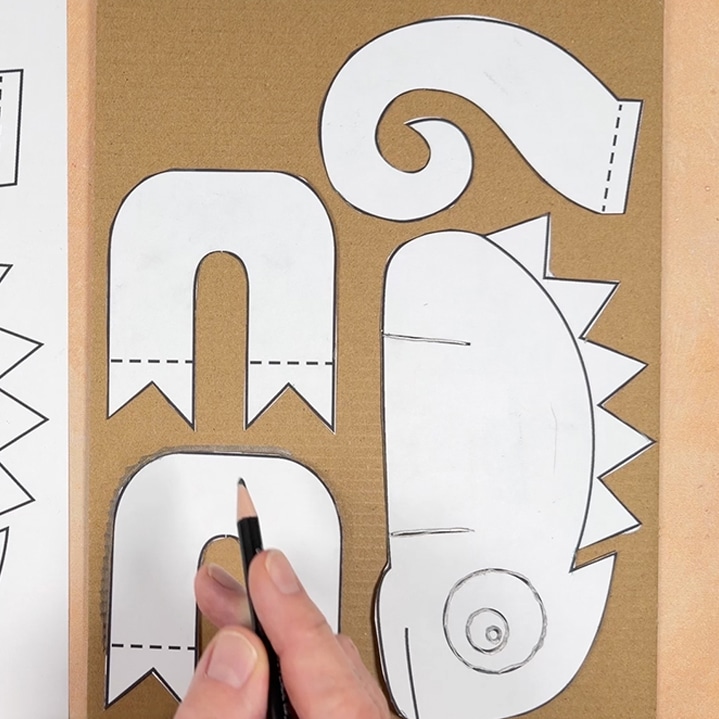
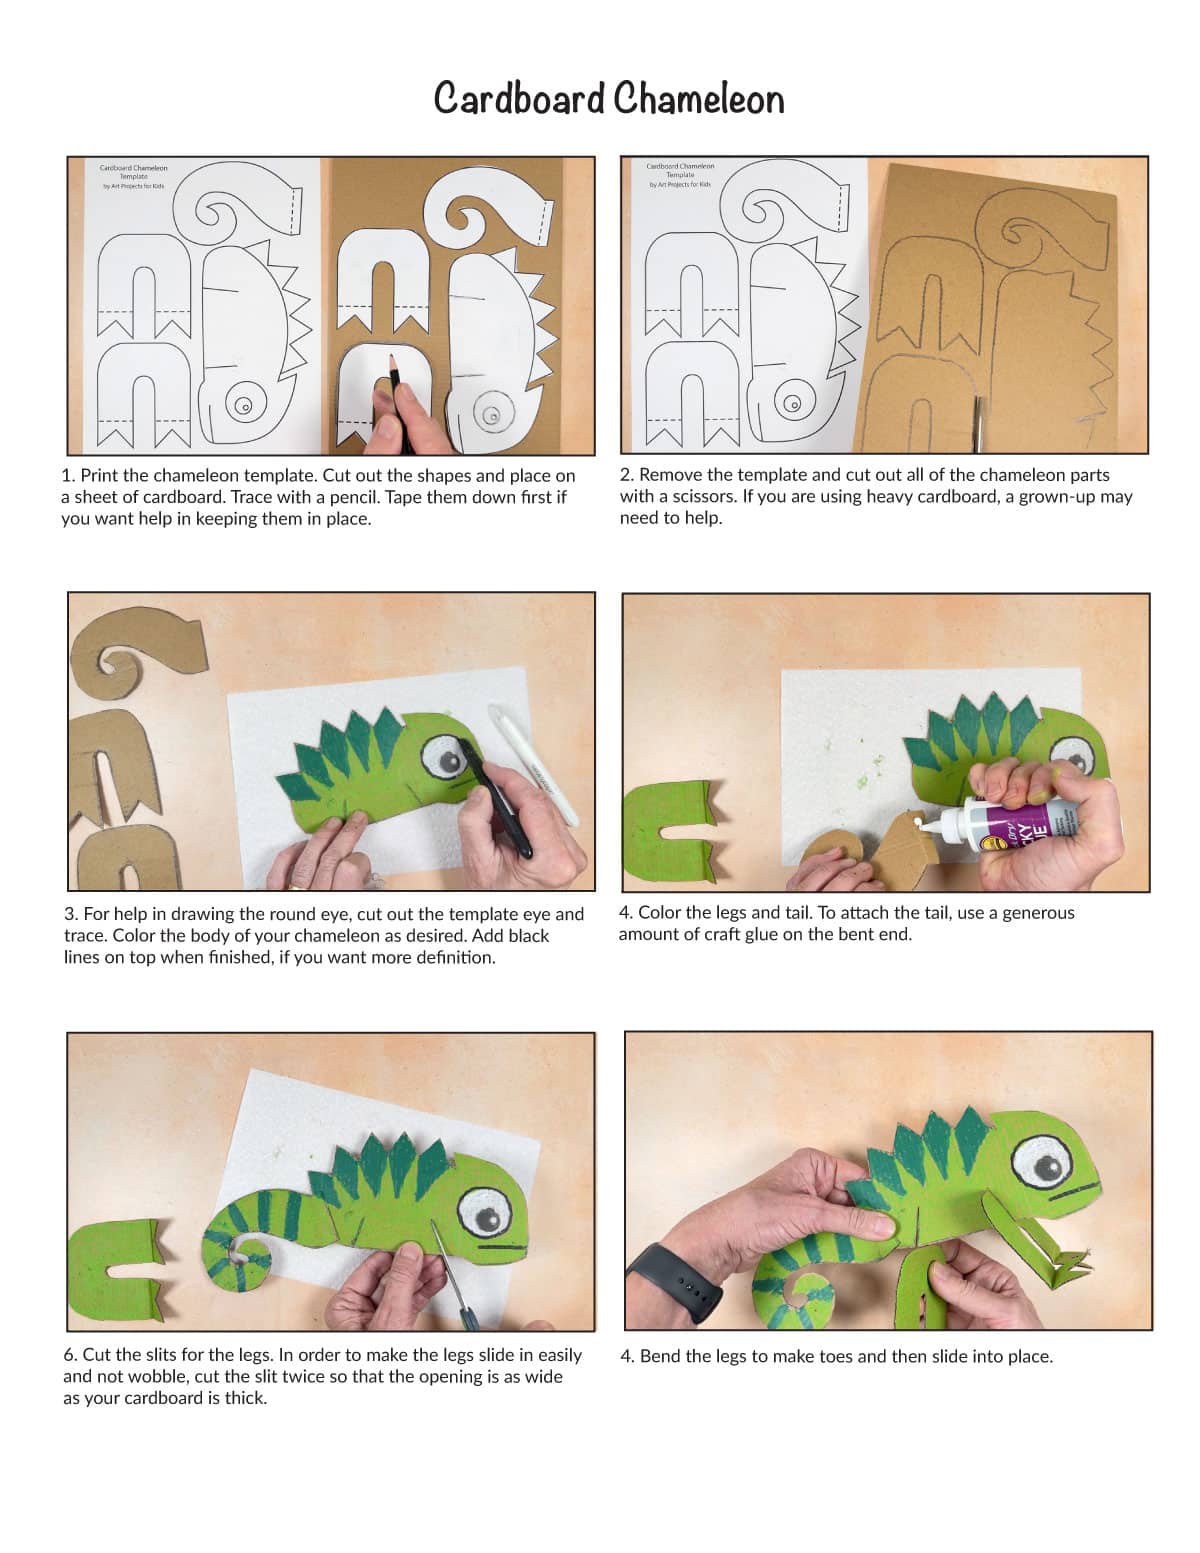
- Print the chameleon template. Cut out the shapes and place on a sheet of cardboard. Trace with a pencil. Tape them down first if you want help in keeping them in place.

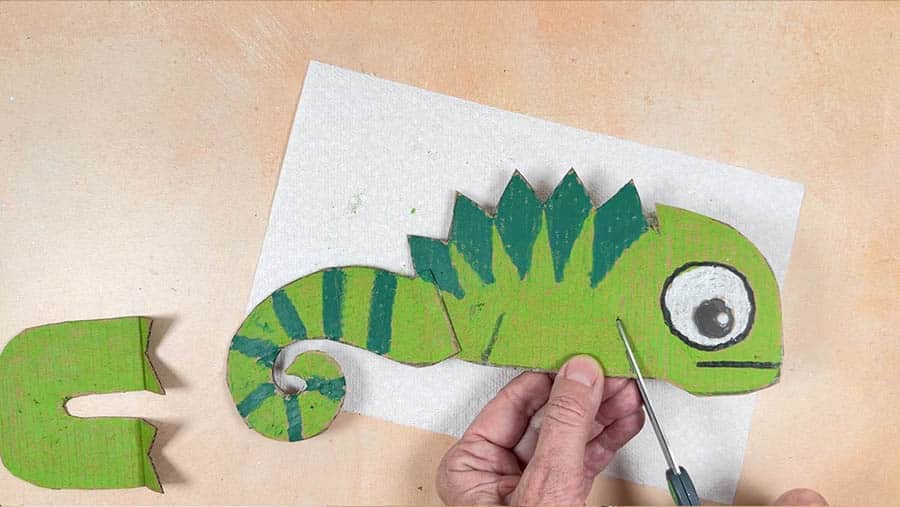
- Remove the template and cut out all of the chameleon parts with a scissors. If you are using heavy cardboard, a grown-up may need to help.
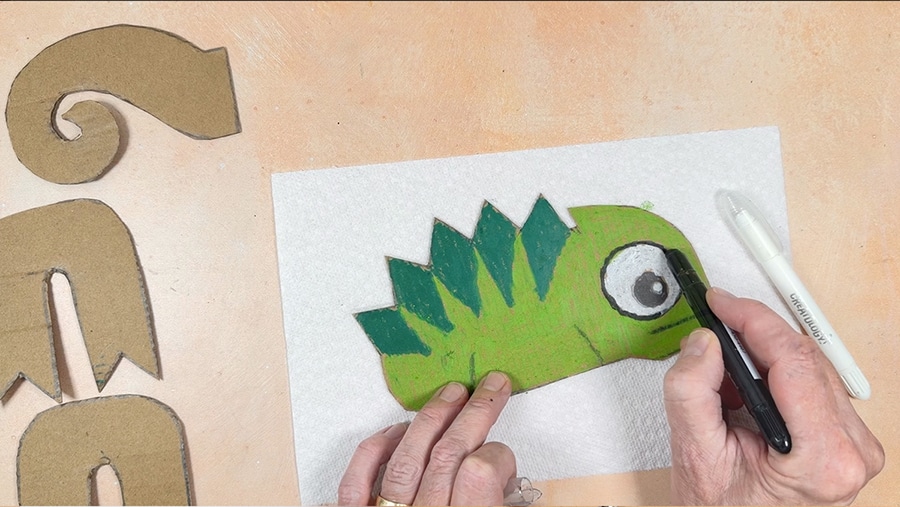
- For help in drawing the round eye, cut out the template eye and trace. Color the body of your chameleon as desired. Add black lines on top when finished, if you want more definition.
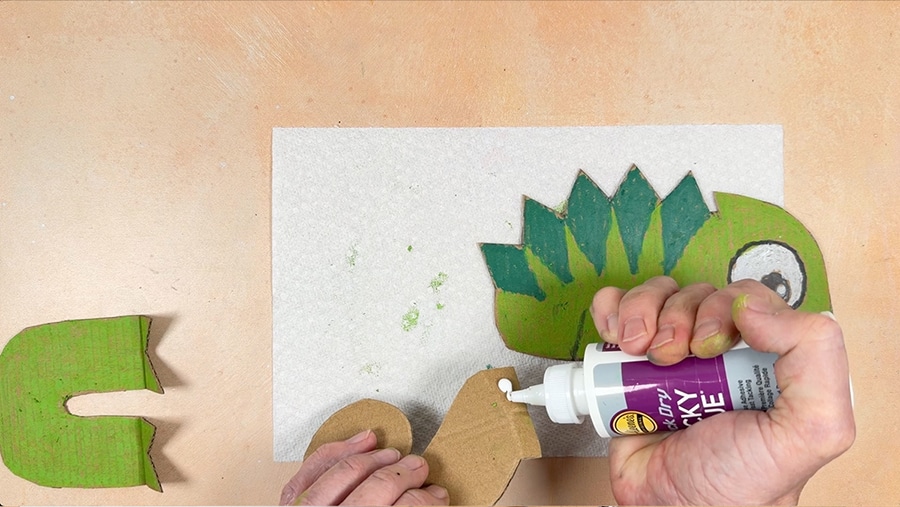
- Color the legs and tail. To attach the tail, use a generous amount of craft glue on the bent end.
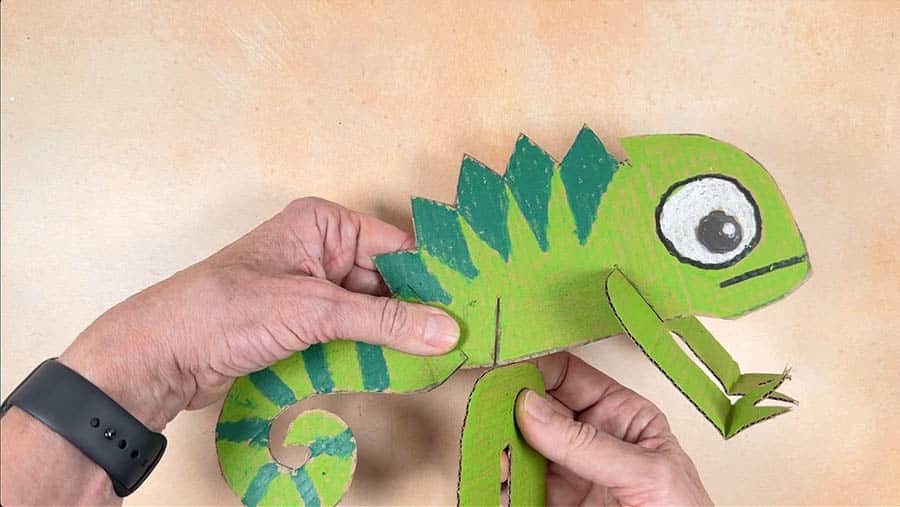
- Cut the slits for the legs. In order to make the legs slide in easily and not wobble, cut the slit twice so that the opening is as wide as your cardboard is thick.
- Bend the legs to make toes and then slide into place.