Cardboard Fox
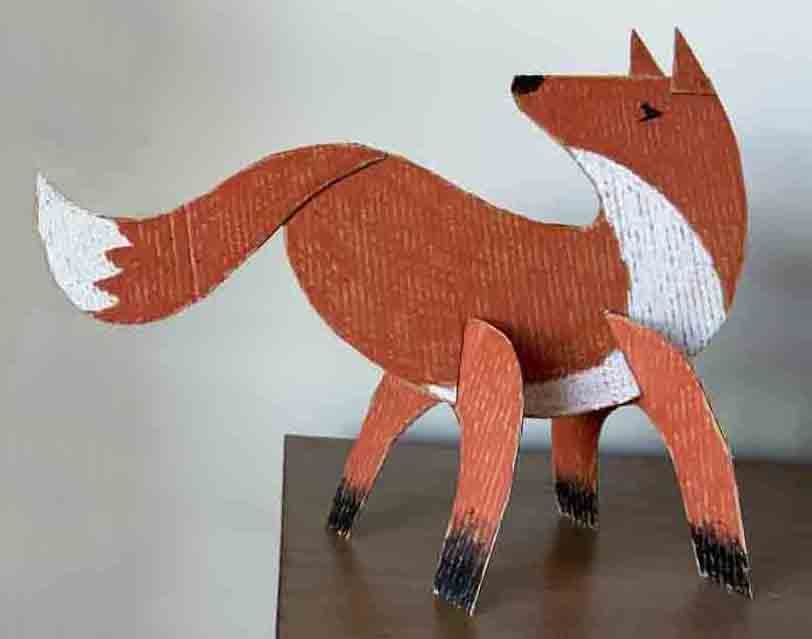
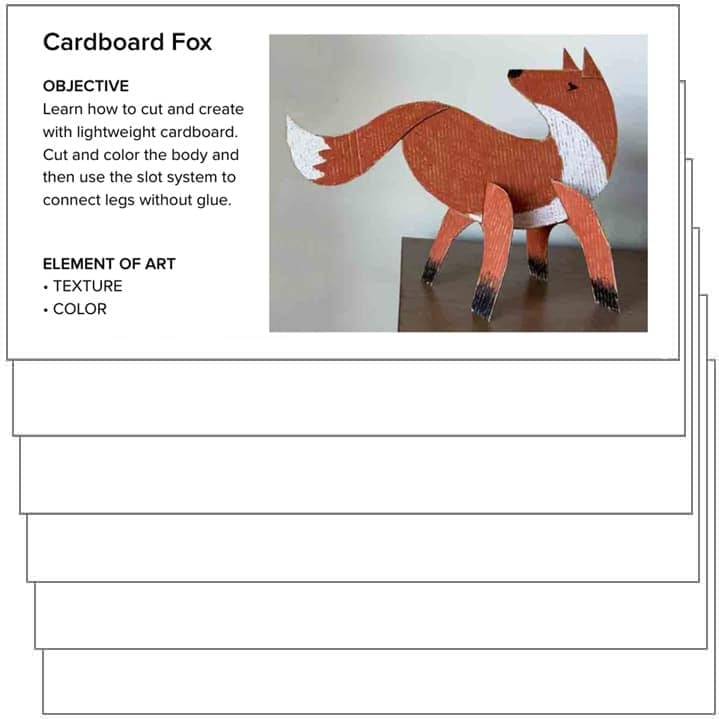
Here you’ll find a fun, step-by-step cardboard fox project that builds cutting, coloring, and construction skills — no clay required!
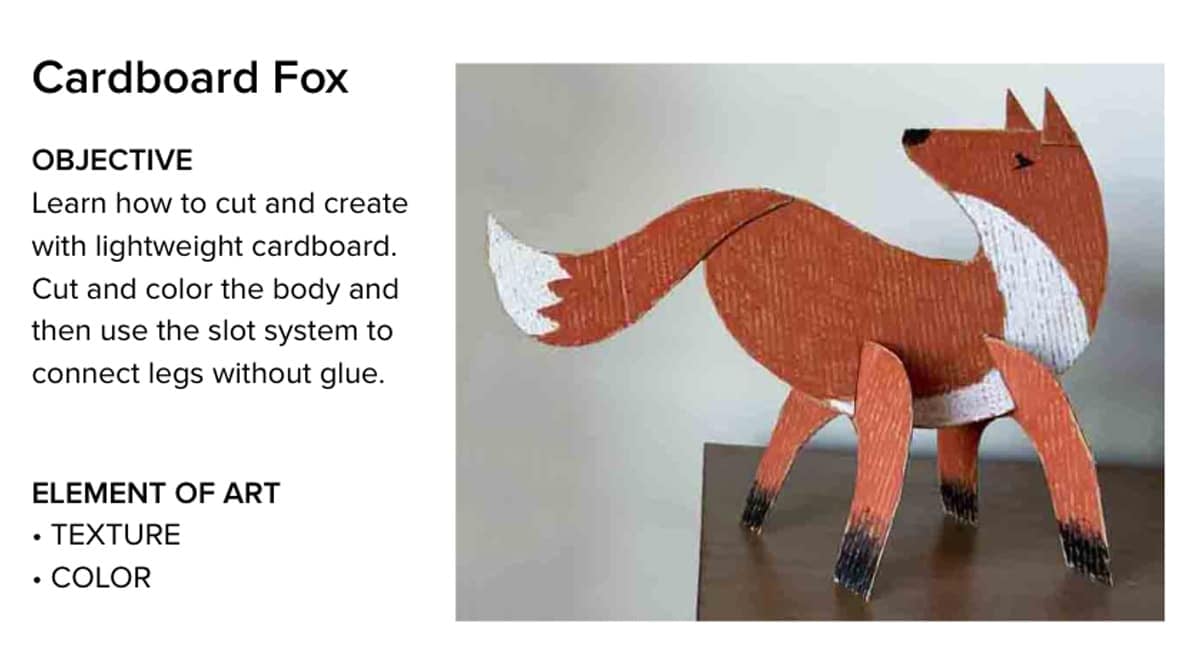
This 3D fox is simple to make and full of texture thanks to the cardboard base. Students cut out shapes, add color, and use a clever slot method to attach the legs. The design is easy to adapt, making it perfect for creative exploration in the elementary art room.
Cardboard Fox Teaching Tools
Cardboard Fox Video
Cardboard Fox Video Short
Red Fox on YouTube

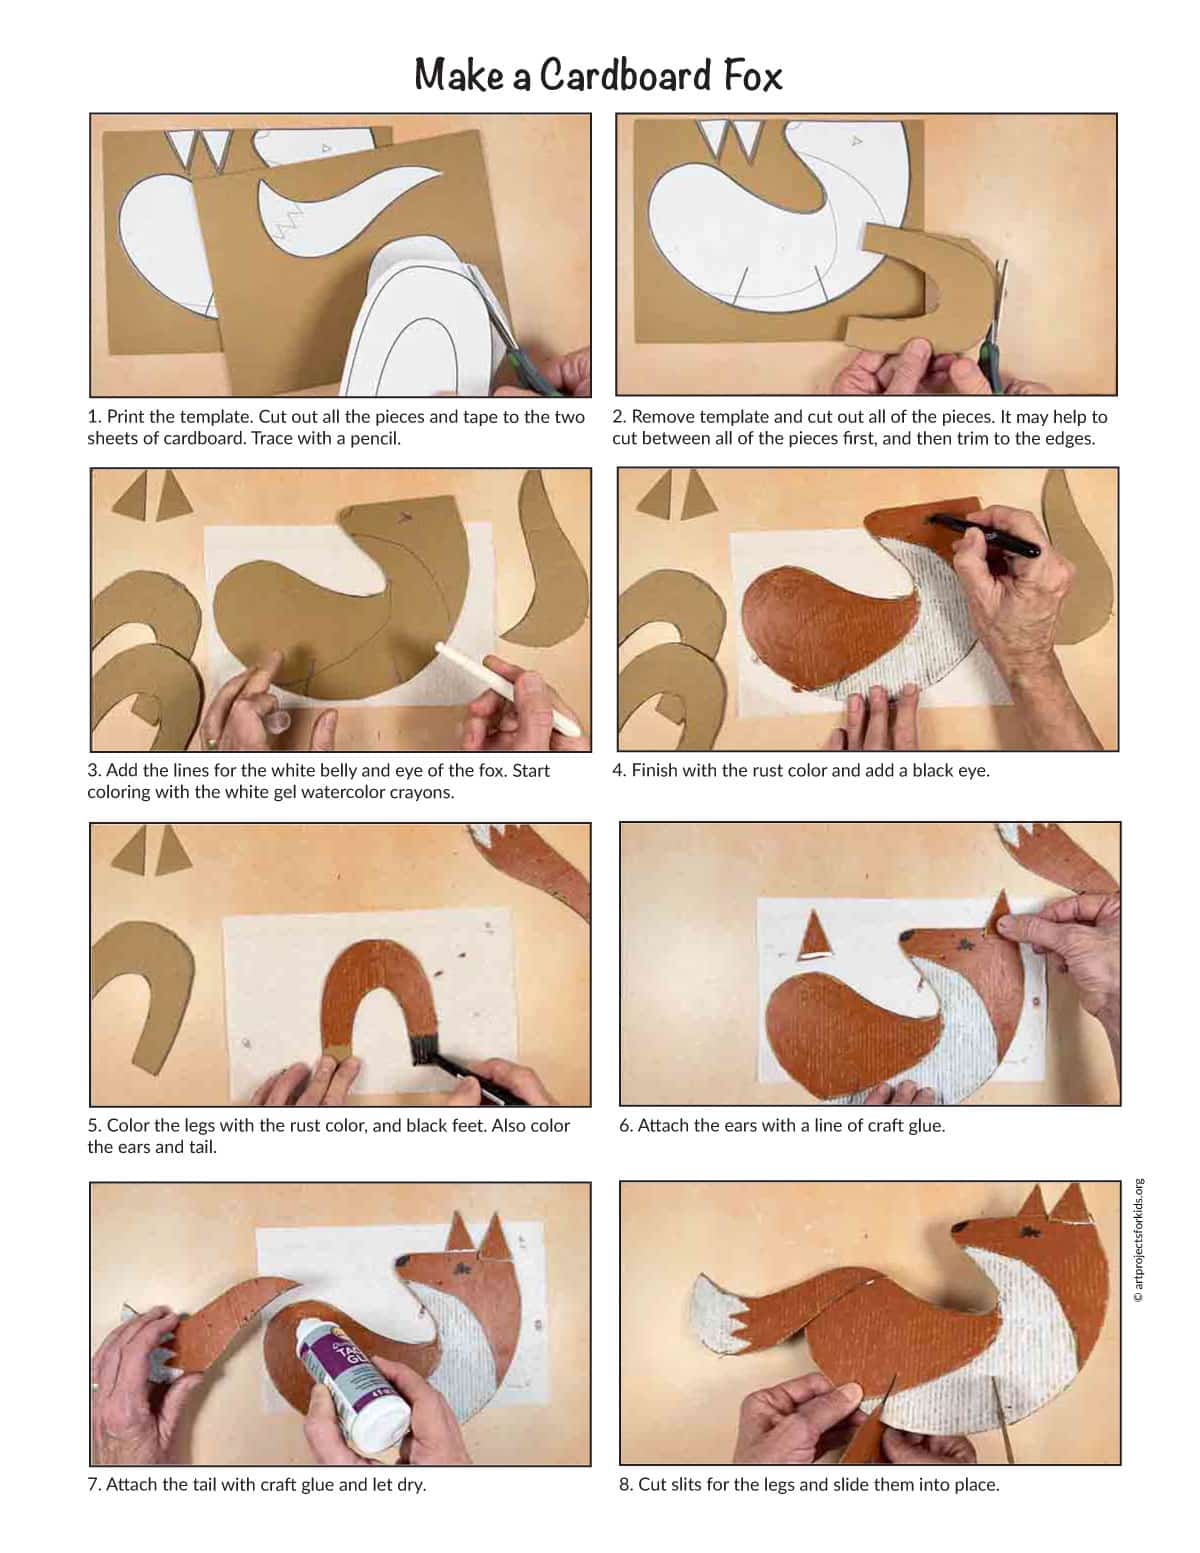
Ccardboard Fox PDF Tutorial
Cardboard Fox Google Slides
Step by Step Directions
Time needed: 45 minutes
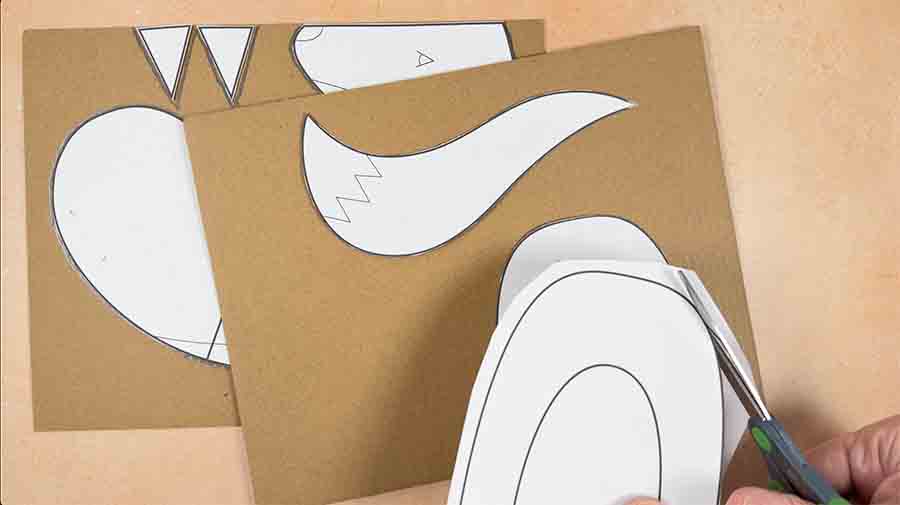
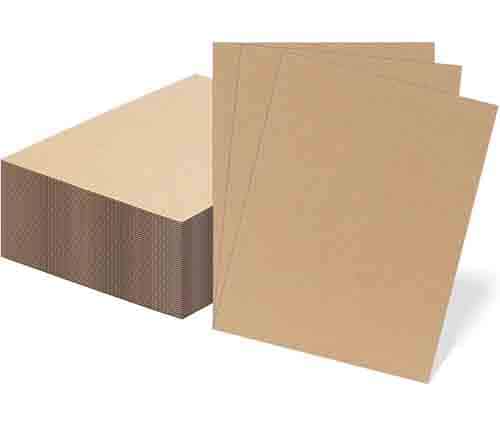
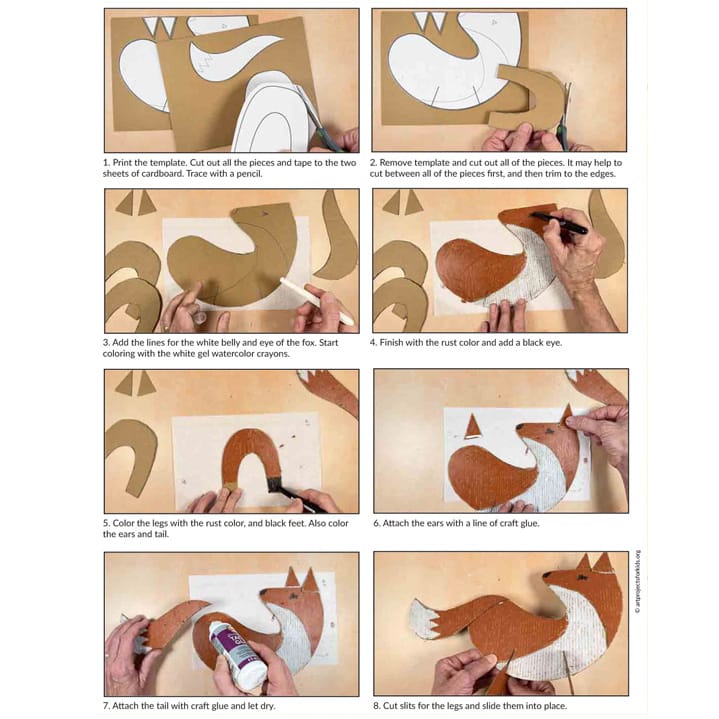
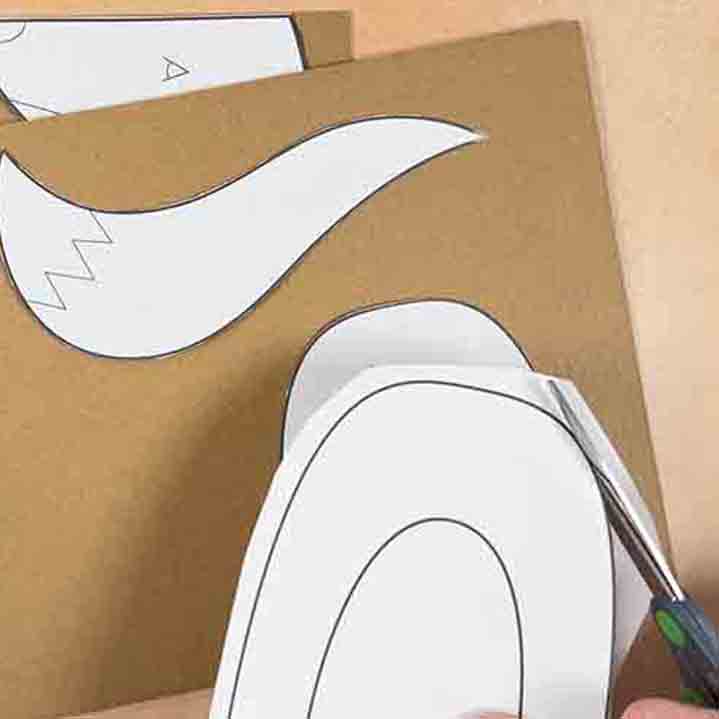
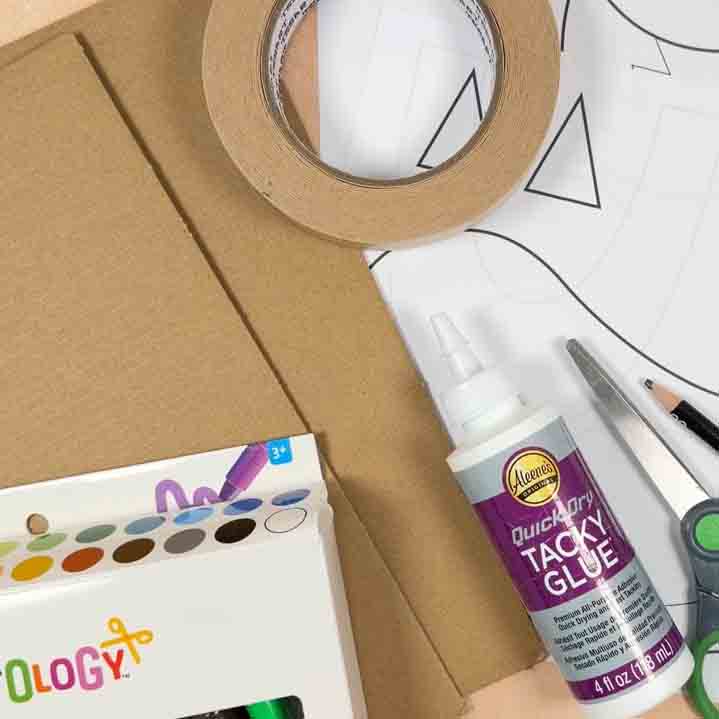
- Print the template. Cut out all the pieces and tape to the two sheets of cardboard. Trace with a pencil.

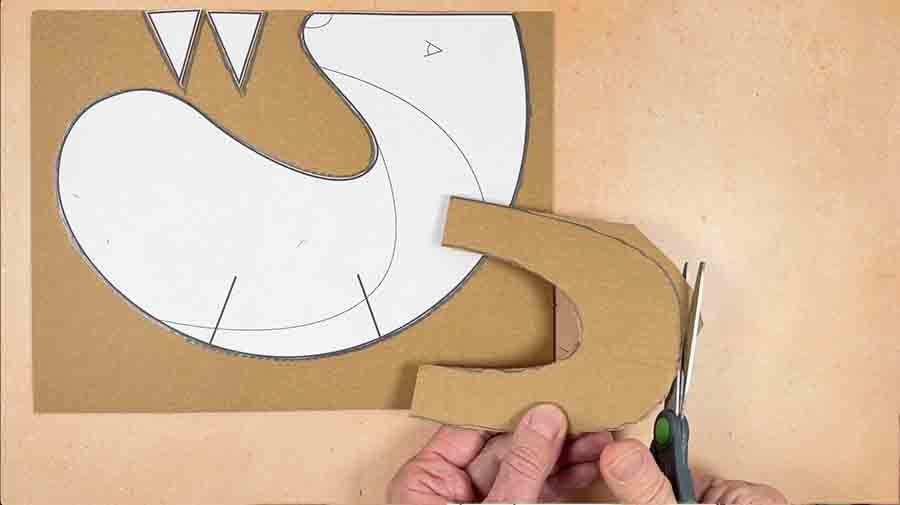
- Remove template and cut out all of the pieces. It may help to cut between all of the pieces first, and then trim to the edges.
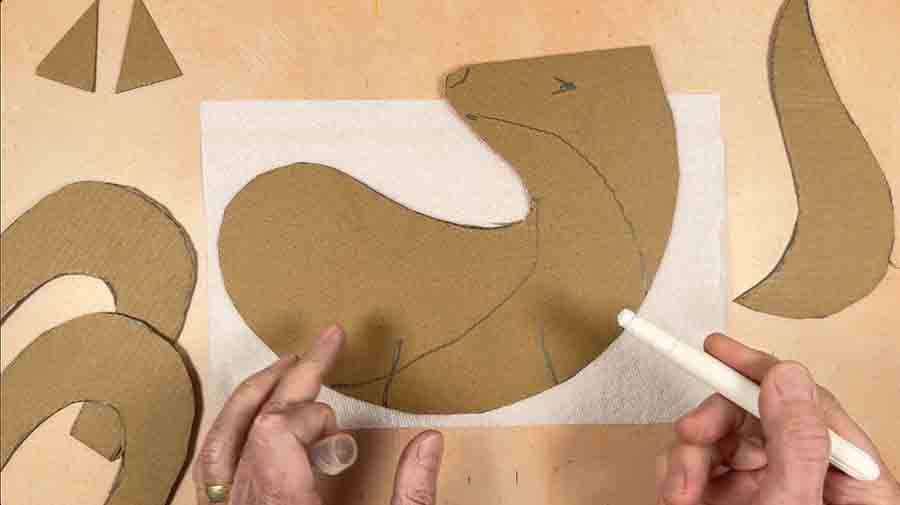
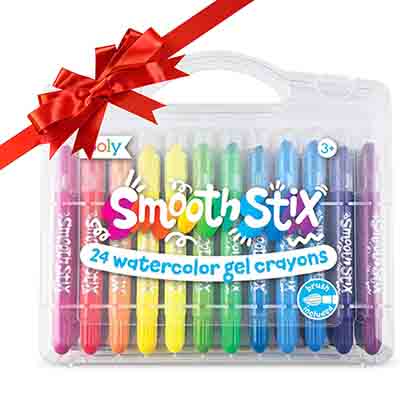
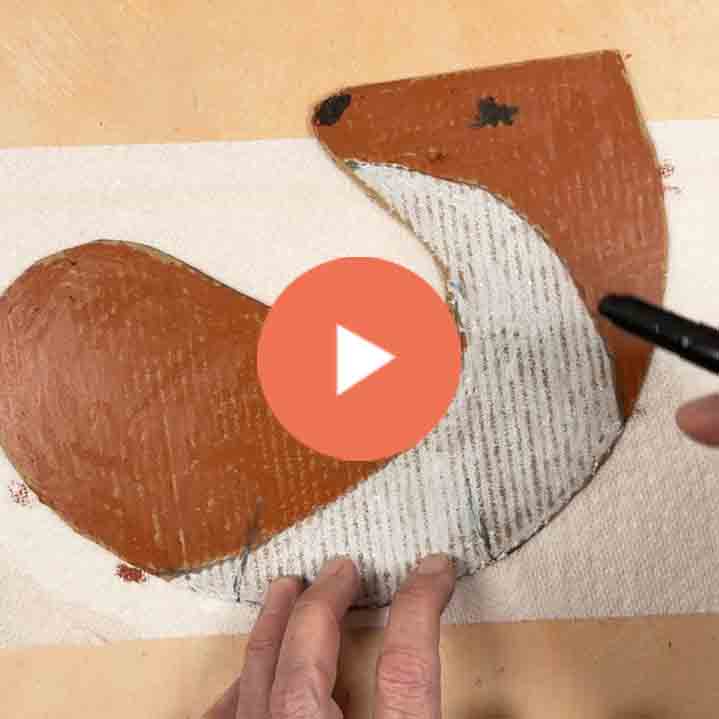
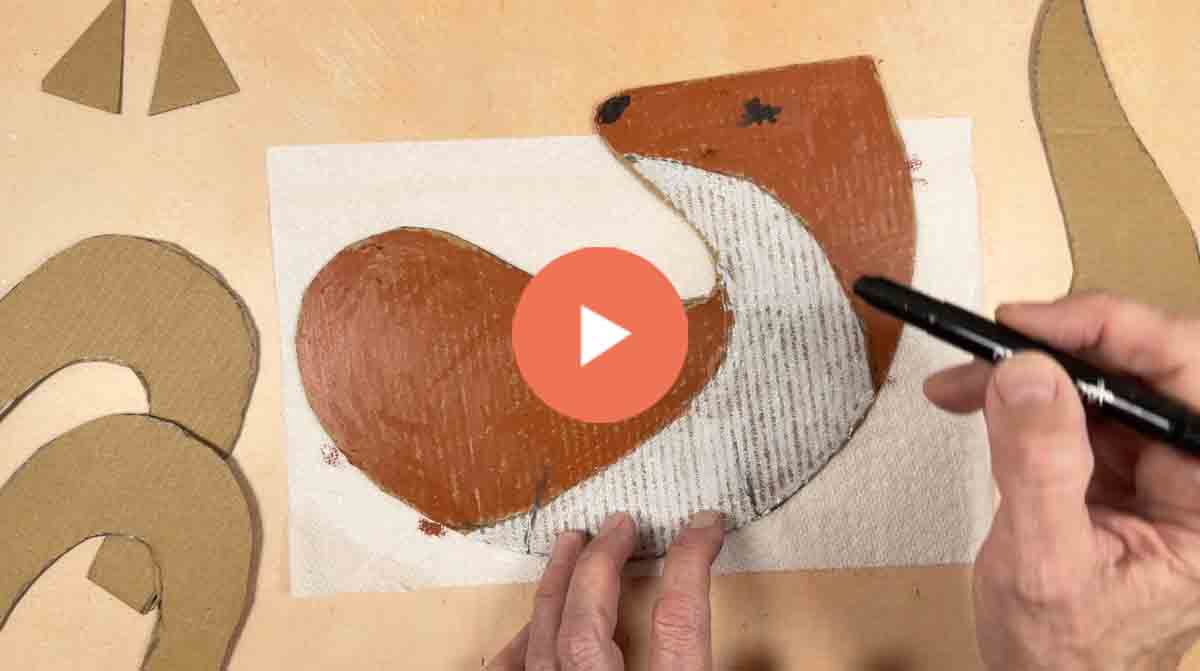
- Add the lines for the white belly and eye of the fox. Start coloring with the white gel watercolor crayons.
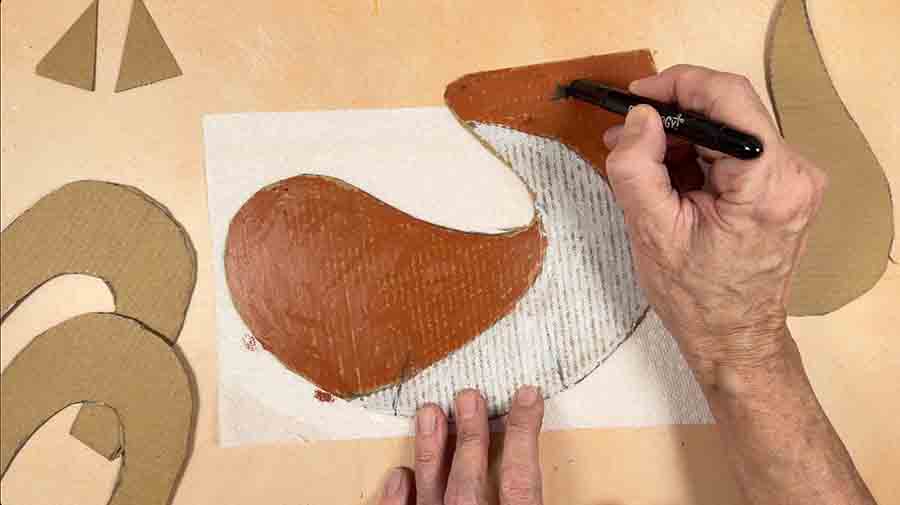
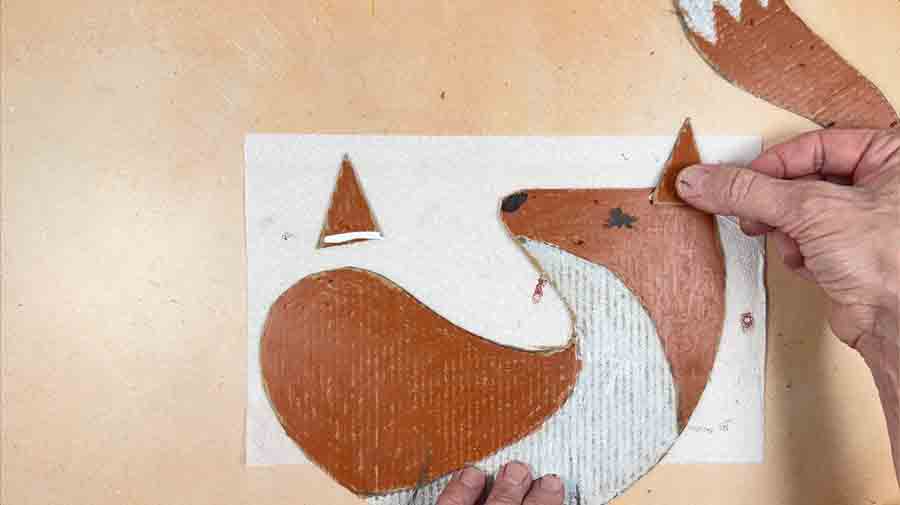
- Finish with the rust color and add a black eye.
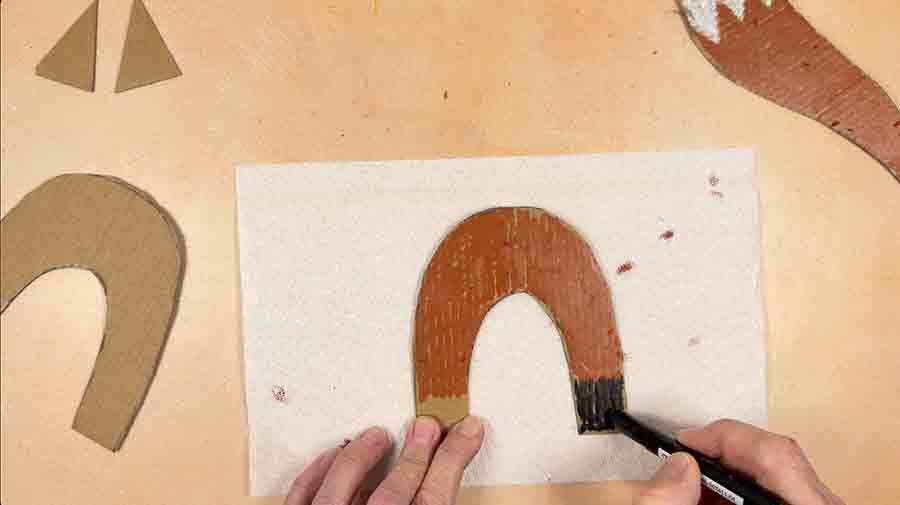
- Color the legs with the rust color, and black feet. Also color the ears and tail.
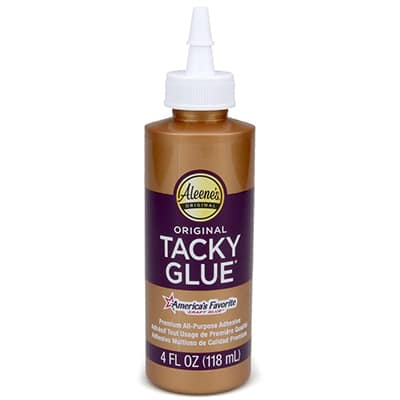
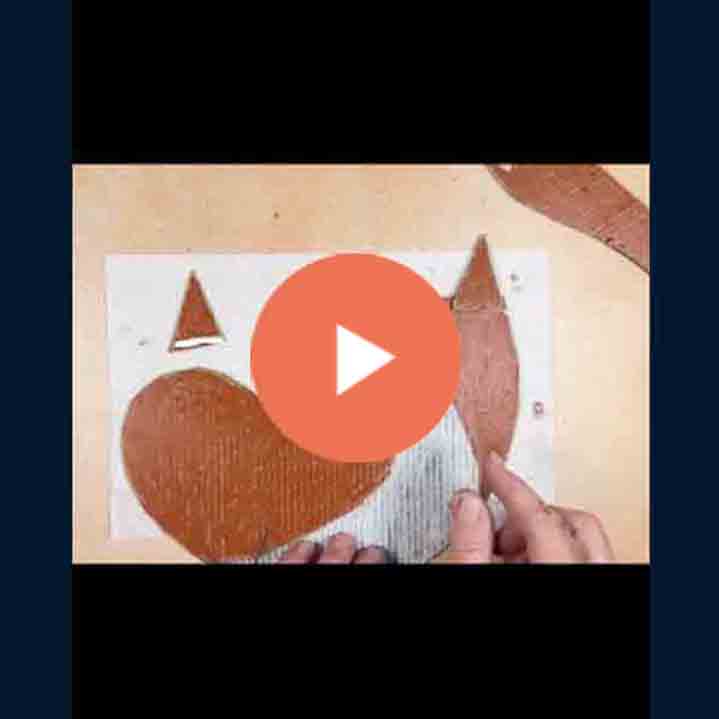
- Attach the ears with a line of craft glue.
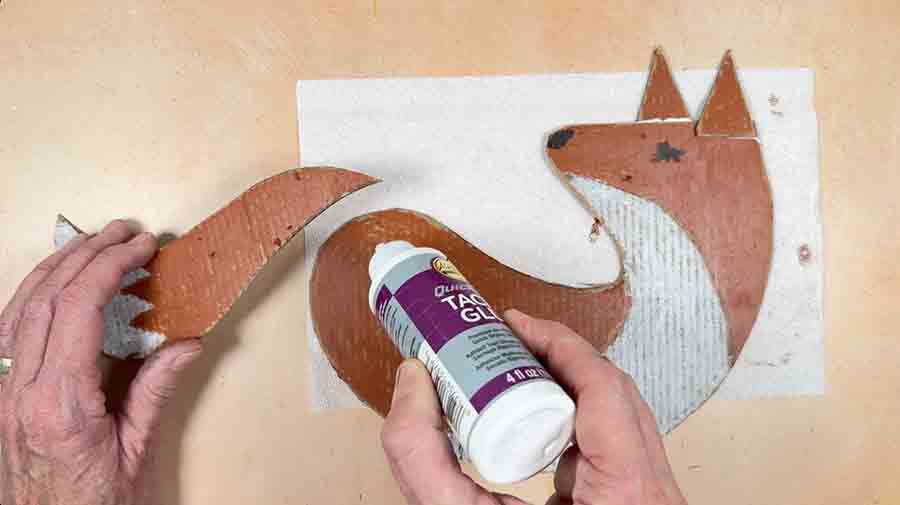
- Attach the tail with craft glue and let dry.
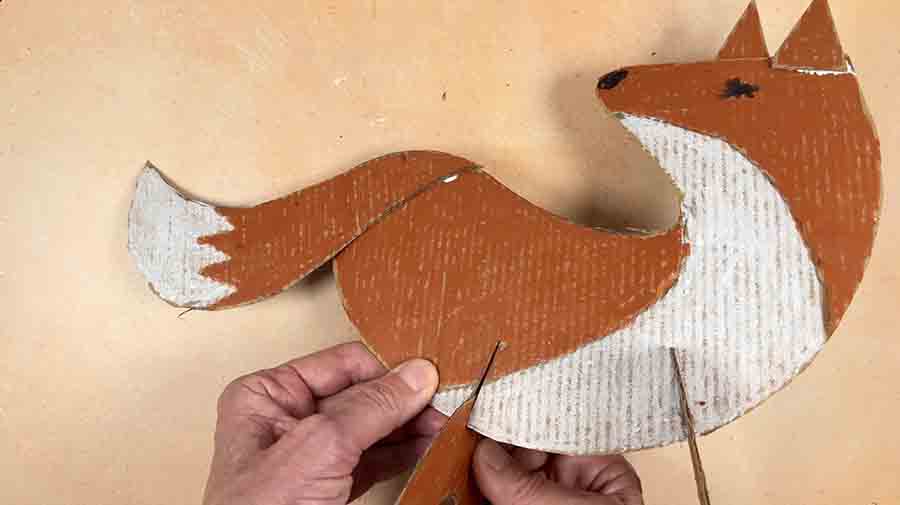
- Cut slits for the legs and slide them into place.