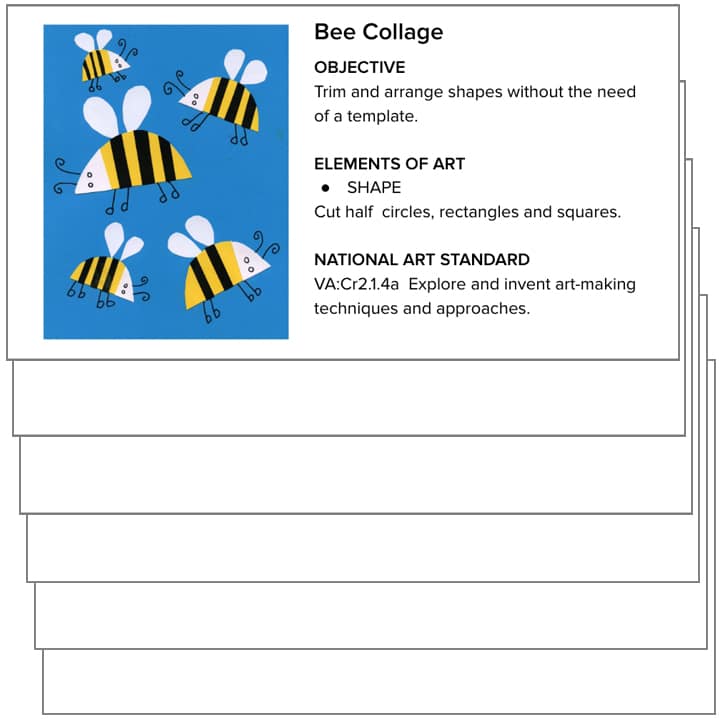
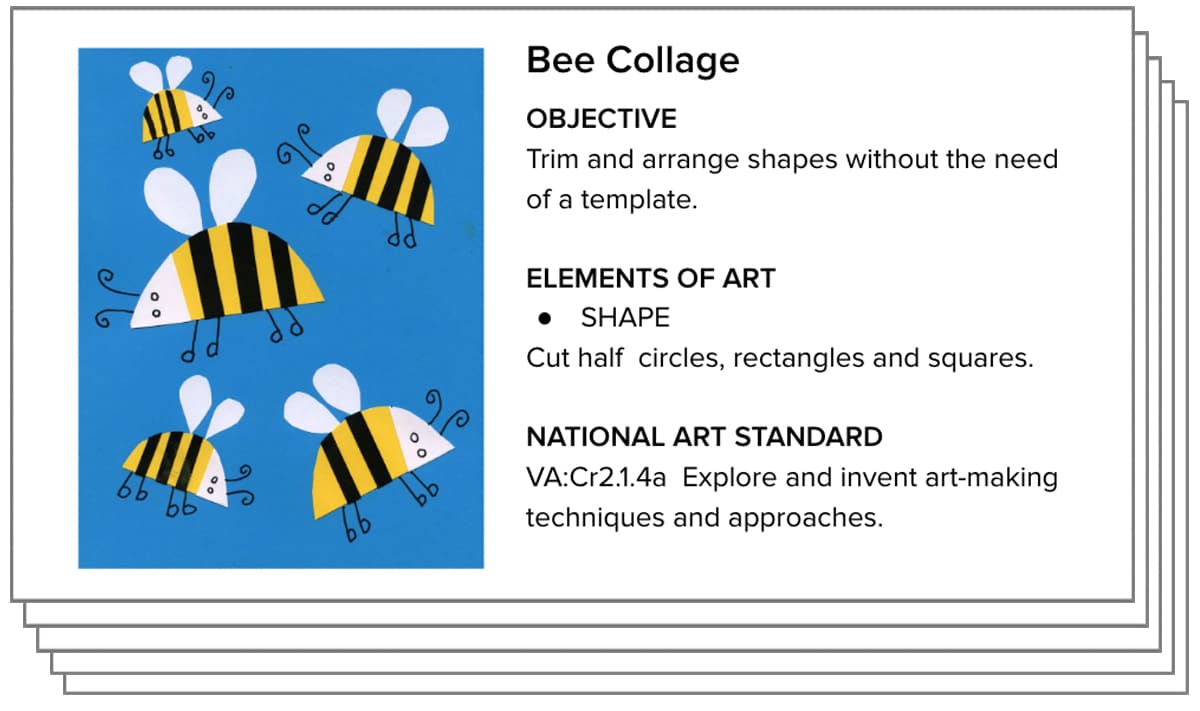
Bee Collage Project
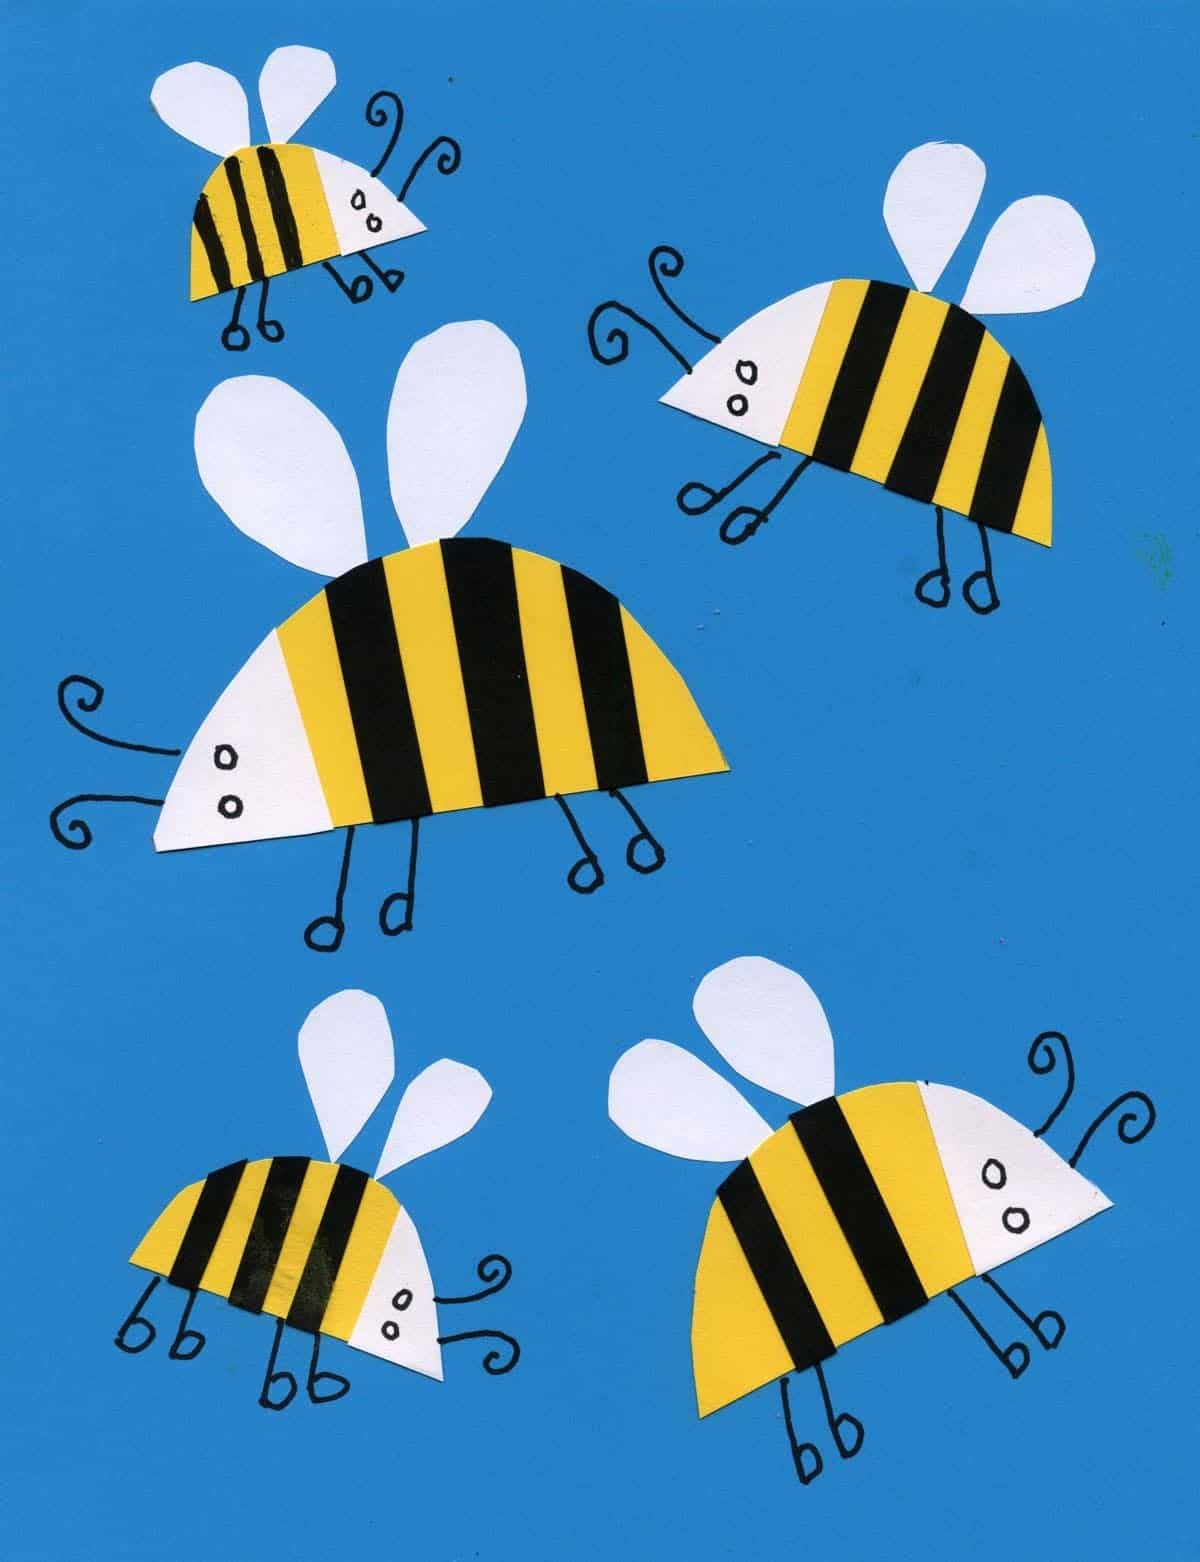
When students create a bee collage project, they get a chance to practice essential fine motor skills like cutting and gluing in a way that feels creative and rewarding.
Each child can trim and arrange shapes to form colorful bees without relying on a template, which helps them take ownership of their work. As they piece everything together, they also learn patience and sequencing, since each bee is built step by step.
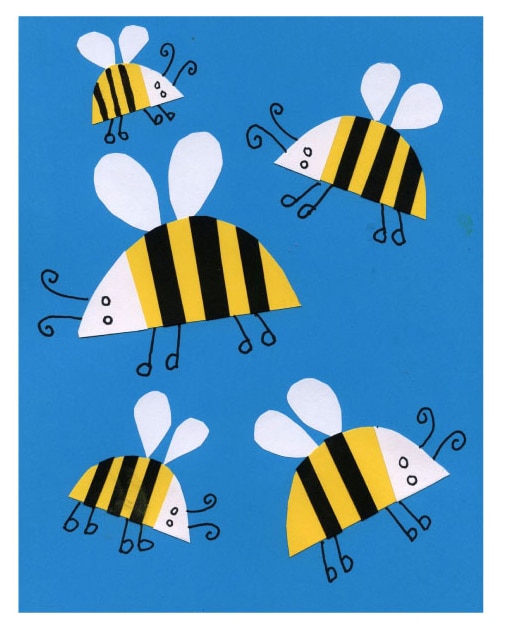
Older students could also take the project further by experimenting with scale — making some bees appear smaller to look as if they’re flying in the distance. In the end, every student walks away with a finished artwork that feels both playful and polished.
Teaching Tools
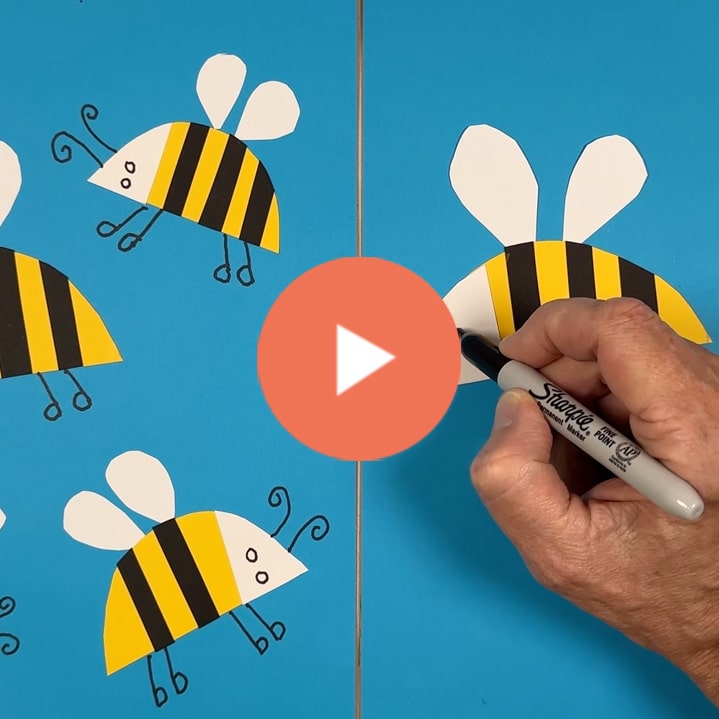
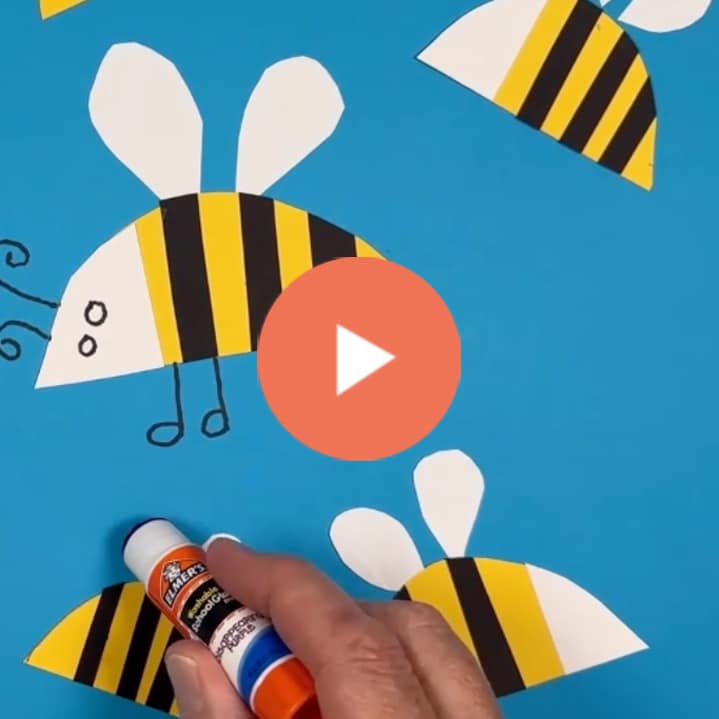

Bee Collage Video
Bee Collage Video Short
Bee Collage Google Slide
Preview of PDF Tutorial
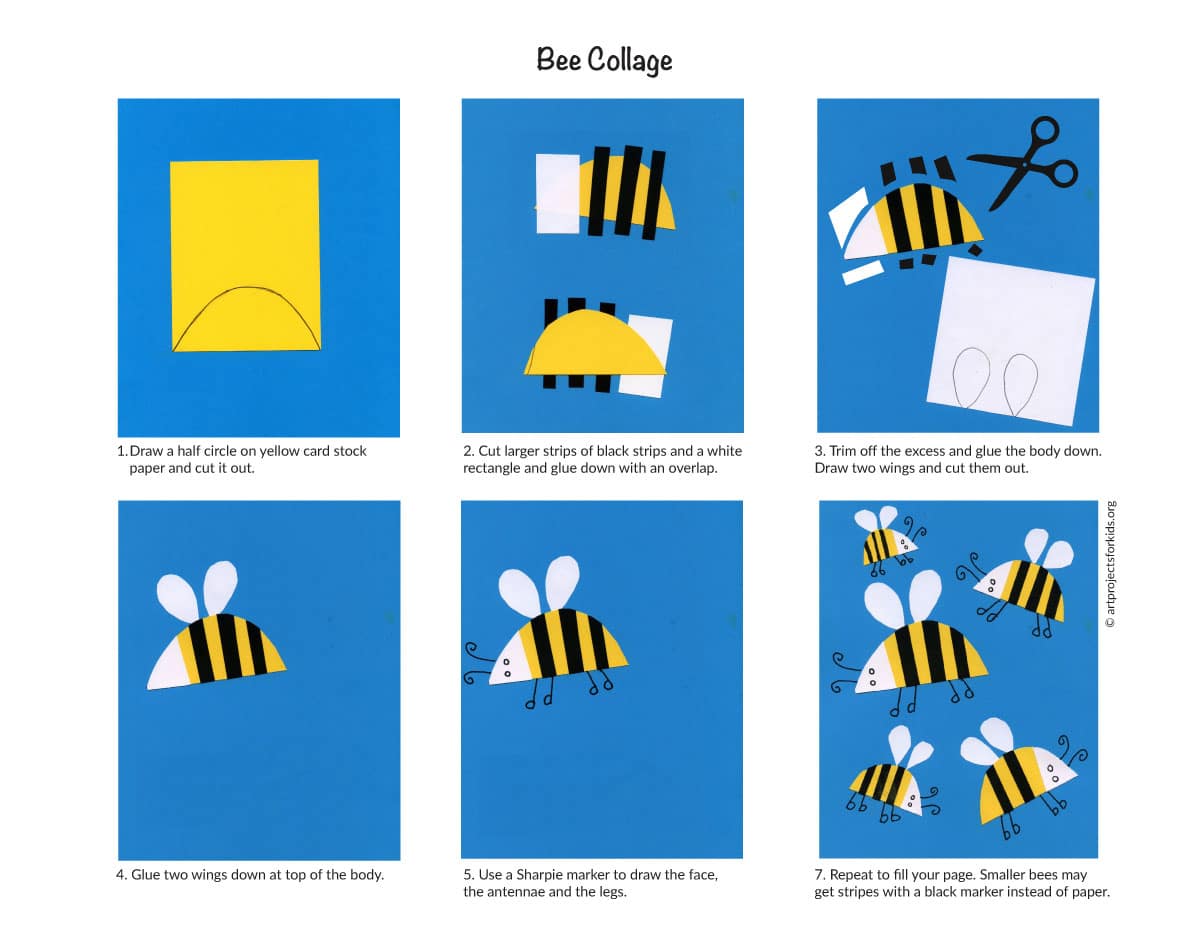
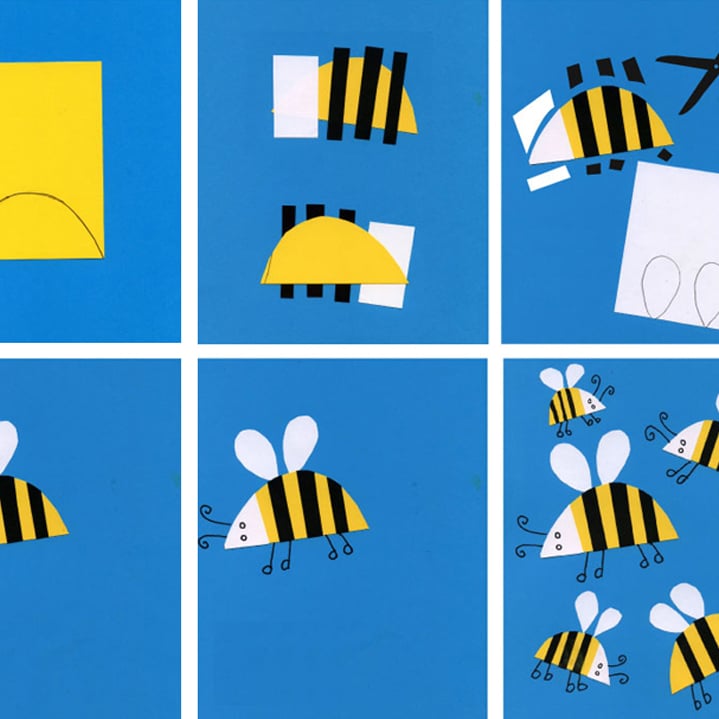
Step by Step Directions
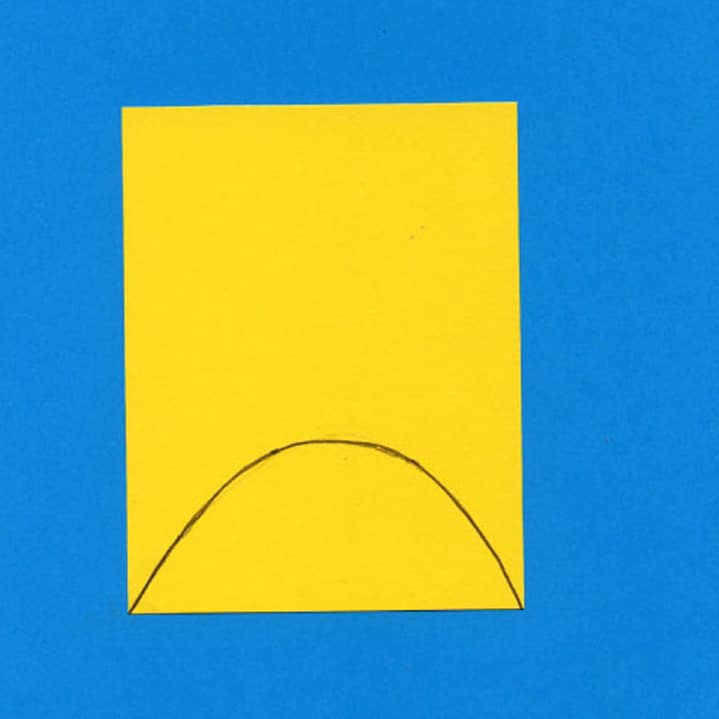
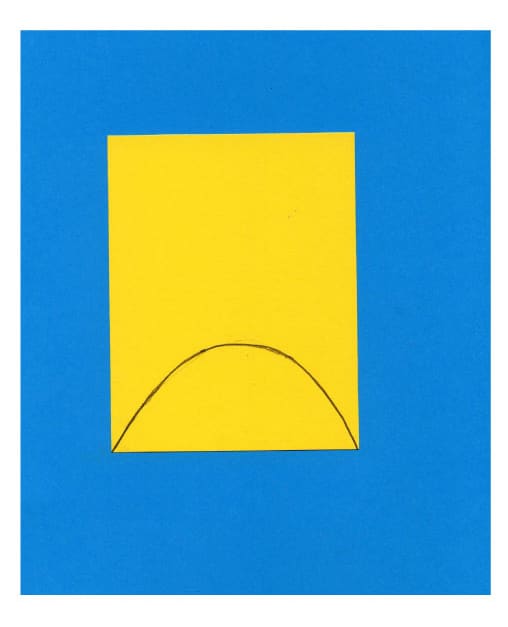
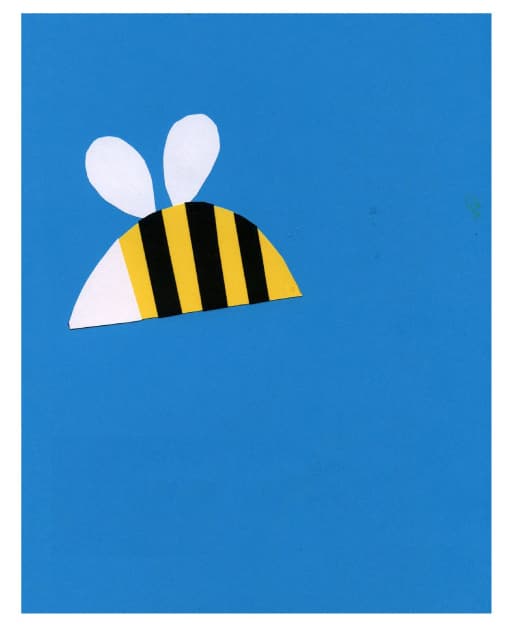
- Draw a half circle on yellow card stock paper and cut it out.

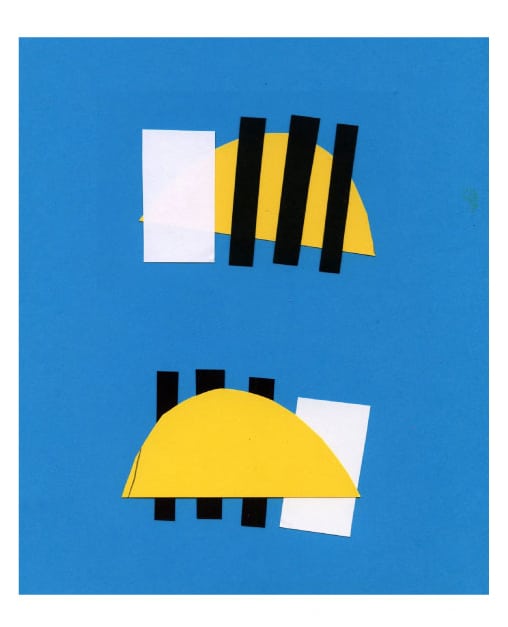
- Cut larger strips of black and a white rectangle and glue down, with sides overhanging.
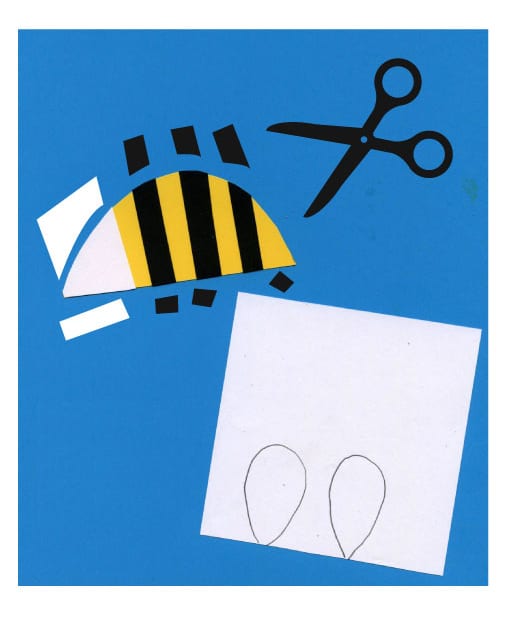
- Flip the body piece over trim off the excess. Draw and cut out two wings.
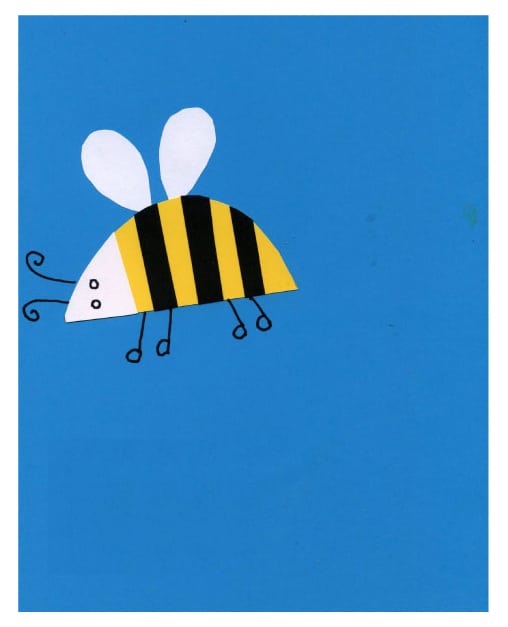
- Glue body down and add wings tucked behind.
- Use a black marker to draw the eyes, antennae and legs.
- Repeat to fill the page. Smaller bees may get stripes with just a black marker.
Collage Artist on YouTube

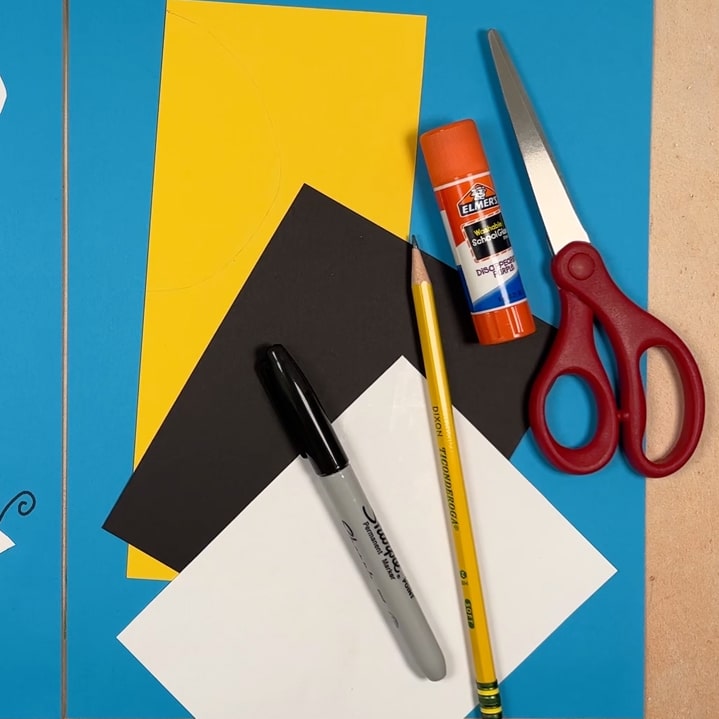
Materials for Collage Projects


Sharpie Marker Fine Tip

Glue Sticks