Chalk and Glue Leaves
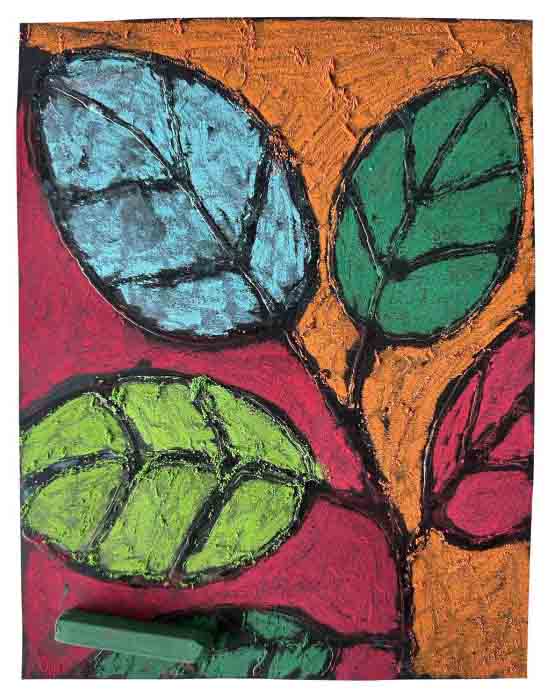
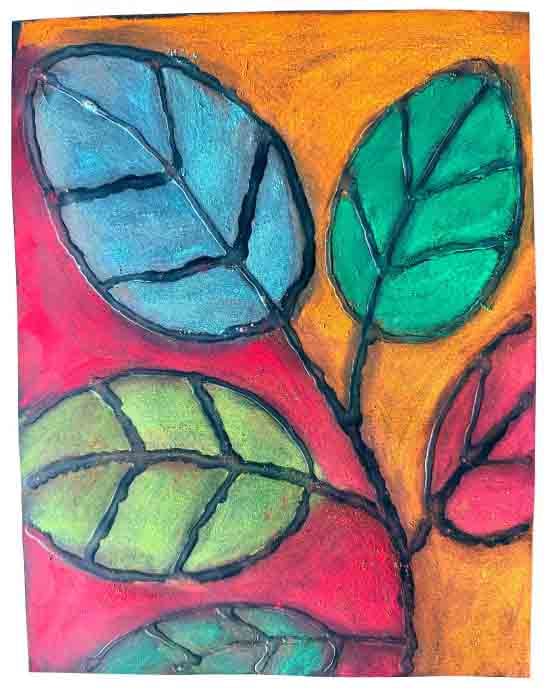
Chalk pastel can make some wonderful color — especially on black paper. It just needs some help in with drawing lines that stay in place, which is exactly what dried glue can do.
The white glue lines not only dry into bold, raised outlines but also create boundaries that keep the chalk pastel colors from blending too much. That makes it easier for young artists to focus on filling spaces with rich colors without worrying about staying perfectly in the lines. Plus, working on black paper makes the colors pop in a way that feels magical to kids and keeps them engaged from start to finish.
This lesson also ties directly into the Elements of Art, giving students a concrete way to understand texture as a building block in their creative toolkit.

Teaching Tools


Chalk & Glue Leaves Video
Chalk & Glue Leaves Video Short
Chalk and Glue Leaves PDF Tutorial
Chalk and Glue Leaves Google Slides

Step by Step
Time needed: 1 hour
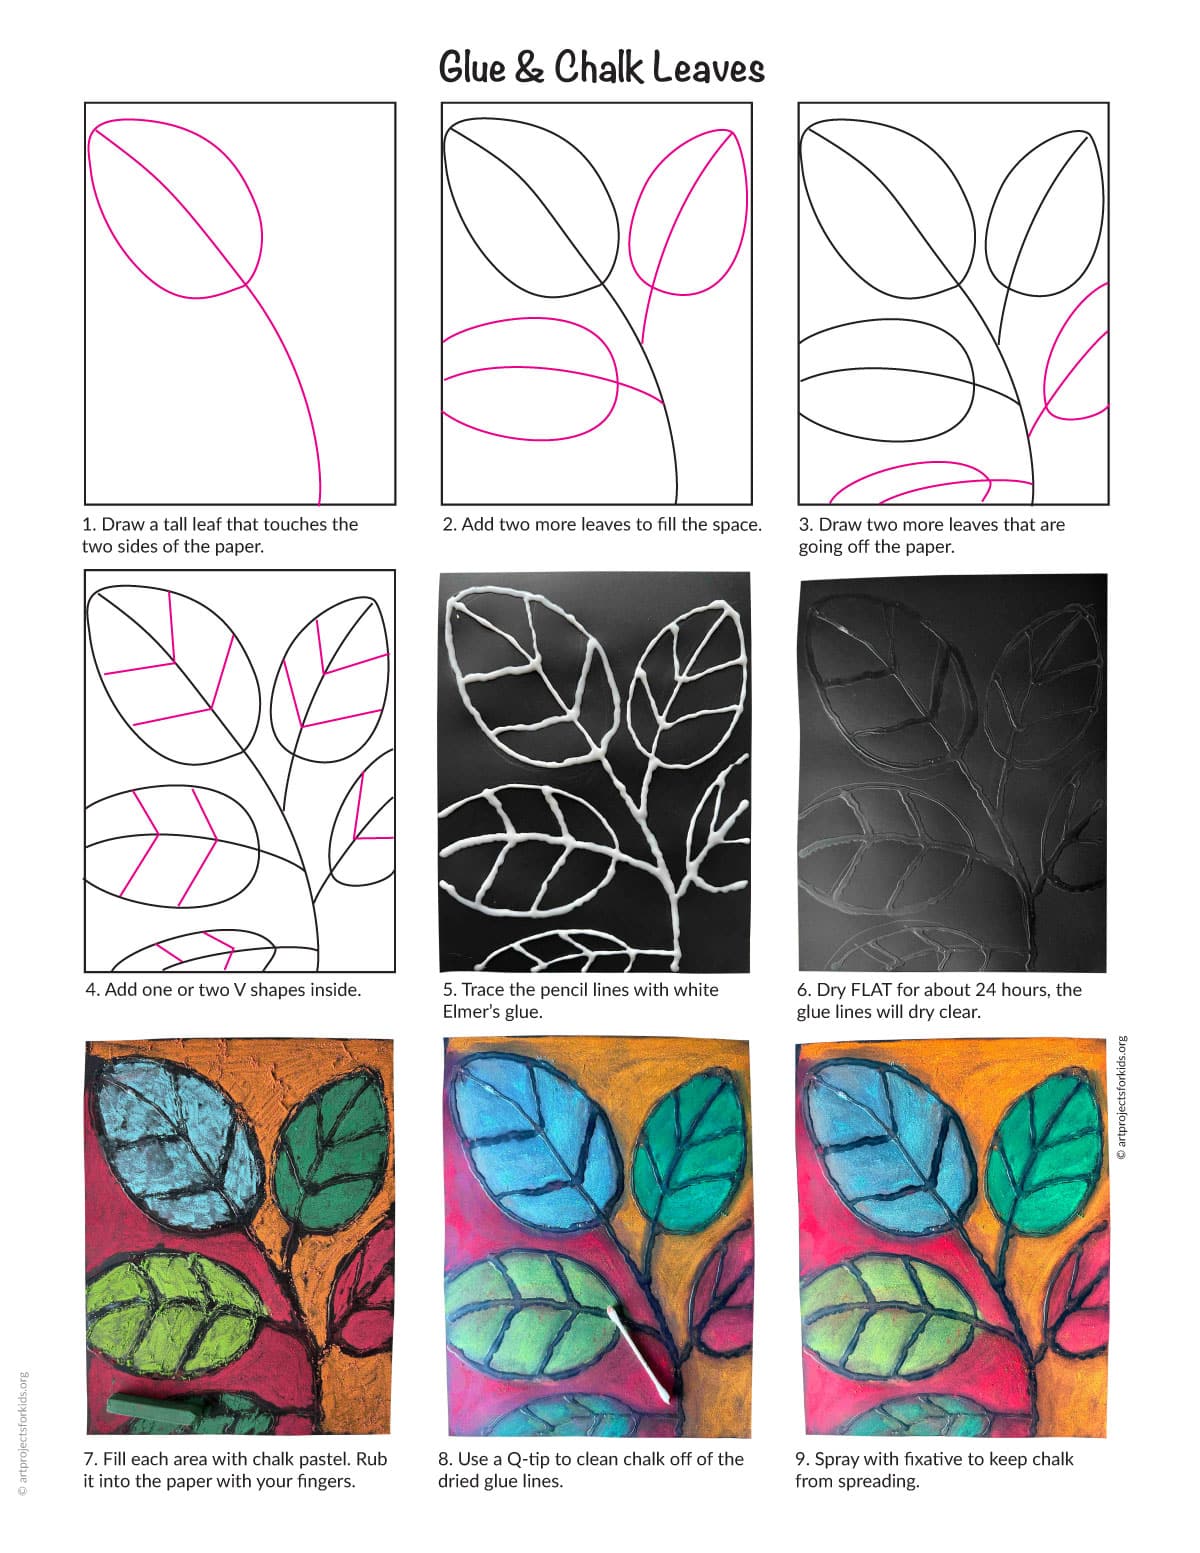
- Draw a tall leaf that touches the two sides of the paper.

- Add two more leaves to fill the space.
- Draw two more leaves that are going off the paper.
- Add one or two V shapes inside.
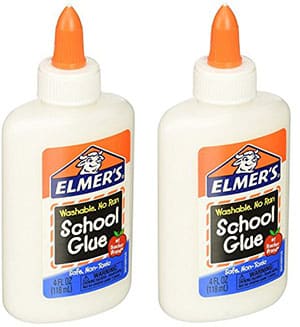
- Trace the pencil lines with white Elmer’s glue.
- Dry on a flat surface for about 24 hours. The glue will dry clear.
- Fill each area with chalk pastel. Rub it into the paper with your fingers.
- Use a Q-tip to clean chalk off the dried glue lines.
- Spray with fixative to keep chalk from spread.


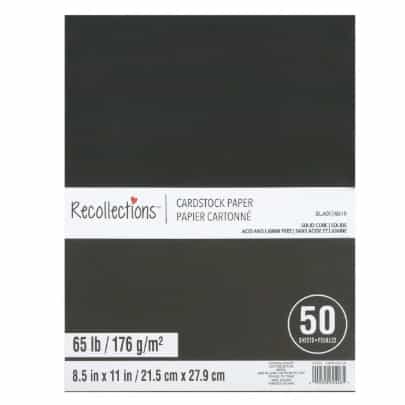
Materials for Collage Projects