Cardboard Snow Owl
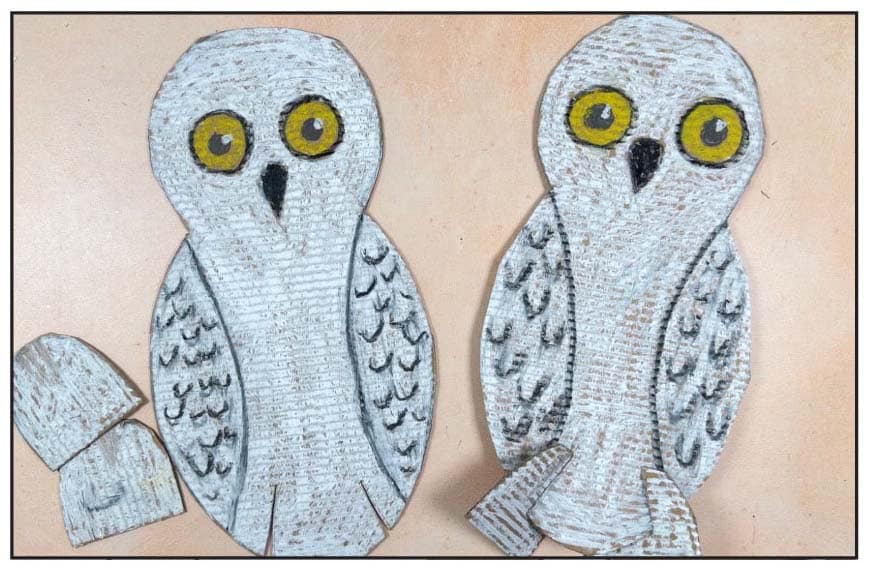
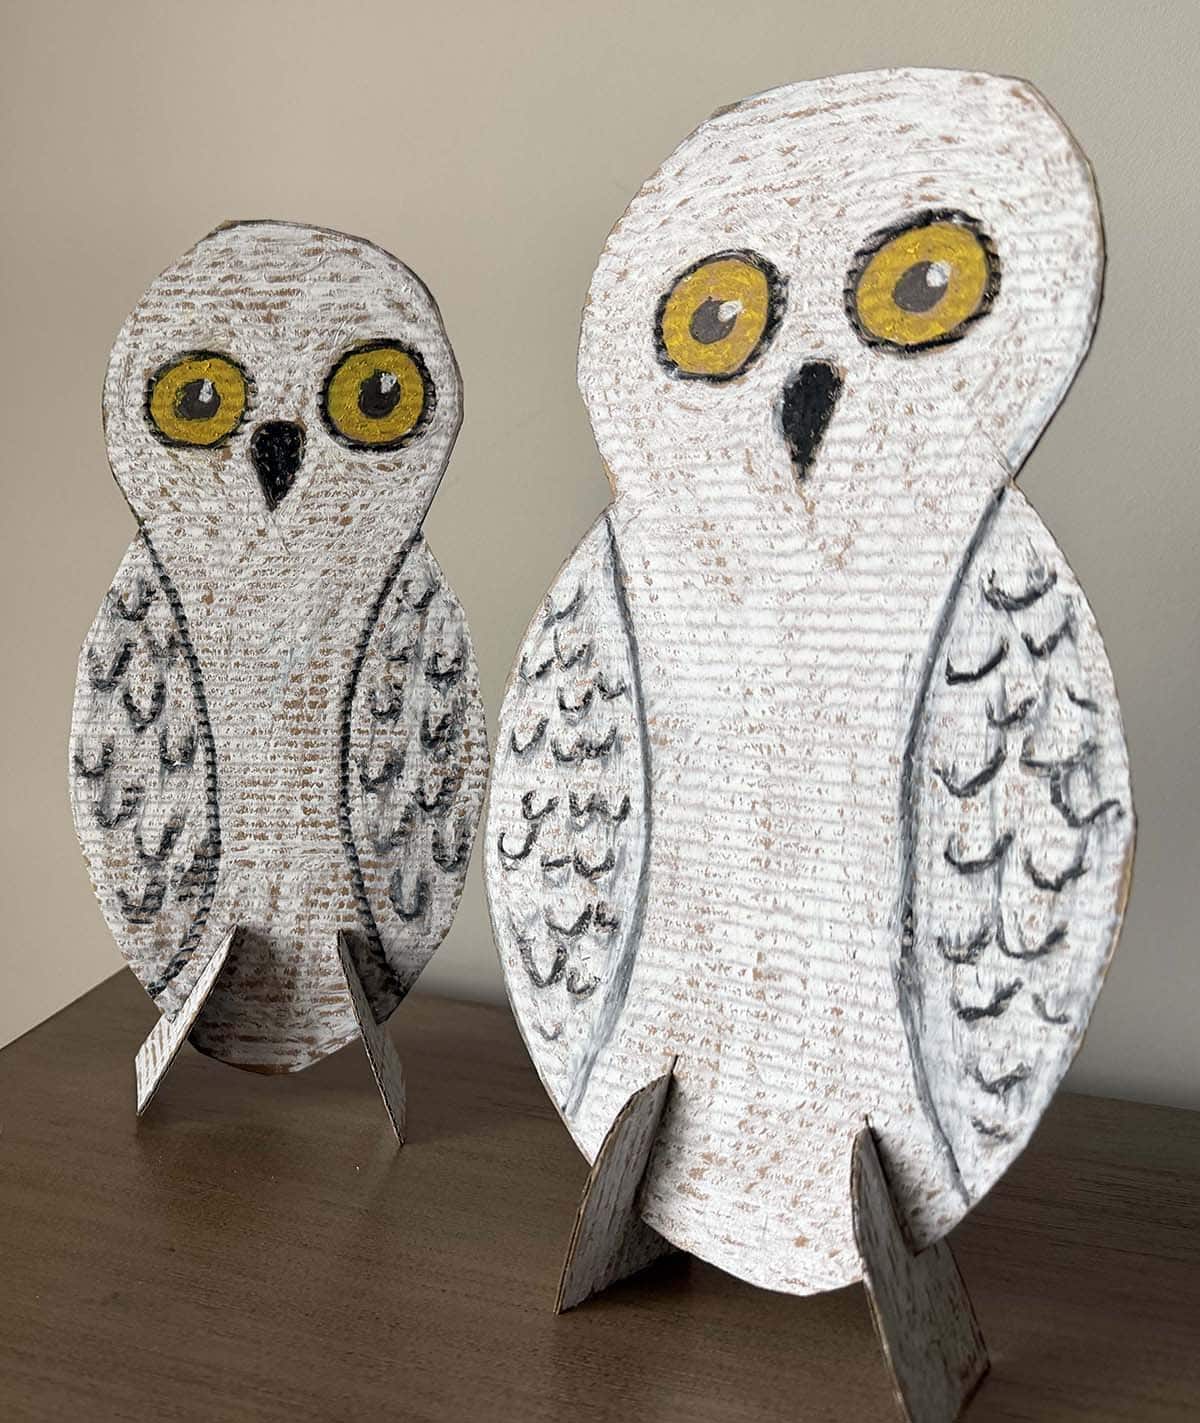
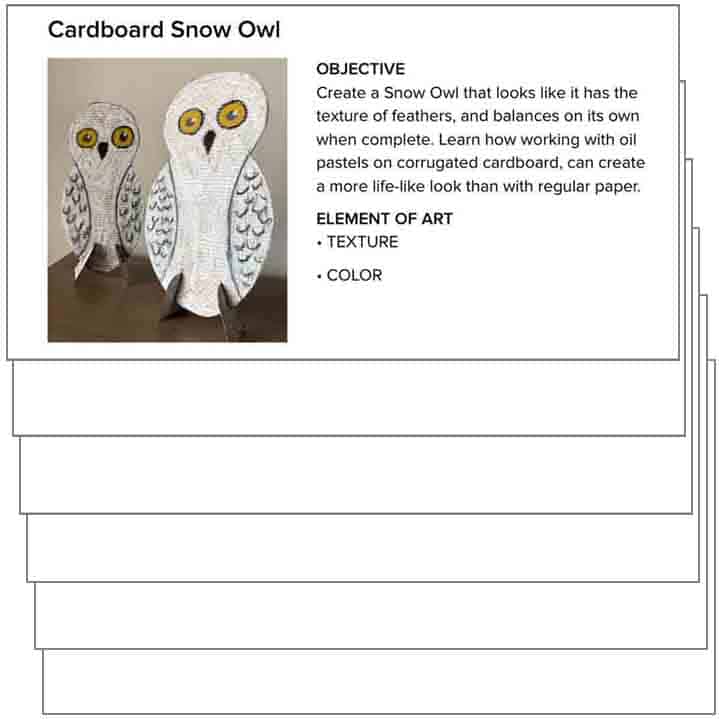
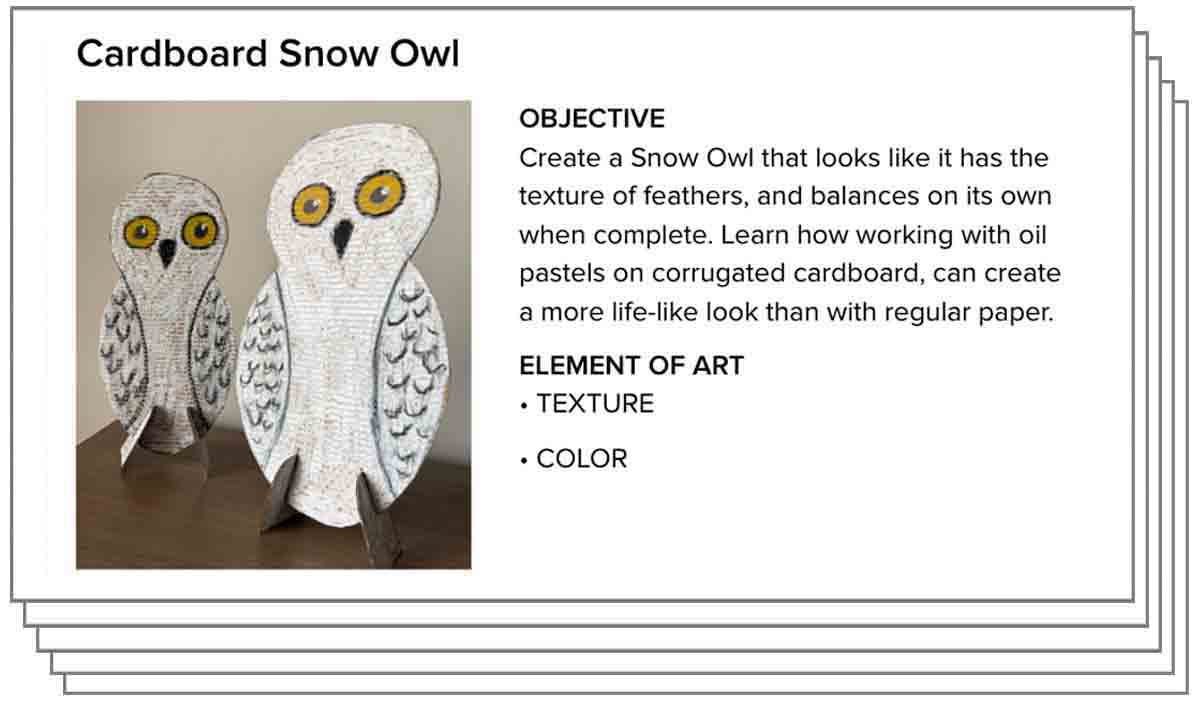
Creating a snow owl out of cardboard is a fun project that gives students a chance to explore texture and form.
Coloring directly on the cardboard highlights its natural texture, which mimics the soft, layered look of real owl feathers — adding an artful touch without extra materials.
Slotting in legs to make the owl stand up transforms it from a flat drawing into a simple 3D sculpture. It’s a quick way to introduce basic structure while giving students a sense of pride in creating something that feels complete and display-ready. They love seeing their artwork come to life in a new dimension, and it makes for a great classroom display or take-home piece.
Snow Owl Teaching Tools
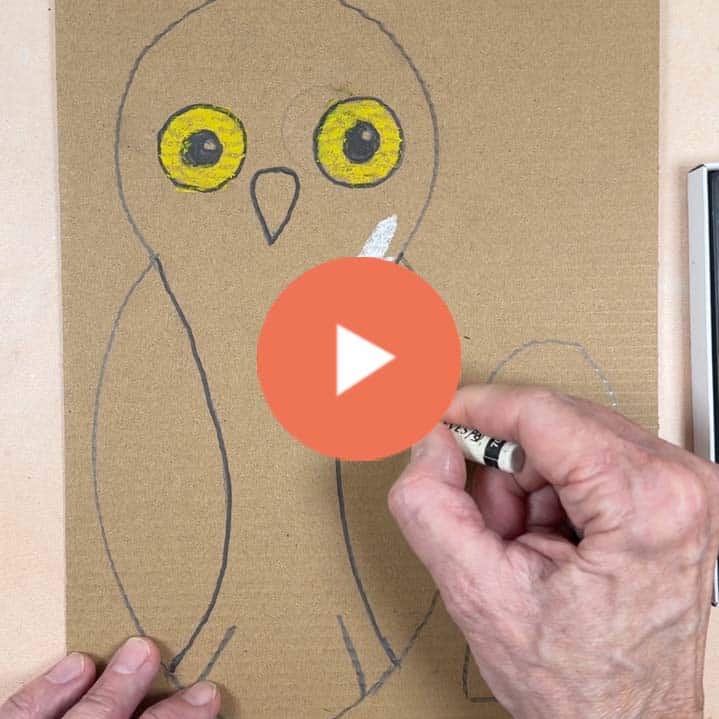
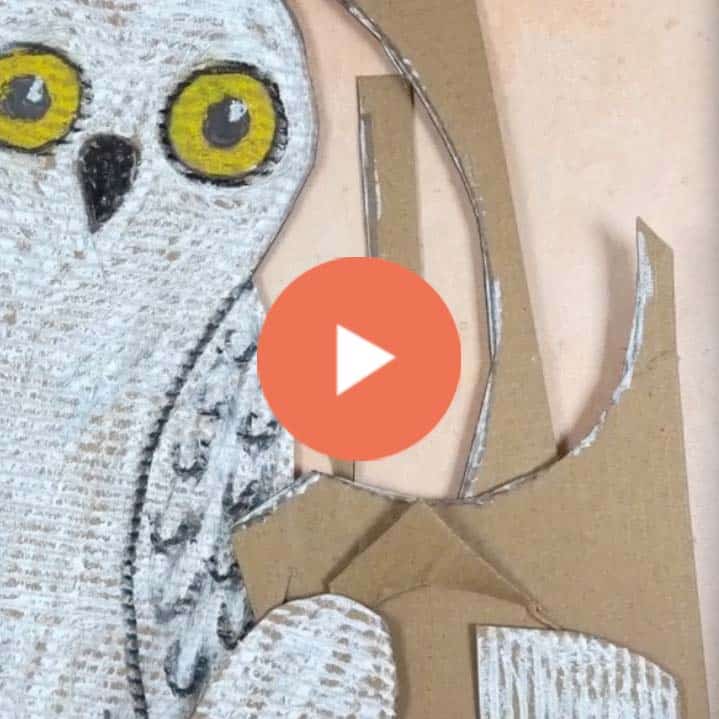
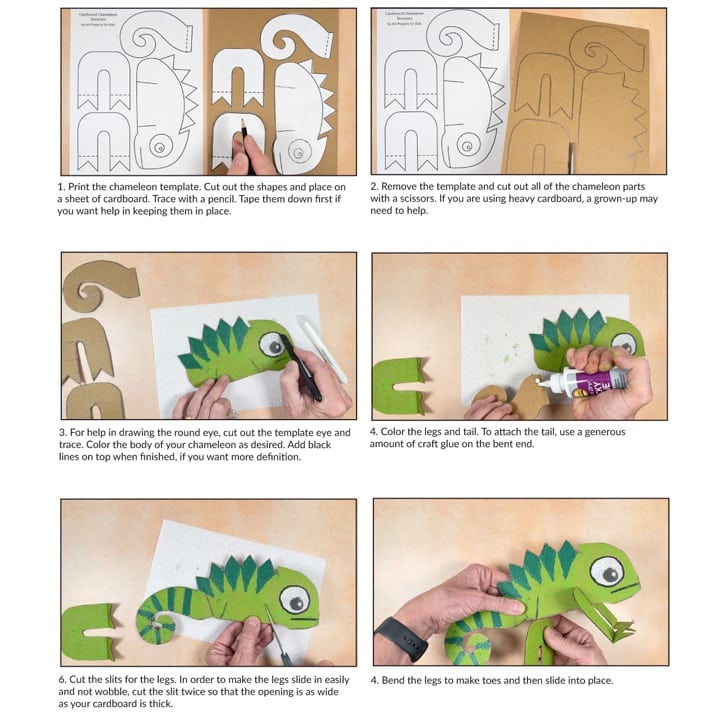
Cardboard Snow Owl Video
Cardboard Snow Owl Video Short
Guide to Snow Owls on YouTube

Snow Owls PDF Tutorial
Snow Owls Google Slides
Step by Step Directions
Time needed: 45 minutes
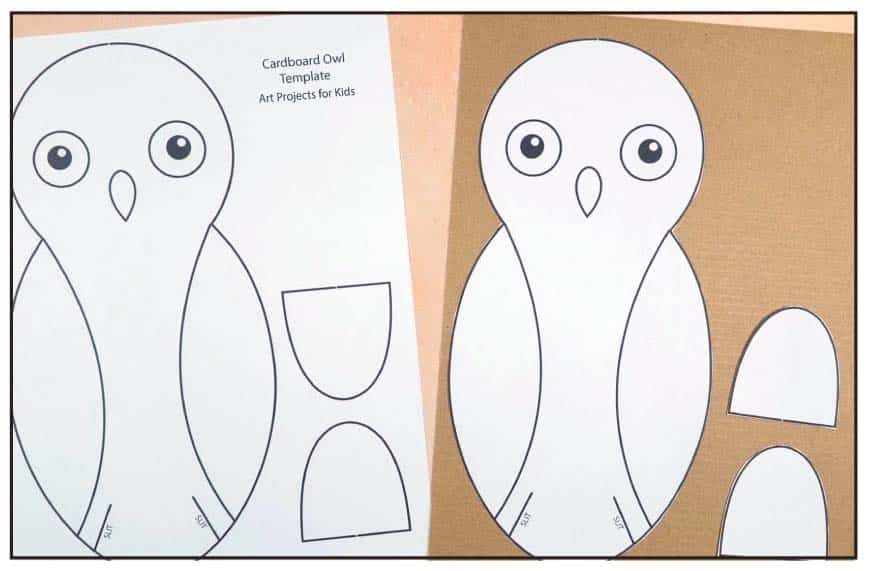
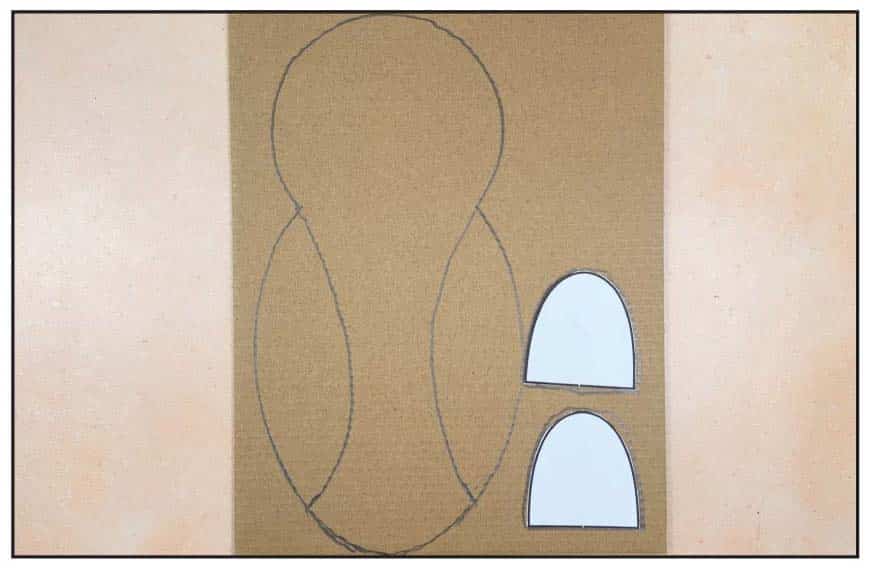
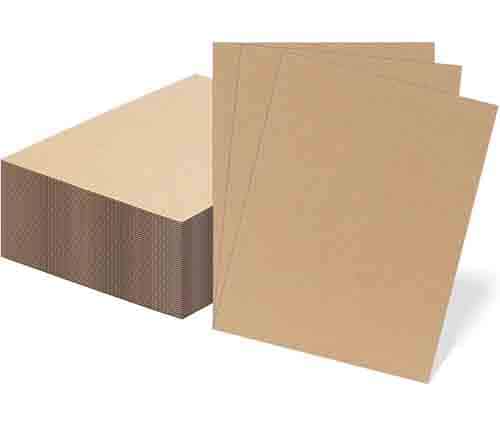
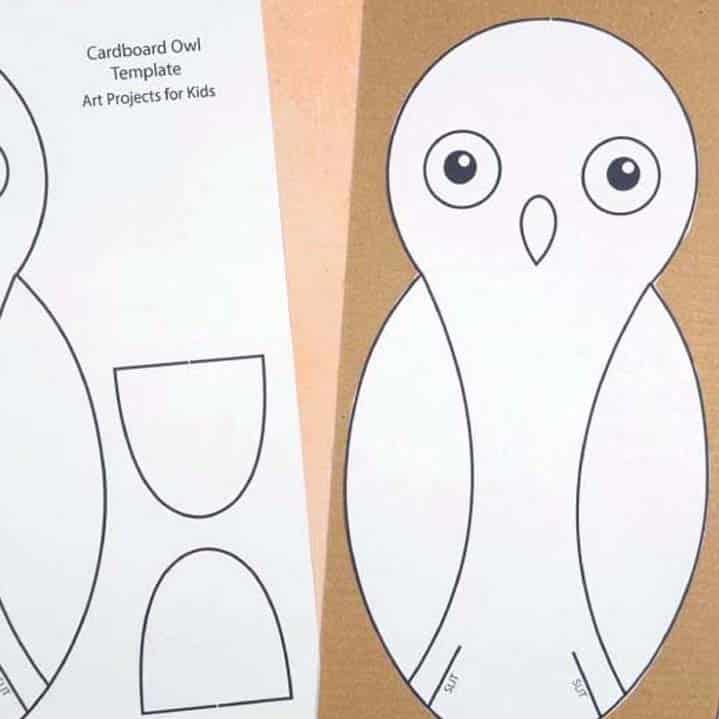
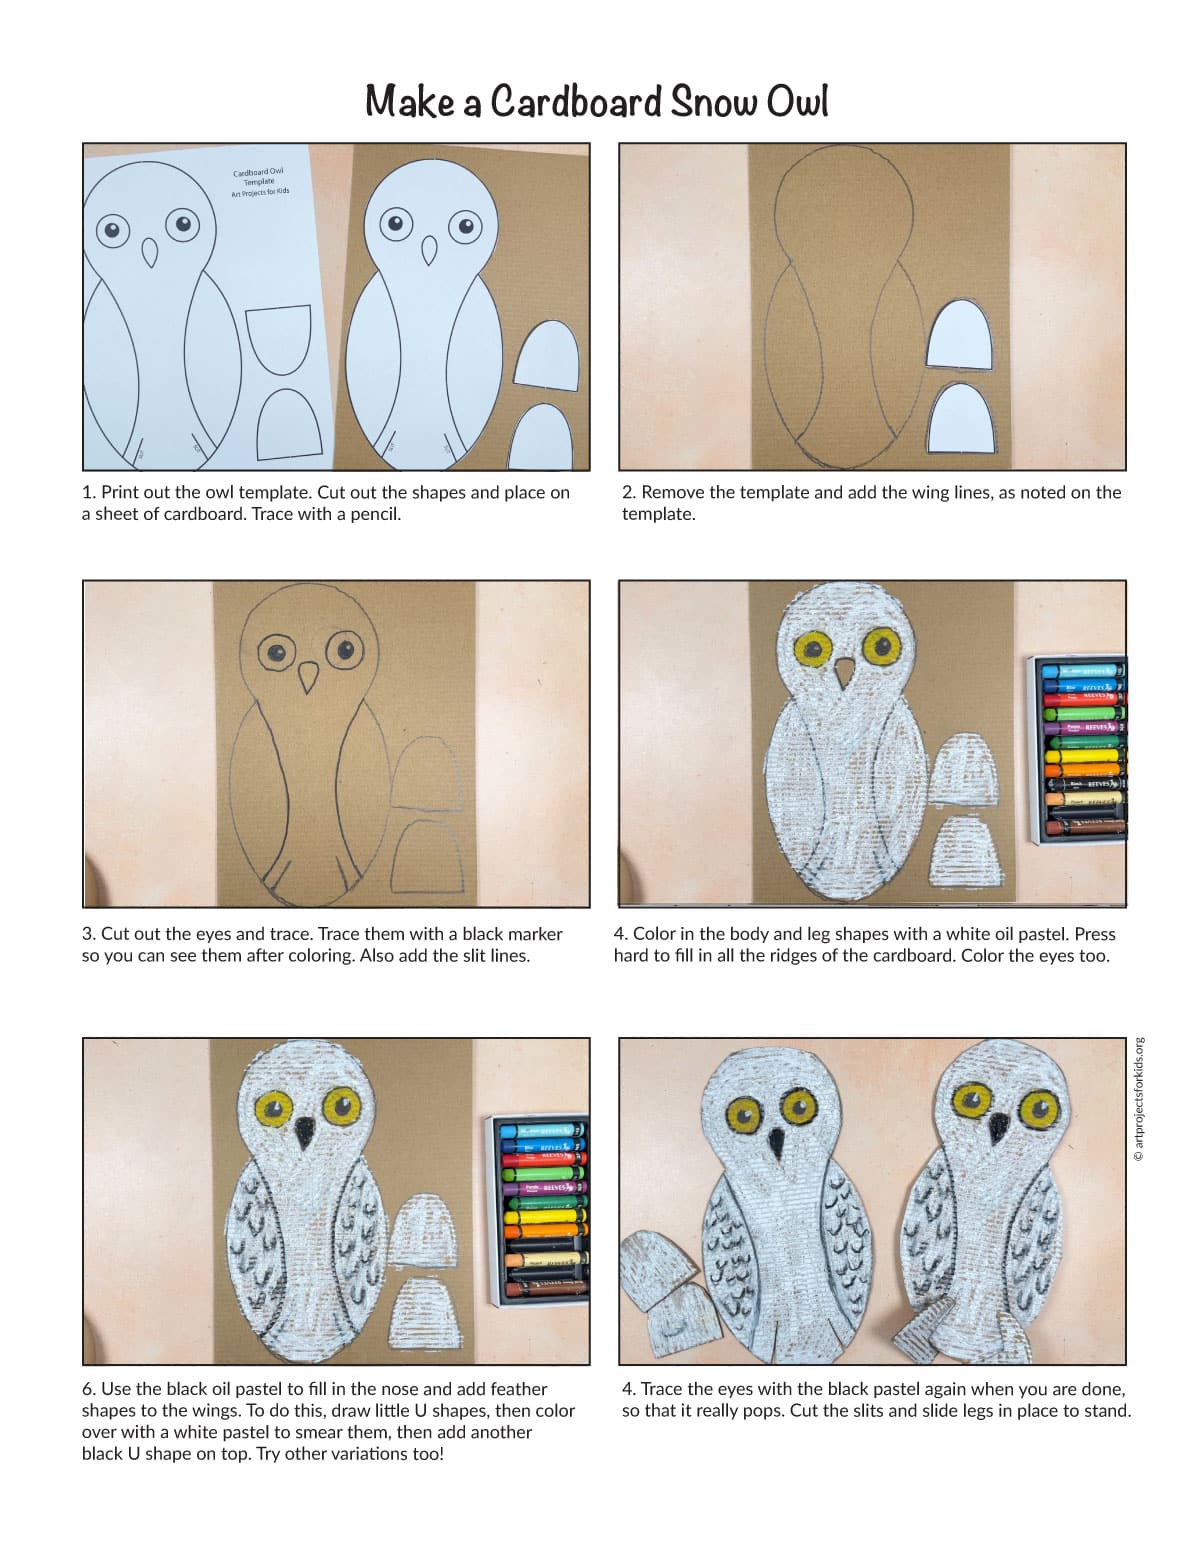
- Print out the Owl Template which is included in the PDF tutorial download. Cut out the shapes and place on a sheet of cardboard. Taping them down will help keep them in place. Trace with a pencil.

- Remove the template and add the wing lines.
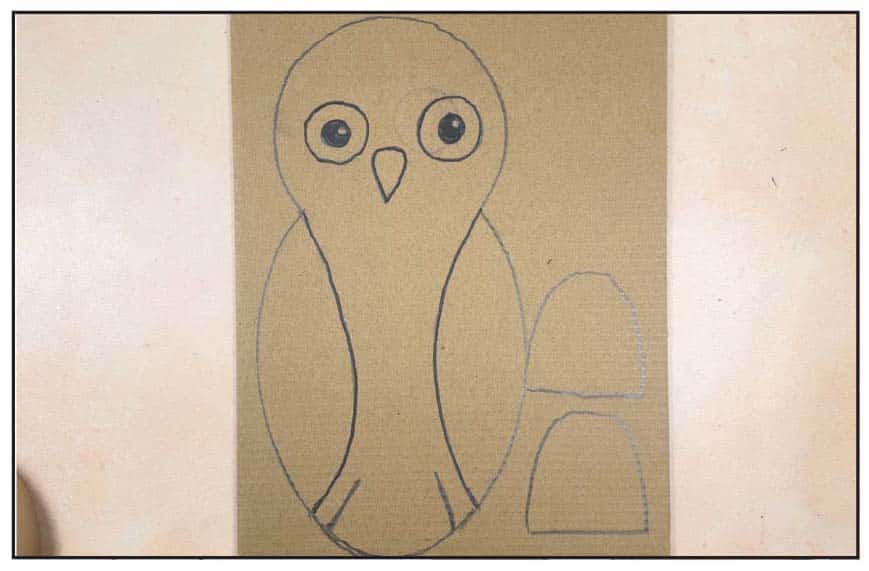
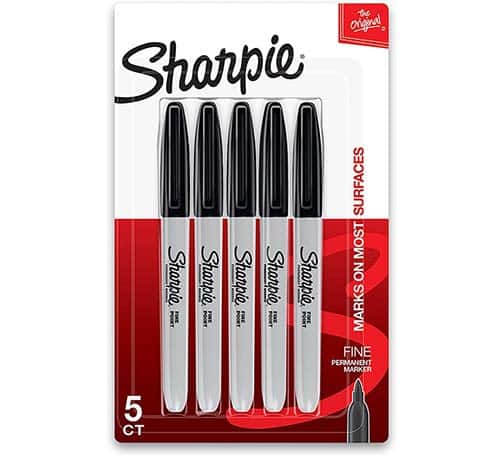
- Draw the eyes yourself or cut out the eyes from the template and trace. Draw the beak. Add the slit lines at the bottom of the body. Trace the eyes, beak and wing lines with a black marker.
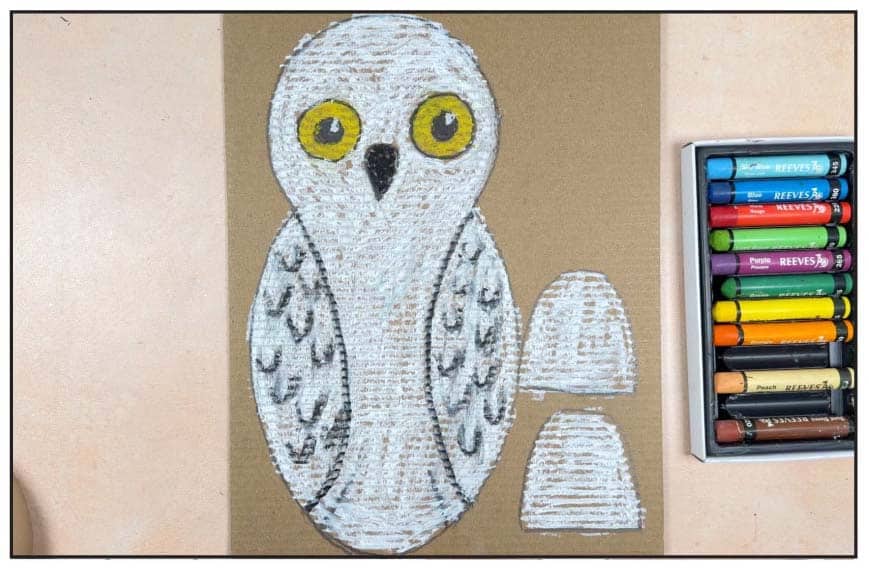
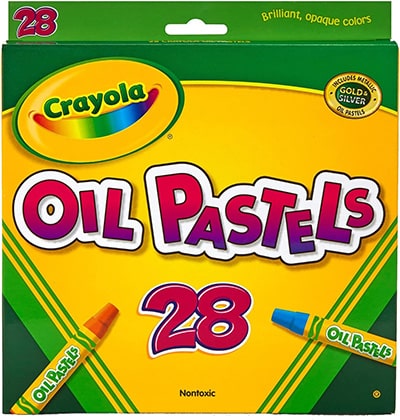
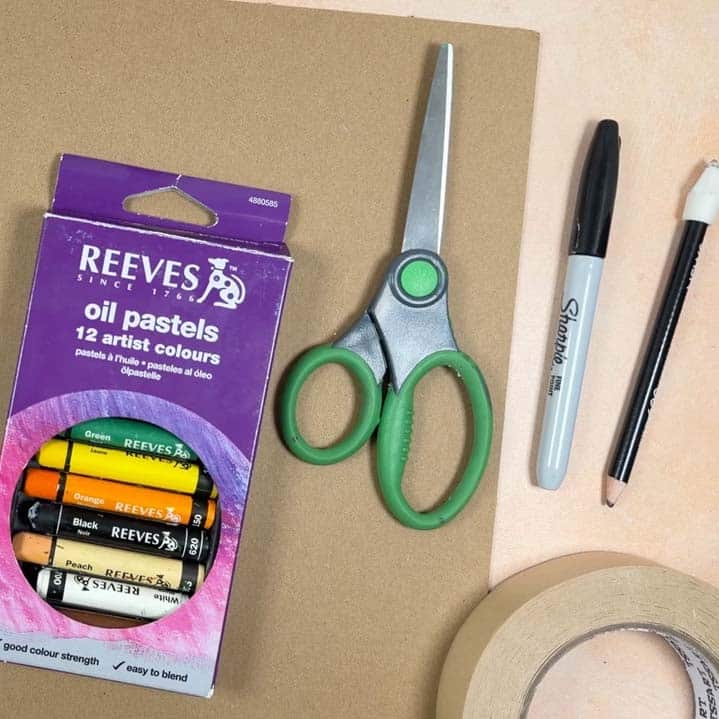
- Color in the body and leg shapes with a white oil pastel. Press hard to fill in all the ridges that are created. Make feather lines with black pastel, and then smear with white pastel. Finish with another black pastel lines on top.
- When the coloring is finished, cut the slits on the bottom of the owl. Cut again, trying to make the width of the opening the same width as that of your cardboard. Slide legs in place and balance to make it stand.