MINI UNIT SAMPLE PREVIEW: Pumpkin Collage
Enjoy this Halloween project for the month of October, and see what it’s like working with my new Open-&-Go Mini Art Units.
Students make a symmetrical pumpkin collage and explore the concept of symmetry by cutting and flipping a half face to create a full, balanced image.
This hands-on activity helps them understand how both sides of a shape can mirror each other, reinforcing spatial awareness and basic geometry skills. It also strengthens fine motor while encouraging creative expression as they design their pumpkin faces.


Video Google Slides


Pumpkin Video
Pumpkin Short Video
Pumpkin PDF Tutorial

Pumpkin Google Slides

Pumpkin Collage Step by Step
Time needed: 45 minutes
Make a Pumpkin Collage
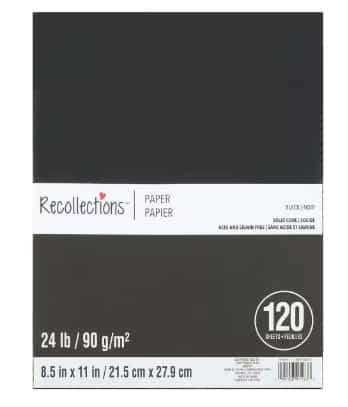
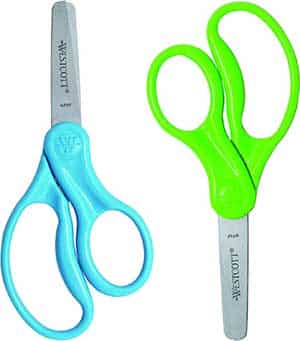
- Supplies: Full sheet of black paper, half sheet of orange, scissors, glue stick, markers.
Draw half of a pumpkin face on the orange.
- Cut out the half pumpkin. Cut mouth and eye, both in ONE piece. Make a slit as shown to get to the eye. It will not show when glued back down.
- Glue the outside shape of the orange pumpkin to one side of the black paper.
- Line up and glue down the half pumpkin face to the other side,
- Take the cut out eye and half mouth, line them up and glue to the left side of the paper.
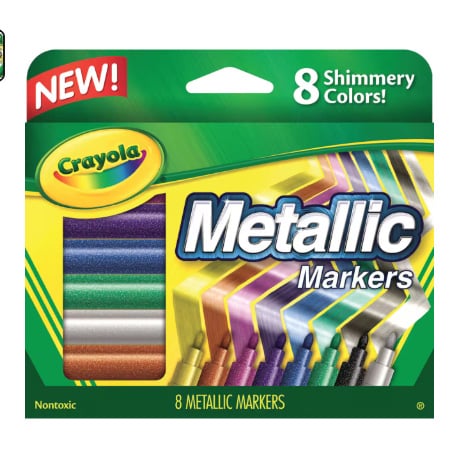
- Use a black marker to draw the details on the orange pieces of paper, and a metallic silver marker to draw the matching lines on the black sheet.