Easy Origami Projects for Kids: Matchbox Art
Here you’ll find many miniature art ideas made with origami style matchboxes. Making them yourself allows for some really fun customization of both the outside and the inside.
Matchbox Art

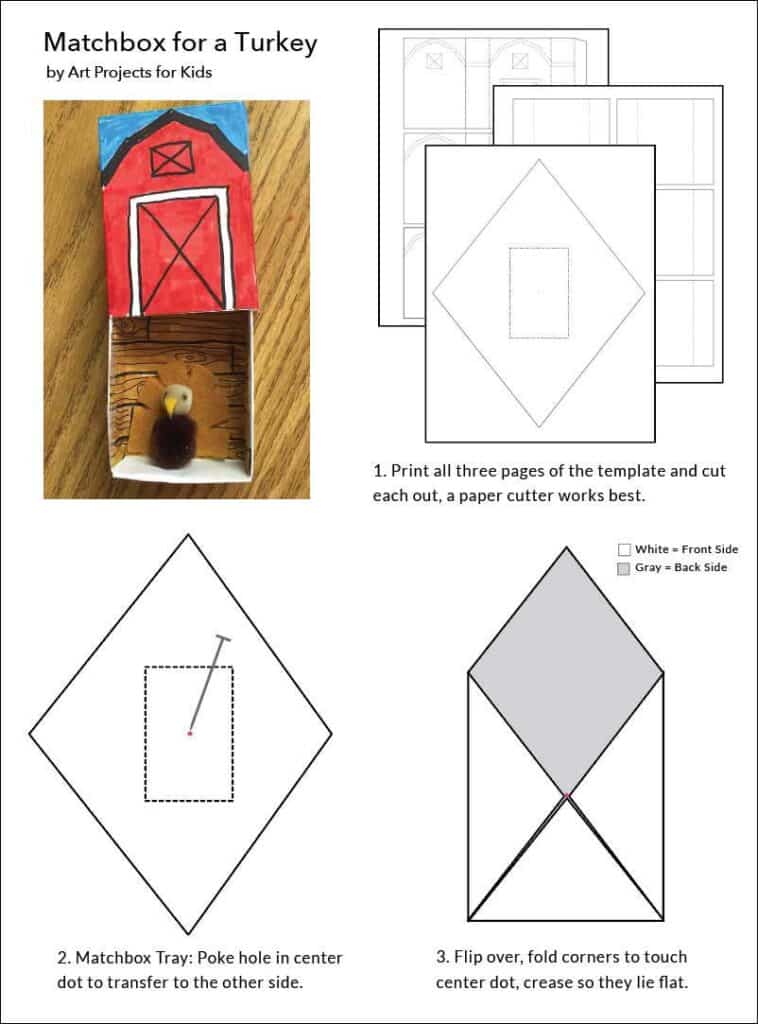
Years ago, one of my after school classes had a miniature art theme. As premade match boxes didn’t seem to be around, I figured out how to make my own, origami style, with a bottom box, insert and sleeve. This turkey in a barn idea was lots of fun, and I included a dashed line drawing of the barn to get young artists off to a good start.
Matchbox Gallery Ideas
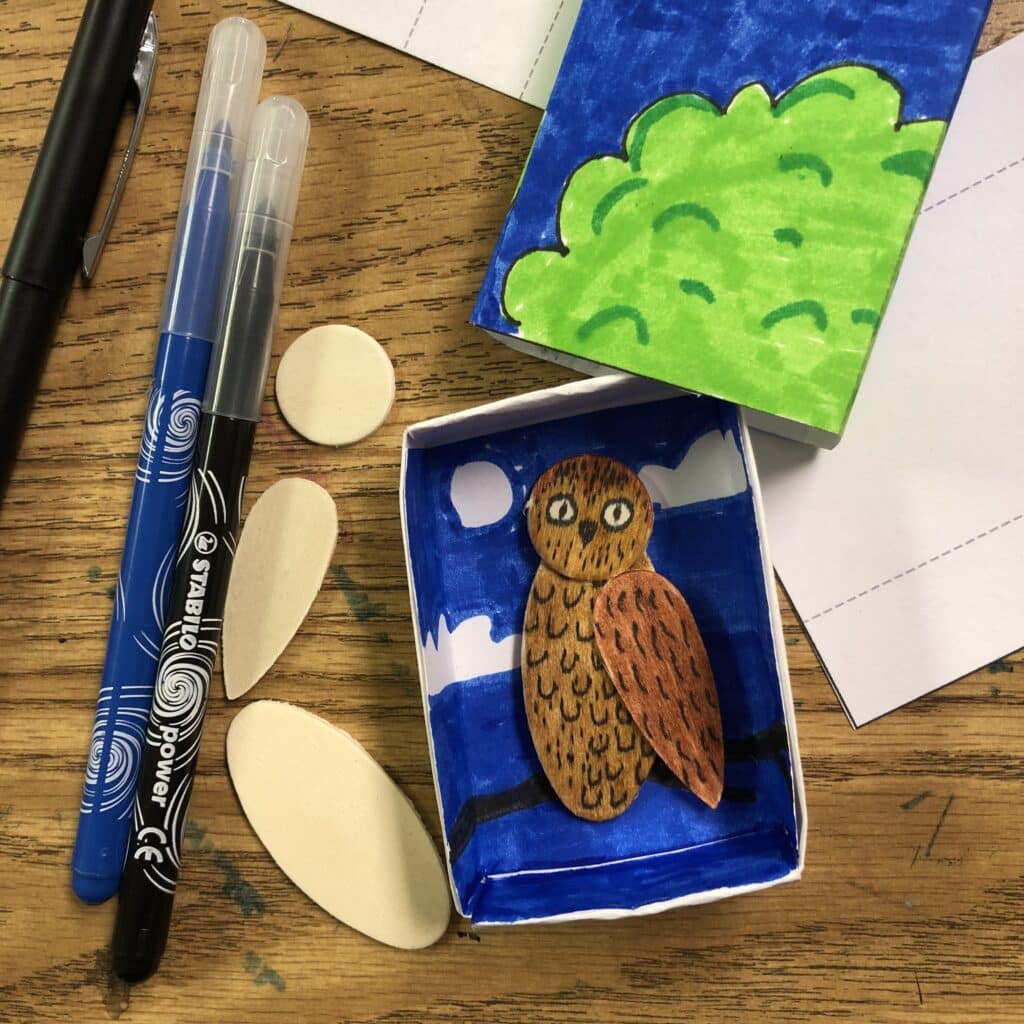
Owl made with wooden shapes 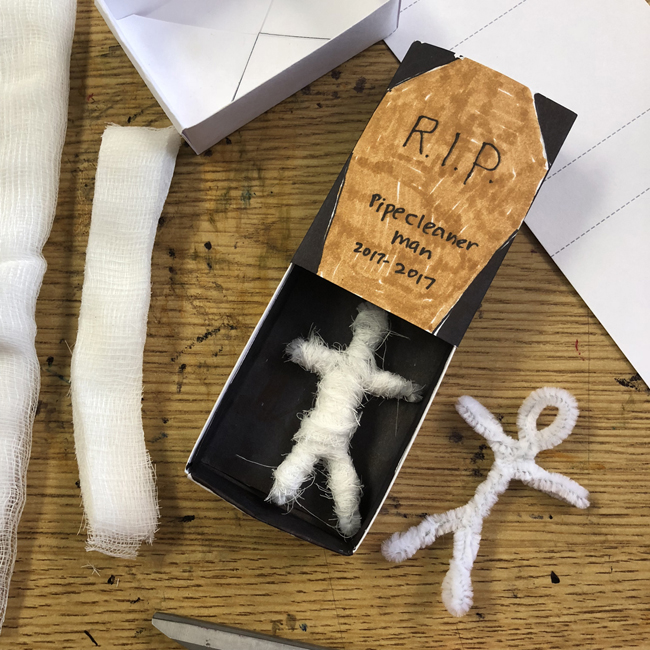
Mummy made with pipe cleaner and gauze 
Fall scene made with leaf 
Hanukkah and Christmas with tiny pom poms 
Interior drawing of a house 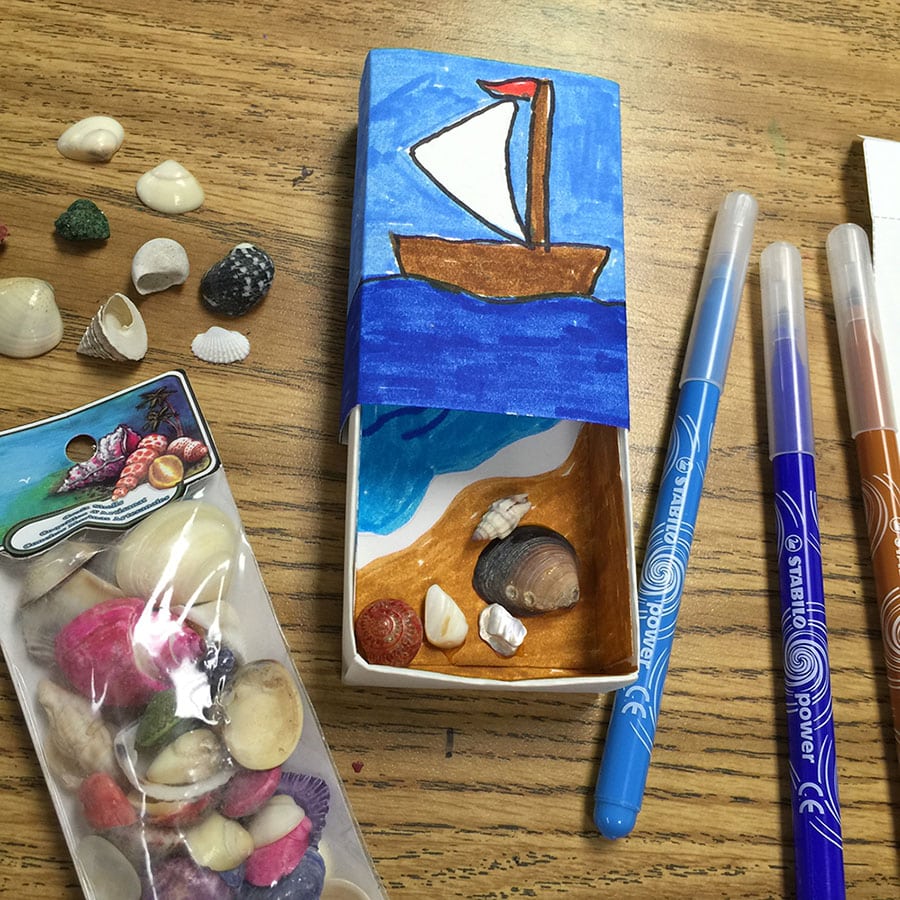
Ocean made with miniature shells 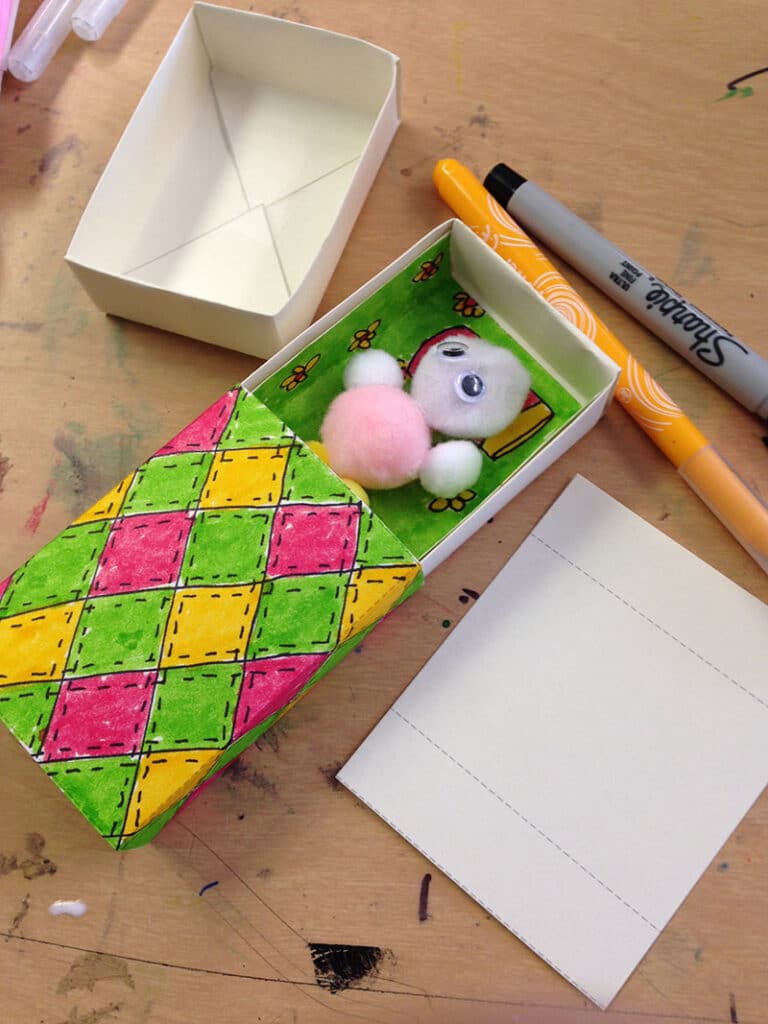
A bed for a pom pom person
Get your free PDF Tutorial with template below!
Materials to make a Turkey in a Barn
- Card stock paper
- Scissors
- Markers or colored pencils
- Glue or tape
- For turkey: felt, pom pom, craft glue
Directions
Time needed: 30 minutes
How to make a origami matchbox
-
Print pages from the template on white card stock paper. Cut on solid lines.

-
Matchbox Tray (looks like a diamond after it has been cut out.) Poke hole in center dot to transfer the center to the other side.

-
Flip over, fold corners to touch center dot, crease so they lie flat.

-
Flip over and fold on dashed line, crease and unfold.
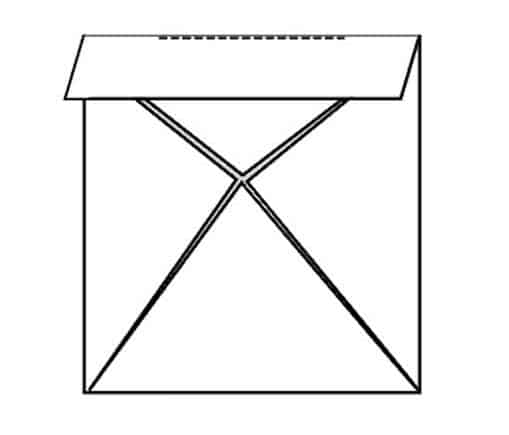
-
Fold side on dashed line, crease and unfold.

-
Repeat folding until all four sides are creased, as shown by the gray line.
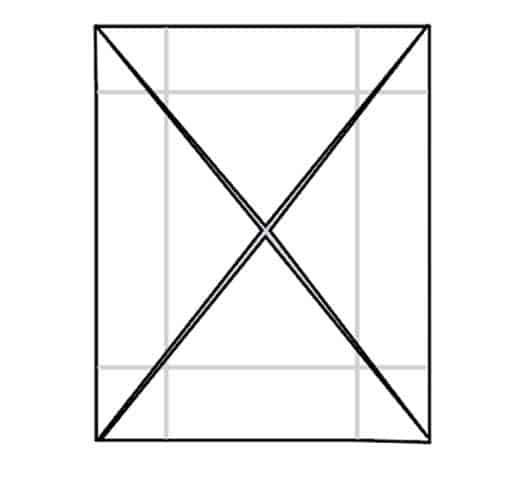
-
Use scissors to cut on creases as shown with the pink lines. Note that the cut does go IN to that inside rectangle a bit, to free up those corners.

-
Open up the short ends as shown.

-
Wrap the short ends up and over as shown.

-
Tape or glue stick corners down so they stay in place.
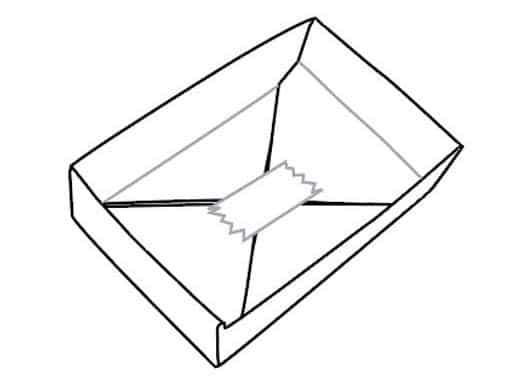
-
Insert is placed inside tray to create a smooth interior of the box. Color the sleeve, fold and glue the edges and slide tray inside.


