Easy How to Draw Cowboy Boots Tutorial and Cowboy Boot Coloring Page
Below you’ll find an easy step-by-step tutorial for how to draw Cowboy Boots and a Cowboy Boot Coloring Page. This one comes with a spur and fancy details.

Cowboy Boot Drawing
The great thing about learning how to draw cowboy boots is that they can be the starting point for all kinds of fun drawings. Those that like to keep them simple and rugged can maybe focus more on shading, and those that are into fashion can push them in that direction with some extra fancy cutwork and stitches.
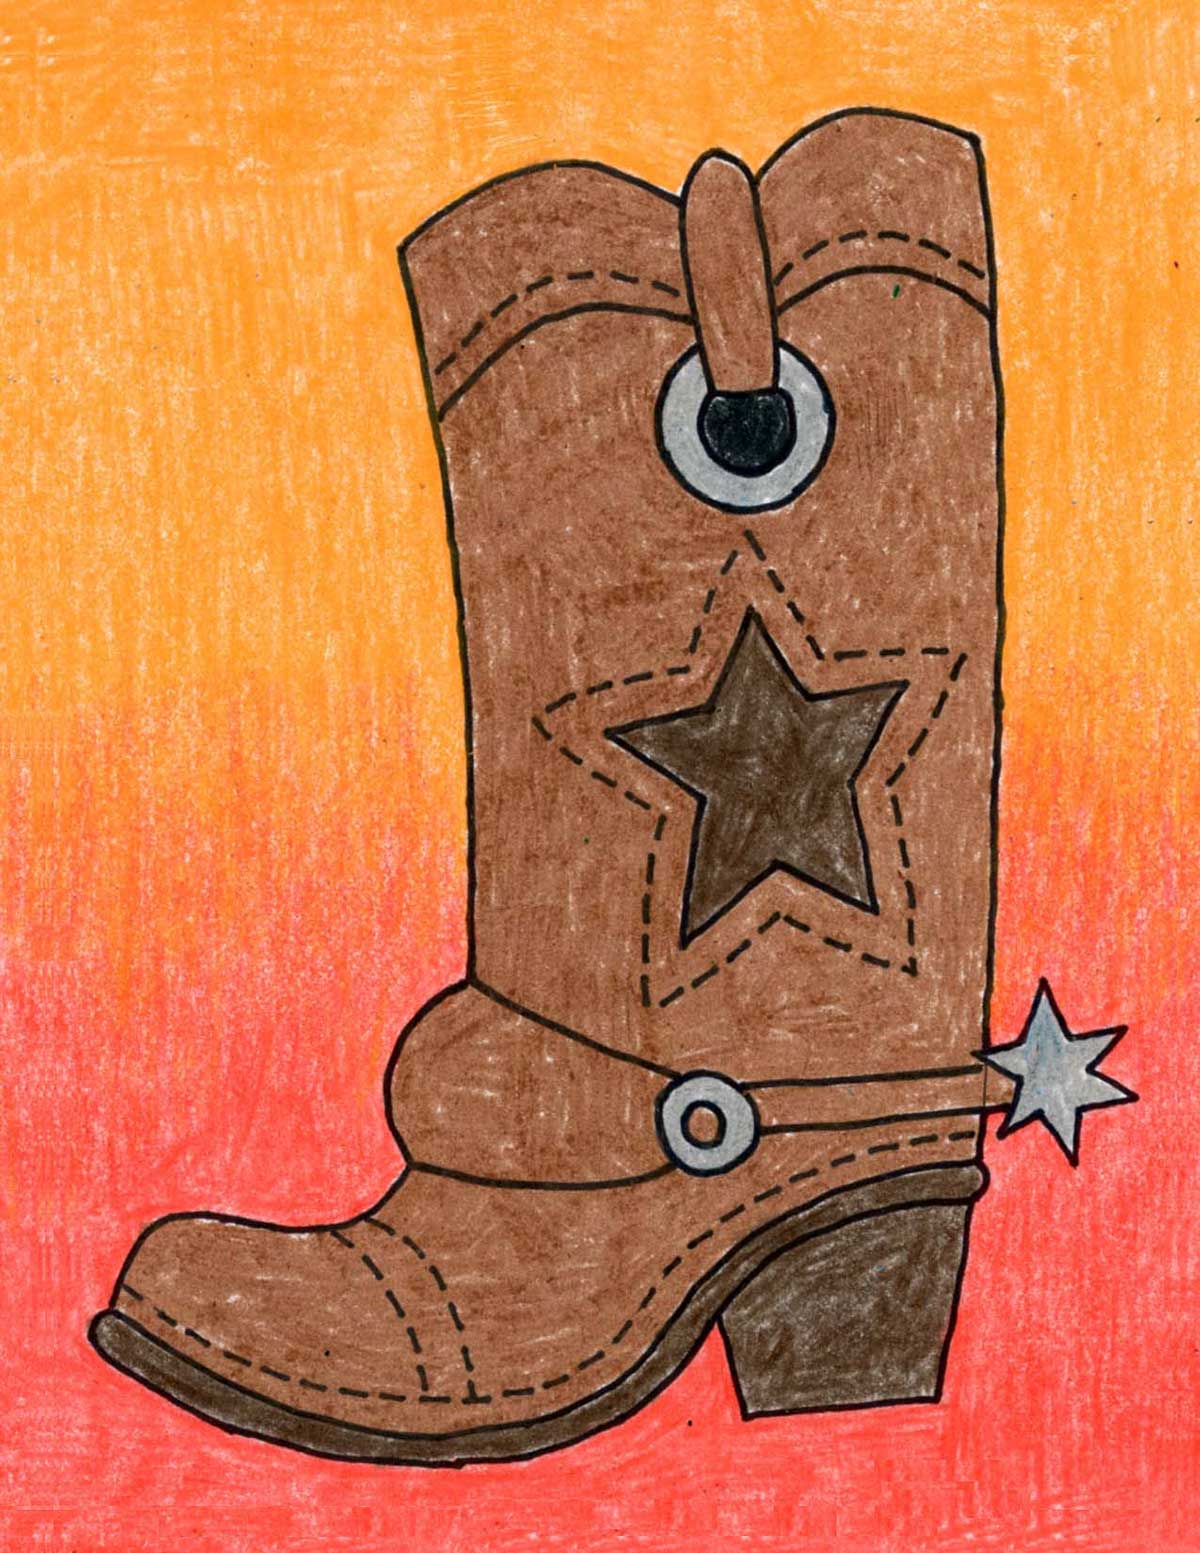
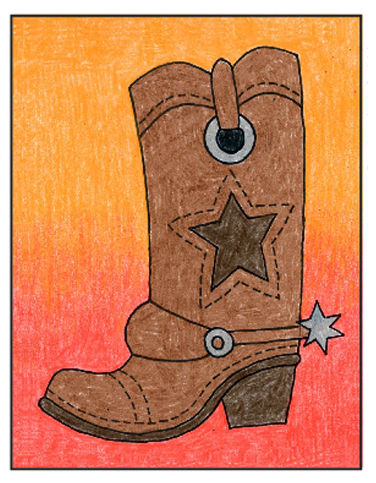
And if your students would like an extra challenge, encourage them to try a two-tone background. The sample above was made with two crayons that overlapped with some soft coloring in the middle. Who says you need oil pastels to make pretty gradations? Not all crayon colors do this as well as orange and yellow do, but they are a sure fire combination that I have used for many a drawing.
Use Button below to Download a PDF Tutorial
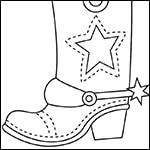
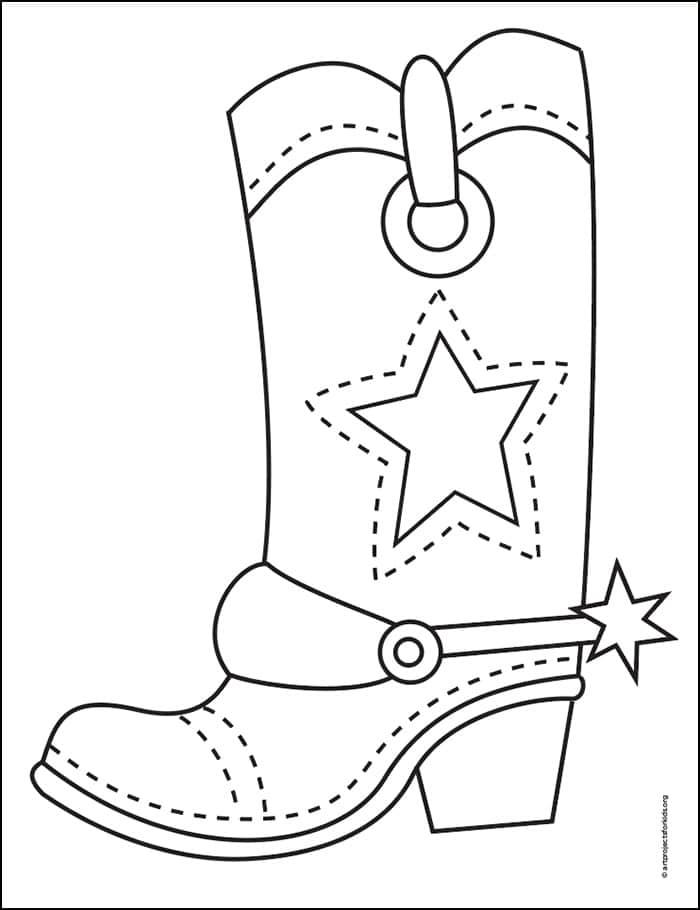
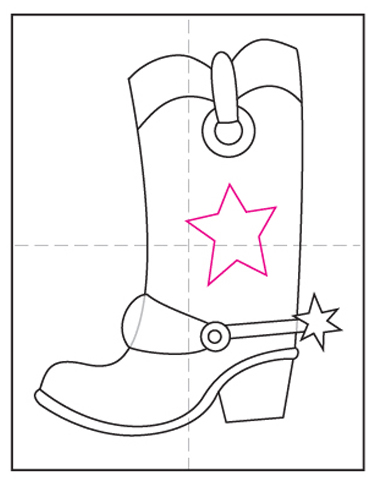
Cowboy Boot Coloring Page
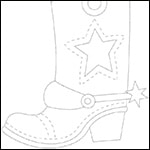
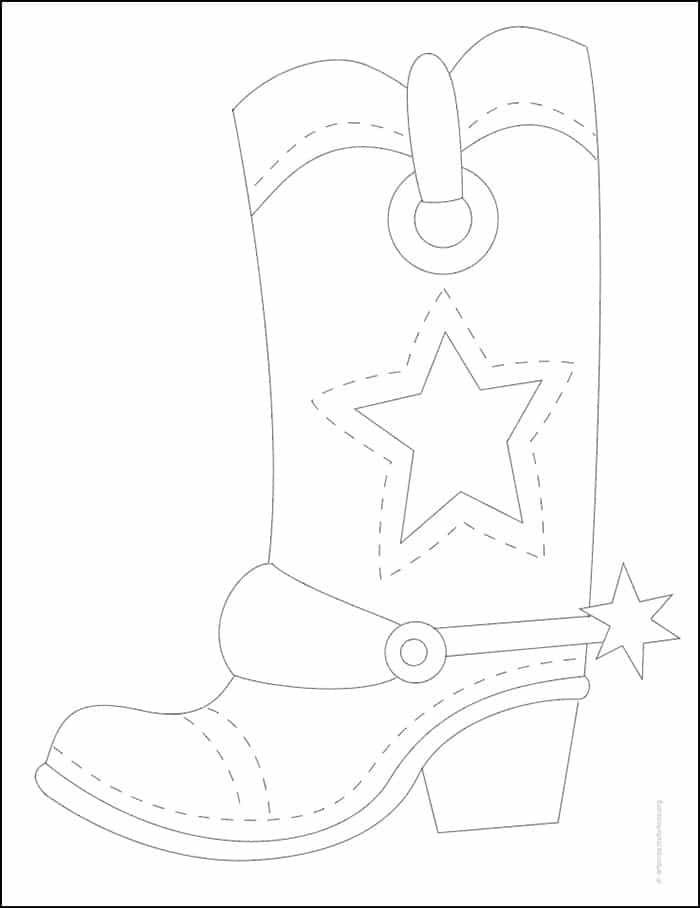
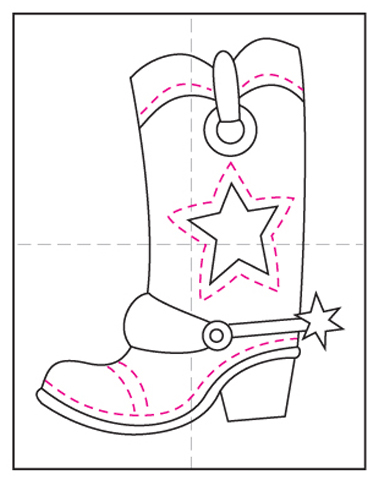
Cowboy Boot Tracing Page
Materials
- Drawing Paper. This is the good stuff you can buy in bulk for a good price.
- Pencils. I like how this brand always makes nice dark lines.
- Black Marker. A permanent marker will give you a dark black color.
- Crayons. The larger packs are nice for more color choices.
- Note: All of the above are Amazon affiliate links.
Step by Step Directions
Time needed: 45 minutes
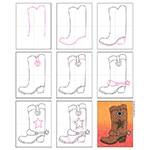
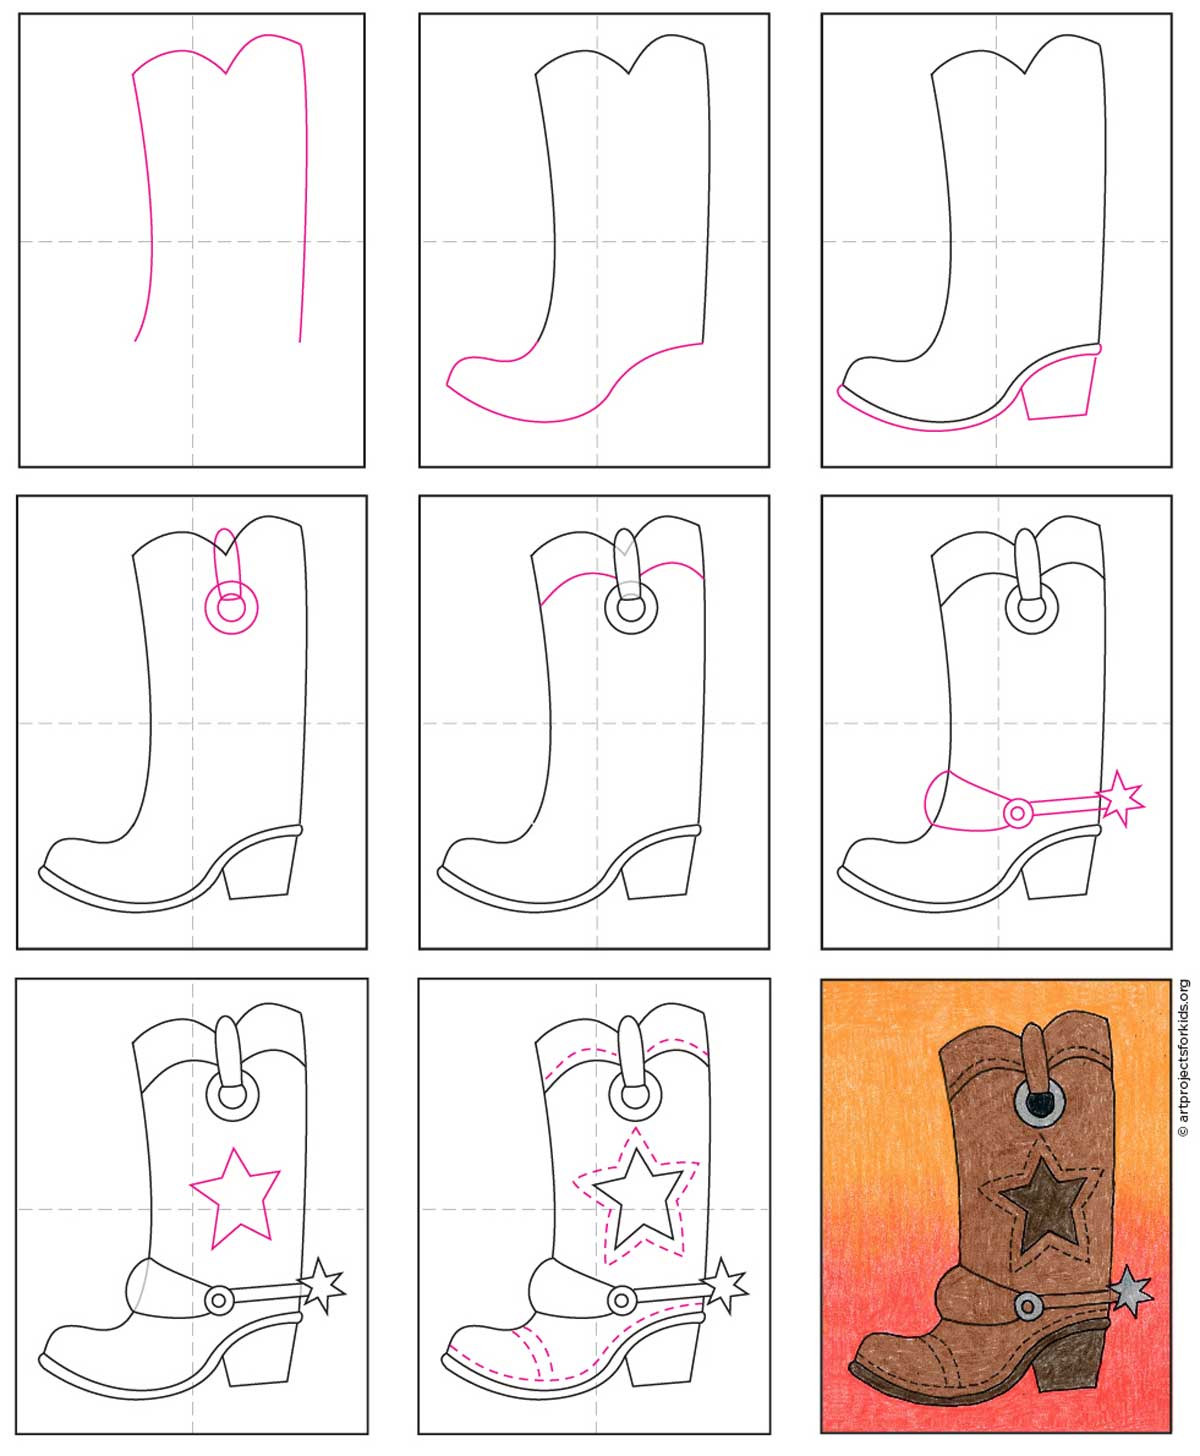
How to Draw a Cowboy Boot
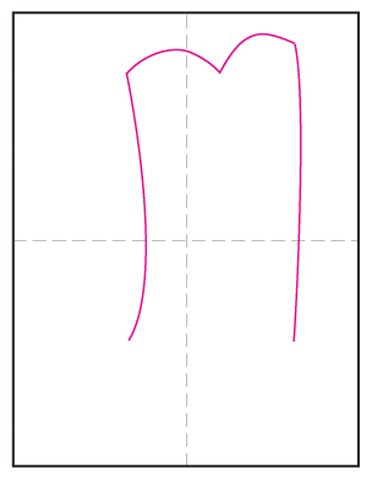
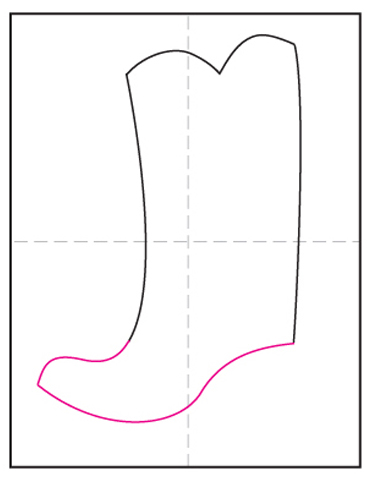
- Start the top of the boot.

- Finish the bottom of the boot.
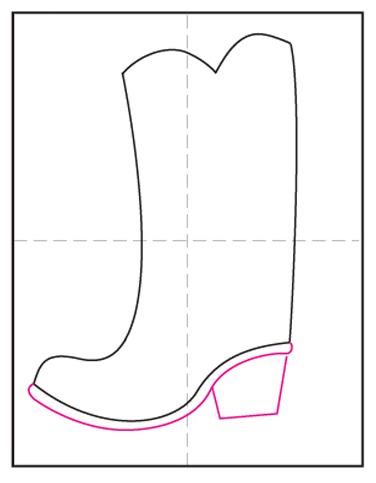
- Add a bottom edge and heel.
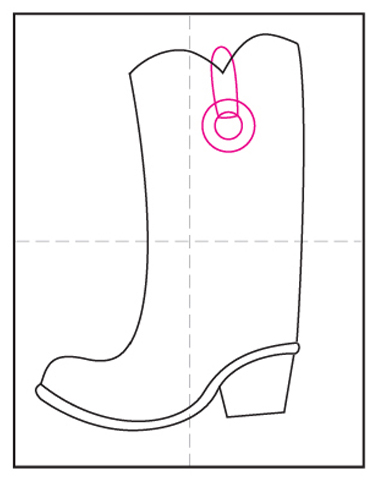
- Draw a ring as shown.
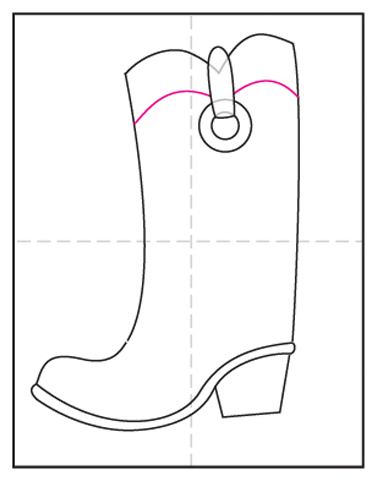
- Erase gray lines and add a curved lines.
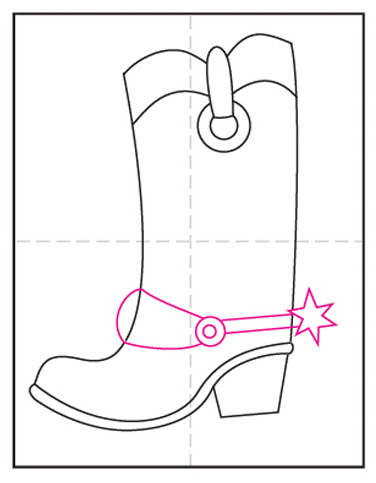
- Draw an attached spur.
- Erase a gray line. Draw a star.
- Finish with stitching lines.
- Trace with a marker and color.


My kids just finished this and they love it. Thanks!