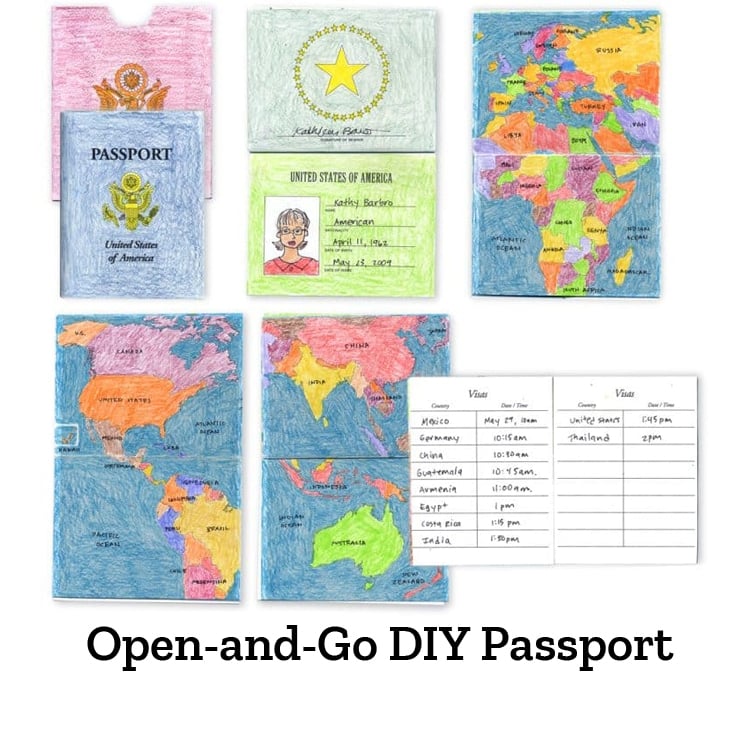


DIY Passport for Kids: Open-and-Go Geography Art Project
$9.00
Make world learning feel real.
This open-and-go DIY passport helps students “travel” through learning with a kid’s passport that looks and feels like the real thing. Print, fold, staple, and start exploring—no special materials, no complicated prep, just instant geography engagement.
Description
Turn Geography Into an Adventure They Can Hold
You want students excited about maps, countries, cultures, and classroom travel themes…but creating all the little details from scratch? That can eat up your planning time fast.
Maybe you’re prepping a world culture unit, organizing stations, launching a “passport to learning” event, or looking for a classroom management tool that feels fresh and fun.
And suddenly you’re thinking, “Wouldn’t a homemade passport be perfect for this?”
Yes. It would.
Meet the Print-and-Go DIY Passport That Feels Official
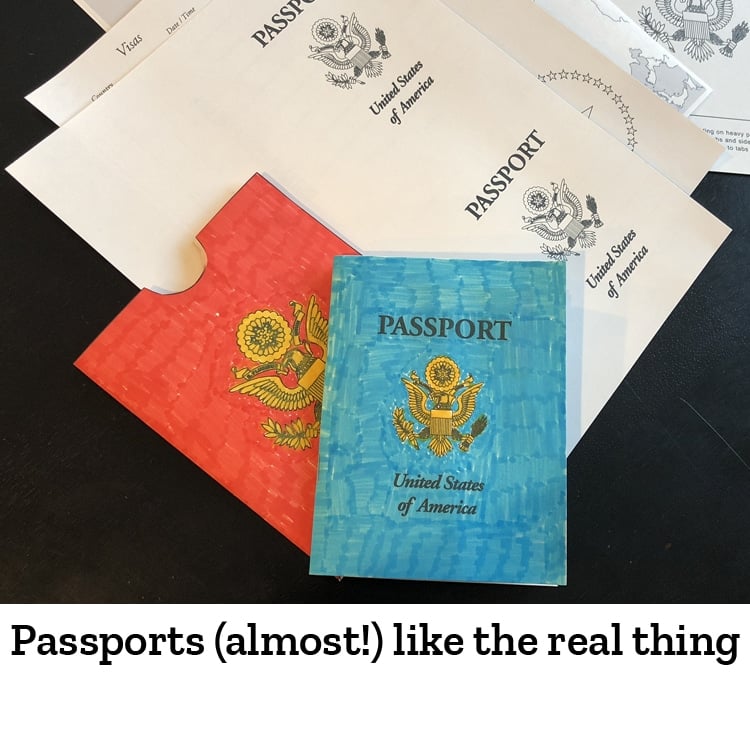
This printable DIY passport gives your students a realistic, same-size-as-a-real-passport booklet they can personalize, stamp, fill in, and use again and again for classroom adventures.
It’s simple to print, easy to assemble, and engaging enough to make geography, social studies, classroom rewards, and travel-themed learning feel instantly more exciting.
No special supplies. No complicated prep. No late-night passport design spiral.
Inside, you’ll find:
🖨️ Printable PDF passport pages
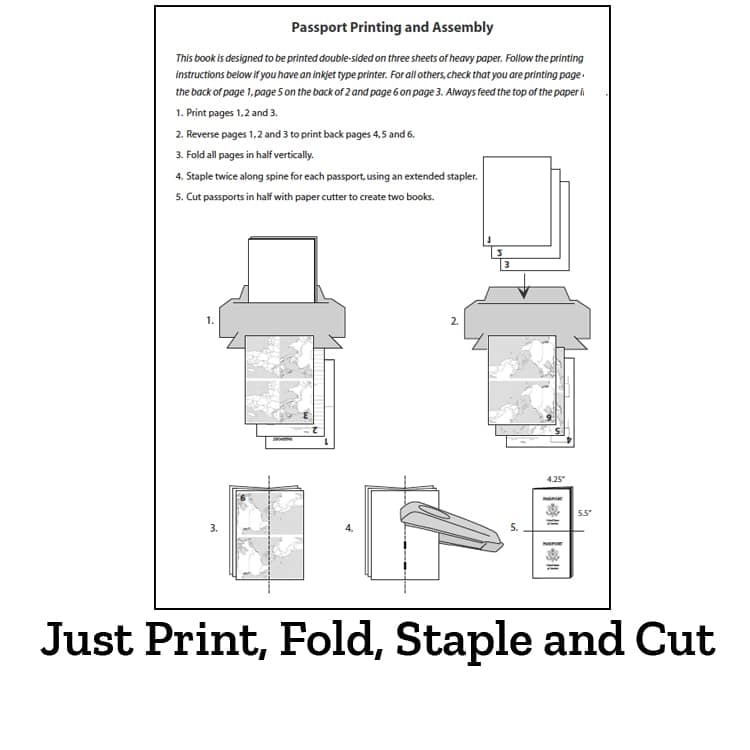
📝 Step-by-step instructions for printing, trimming, folding, and stapling
📝 Google Slide instructions for teaching on a large screen
🎥 Lesson video support for printing, folding, stapling and cutting passports
🌎 Canada and International versions included
Passport pages included:
1.) Personal Info page
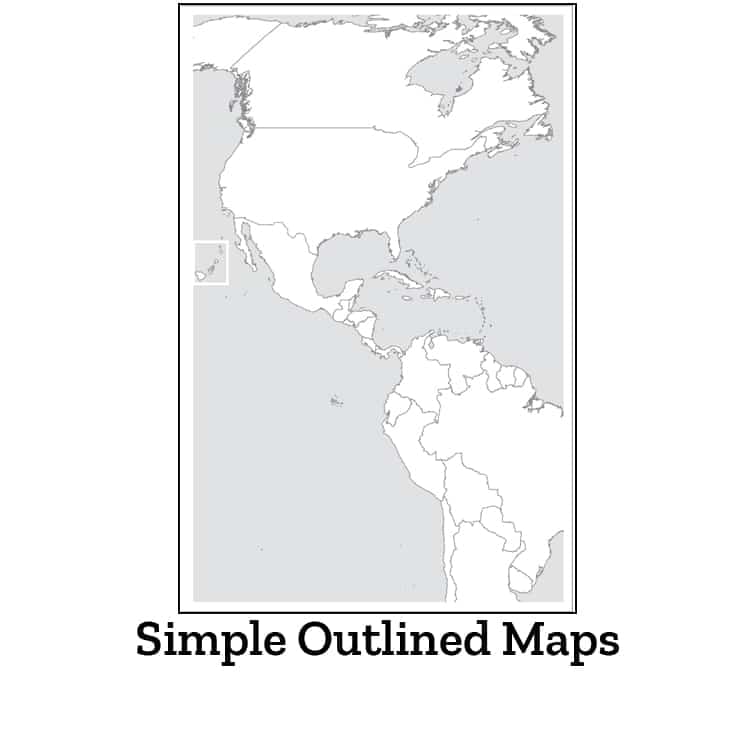
2.) 6 continent pages in outline form
3.) Country visa page
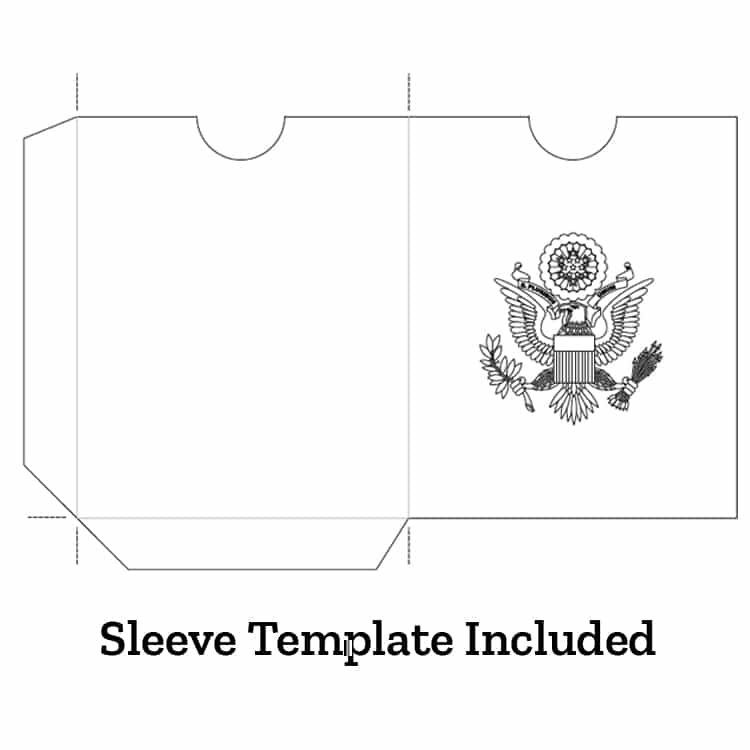
4.) Passport sleeve template
5.) Assembly instructions for printing, trimming, folding, and stapling
The continent maps are outline-only, so students can fill in the names themselves—making this kid’s passport more interactive, meaningful, and connected to your geography lessons.
Want the standards alignment, extension activities, and assessment tools, too? Check out the Art Projects for Kids Curriculum Club and get 35 comprehensive lessons planned for you…every month for about the same price! 🤩
Perfect For Your Next Classroom “Trip”
Use this printable passport for world culture units, travel themes, simulations, classroom reward systems, learning stations, school-wide programs, or passport-to-learning events.
Picture your students opening their passport booklets, filling in map names, collecting country visas, and proudly carrying their learning from station to station.
You’re not scrambling to invent the details.
You’re guiding the adventure.
Become the Teacher Who Makes Learning Feel Memorable
With this open-and-go DIY passport, you become the teacher who turns geography into something students can see, touch, and get excited about.
The one with the clever classroom theme.
The one whose students ask, “Where are we going next?”
The one who made it feel special…without making it hard.
Ready to make your next world culture, geography, or classroom travel activity feel official?
👉 Yes, give me the DIY Passport for Kids now.