Easy How to Draw Buddha Tutorial
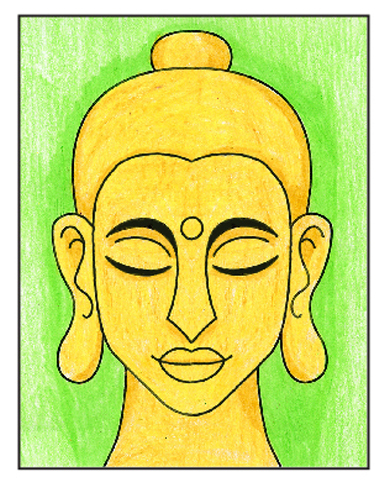
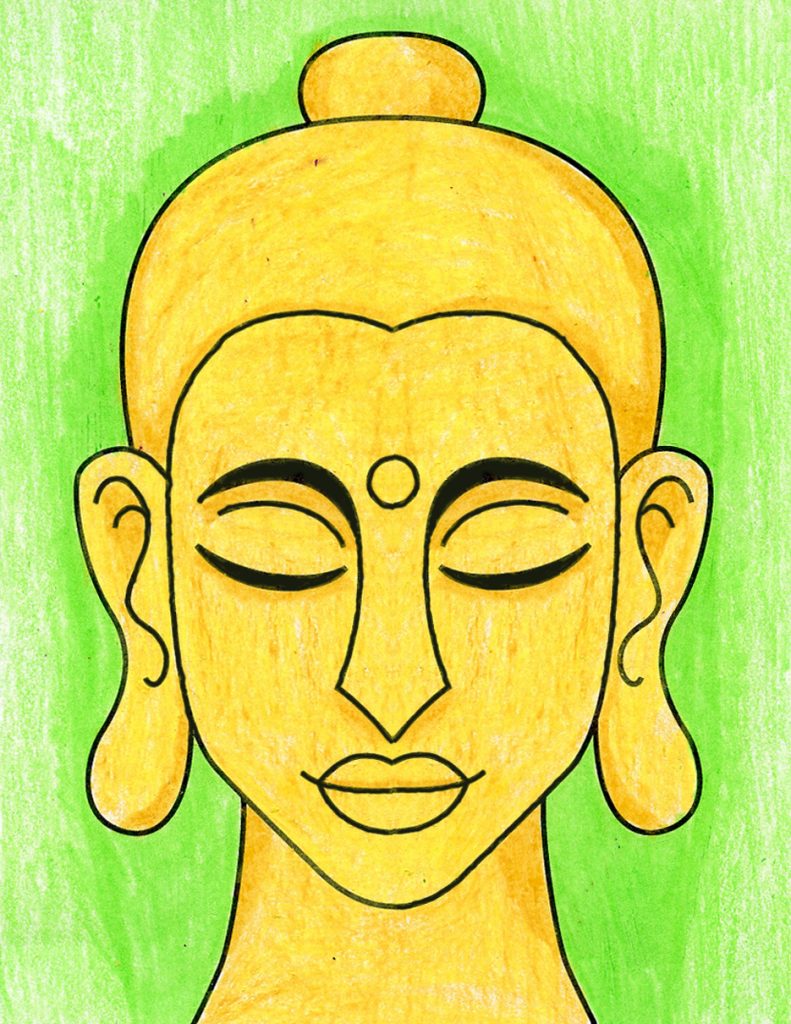
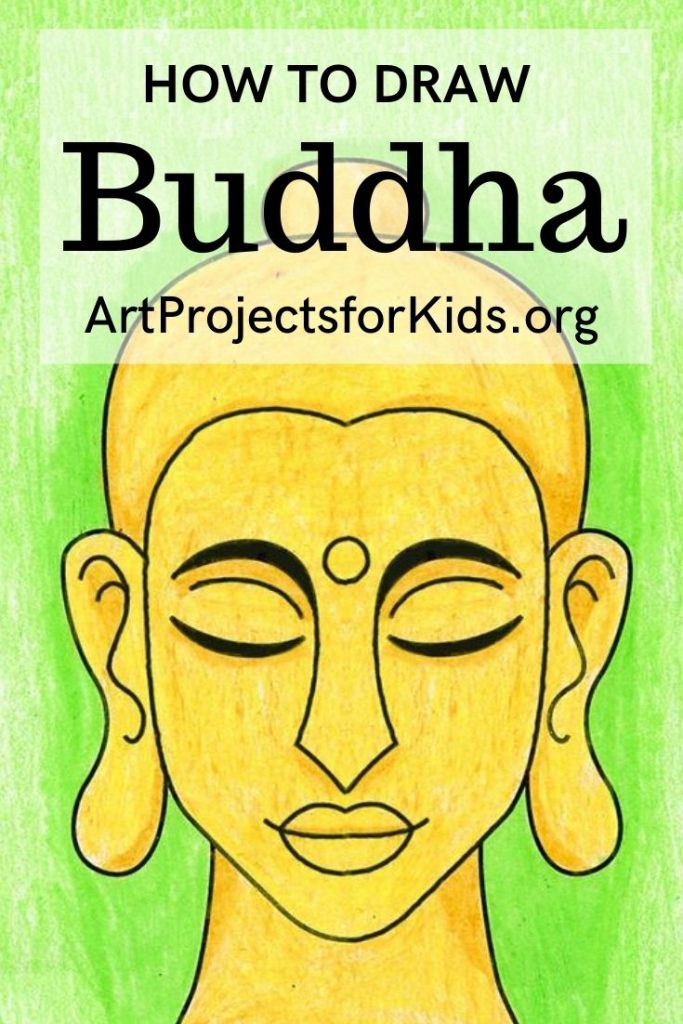
Learn how to draw Buddha with this easy step by step tutorial. Focus on his face so that you can try to capture his very peaceful look.
The Buddha was a philosopher, meditator, spiritual teacher, and religious leader who lived in Ancient India. He is also considered the founder of the world religion of Buddhism.
One way to appreciate the culture and his image in particular is to draw his portrait. His face has very simplified features that are easy to draw and give him a very peaceful look.
All those simple shapes are also perfect for shading so students can try to get a dimensional look, just like a Buddha statue. A little extra pressure in a few corners will do the trick.
Tip: If you’re not happy with your gold color, try layering. The sample above was first colored with a brownish gold, and then covered with a layer of yellow. It added a glow like a charm!
Pin me to your Pinterest Board
Use the Button below to Download a PDF Tutorial
Materials for How to Draw Buddha
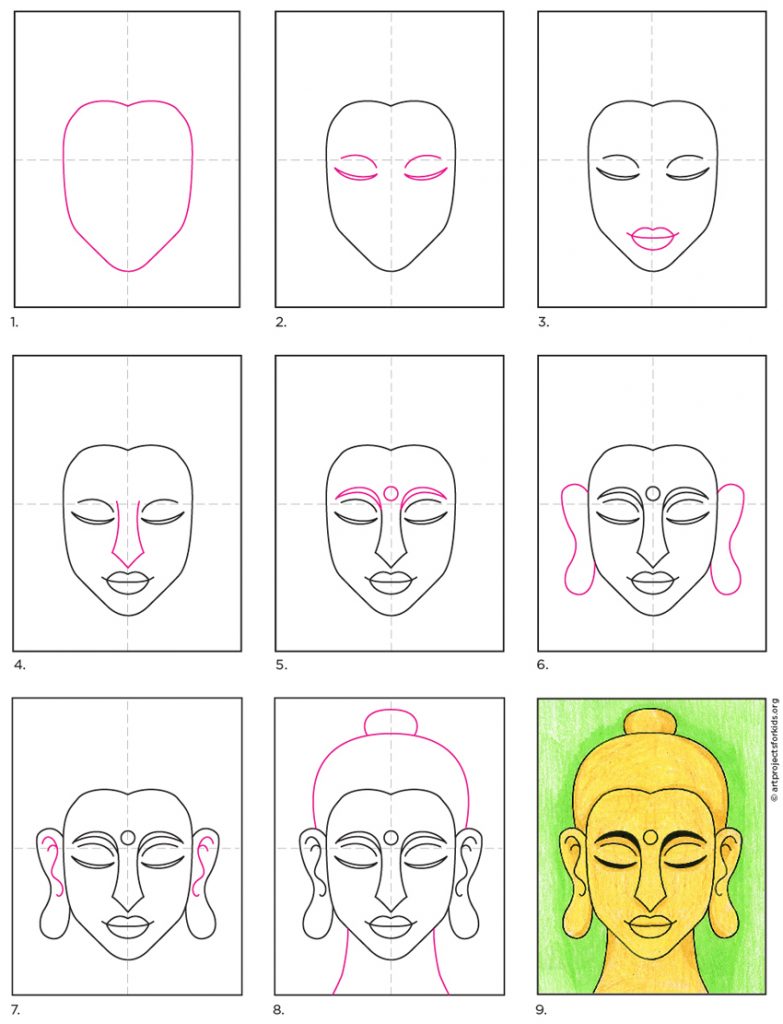
Directions for How to Draw Buddha Step by Step
Time needed: 30 minutes
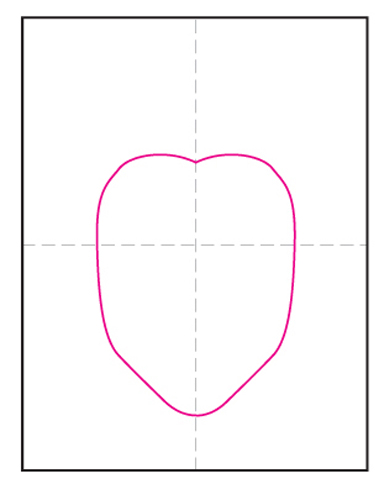
- Draw the outline of the face.
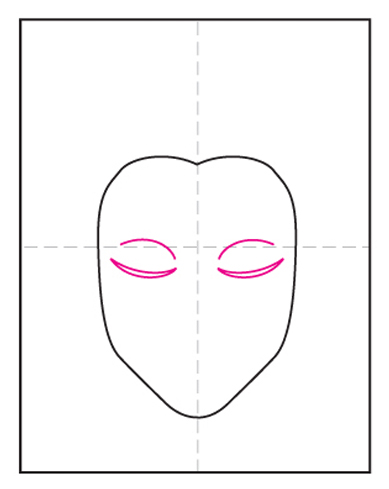
- Add the eye lines.
- Draw the lips.
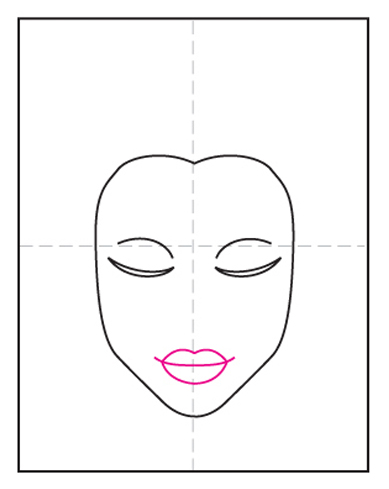
- Add the centered nose.
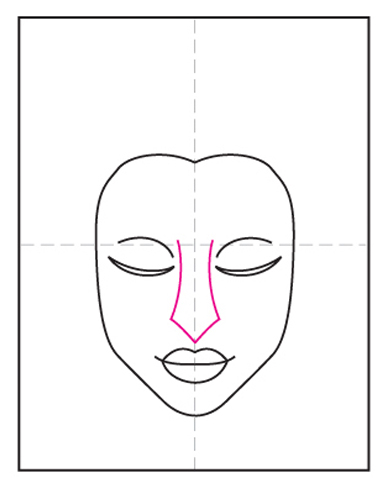
- Connect the brows, add circle.
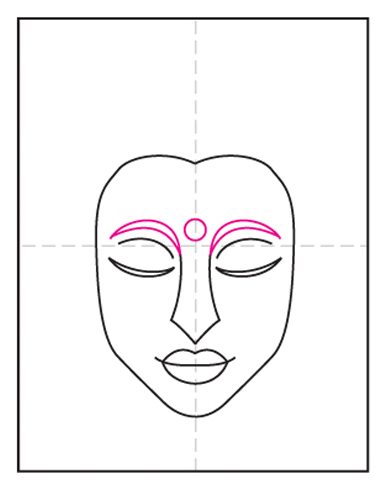
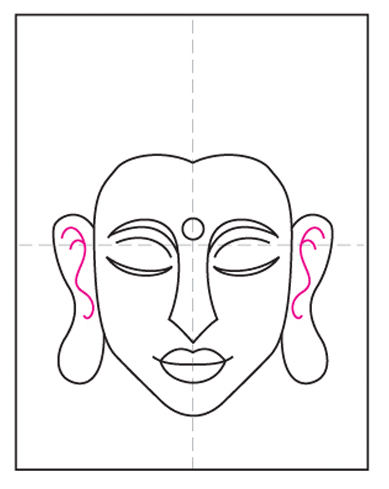
- Draw the large ears.
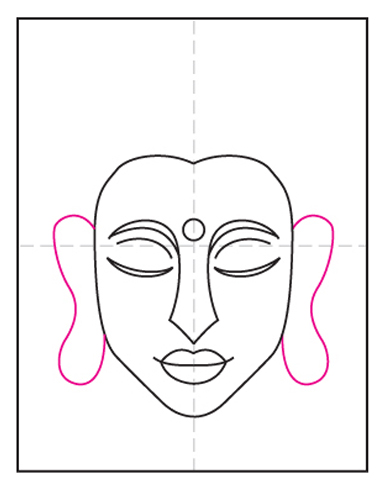
- Add the details inside.
- Finish with neck, hair and bun.
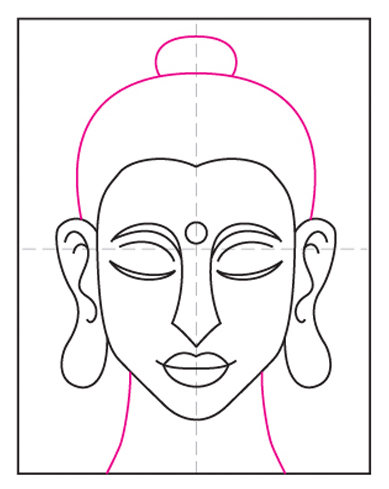
- Trace with marker and color.
