How to Make an Art Journal for Elementary Art Projects


Below you’ll find easy instructions for how to make an art journal. It’s a flexible system that uses tools and supplies you may already have!
Art Journals
There’s a reason why artists have collected their art in journals for hundreds of years. Who wouldn’t opt to have all their personal work in one spot? To be able to flip back to see what they did before, and maybe keep things they are still working on?
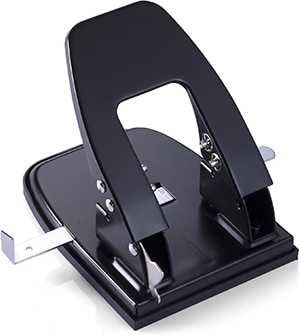
As a teacher to an elementary school of 800 students, I struggled with this wish for years. Every option I found was either too expensive or too inflexible or too time consuming to put together. That is, until I discovered a two-hole punch at my local Staples store.
Some experimenting led to this 6″ x 9″ art journal system that worked so well, I adopted it for all my 2nd through 5th graders for quite a few years.
A few benefits of the Recycled Art Journal System
- Save money. You only need two book rings per student, and 9″ x 12″ art paper cut in half. The covers are free if you recycle by having students bring in old boxes.
- Save time. No more sorting of artwork. Each student is now responsible for finding their journal and putting away their own art at the end of each class. Third graders on up can easily do this, any younger and they can do this with some assistance.
- Cut down on unfinished work. The 6″ x 9″ paper is much easier to finish than the usual 9″ x 12″ size, especially if your art class is short on time. Early finishers? Easily flip back to old work and complete unfinished projects.
- Get art home safely. Single projects that go home in backpacks often get folded and beat up in the process. This guarantees some protection until the end of the year. Making art at home? Now you can keep sibling art separate.
- Parents love the keepsake. They have an easy way to save all their child’s work in one place too. This is especially true for those with siblings, when it’s hard to keep things separate.
- Journal growth instills a sense of pride. Students start to appreciate the idea that some things take time, that a collection of their work can be pretty amazing if they just keep at it. A few pages at the beginning of the year turns into something pretty substantial by the end.
Use the button below to get a PDF tutorial

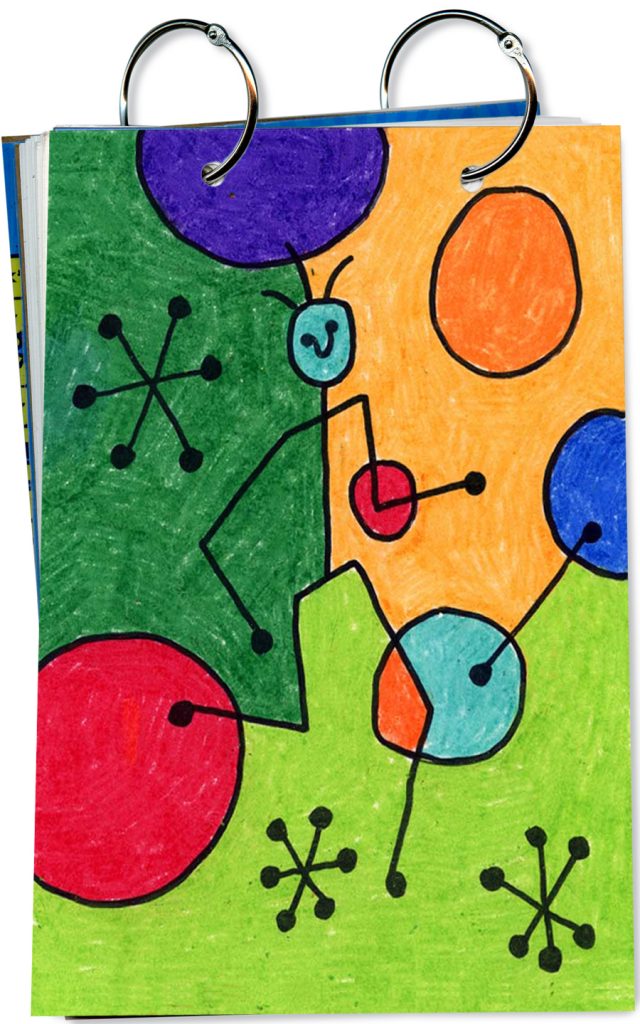
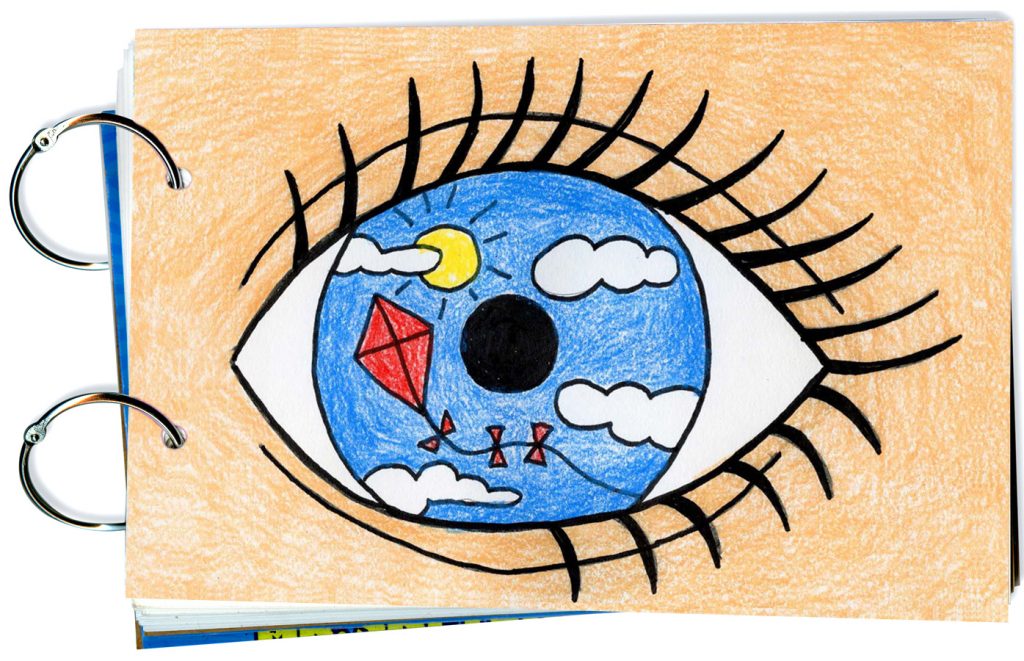
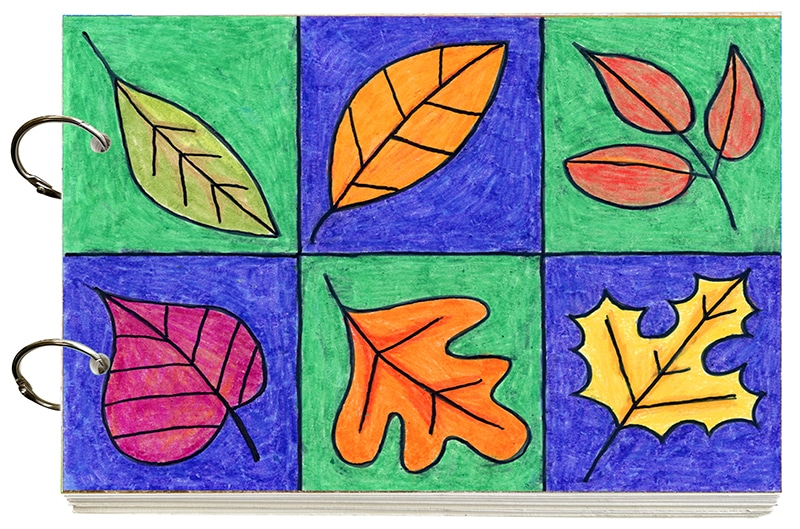
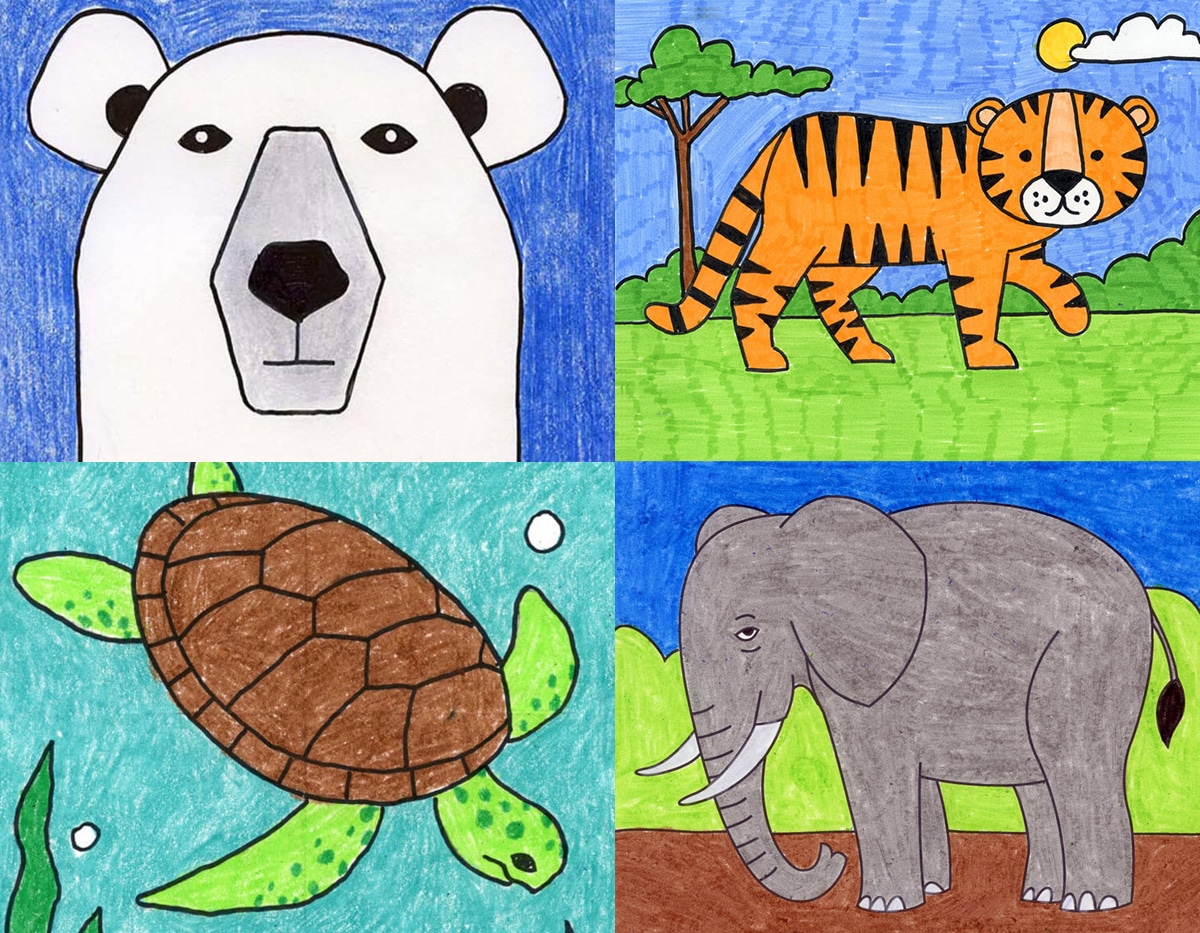
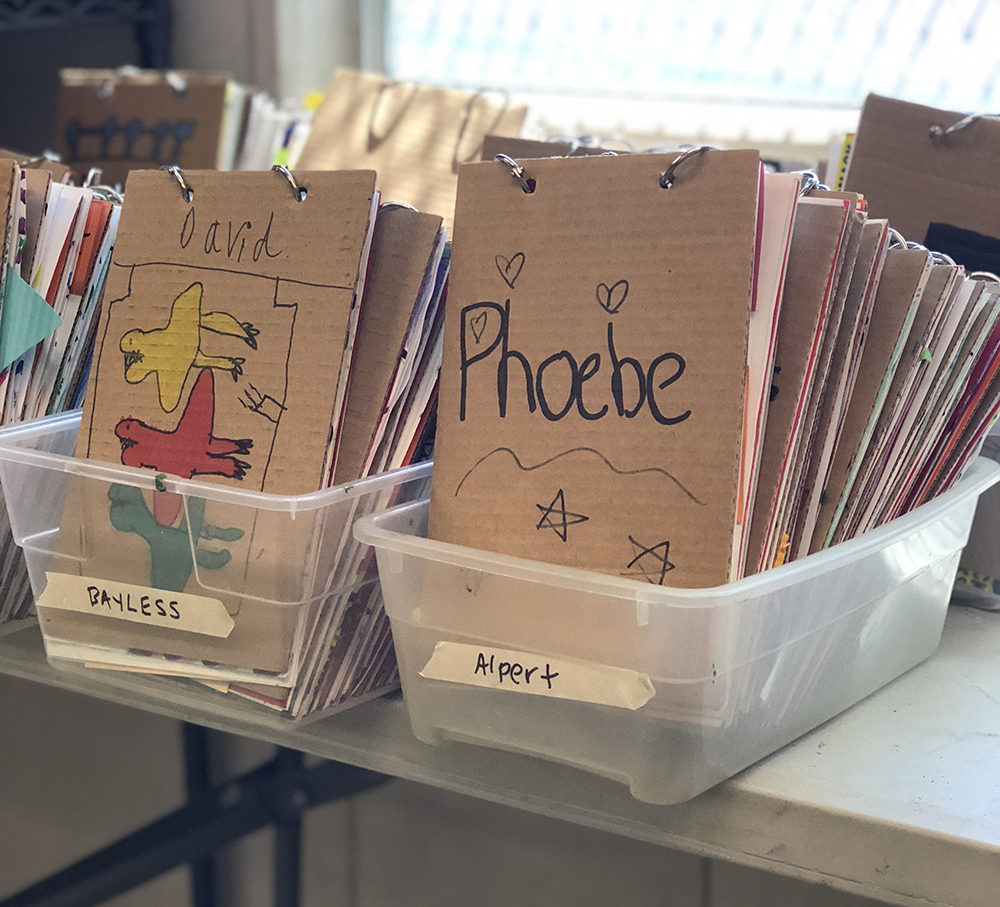
Art Journals made with Cereal Box Covers
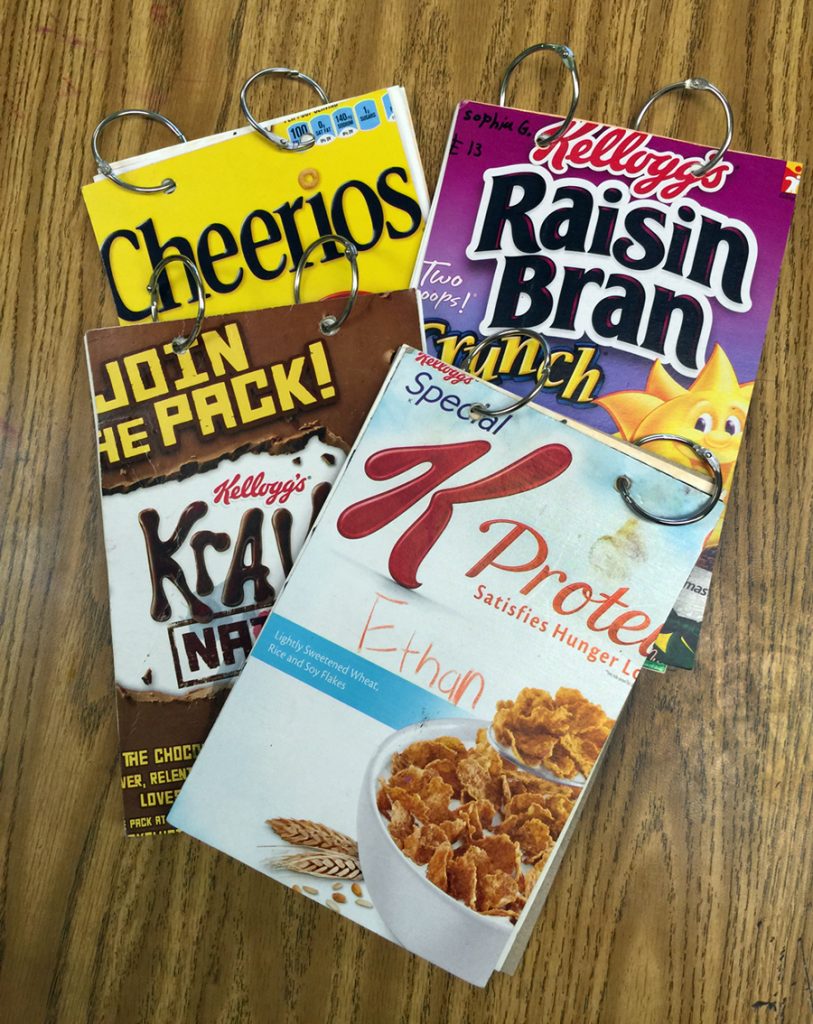 Journals created with cereal boxes
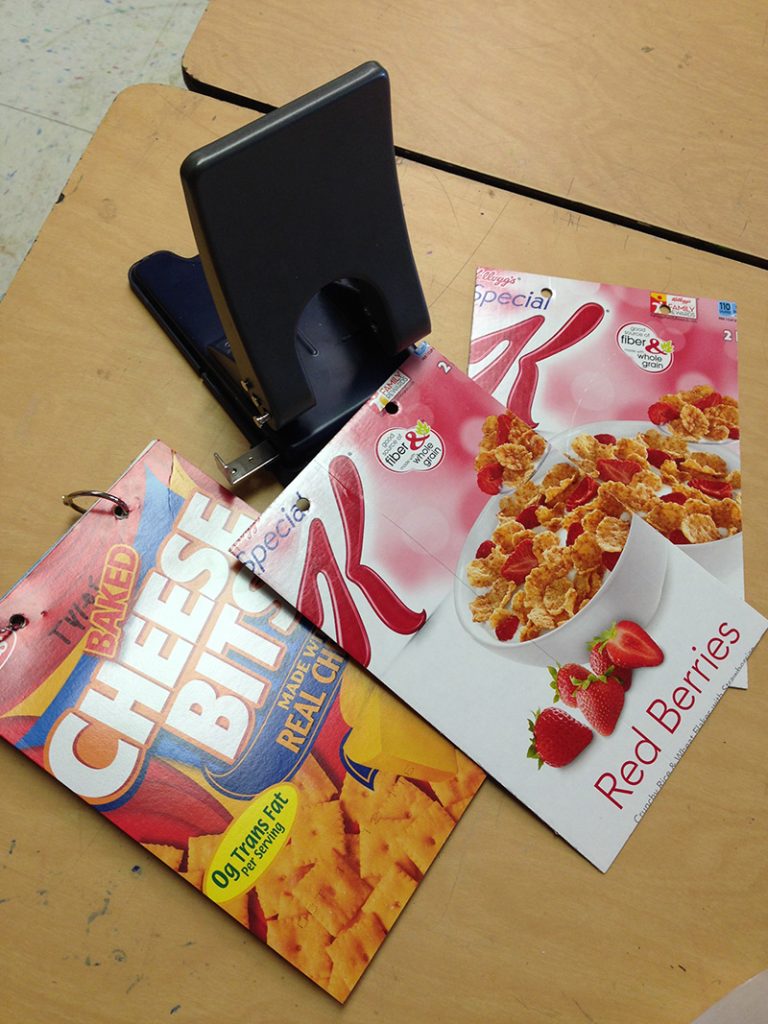 A two hole punch does the job
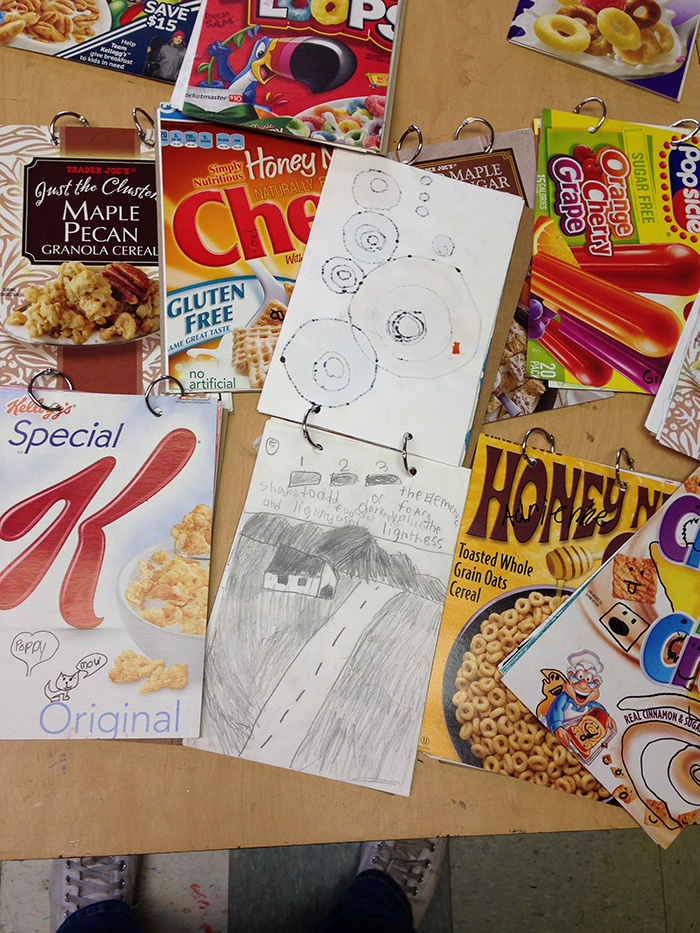 As assortment of student journals
*The links below are affiliates. If you click and take action, I may be compensated.
Materials for Art Journals*


Directions for making an Art Journal
Time needed: 30 minutes
How to Make an Art Journal
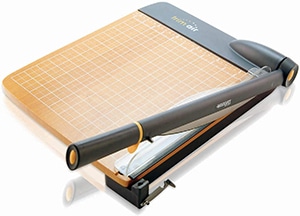
- Cut 9×12 drawing paper in half (to 9″ x 6″) with a paper cutter.

- Use paper punch to center two holes at the top of one end.
You can find these paper punches at any office supply store, and cost under $15. Use the levers to center your holes.

- Cut cardboard to 6″ x 9″ with a paper cutter.
Start with the standard 9″ x 12″ paper and chop it in half.
- Assemble cover and paper with book rings and clamp shut.
Younger students may need help opening the rings, but 2nd grade and higher should be able to do it themselves.