How to Make a Kindergarten Self Portrait Project
Here you’ll find an easy step-by-step tutorial for how to make a Kindergarten Self Portrait project that makes a wonderful work of art.
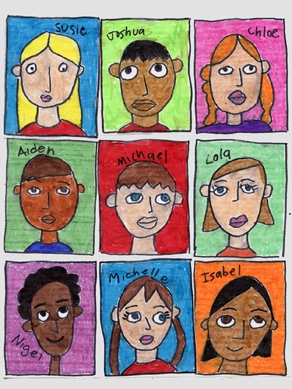
Kindergarten Self Portraits on Canvas
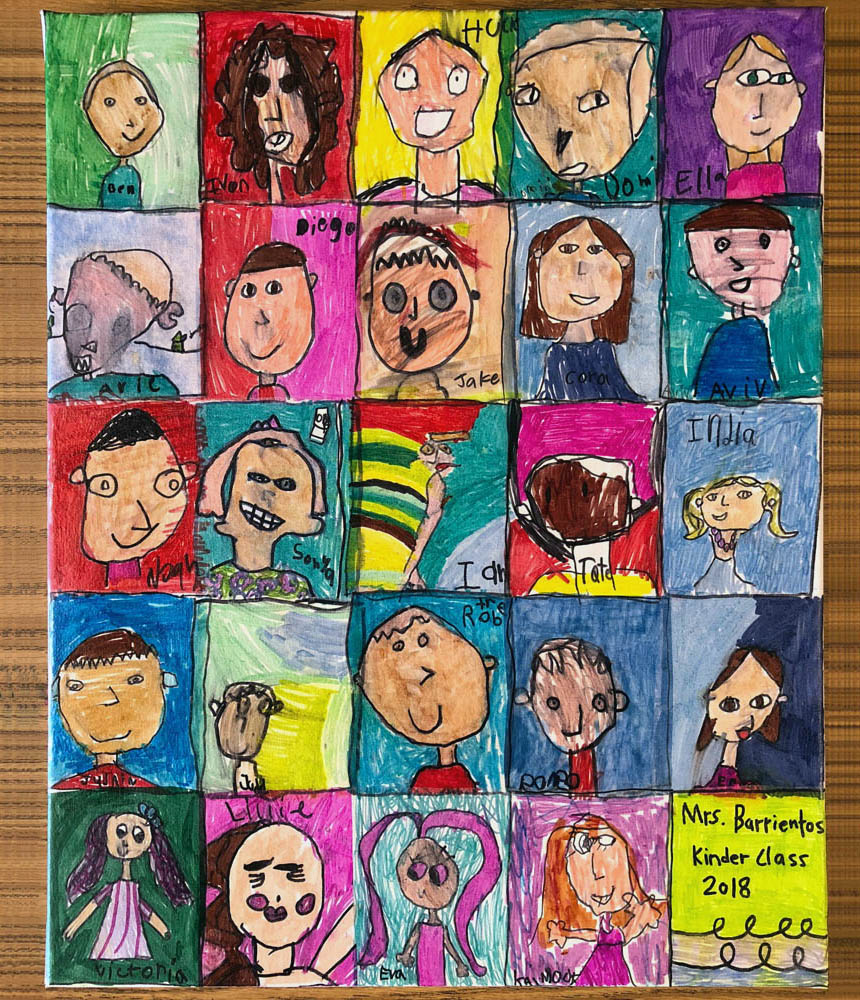
Kindergarten self portraits have a built in charm, with their wobbly lines and all, so why not make a special display by applying them to a stretched canvas? You’ll have a special work of art that commemorates this time in their life, all ready to hang in a very a polished looking way.
This idea of applying drawings to a canvas was created years ago while I was still working in a public elementary school. There was a natural interest in making group projects for classrooms, not only to hang on their walls, but possibly to raise money for school fundraisers too.
Some chance materials on hand lead to experimenting with Sharpie drawings on DRY wax paper, which was thin but strong, and then kind of decoupaging them to a stretched canvas with watery white glue. The result was a drawing that kind of “hugged” the canvas as it dried, and ended up with the illusion that students drew right ON the canvas.
Why not just draw the self portraits on the canvas?
If your brain is wondering, “well, why not just have students draw on the canvas?” then here are a few reasons why:
• You obviously can’t undo or erase permanent marker on canvas, and that wouldn’t work with adults, let along children.
• Even if you did draw on the canvas, the texture is pretty rough. Sharpies love a smooth surface and make MUCH brighter color they are on one.
• Drawing on the canvas would only let one student work at a time, instead of each letting each student make their own drawing, at their own desk.
If you are looking for a solution to make kindergarten self portraits that celebrate their charm, especially as seen in a classroom group, this project might be just what you need. The supplies are pretty inexpensive, aside from maybe the Sharpies, but once you do own them, all kinds of other projects are possible too!
For further inspiration, and to see how I used this combination of Sharpie drawing on canvas for years in all different kinds of ways, check out some other photos included below. Find out for yourself why it was my go to group project every year, for just about every 15 years I was there.
Making Canvas Art with Pre-K students
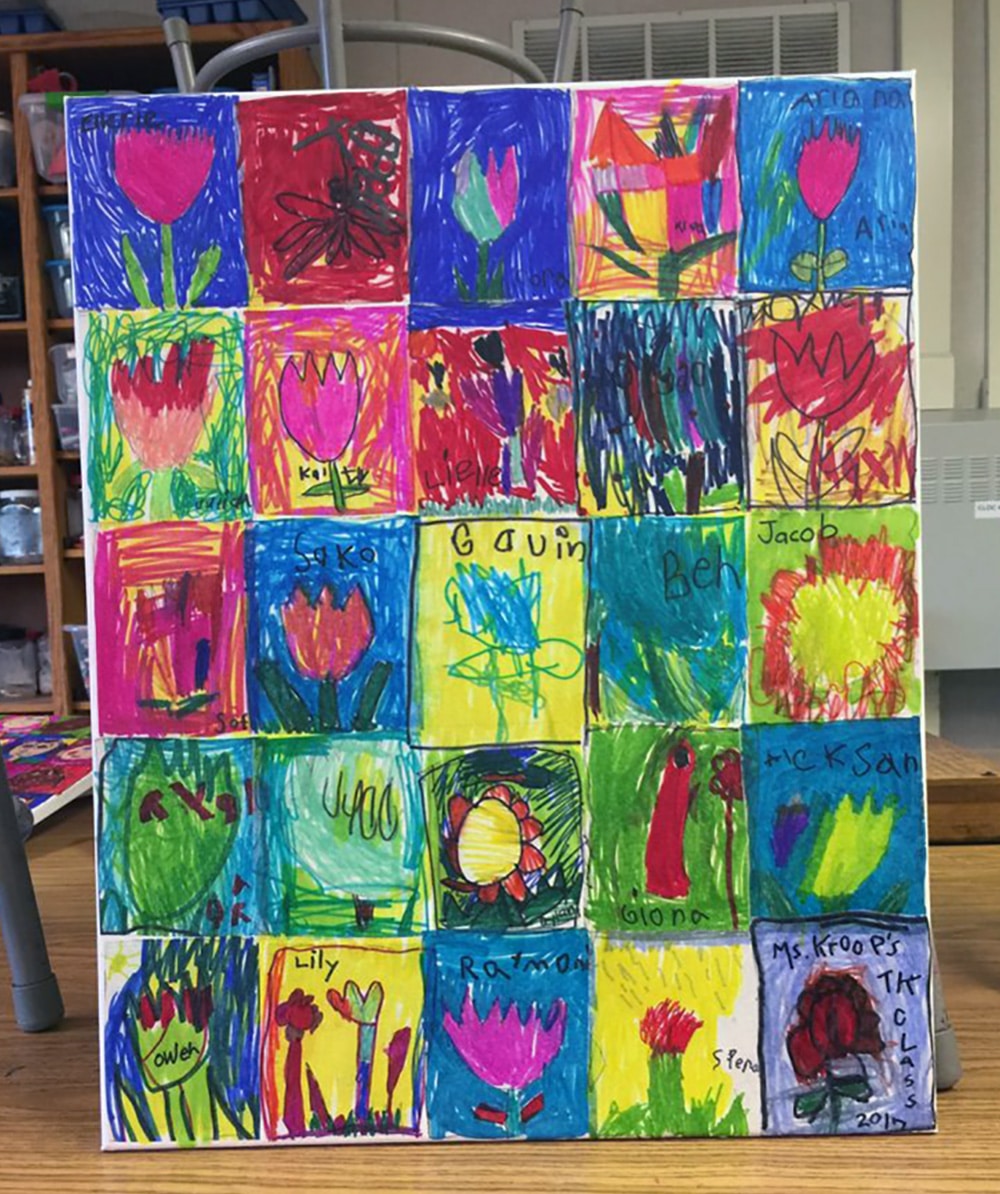
If your students are too young to draw faces yet – try having them draw something else instead. This canvas was done by a pre-K class (ages 4 and 5 I think?). They were asked to draw a flower and then add their name when they were done. I LOVE the scribbly-ness of this canvas!
Self Portrait Canvases on Display
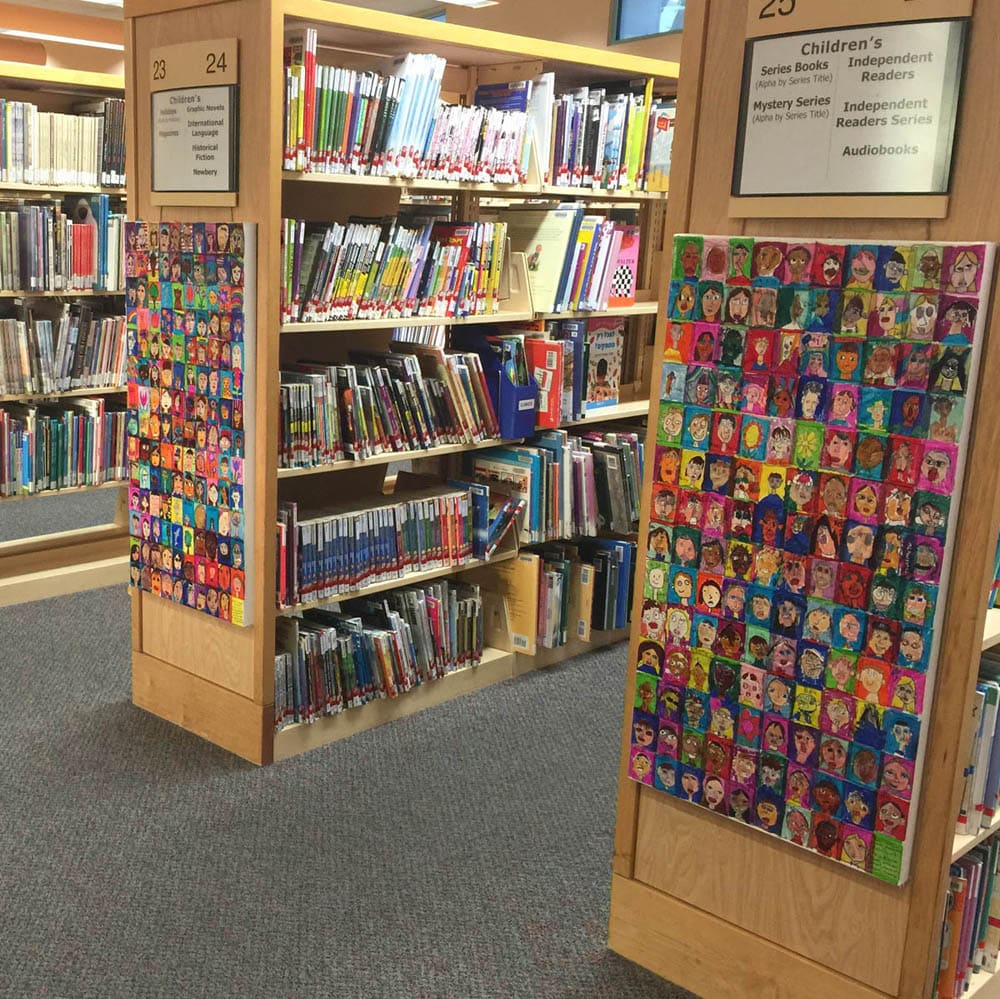
Feeling ambitious? Get a large canvas and make a grade level composite. That’s what I did when I made this display for our local library. Each canvas represents a grade level. It takes some planning, but can make an amazing work of art when it’s all complete!
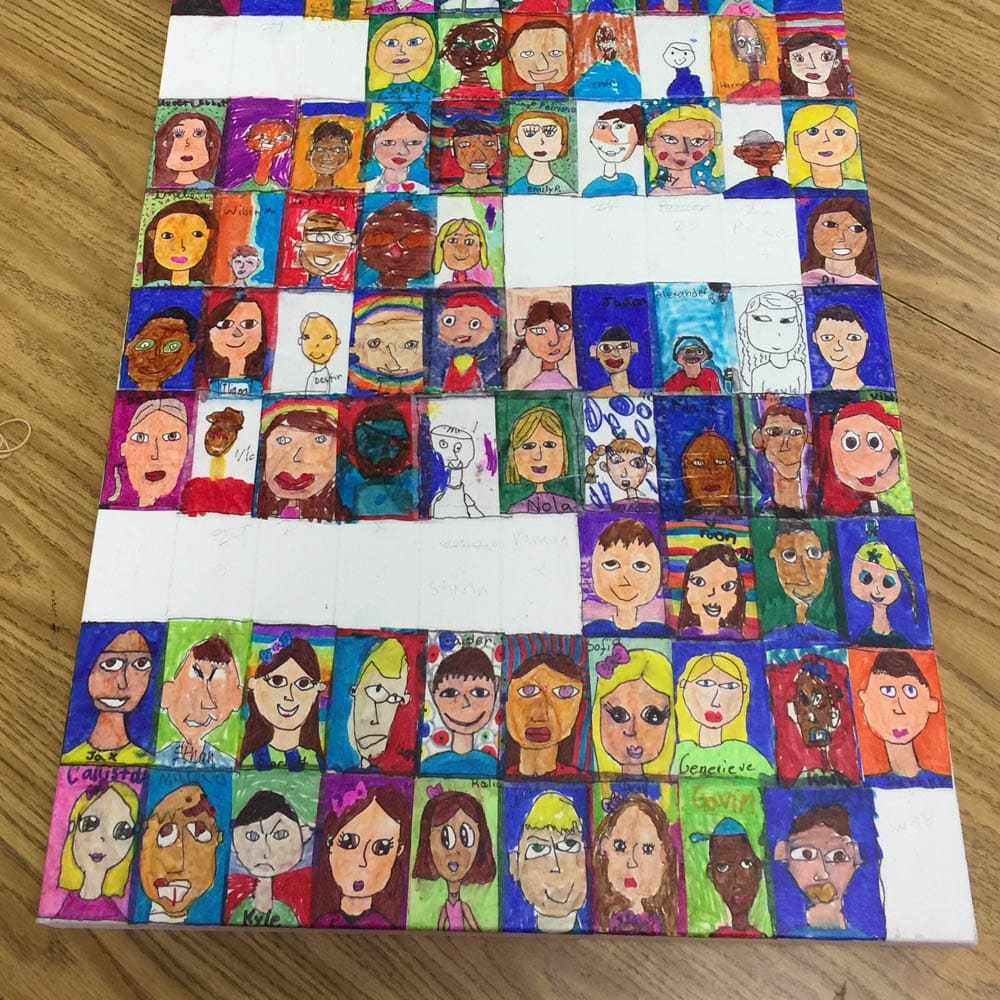
5th Grade Self Portrait Display

This is taking the canvas idea an kind of putting it on steroids. Instead of doing a free sketch of themselves, 5th graders traced a photo of their faces onto the dry wax paper. It gave everyone an even chance of drawing something a little more realistic than they could have done on their own.
This canvas represents three fifth grade classes all combined into one. The flowers were used to be the dividers to separate them. Quite a labor of love, but the cool pop art look was so worth it!
Sample Kinder Self Portrait Directions
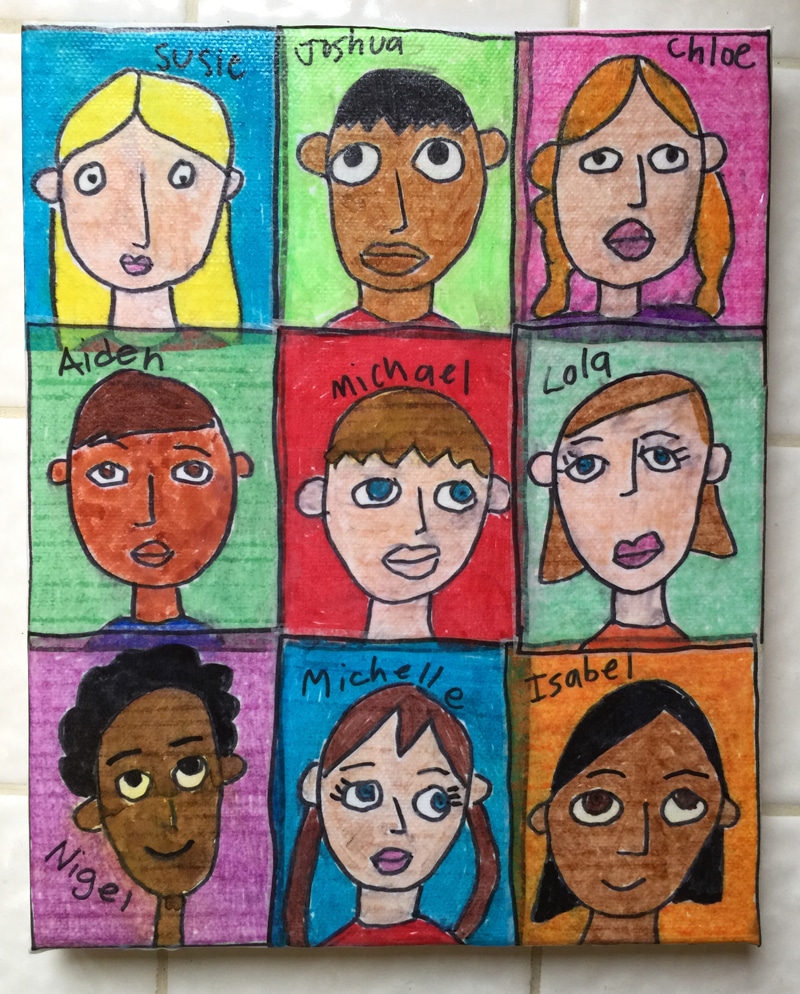
In order to share the process of how the canvas goes together, I made this scaled down version of just nine faces on a 8″x10″ canvas. The process is the same, only the sizes of the boxes are different.
The most important tip to share is that the paper needed must be DRY WAX paper. It’s not what you buy at the grocery store. It’s what restaurants put under food. It looks like wax paper, but is much thinner, which is important for it to cling to the canvas when you are decoupaging it on. I don’t think the brand matters, but the packaging must say DRY WAX PAPER. Fortunately, Amazon has many to choose from.
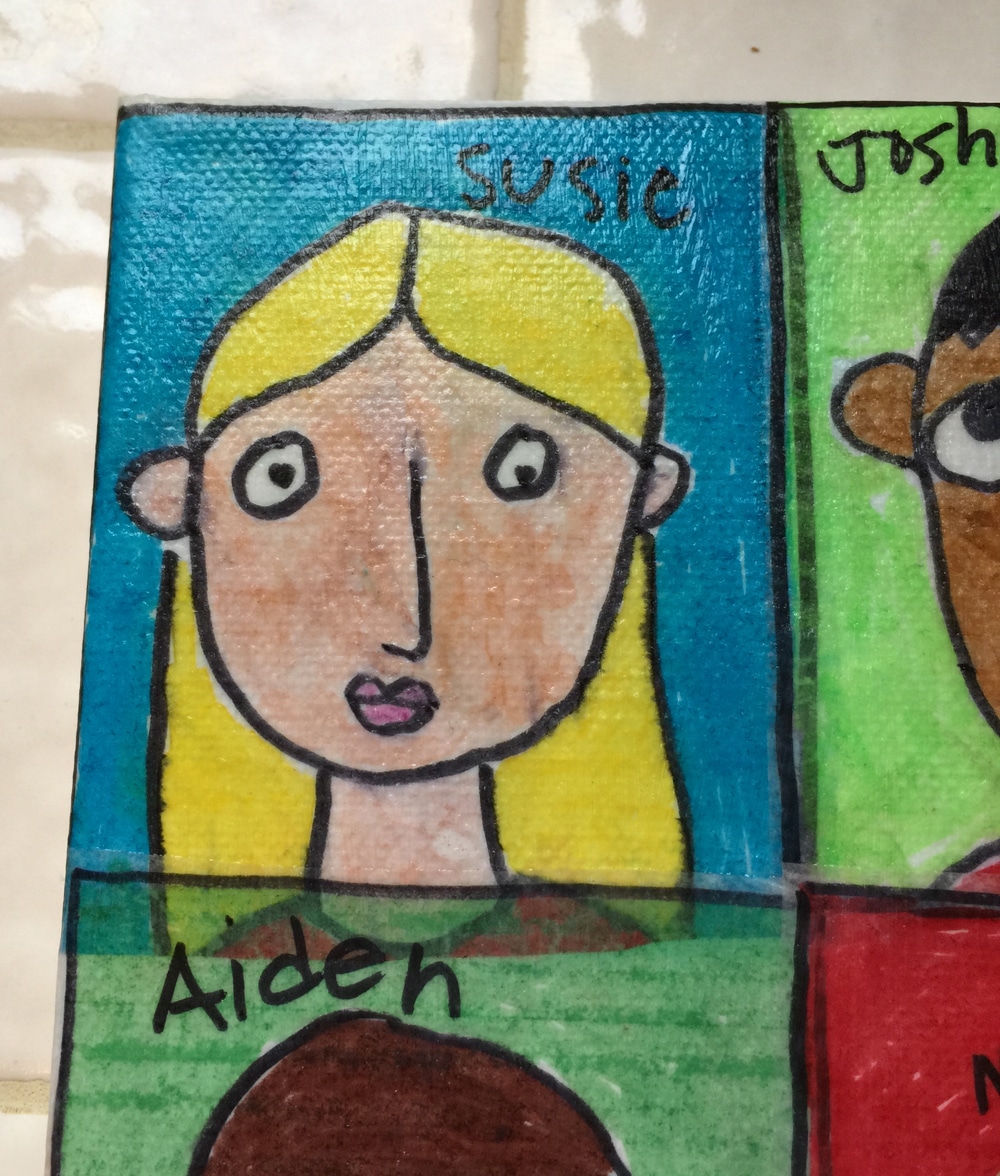
PLEASE NOTE: The application of the rectangles onto the canvas is, as you can see, pretty forgiving. Because of the casual drawings that you’ll have, a little overlap of the edges works fine too. That means that any drawings that were accidentally made a little too wide, or a little too narrow, can easily be adjusted to fill in the space. No perfect alignment of anything needed here! In fact, the more handmade this looks — the better!
Use the button below to grab this PDF tutorial
Materials for a Kindergarten Self Portrait
Note: This post contains affiliate links. If you click and take action, I will be compensated a small amount at no expense to you.
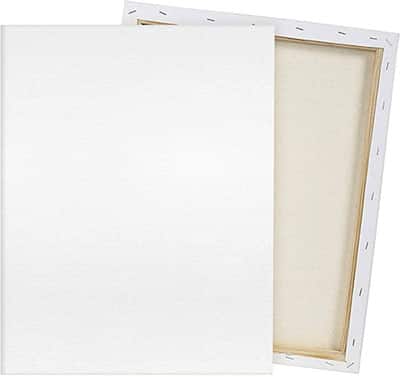
- Pre Stretched Canvas 18×24. This is the size I used for the kindergarten classes that had a 24 students or less. It made for rectangles (3.6″ x 4.8″) that were workable for small hands.
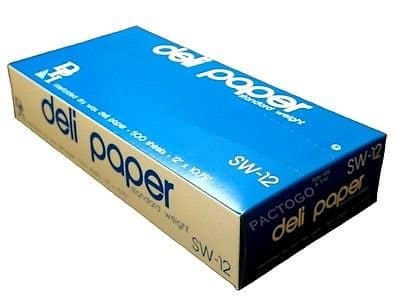
- Dry Wax Paper. Durable Packaging 12″ X 10 3/4″ Interfolded Wrap Deli Paper Sheets, 500 Wax Paper Sheets. This one box will last a lifetime.
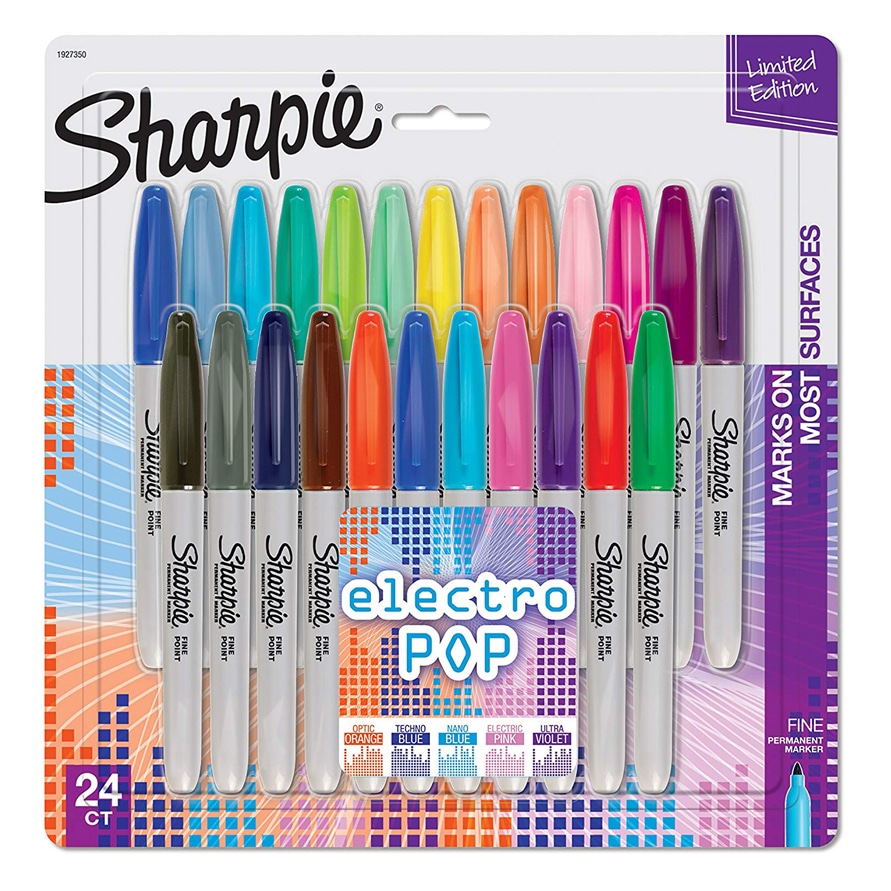
- Sharpie markers. Great colors, but sometimes lacking when it comes to skin colors.

- Sharpie Skin Color Markers. To truly celebrate all the skin colors in your class, I recommend buying a set of skin markers too.
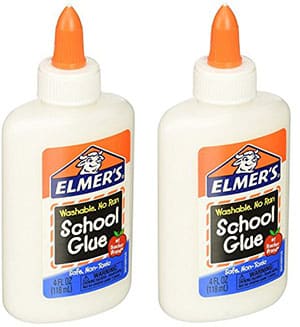
- Elmers White Glue. You don’t need much, the glue is mixed 50/50 with water to make it easy to apply.

- Black Sharpie Marker. These fine point permanent markers are great for the outline in your drawing. Especially when they are new – those points are very helpful when tracing the faces.
Directions to make a Kindergarten Self Portrait
Time needed: 1 hour
How to make a Kindergarten Self Portrait Canvas
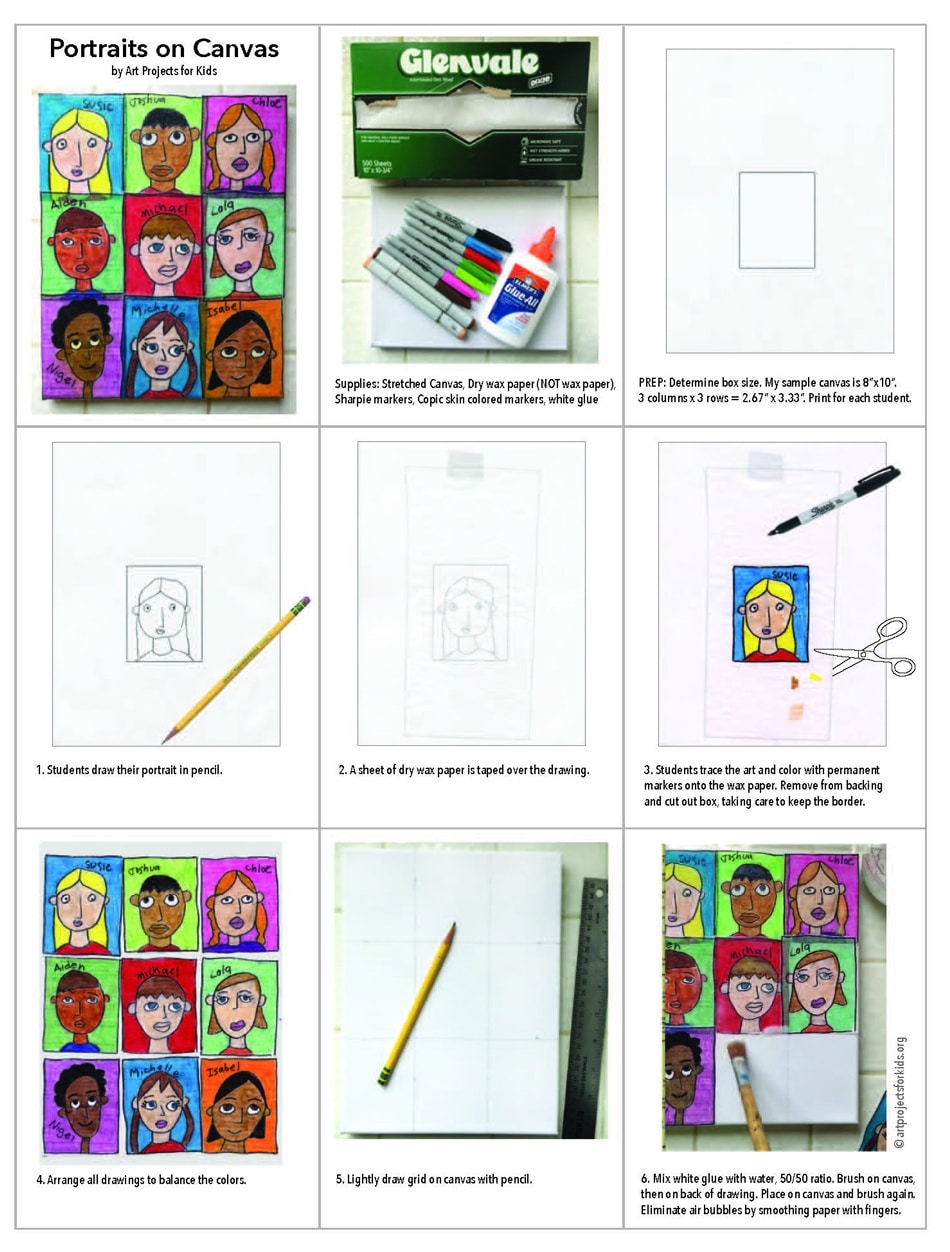
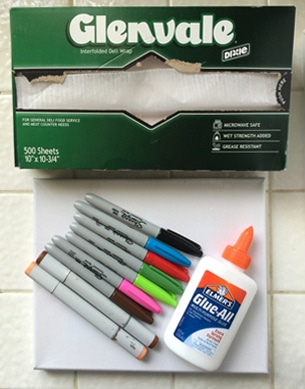
- Collect your art supplies.
Stretched canvas, DRY wax paper, Sharpies, permanent skin colors, and white glue.

- Do your math to figure out the size of each student’s rectangle.
Print one for each on copy paper.

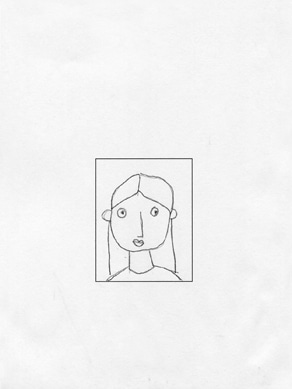
- Students draw their self portrait in pencil.
Encourage them to draw a head that mostly fills the space.
- Tape dry wax paper over the drawing.
You will be able to see the drawing, as the paper is pretty transparent.
- Students trace and color their drawing with permanent marker.
- Trim out all of the drawings.
Arrange the self portraits as desired on the canvas.
- Lightly draw your grid on your canvas with a pencil.

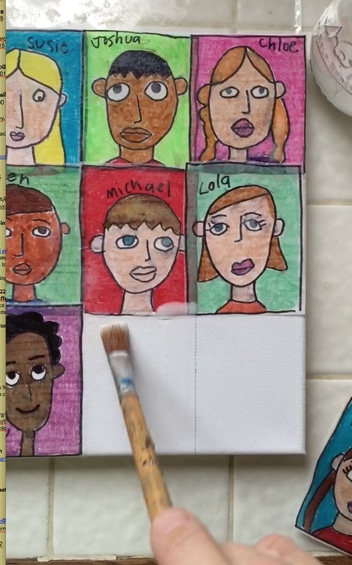
- Decoupage the drawings to the canvas using these 4 steps.
1. Apply watery glue to the canvas to make it wet.
2. Apply watery glue to back of drawing to make it wet too.
3. Apply drawing to the canvas and add more watery glue to the back so it is completely saturated.
4. Use your fingers to smooth out any bubbles. See video below for an example.


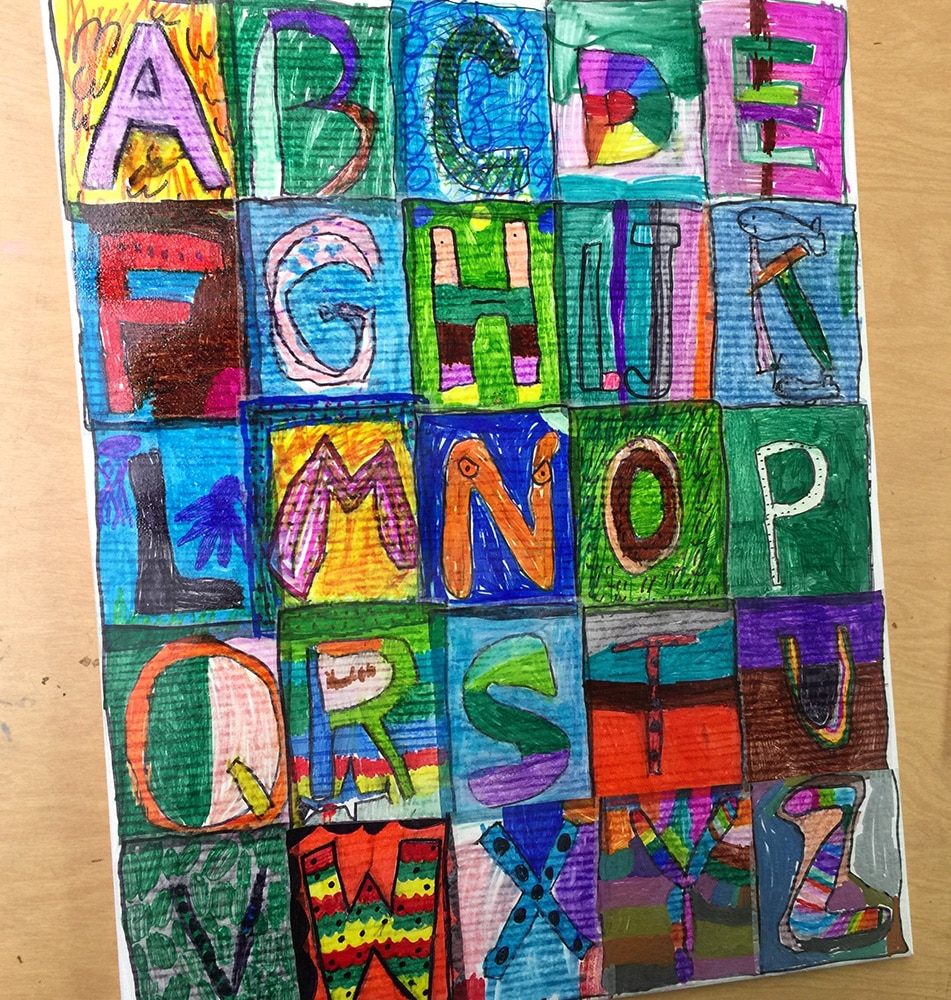
More Sharpie and Canvas Art Ideas

Alphabet Art 
Colorful Hearts 
Abstract Faces

I’m excited to try this project. I start this week. Thanks for sharing.
Do you think that it would be okay to use regular Crayola felt markers rather than Sharpies? I know they are not waterproof like a Sharpie but every child in my class (school) has a set and it would make things easier to get started.
Thanks again for all your wonderful ideas.
Cheers,
Mike
Richmond, BC
Hi, sorry for the delay, I sometimes miss messages here. I wish Crayola markers would work, but they will smear as soon as you try to glue the drawings to the canvas. They don’t have to be Sharpies, but they do have to be permanent. Hope I caught you in time!