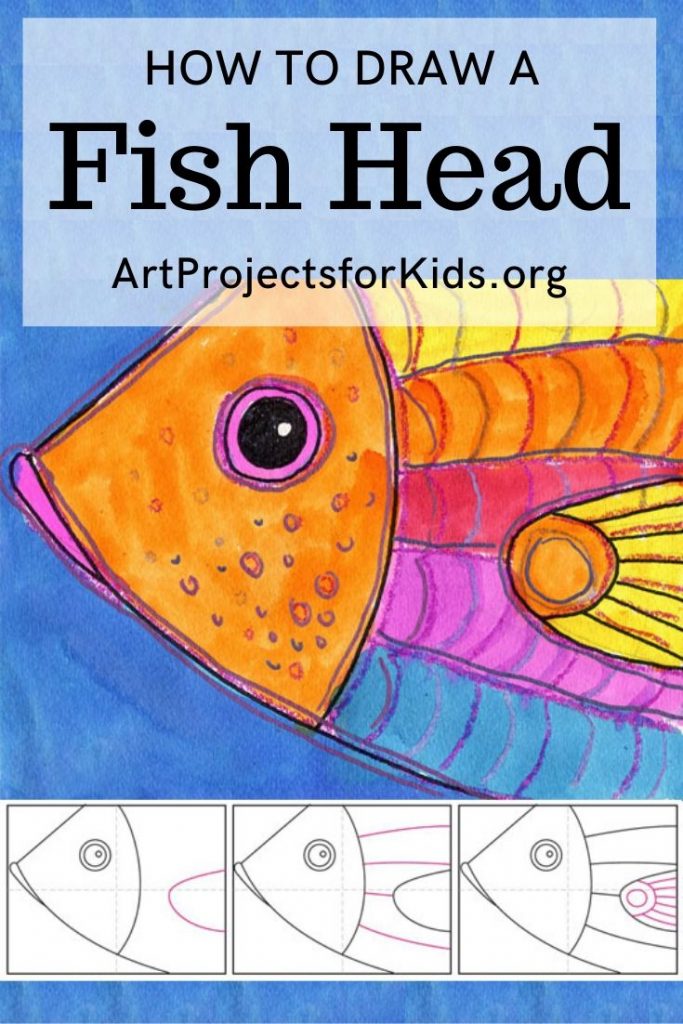
How to Draw and Paint a Fish Head: Easy Watercolor Resist Art Project Tutorial Video
Learn how to draw a fish head, and turn it into a colorful watercolor resist painting. Metallic markers add some extra shimmer.
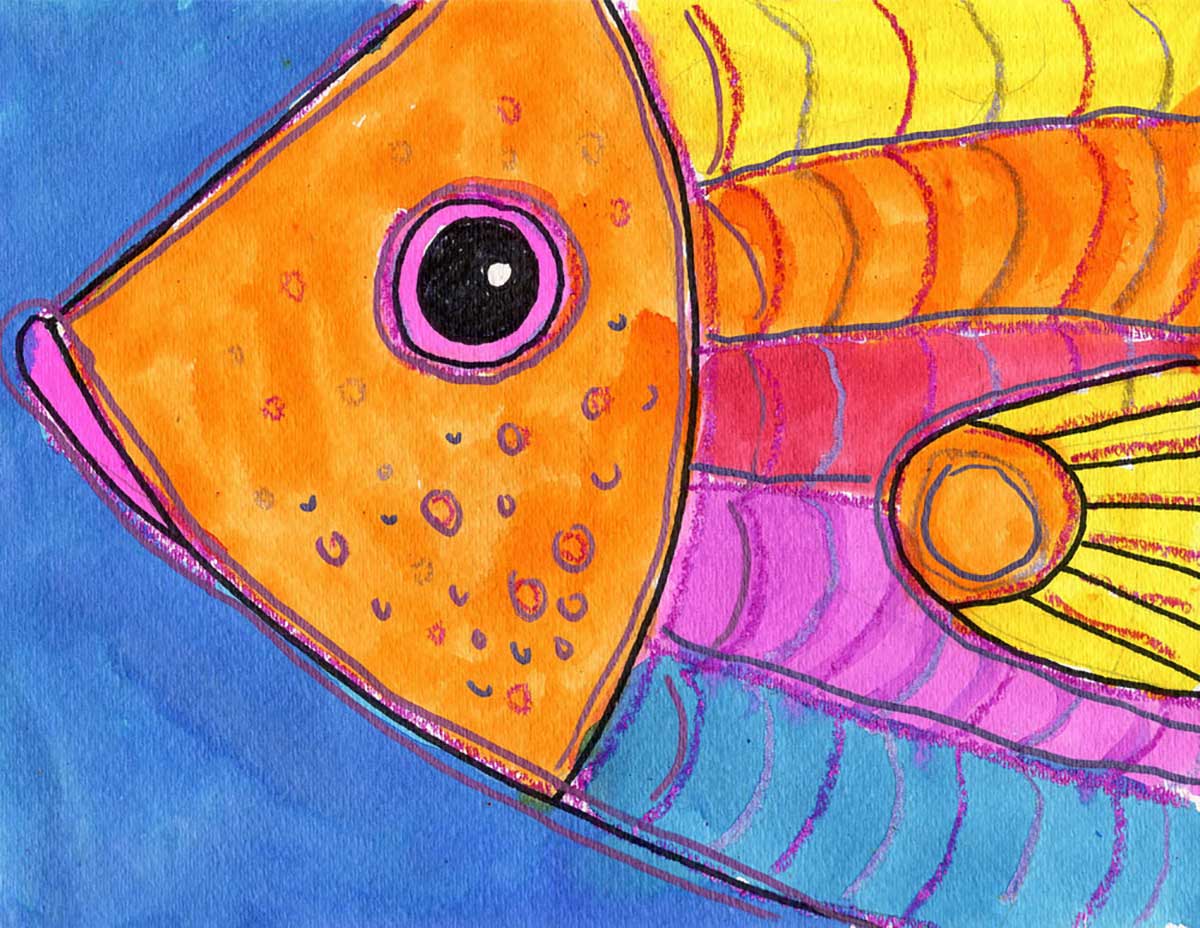
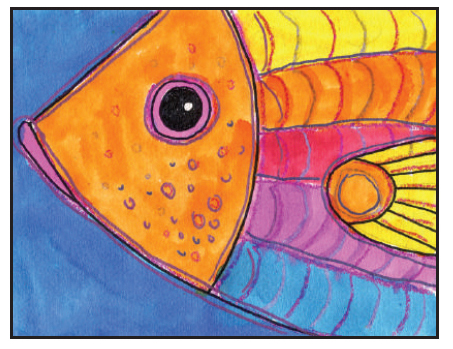
This easy fish painting tutorial illustrates how dynamic art can be when it is up close and and fills the paper. By focusing on just the head, there is so much more room to add highlights to the eye, texture to the face, and lots of curved lines for the scales.
It’s also great subject matter for my favorite watercolor and metallic marker combination. Anyone who has admired fish, has seen the iridescent quality their scales can have. Adding shiny marker lines after the paint is dry, adds a special touch.
Recommended Watercolor Paints for Kids
For those with small classes or limited budgets, painting with the tray watercolor paints will work fine. And it’s always better than not painting at all. But for those that have a bit of a budget, or want to make sure some project turns out extra colorful (hello art fundraiser?) then here is this art teacher’s conclusion, after years of classroom experience.
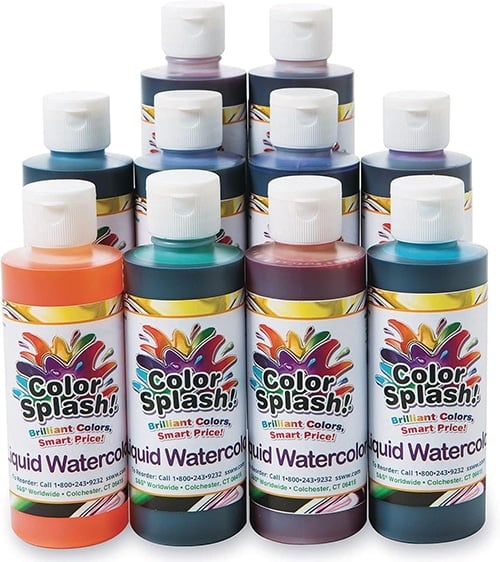
For starters, go online and find liquid watercolor paint. There are different brands, and I was never disappointed in any of them. They come in somewhat of a concentrated form in a bottle, so I believe I used to add about 25% water to them in a drip-proof cup WITH a brush before handing them to the students.
The great thing about having them in liquid form is that students can just concentrate on filling in spaces. They don’t have to figure out how much water to add to a tablet, and how much brushing to do to get enough color, but not too much. For older students, that may sound like a simple task, but for kinders or those who have never painted before, it can be a challenge.
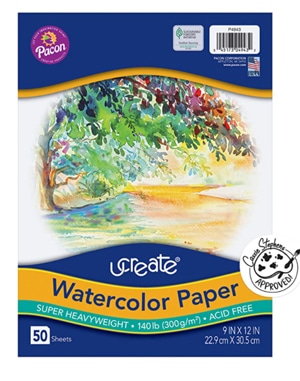
Oh, and DO try to get real watercolor paper, if possible. Drawing paper will not let those pretty colors shine, and even multi-media paper doesn’t keep all that pretty blotchy texture that watercolor paper creates. I know, it can be pricey, but like I said, if you want to increase the odds that your students make an extra bright and colorful painting, those two supplies will make all the difference in the world.
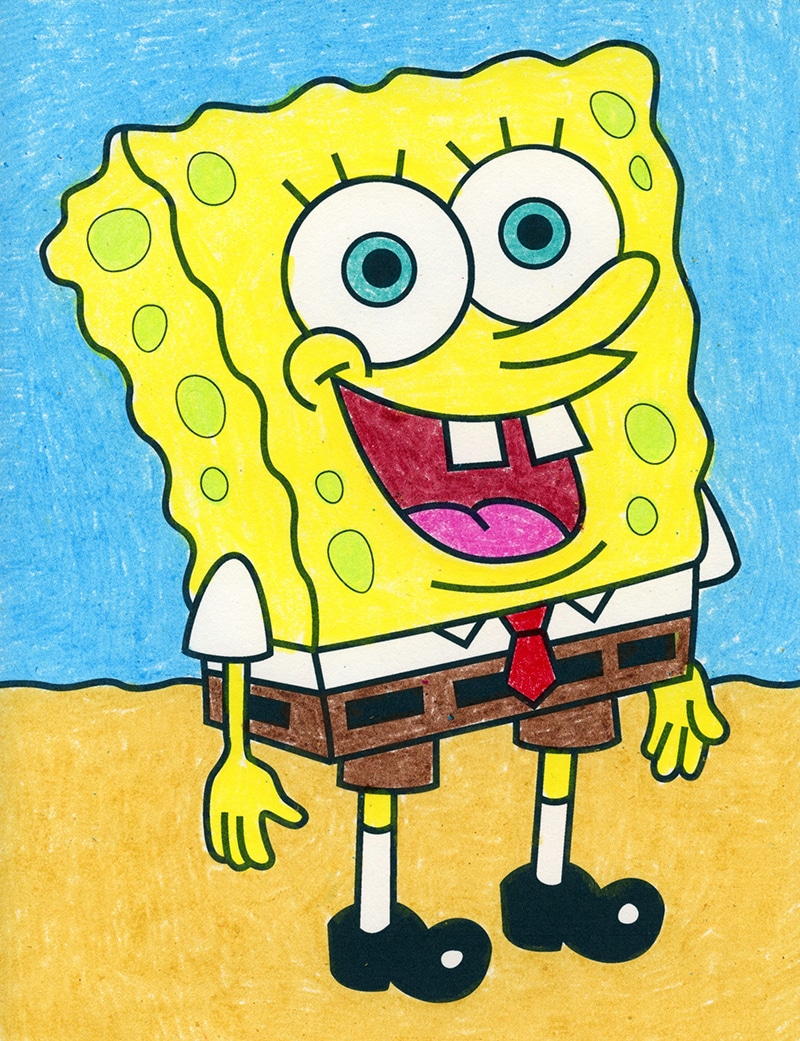
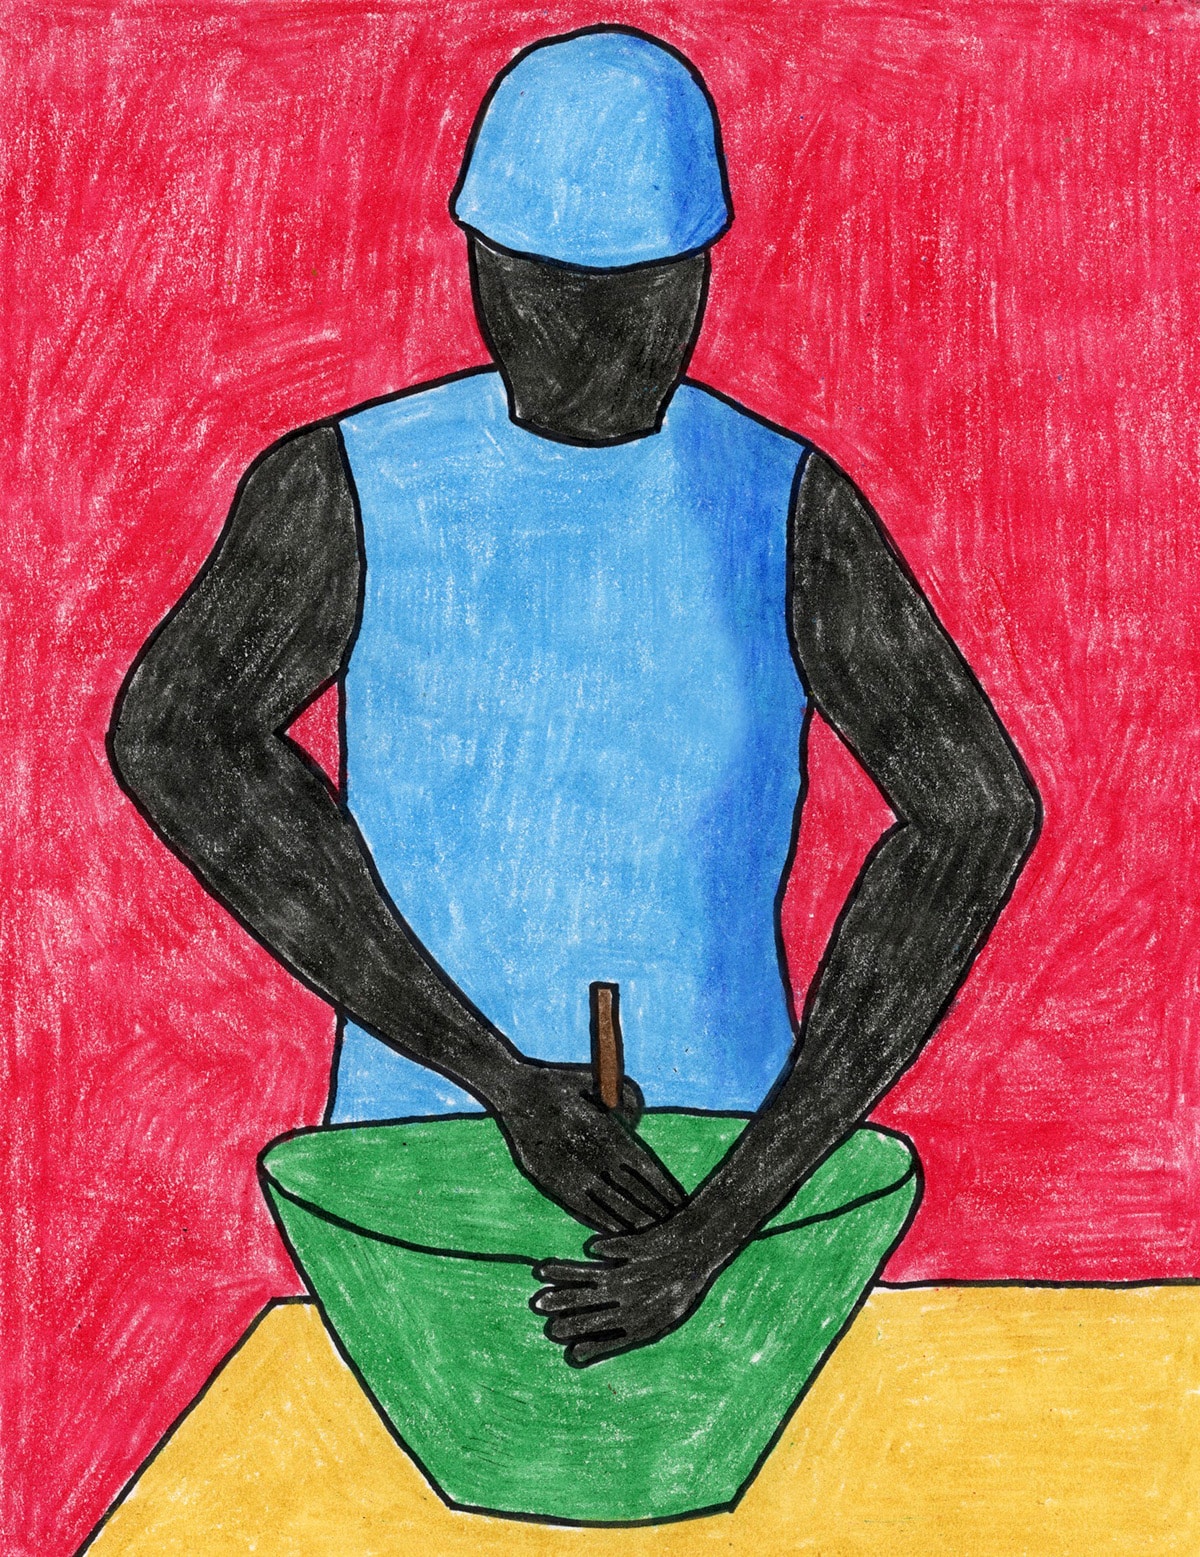
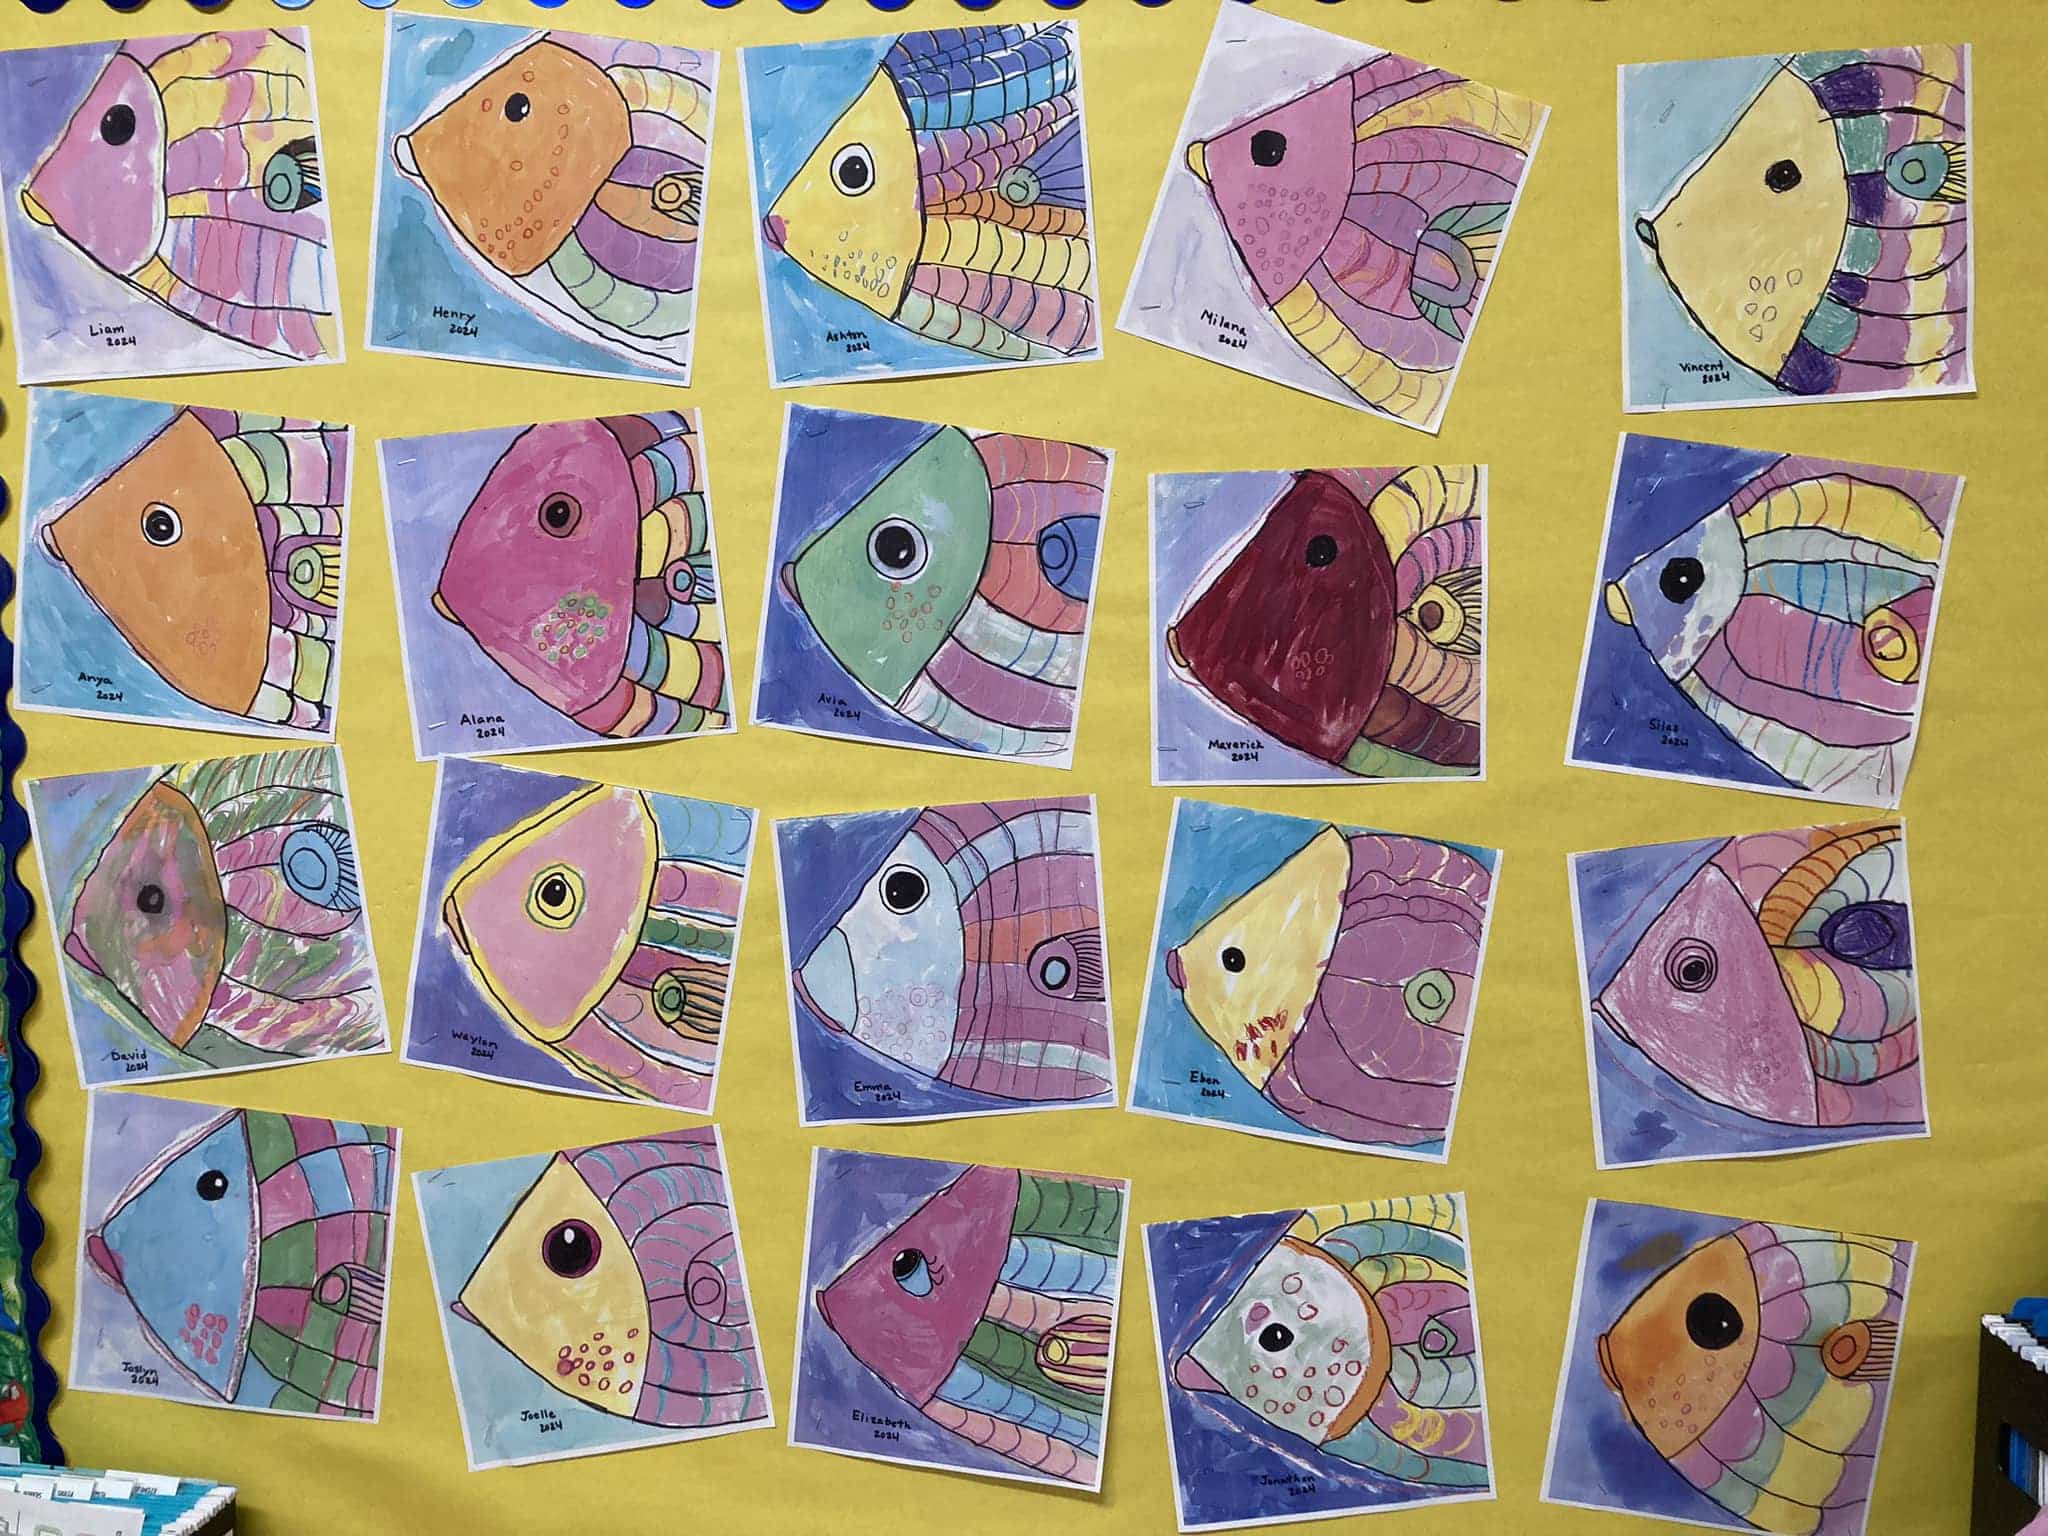
Student Art Gallery
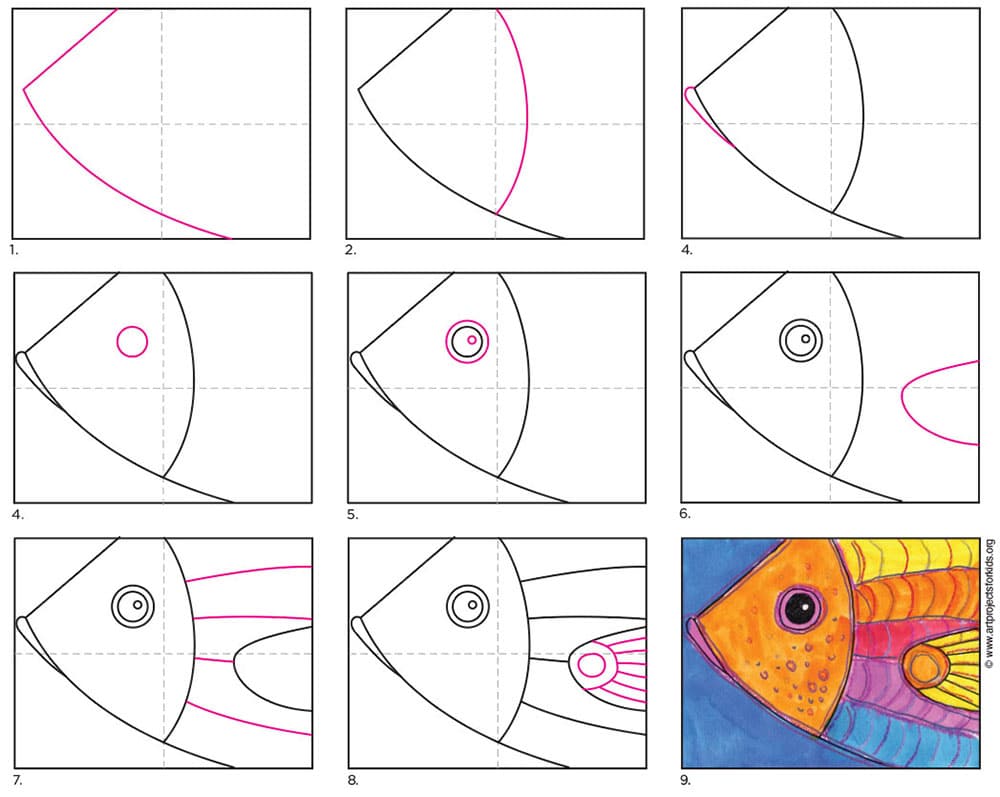
Preview of the Step by Step Fish Tutorial
Materials
*As an Amazon Associate I earn from qualifying purchases.
Watercolor Paper*
Amazon affiliate link
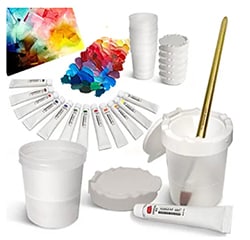
Liquid Watercolors*
Amazon affiliate link
Metallic Markers*
Amazon affiliate link
Crayons*
Amazon affiliate link

Non Spill Paint Cups*
Amazon affiliate link
Directions
Time needed: 1 hour
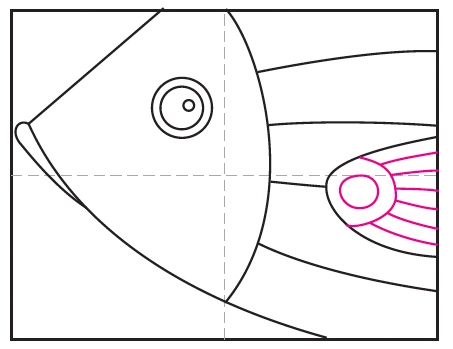
How to draw a Fish Head
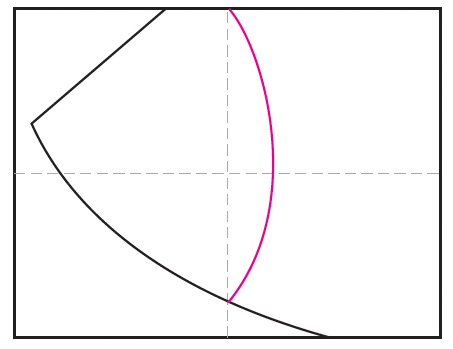
- Draw the outline of the head.

- Add the curve of the face.
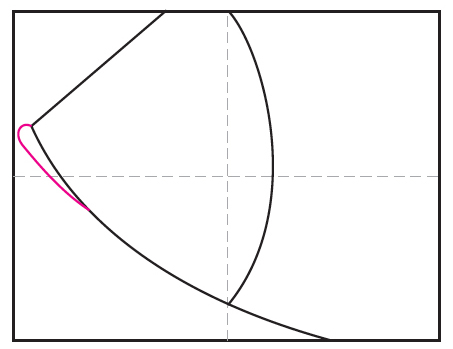
- Add a lip.
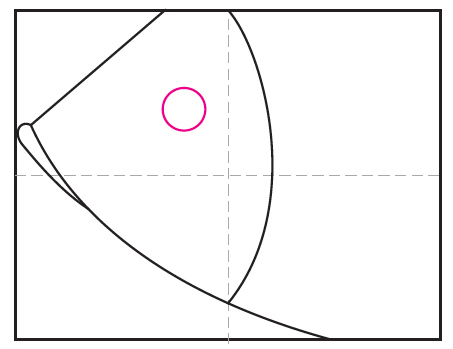
- Draw a round eye.
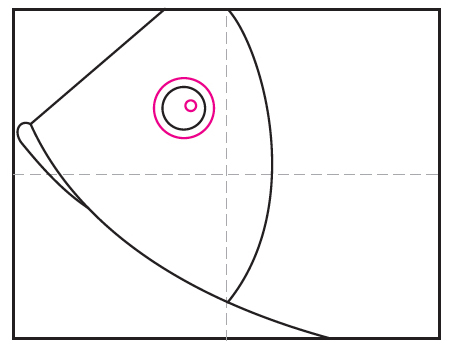
- Add a ring around the eye and a small circle inside.
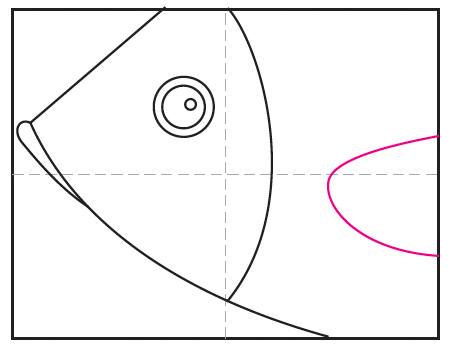
- Draw part of a gill.
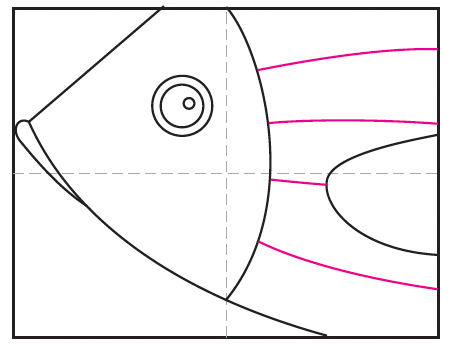
- Add four stripes on the body.
- Draw gill details.
- Trace with black marker, add crayon patterns, paint with watercolor. Add metallic marker lines.

Pin me to your Pinterest Board