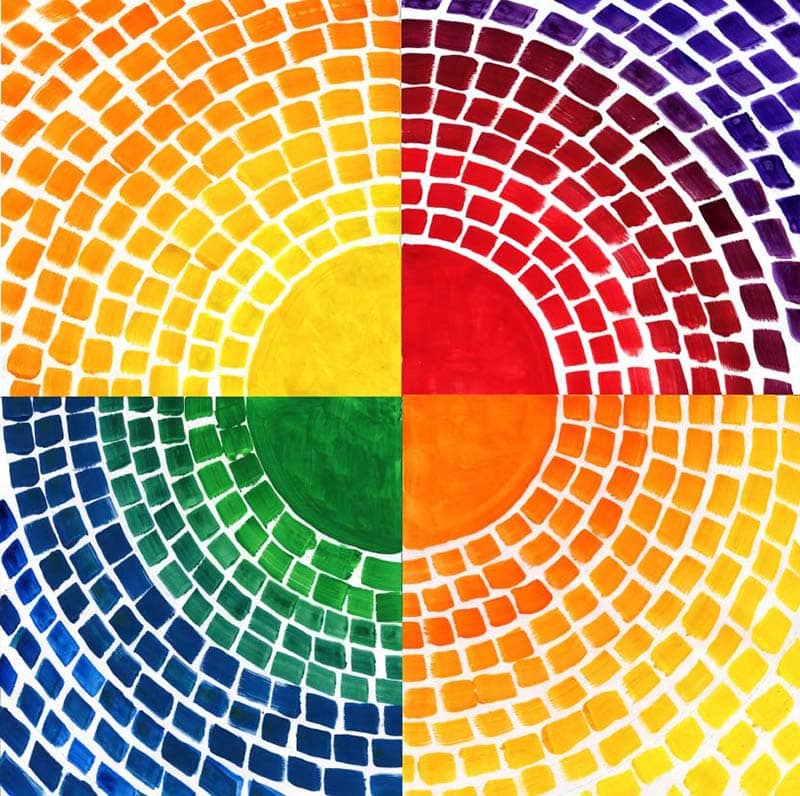
How to Draw Hands
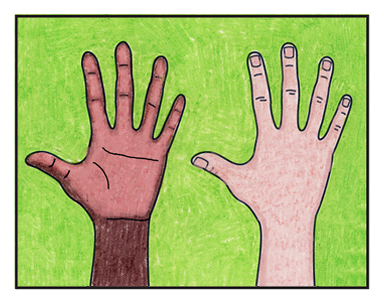
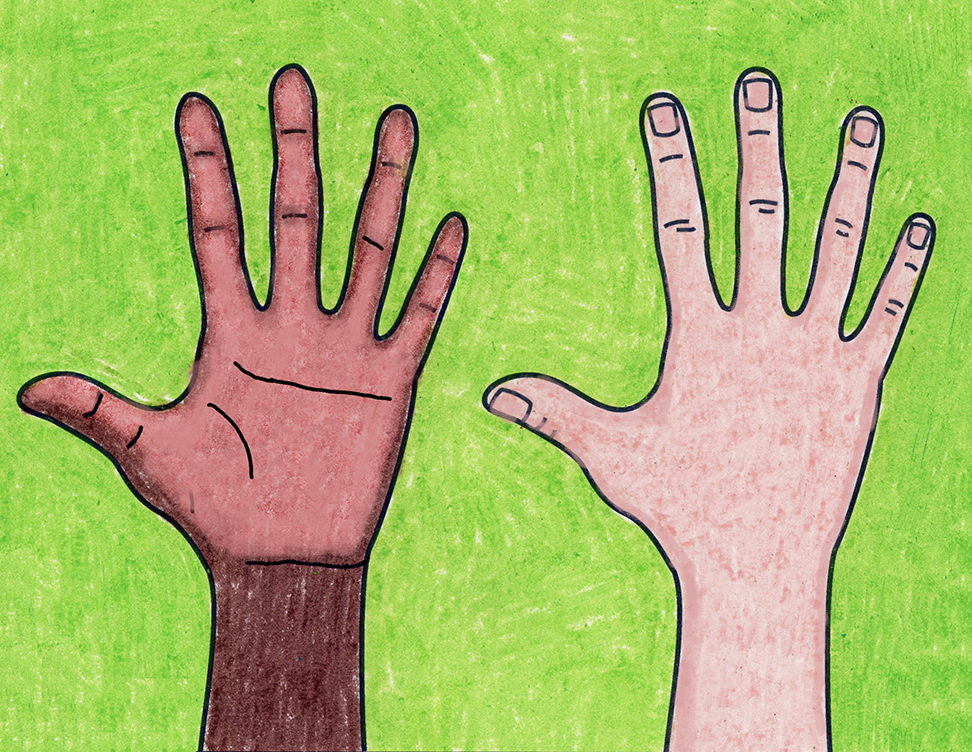
Here’s how to draw hands that look a bit more realistic, but don’t get overly complicated. They could be the start of many more hand-themed drawings.
Sure, anyone can trace their own hand to make their own hand drawing, but can that actually teach anything? Besides the fact that it’s a darn tricky awkward to do?
A better idea is to follow a tutorial, so students can get a closer at those fingers, which are different lengths, and notice the way the thumb connects to the palm. They can see how the nail is shaped and placed on the tips of each finger, and where those knuckle wrinkles occur.
After the hand is drawn, it’s easy to add a bit of realism by shading the sides a bit darker than the tops. It only takes a bit of work to make those fingers look dimensional, instead of flat. Plus, students have any easy reference (their own hand!) to answer any question they might have.
MATERIALS
- How to Draw Hands (click to download a PDF)
- Drawing paper
- Black marker
- Crayons
DIRECTIONS
Time needed: 45 minutes
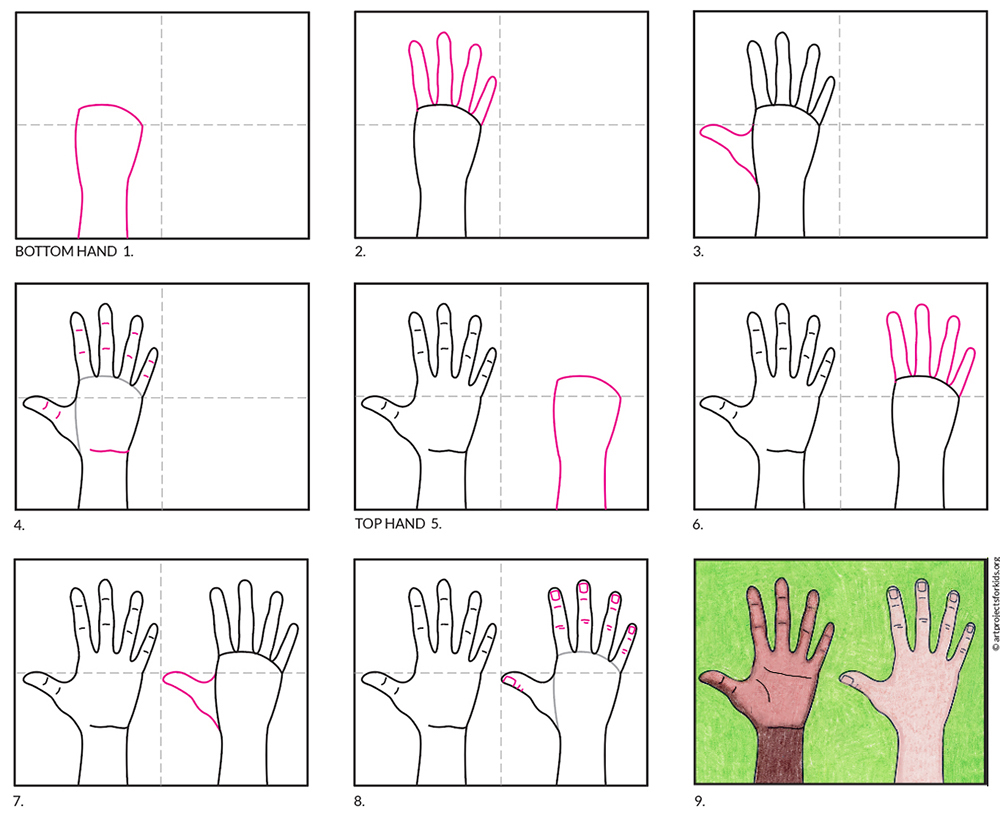
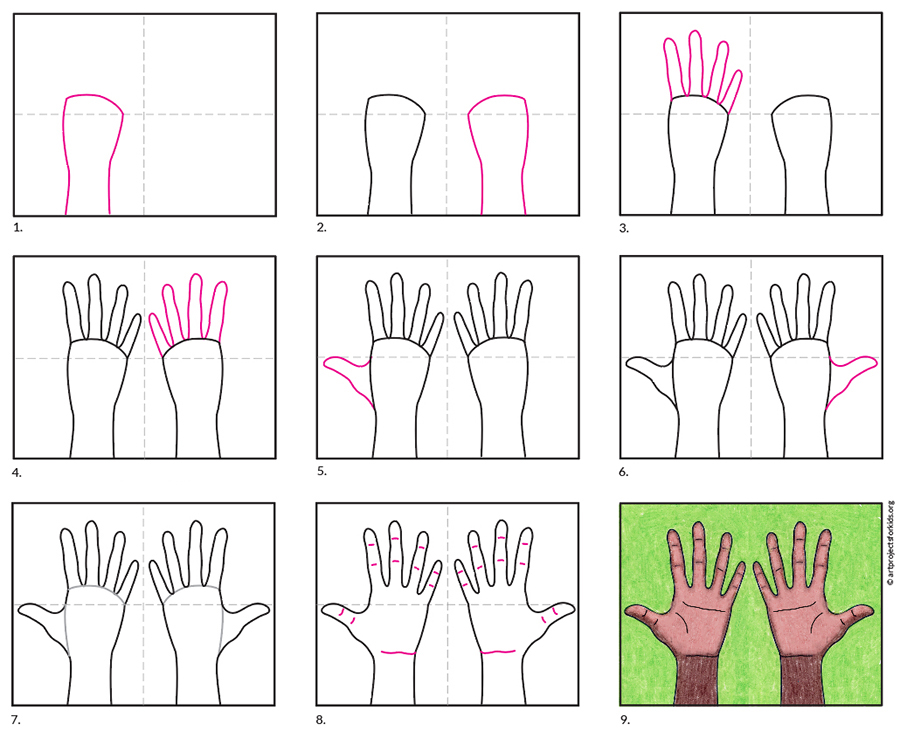
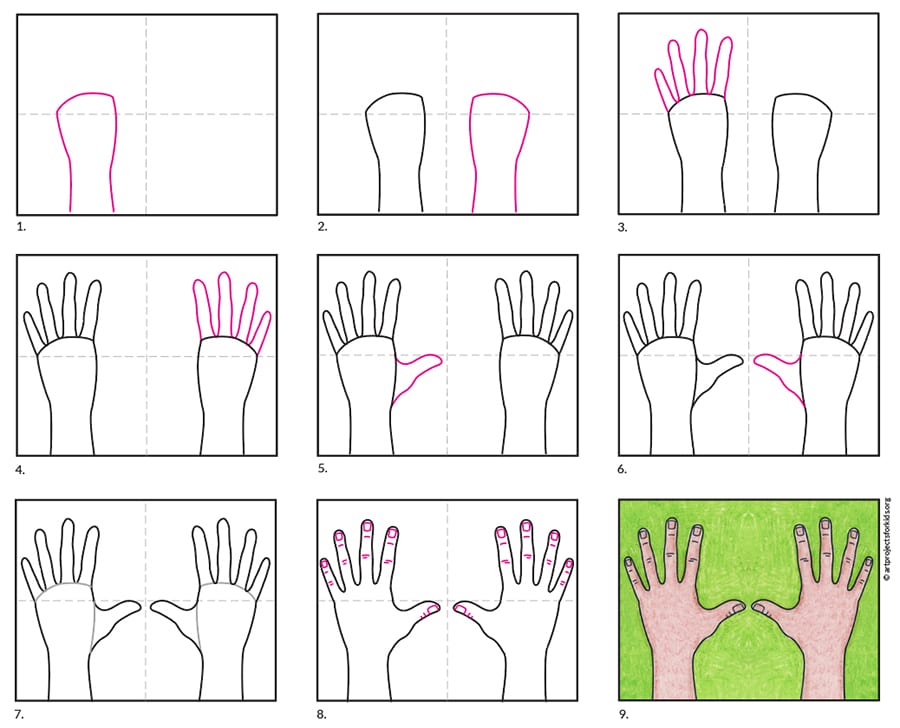
How to Draw Hands
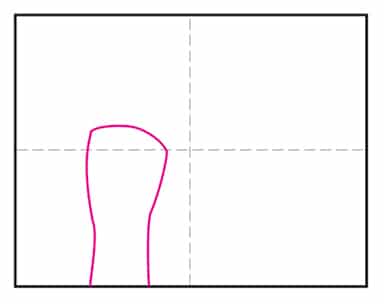
- Draw a palm shape as shown.
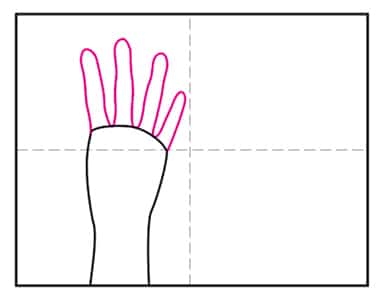
- Add four spread out fingers above.
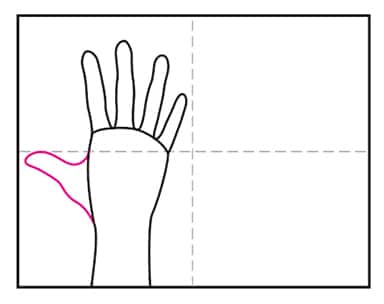
- Attach a thumb with curves.
- Erase the gray lines and add wrinkles.
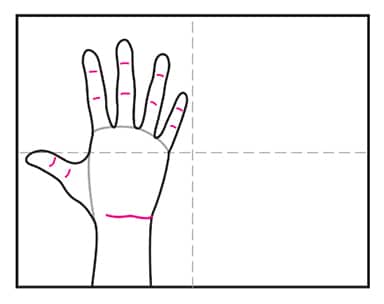
- Draw a palm shape as shown.
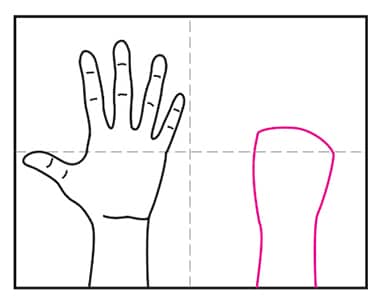
- Add four spread out fingers above.
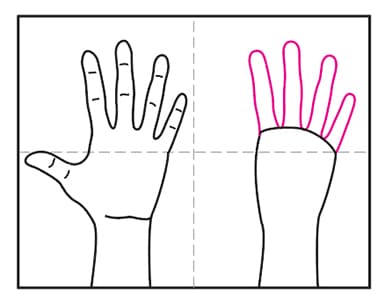
- Attach a thumb with curves.
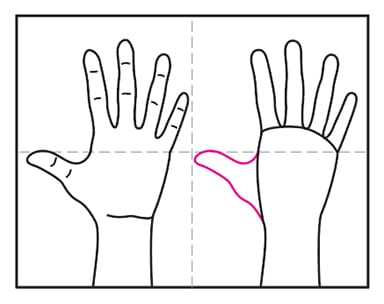
- Erase the gray lines and add nails and wrinkles.
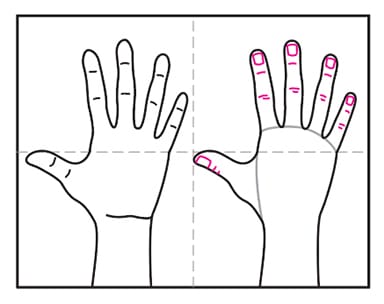
- Trace with a marker and color.
