Easy How to Draw Spring Flowers Tutorial Video and Spring Flowers Coloring Page
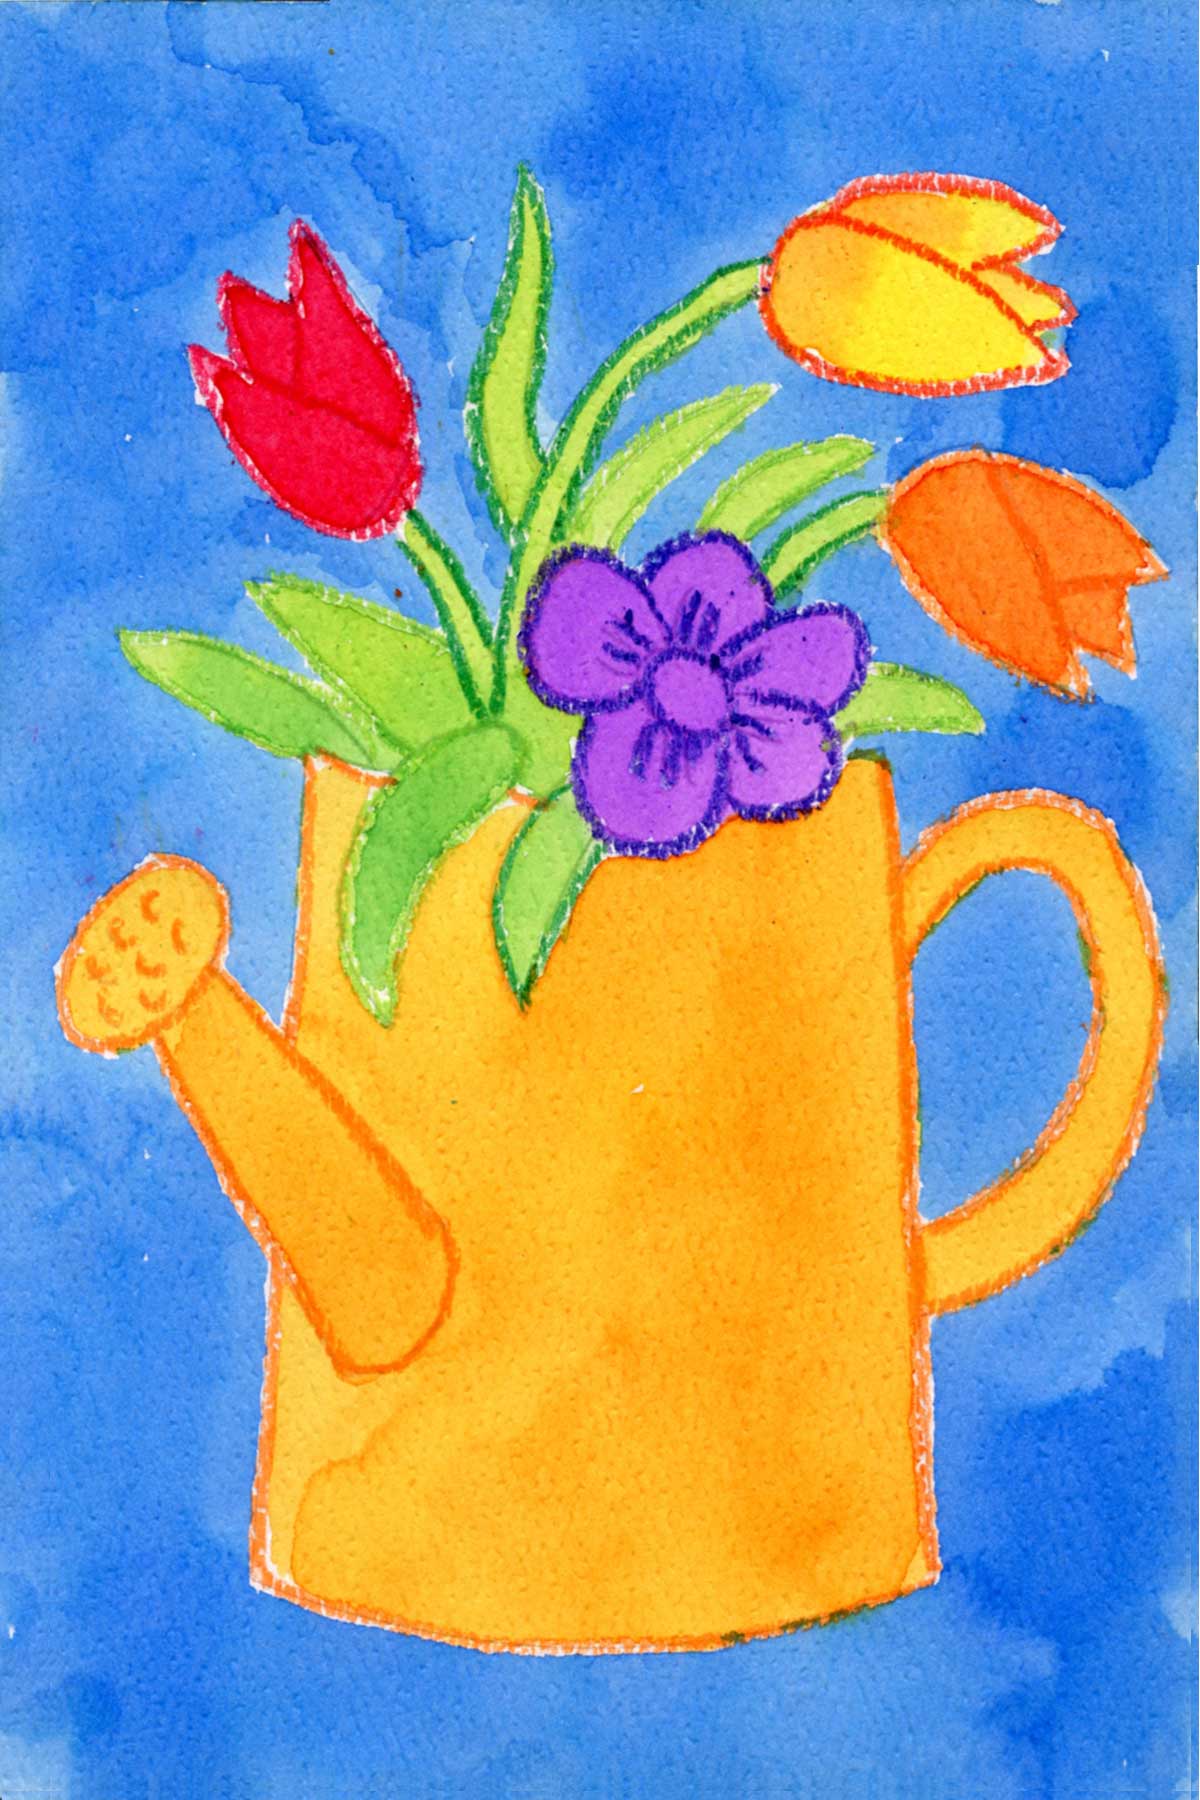
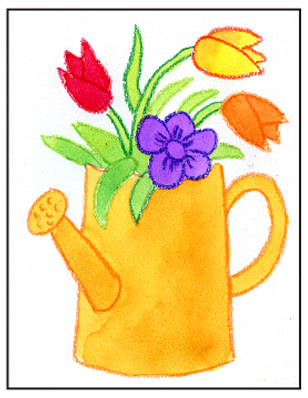
Below you’ll find an easy step-by-step tutorial for how to draw Spring Flowers video and a Spring Flowers Coloring Page. A watering can makes a colorful vase.


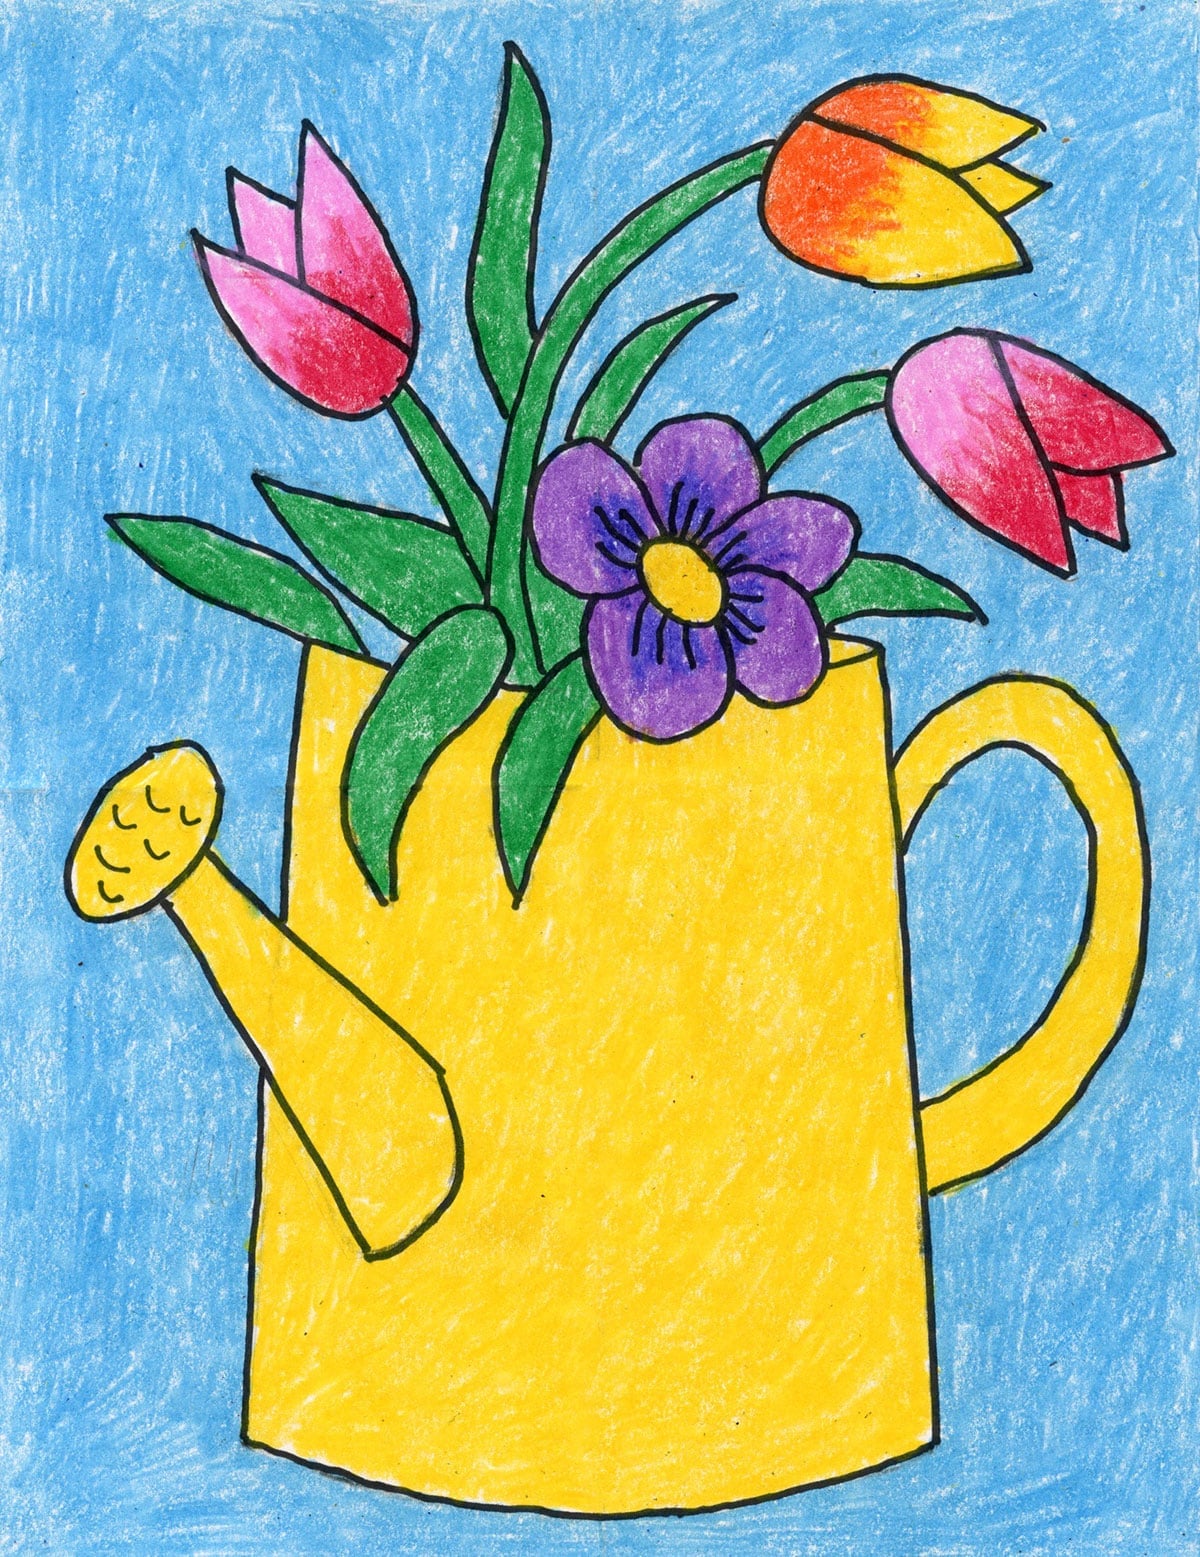
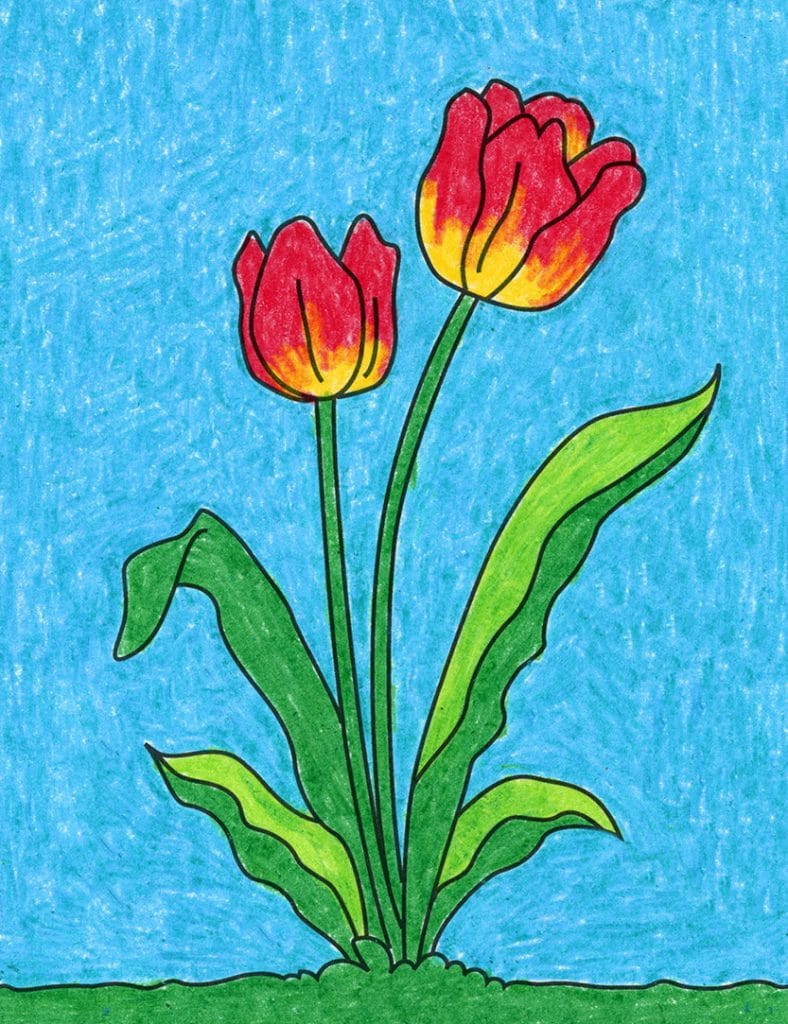
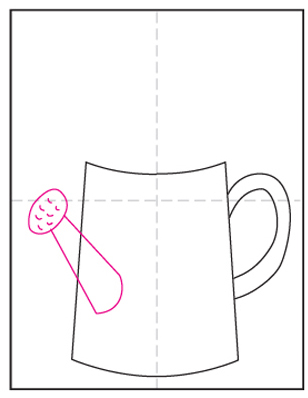
When you want your students to learn how to draw spring flowers, but the average solution of putting them in a vase seems a bit ordinary, try placing them in a watering can instead. They are easy to draw, look very pretty, and can add a lot of color too! In fact, this watering can is a great example of how some LINES, can give this can SHAPE, so it looks like it has some real FORM to it. (All Elements of Art, by the way.)
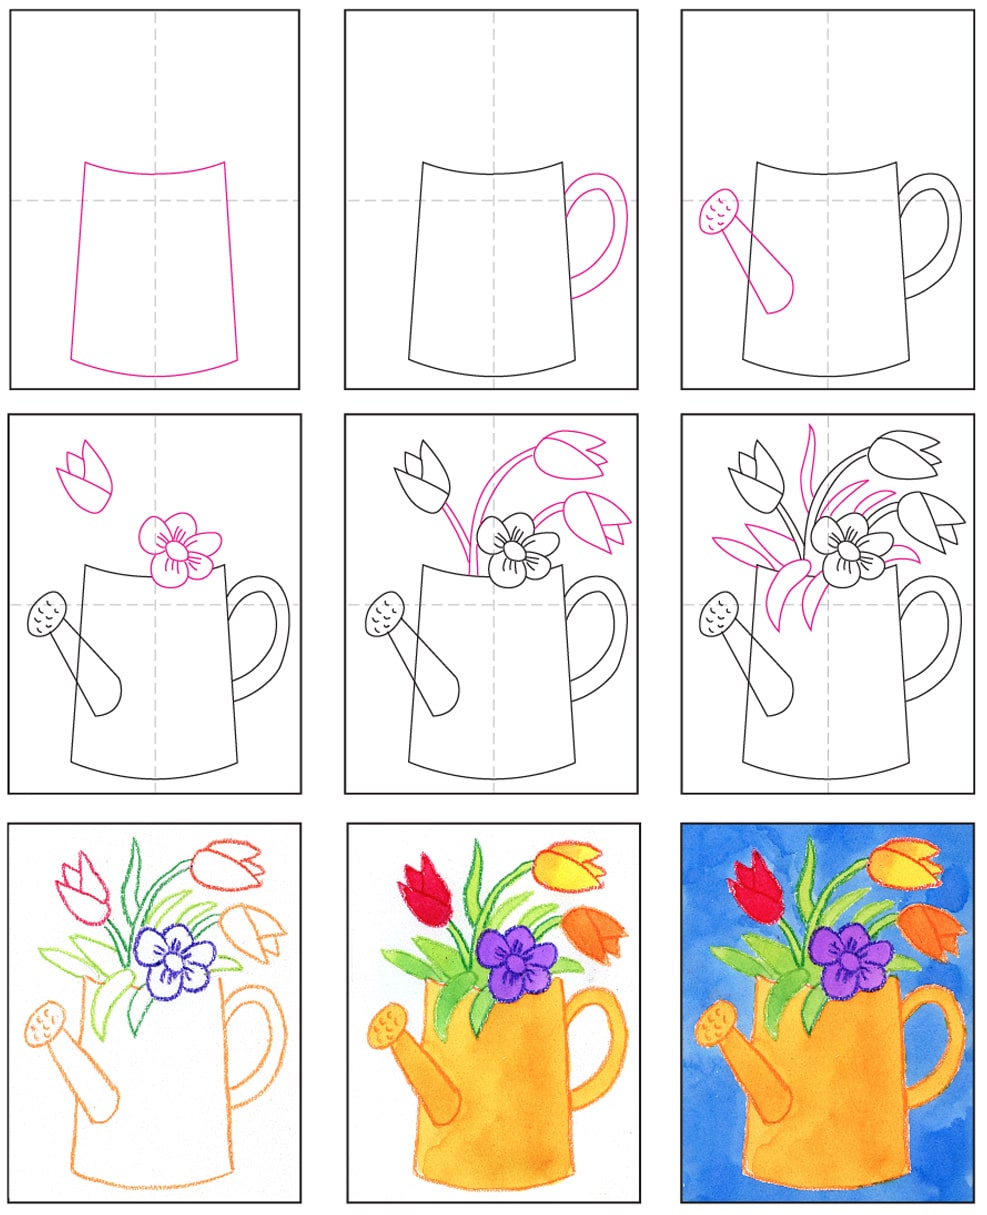
To make a pretty painting, use the Crayon and Watercolor PDF Tutorial that is linked below. It shares how to draw the shapes, and what the crayon outlines might look like before you paint. (Note: Real watercolor paper and liquid watercolor paint will create your best results!)
Join “The Daily Draw” below to get your instant tutorial!
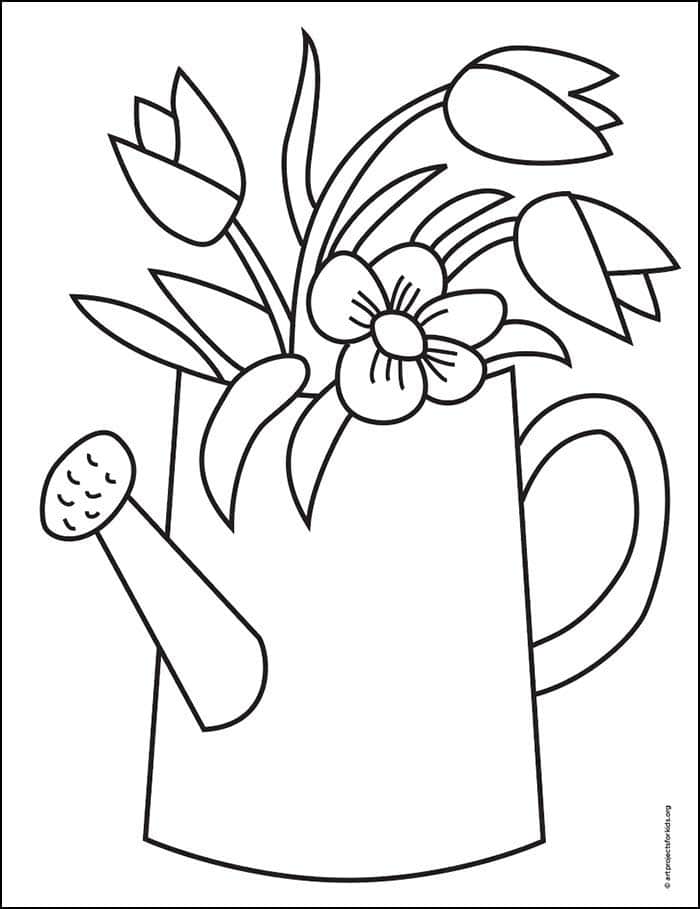
Spring Flowers Coloring Page
Spring Flowers Tutorial — Crayon and Watercolor
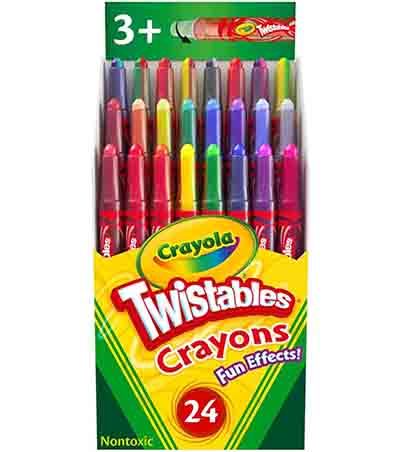
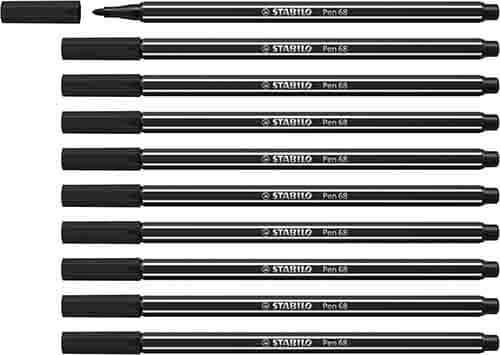
Materials for a Spring Flowers


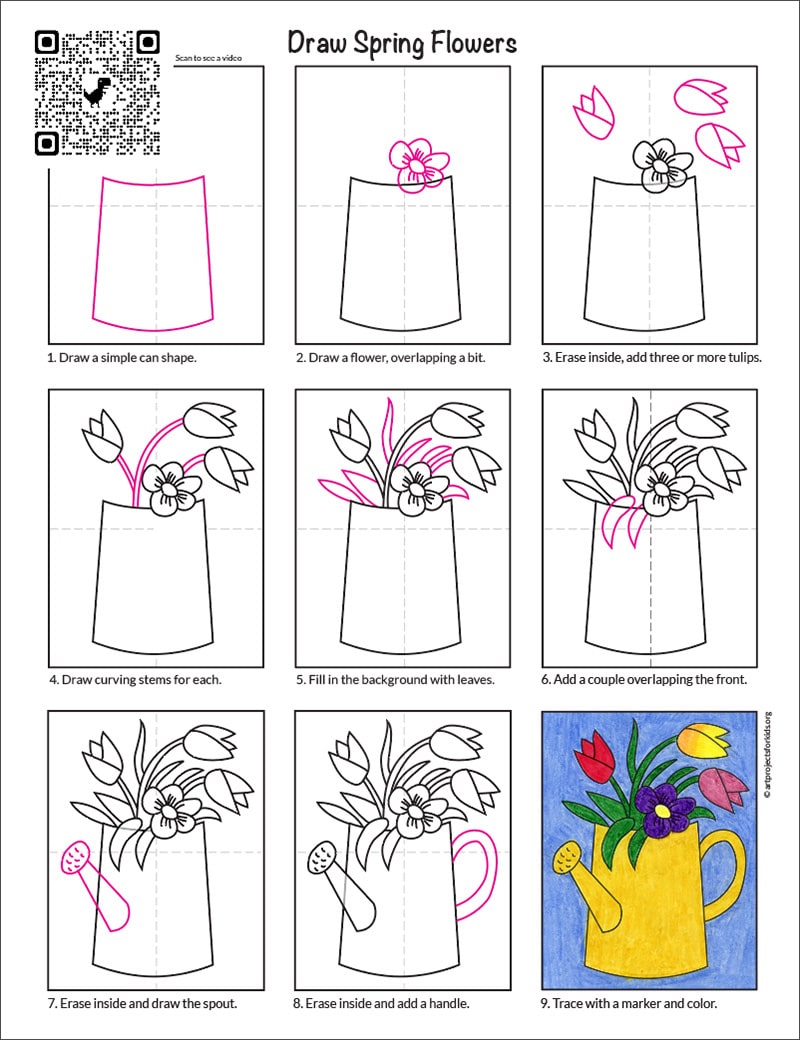
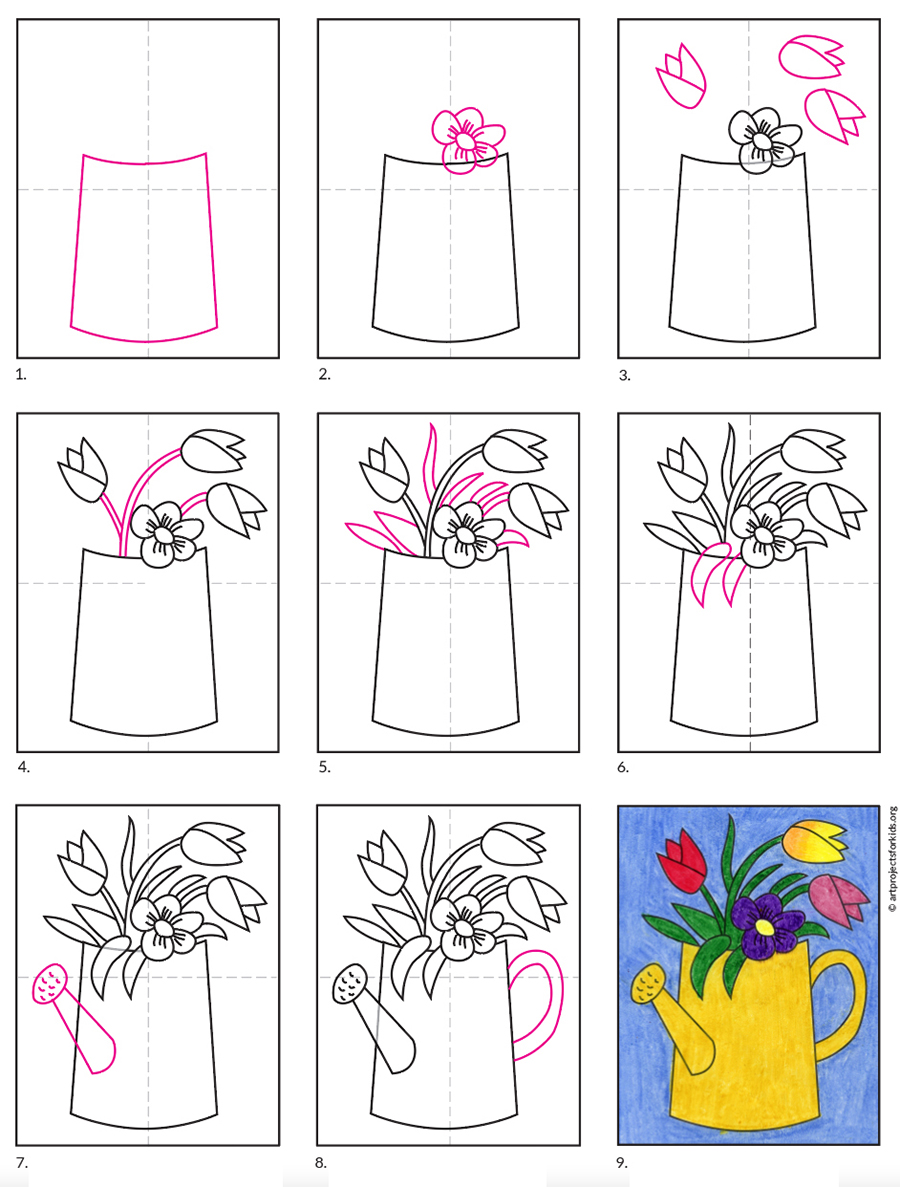
Draw Spring Flowers Step by Step
Time needed: 1 hour
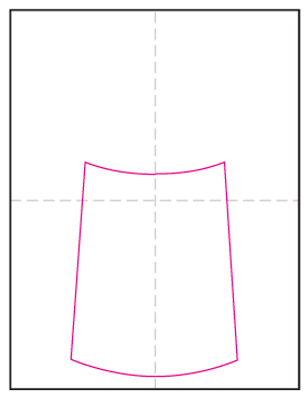
Draw Spring Flowers in a Watering Can
- Make guidelines. Draw a can.

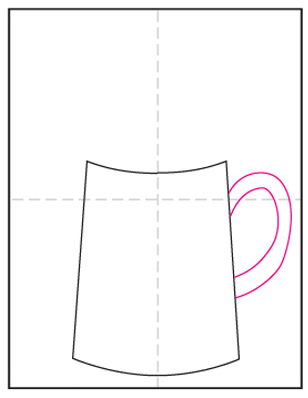
- Add a handle.
- Draw the water spout.
- Draw two flowers.
- Add more tulips and stems.
- Fill the rest of the space with leaves.
- Trace drawing with different colored crayons.
- Fill with watercolor paint.
- Paint the background a contrasting c0lor.


Already subscribed to “The Daily Draw”?
Great, then use the button below to get your free Spring Flowers tutorial.
And thanks for wanting to bring more step-by-step, no-prep art lessons to your classroom!