Tim Burton Self Portrait Art Lesson + Drawing Worksheet for Kids
Learn how to draw a Nightmare Before Christmas Self-Portrait with an easy step by step tutorial video. It imitates the style of Tim Burton, who created The Nightmare before Christmas movie.
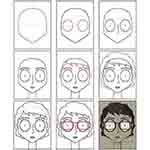

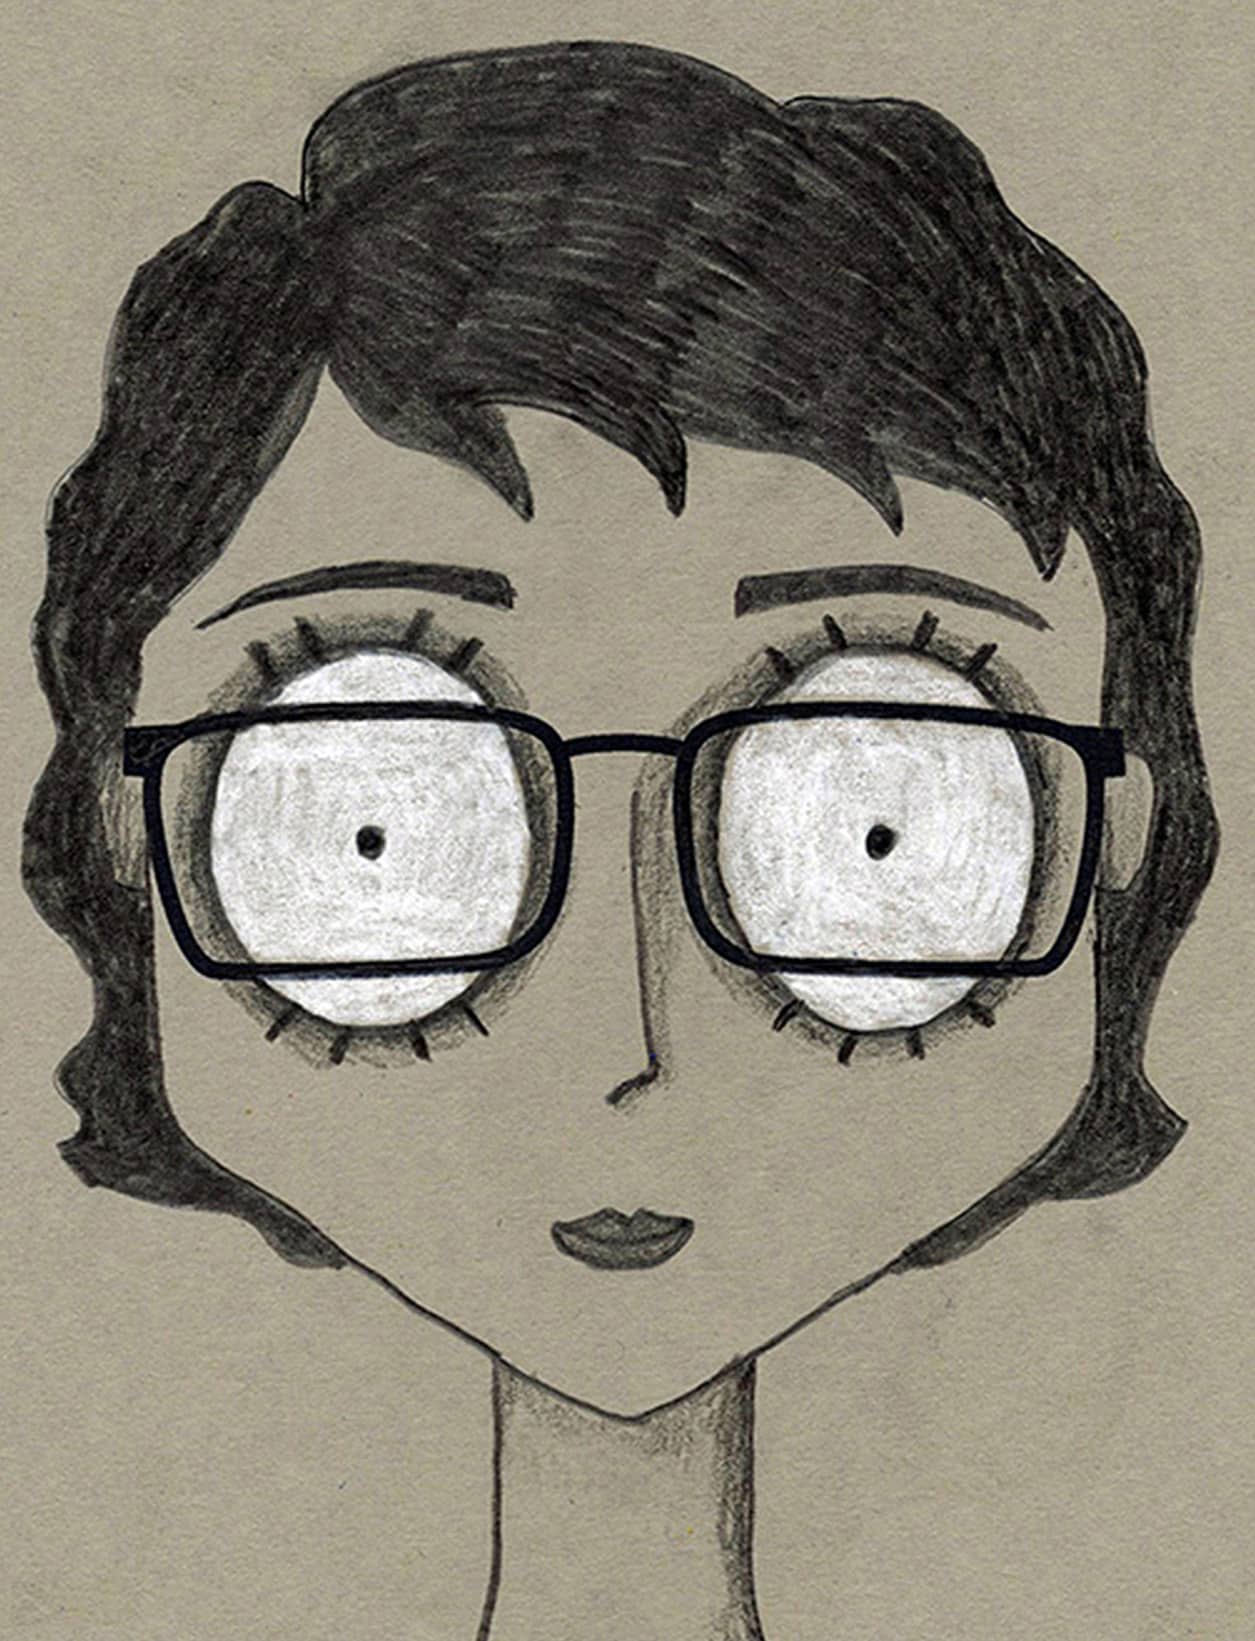
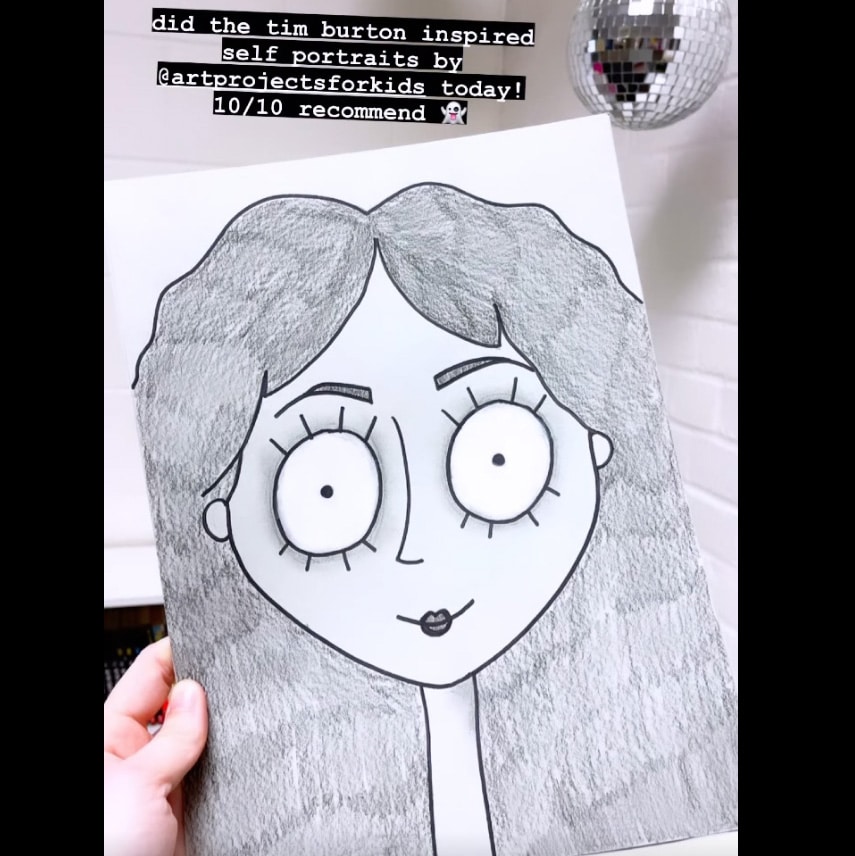
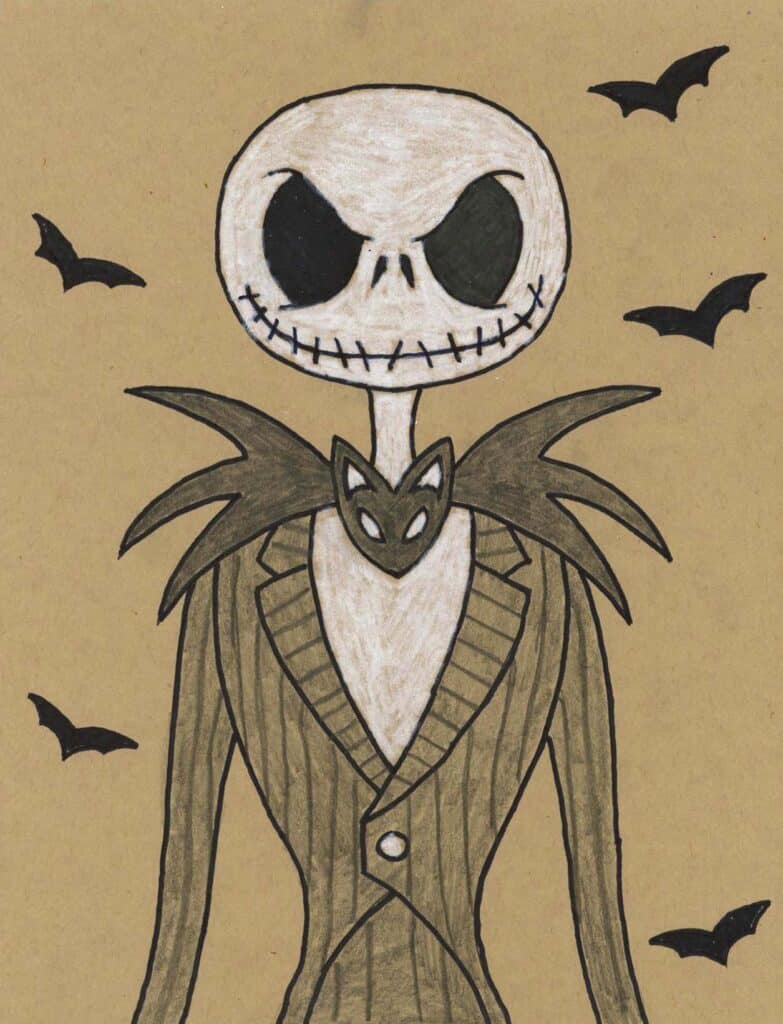
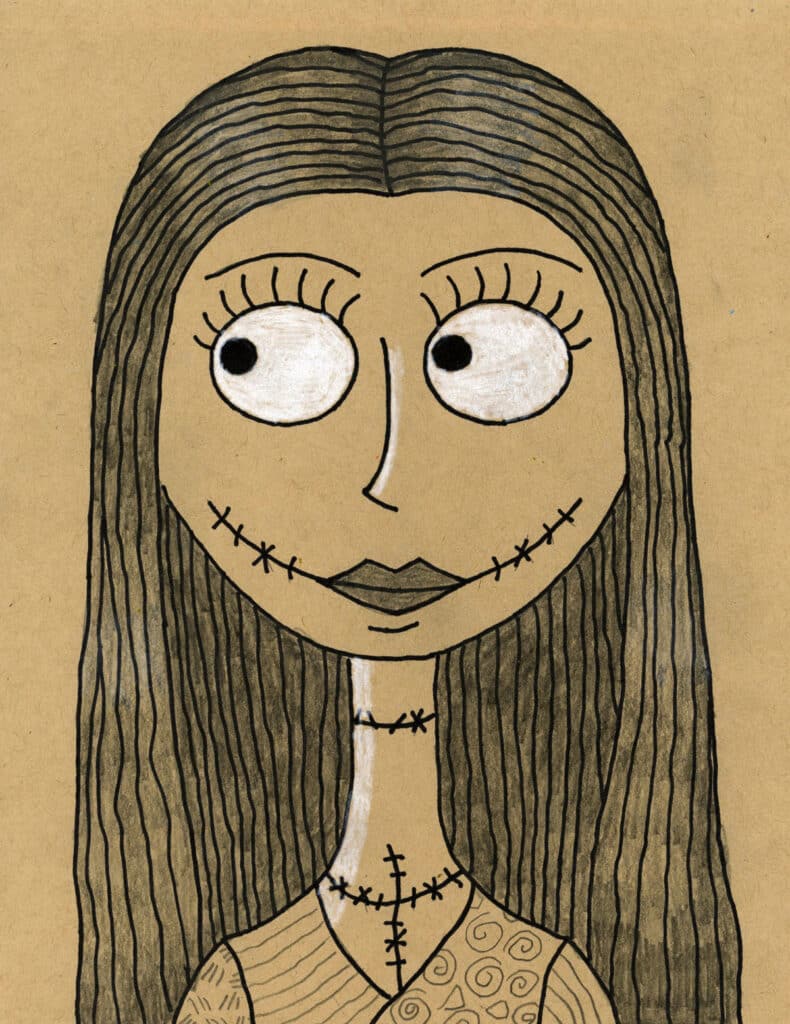
Nightmare Before Christmas Portrait Drawing
Why Draw a Nightmare Self Portrait?
It only takes a few simple supplies and a couple of drawing tips to learn how to draw a Nightmare before Christmas Self Portrait. The project name is in the style of Tim Burton, the artist and director of “The Nightmare before Christmas” movie, which has the famous style of skinny figures with large white eyes.
There are some professional artists around who will make a Nightmare drawing of you for a fee, but who needs that when you can make your own? A few exaggerations in a couple of places will result in something that captures the look, and provide some good pencil drawing practice for young artists too.
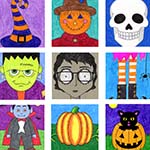
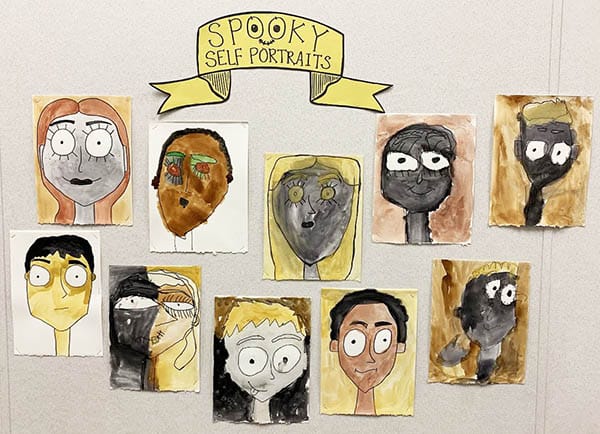
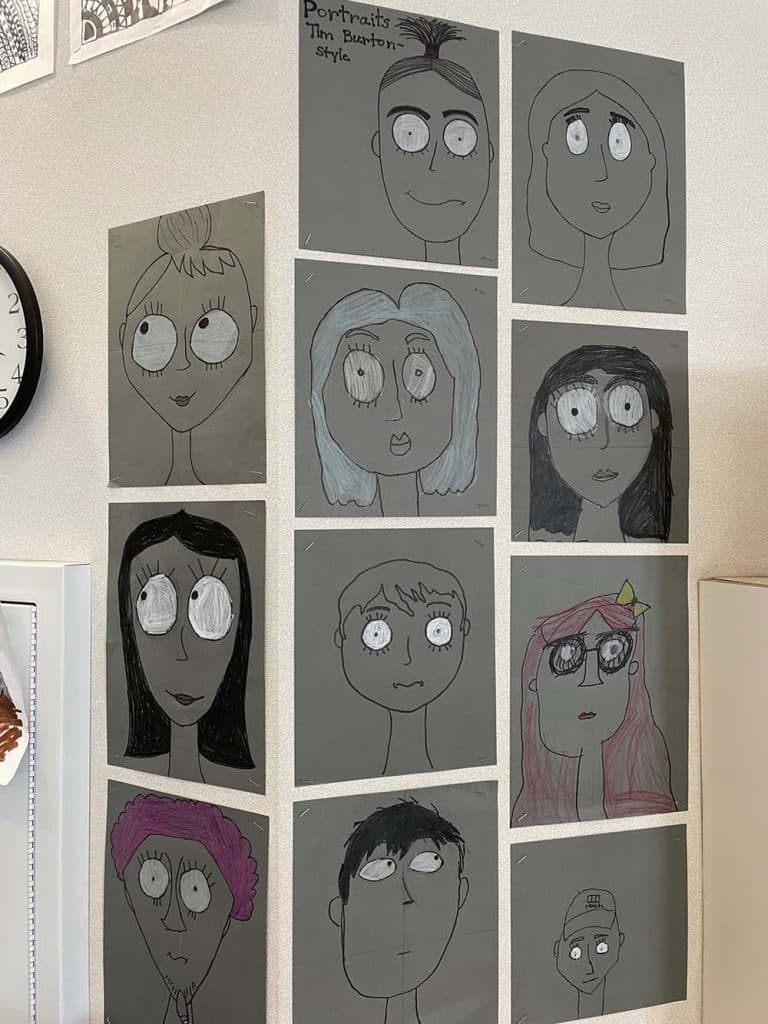
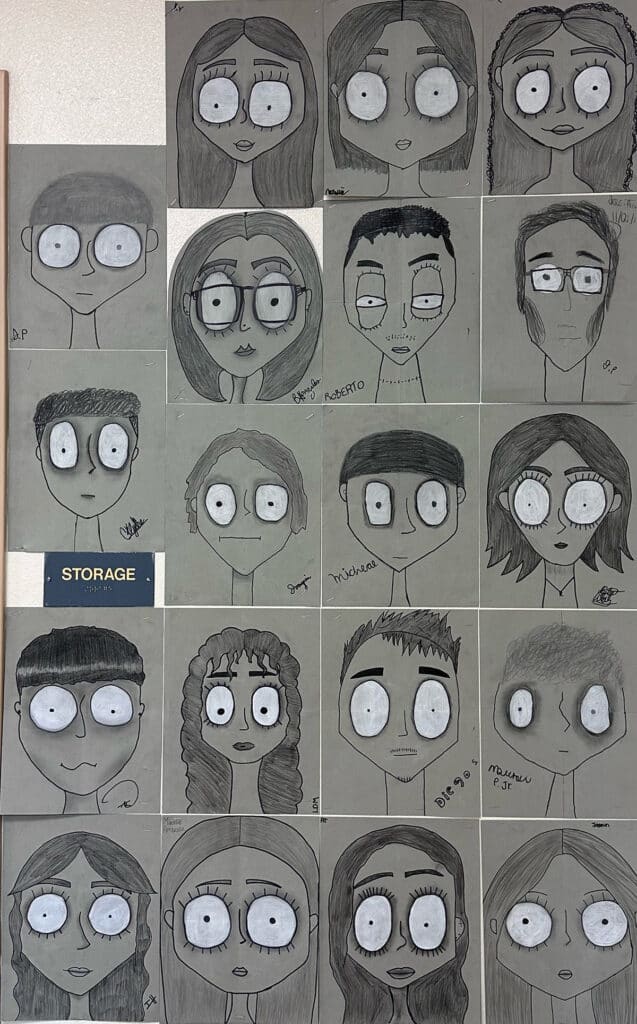
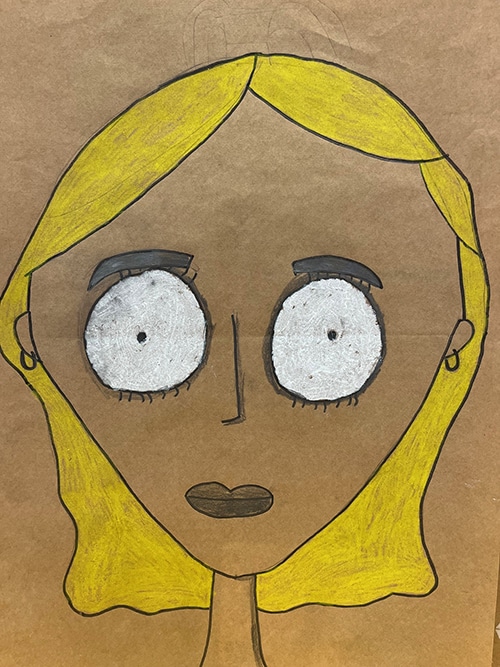
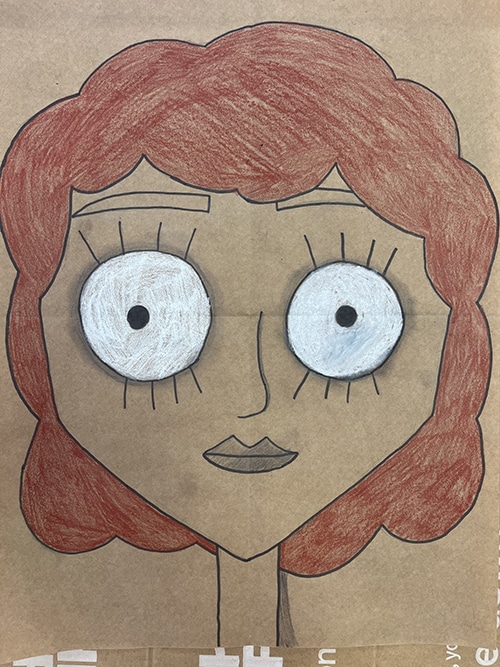
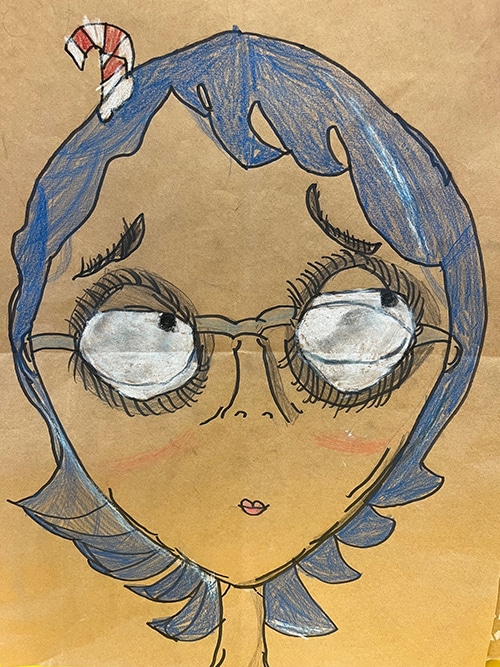
Student Nightmare Portrait Art Gallery

Grade 4 in Ontario 
Mrs. Blanco’s art class 
Teachers get in on the fun too! 
Lianne Jones’ Fifth Grade students 
K-5 Lifeskills Class 
Touchstone Learning in Redwood City, CA. Ages 7-12 
Benjamin Franklin Elementary School, 2nd grade, Glendale, CA 
Creative Writing 9th grade students 
Ashburton Primary School in Melbourne, Australia Ashburton Primary School Ashburton Primary School Ashburton Primary School


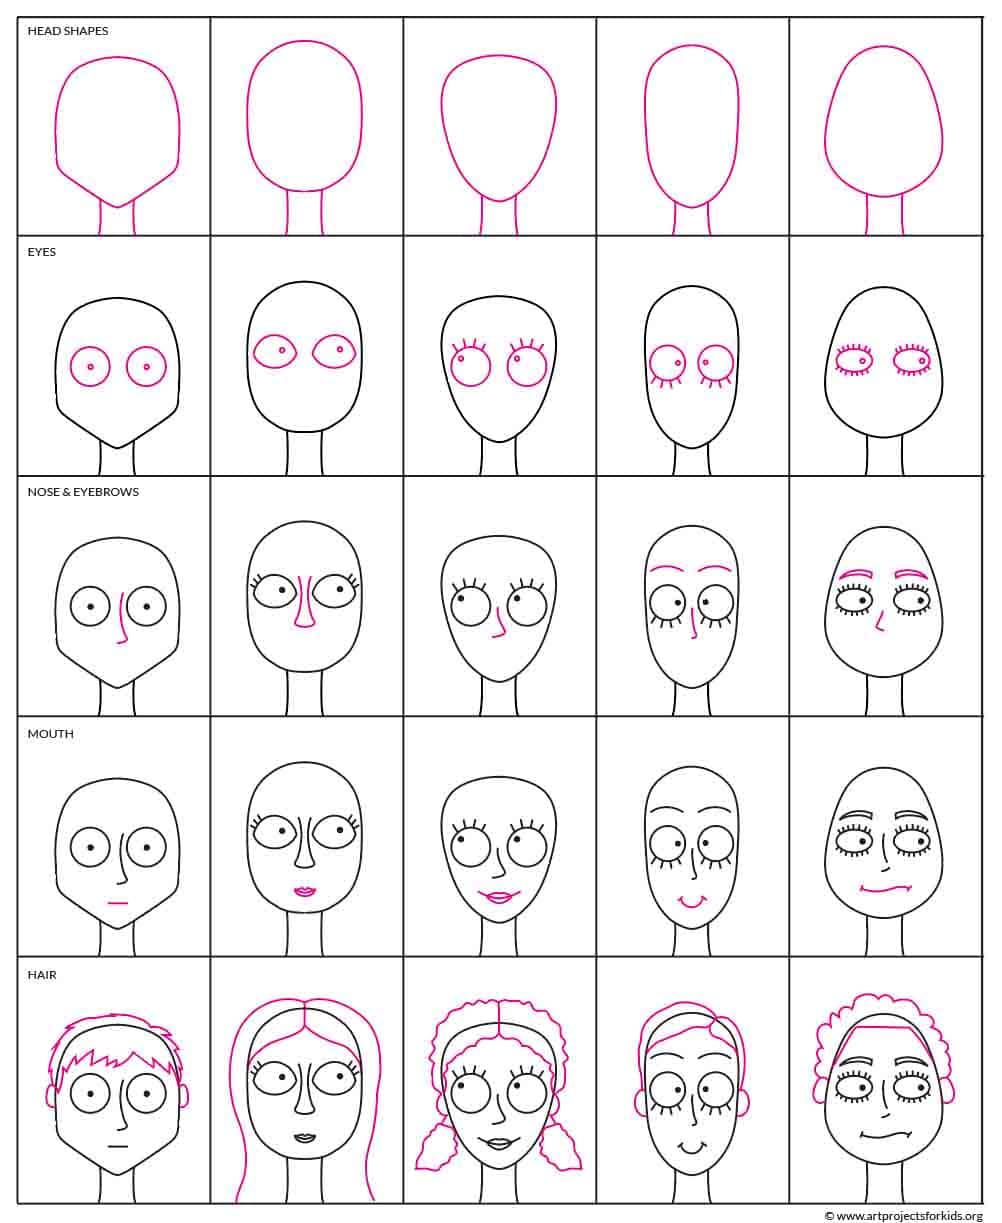
Drawing Project Tips
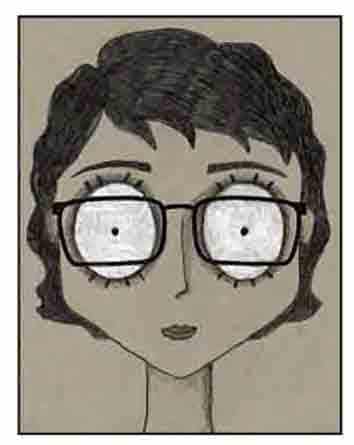
For best results, it’s really helpful to draw on some kind of colored paper. This sample was done on a Paper Source card stock that was called Gravel, but any kind of light gray or brown would work too. The most important reason is that the added color allows students to fill in those big eyes with a white pencil crayon. They are the key feature of this self portrait and the bright white eyes popping off the shadowy background really helps to accentuates them.
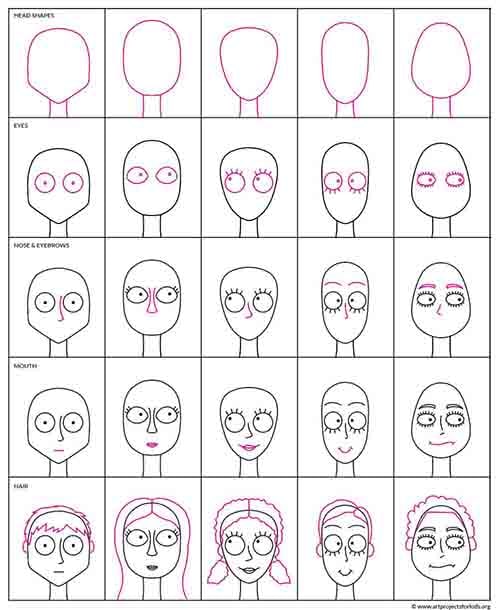
Lastly, to help students make their drawing as original as possible, this drawing tutorial comes with an added tip sheet. The main tutorial will show what order to draw the portrait shapes in, but an additional sheet offers more options for the shape of the head, and the large eyes and tiny mouth. And maybe most importantly, some ideas on how to draw different styles of hair, which is what stumps a lot of students. The idea is that they have a little help in visualizing their own faces, so they come up with their own original Nightmare Self Portrait.
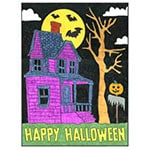
Note: For those that want to go all out, I’ve included a fun frame template in the download, and a sample drawing of how I used it. It just seemed like a fun option and a place to add even more creativity, which is always a good thing. Scroll down to see a little preview of it.
Join “The Daily Draw” to get this free tutorial!

Materials to draw a Nightmare Self Portrait
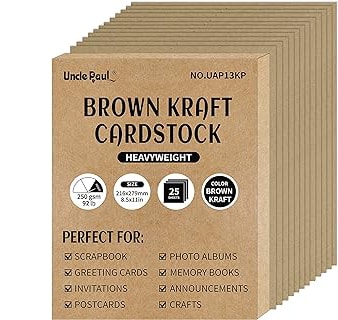
- Kraft Paper. Card stock paper that has a light brown shade will make those white eyes really stand out.
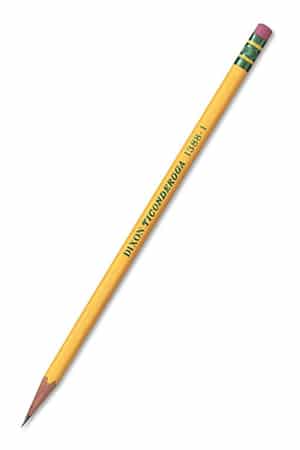
- SOFT Pencils. Important: Ticonderoga #2 SOFT pencils will always give you the darkest gray. Collect them and then save for all your drawing projects. The #2 Mediums will not work as well, no matter how hard you press.
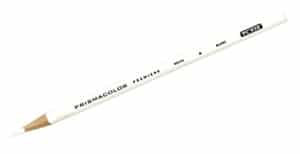
- White Pencil Crayon. Prismacolor cost a little more than the others, but they always leave the brightest color. That’s extra true for the white ones.
- Eraser. Large ones you can hold in your hand do a much better job than just the pencil tip erasers, especially when erasing leftover pencil lines after tracing.
Directions to make a Nightmare Self Portrait
Time needed: 45 minutes
Step by Step Instructions
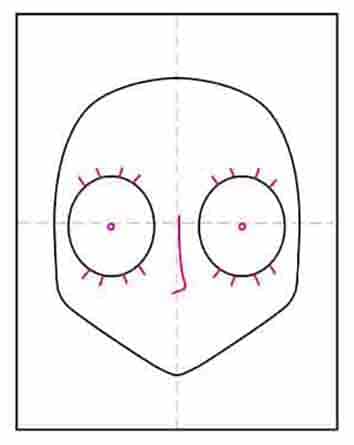
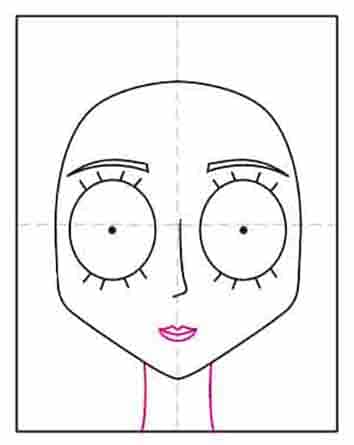
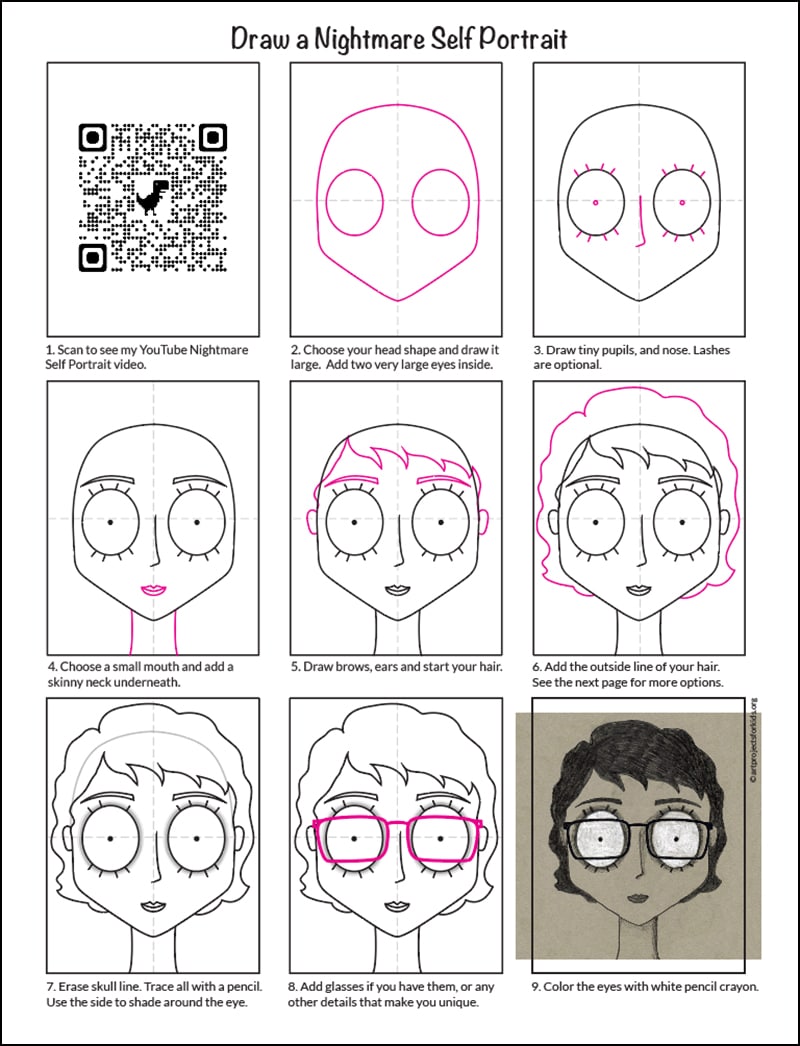
- Choose your head shape and draw it large.

- Add two very large circles for the eyes.
- Draw tiny circles for the pupils, and a nose and lashes.
- Add a tiny mouth and skinny neck.
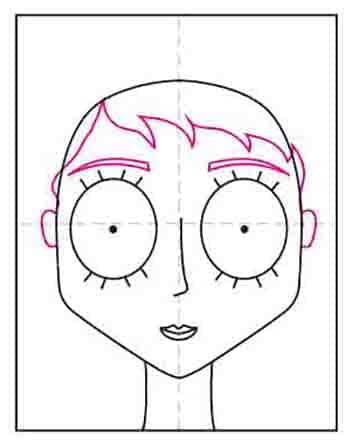
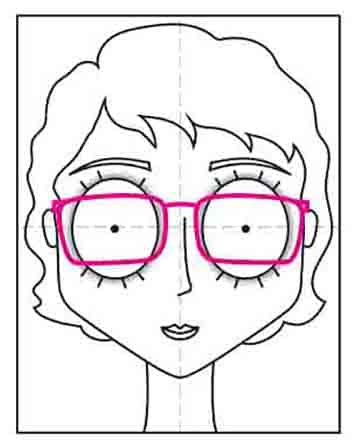
- Draw brows, ears and any hair on the forehead.
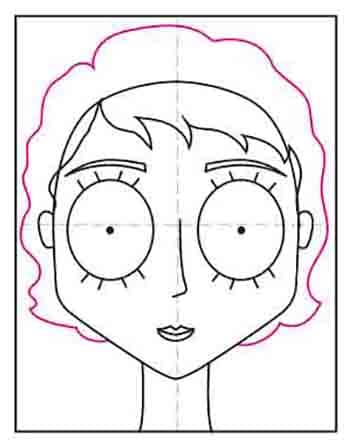
- Finish the hair with the outer line.
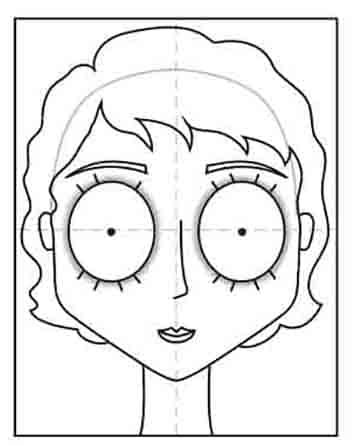
- Trace all of the head with a pencil, making a heavy dark line. Add shadows around the OUTSIDE of the eye with a pencil.
- Add any extra details that make you unique.
- Fill in dark areas with the pencil, and color the eyes with a white pencil crayon.
- Bonus Tip Sheet includes more options for the head, eyes, nose and mouth.


Already subscribed to “The Daily Draw”?
Great, then use the download button below to get your free Nightmare Self Portrait tutorial.
And thanks for wanting to bring more step-by-step, no prep art lessons to your classroom!


Thank you so much for this tutorial! It’s really useful.
Me and my daughter brought a nightmare portrait from http://www.grovestreetart.com and have been really satisfied from it but now, thanks to you, i want to create one by myself.
Thank you again
That’s great Mary, so happy to hear that!