How to Draw a Spider: Easy Step-by-Step Art Lesson for Kids
Learn how to draw a Spider with this tutorial video for kids. A black silhouette makes it really easy to paint the background.
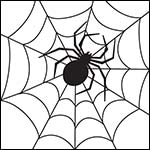

How to Draw a Spider
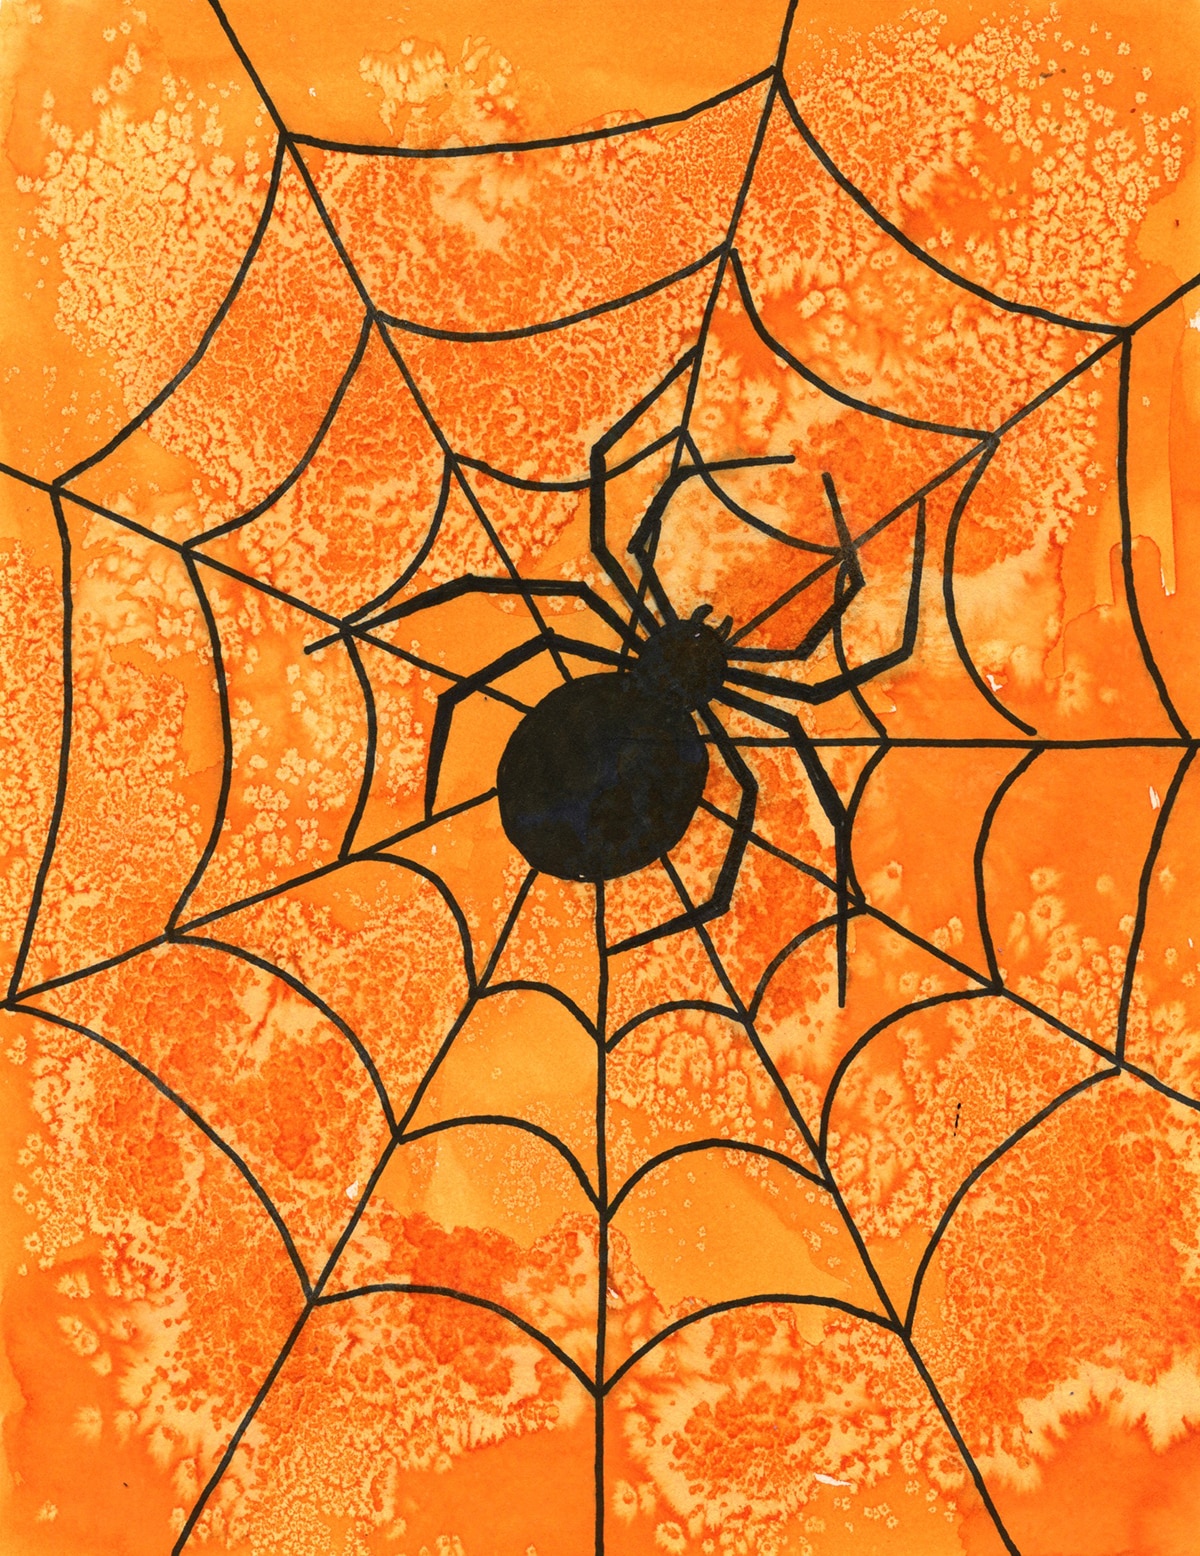
This spider drawing project not only teachers students a bit more about spiders, it shares an easy science trick to create that fun, blotchy background. It turns out that if you sprinkle table salt on wet watercolor paint, it absorbs the liquid which alters the color in a fun way.
If you haven’t tried this trick before, which is perfect for making what is called an implied texture, give it a try with this spider drawing. The silhouette of the spider and web will pop even more and it’s easy to do.
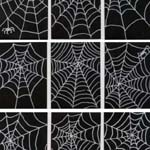
The process is to draw the spider and web on watercolor paper, and trace and fill it in with permanent black marker. Students then brush over the entire painting with a single color of watercolor paint, sprinkling salt on the wet surface as they go. It takes a few minutes, but the salt will start to absorb the paint, and create the blotch look! Leave the salt on until it is totally dry, and brush it off to get to maximum effect.
Join “The Daily Draw” below to get this printable!

Materials for a Spider Drawing
• Affiliate links. If you click I may be compensated in a small way.
Watercolor Paper*
Liquid Watercolor Paint*

Permanent Marker

Rounded Paintbrush
Pencil*
Table Salt

Directions
Time needed: 30 minutes
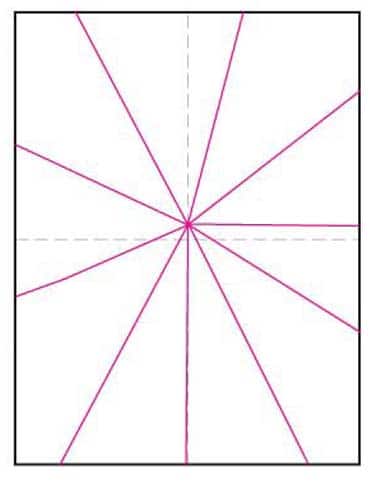
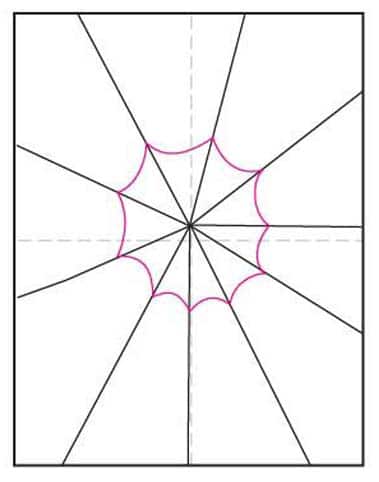
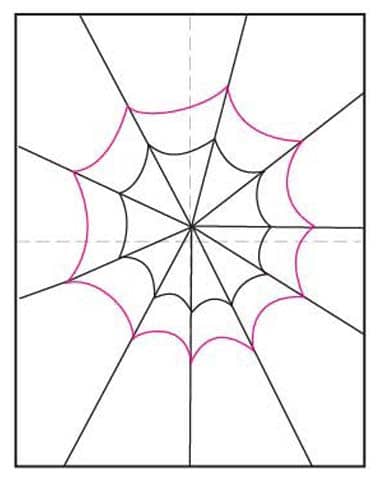
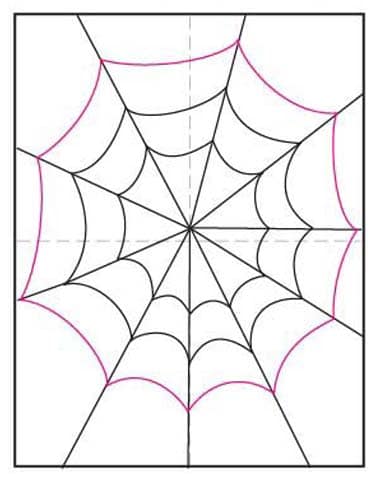
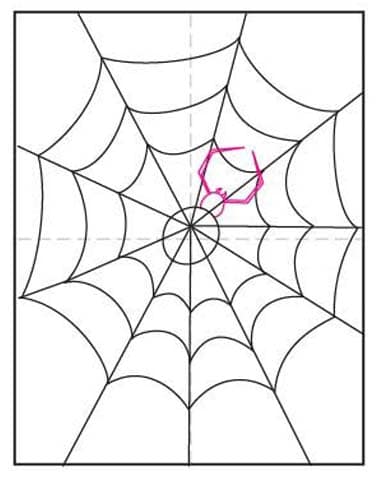
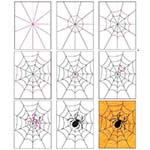
Draw an Easy Spider
- Draw about 10 lines in a burst.

- Draw a curved ring near center. (Leave space inside for the spider.)
- Add a larger curved ring.
- Add an even larger curved ring.
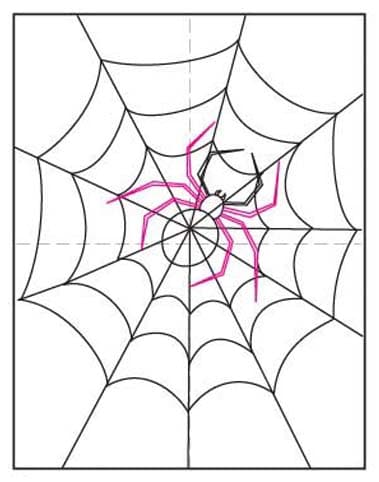
- Draw the oval abdomen.
- Add the thorax, and the front legs.
- Add three more sets of legs.
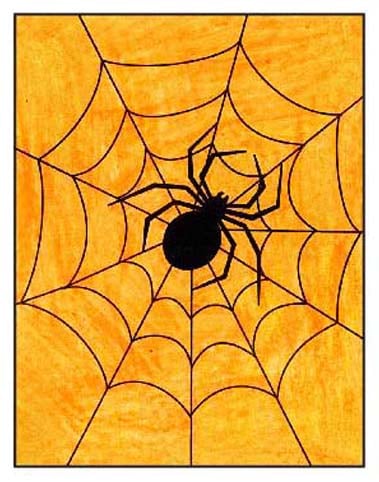
- Fill the spider with a black marker.
- Trace with a black marker and color or paint the background.