
How to Draw a Jack O’ Lantern: Easy Step-by-Step Art Lesson for Kids
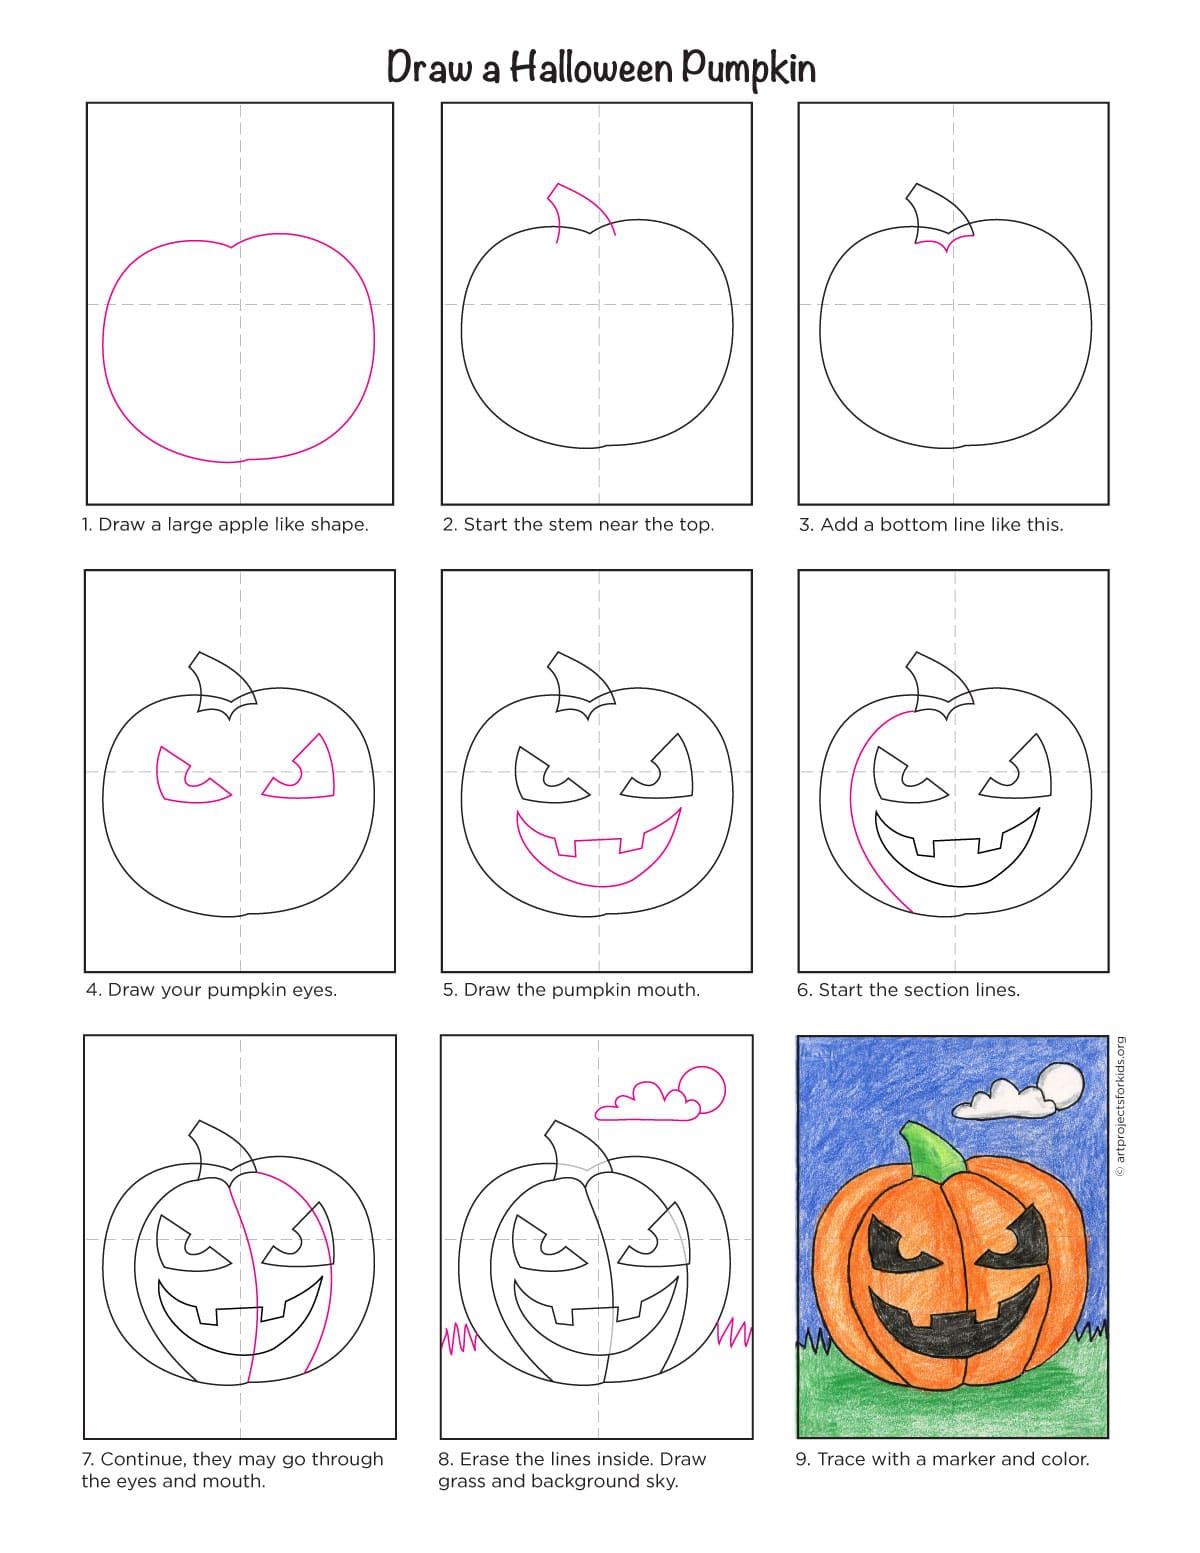
Here you’ll find an easy step-by-step tutorial for how to draw a Jack-o-Lantern and a Jack-o-Lantern Coloring Page. Draw the eyes angled down for an extra scary look.


Jack-o-Lantern Drawing
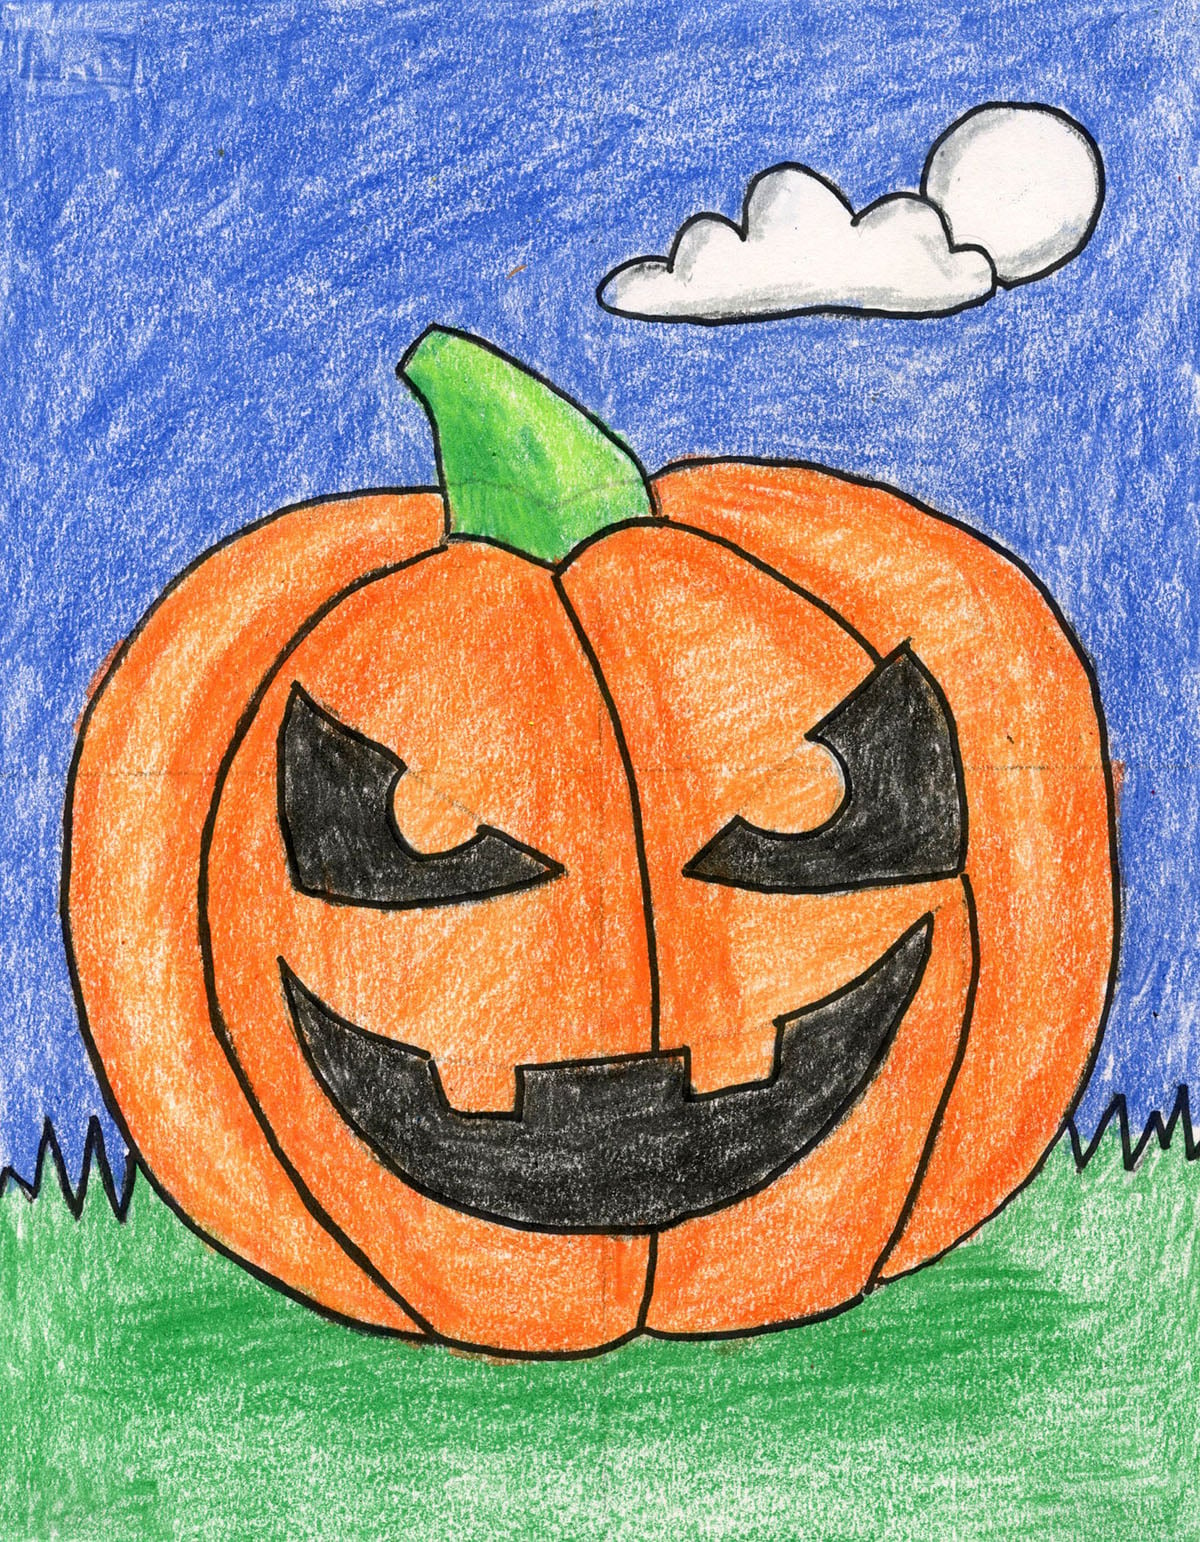
A fun jack-o’-lantern drawing needn’t be complicated, but it can certainly be more than a flat-looking circle. A few carefully placed curved lines can help students make their pumpkin look round and give it a personality of its own.
The trick begins with the stem. Instead of placing it right on the pumpkin’s top outline, move its base down a little so it appears to sit within the top of the pumpkin.
Next, have students draw their jack-o’-lantern’s face. Large triangular eyes, tilted eyebrows, or a wide, uneven grin can make a pumpkin look surprised, silly, friendly, or spooky.
Encourage students to sketch a few small face ideas on scrap paper before choosing their favorite. Changing just the angle of the eyes or the curve of the mouth can create a very different expression.
Once the face is in place, add about three curved lines to suggest the pumpkin’s sections. Have students stop those lines when they reach an eye, nose, or mouth, then continue on the other side.
Drawing the face first helps students see exactly where their section lines belong. Encourage them to let those lines bow outward, following the rounded surface of the pumpkin, rather than drawing them straight down.
If your students are learning about the Elements of Art, this is a simple way to explore shape and form. A circle is a flat, two-dimensional shape, while a real pumpkin has three-dimensional form; curved lines help suggest that form on a flat piece of paper.
Try a quick demonstration with two similar jack-o’-lantern drawings side by side. Add curved section lines to just one, and ask, “Which pumpkin looks rounder? What did those lines change?”
For younger students, keep the focus on a large pumpkin, a simple face, and a few curved section lines. Older students can explore overlapping teeth, less symmetrical features, or darker orange shading along one side of each pumpkin section.
As students finish, ask them to point out a line that makes their pumpkin look round and a shape that helps show its expression. It’s an easy way to connect a favorite seasonal drawing with the art choices they made along the way.
Grab this step-by-step art lesson below!
Jack-O-Lantern Coloring Page

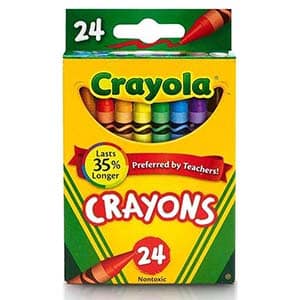
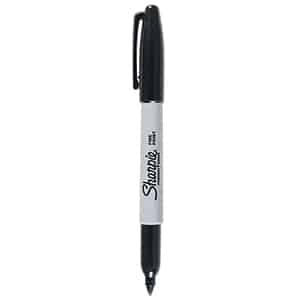
Materials

Directions to Draw a Jack-o-Lantern
Time needed: 45 minutes
How to Draw a Jack-o-Lantern step by step
- Draw a large apple like shape.

- Add a stem near the top.
- Erase line and add curves.
- Add another curve line.
- Draw the left eye.
- Draw the right eye.
- Add a mouth with teeth.
- Draw grass and background sky.
- Trace with marker and color.


More Halloween Projects



Read More Drawing Article✅ . Halloween Pumpkin Drawing
I love this it is very cool after you draw it. I am putting sticky notes all around my house for Halloween and the jack o’ lantern stands out!
-Dragon Lover