Easy How to Draw an Op Art Cube Tutorial Video and Op Art Cube Coloring Page
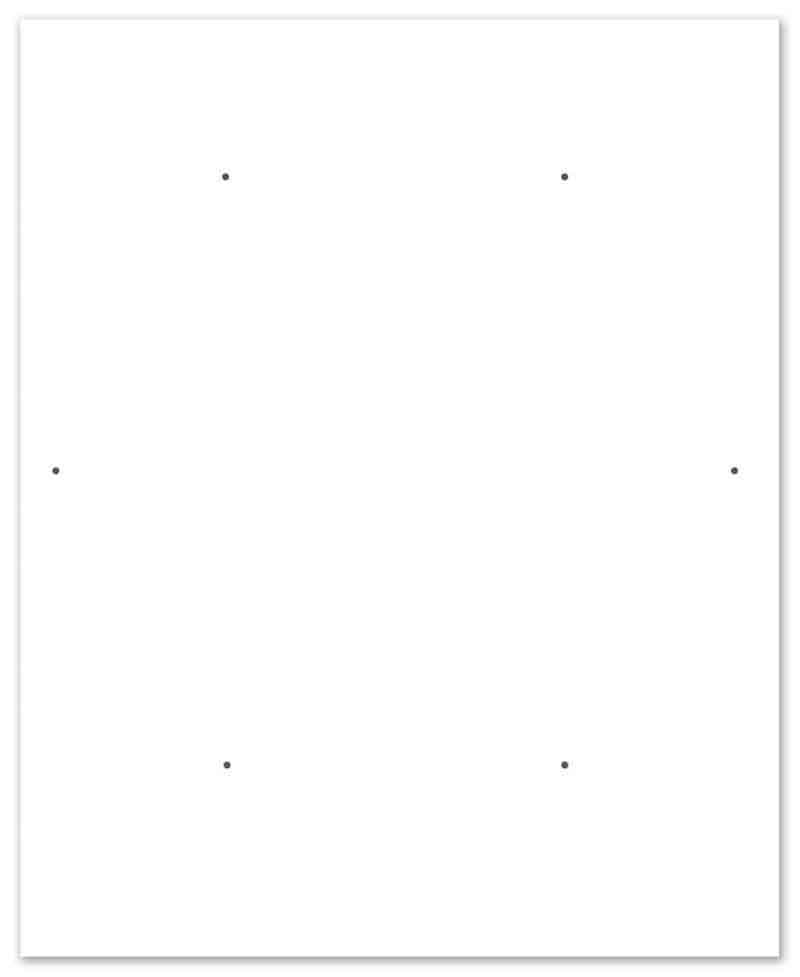
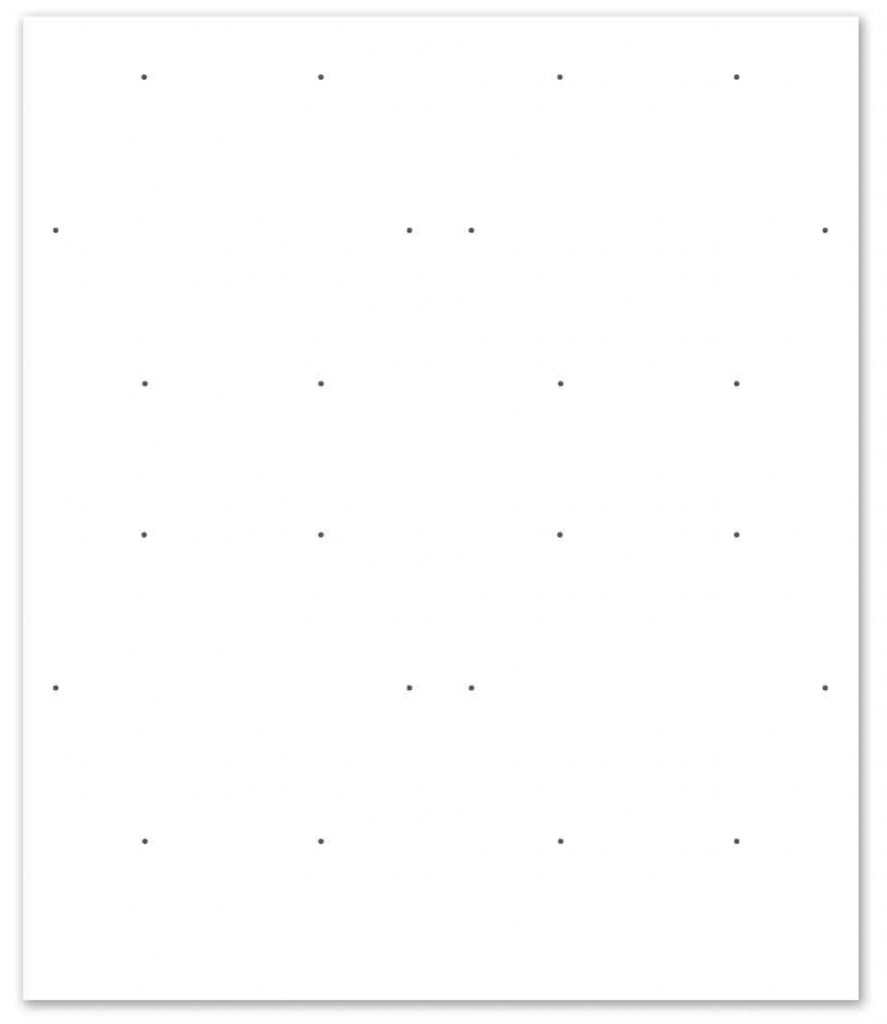
Here you’ll find an easy step-by-step tutorial video for how to draw an Op Art Cube and Coloring Page. A dot template helps get things started.
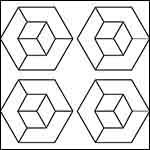

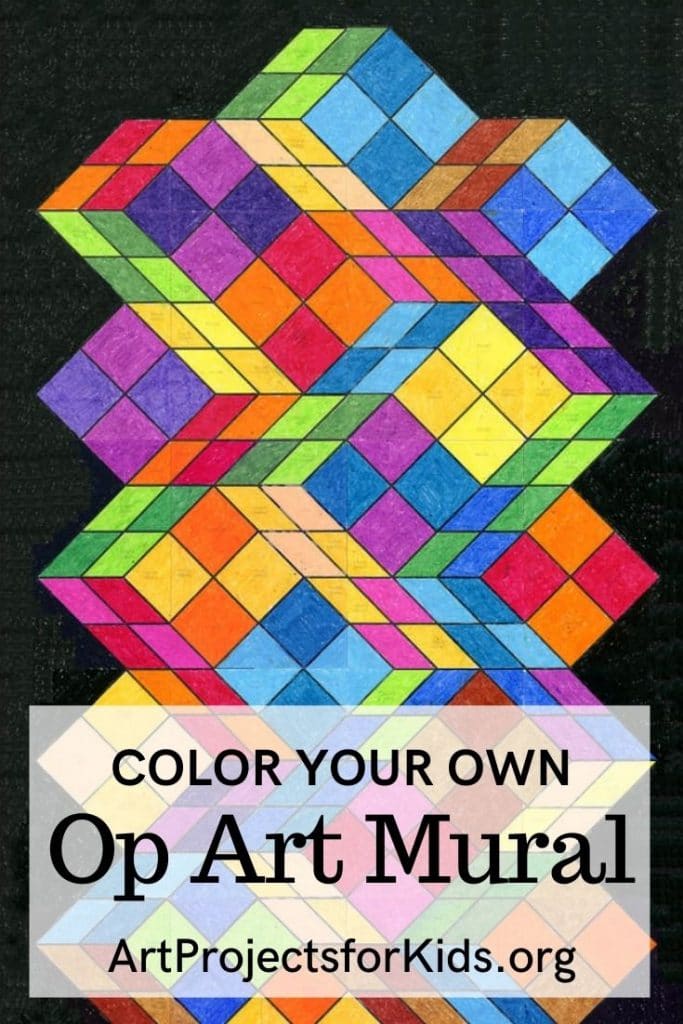
Drawing of Op Art Cubes
Students can learn how to draw an Op Art Cube, one of the easiest (and most satisfying!) optical illusions to create. Op art—short for optical art—is a style of visual art that uses lines, shapes, patterns, and contrast to trick the viewer’s eye into seeing movement, depth, or 3D form on a flat surface. The movement took off in the 1960s, when artists began experimenting with bold geometric designs that seemed to vibrate, shift, or pop off the page.
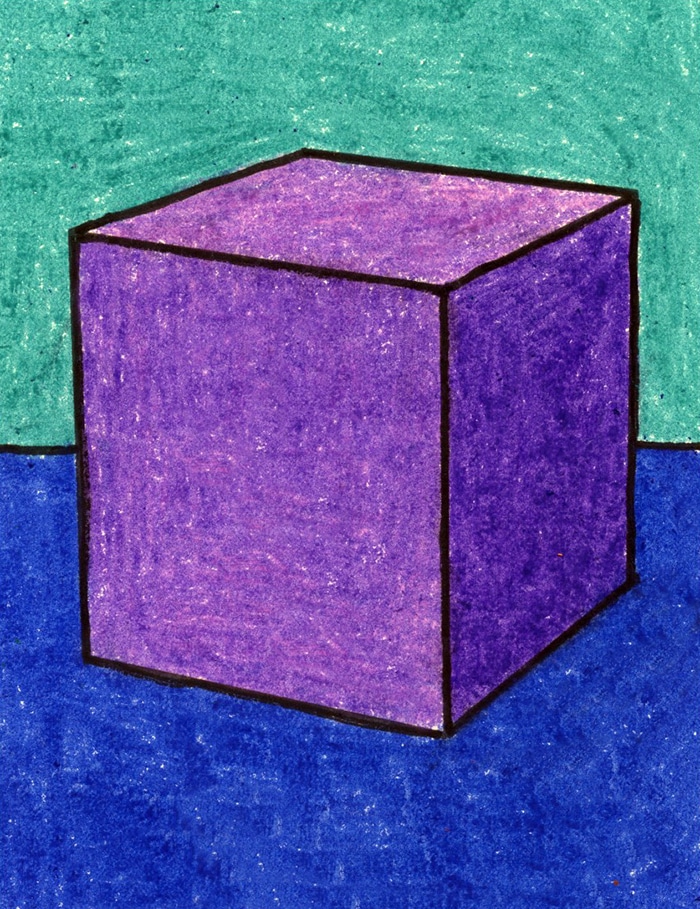
This cube lesson is a perfect introduction because it uses simple straight lines and repeated patterns to create the illusion of a three-dimensional form. With just a few steps, students can transform a basic cube into a piece of op art that looks like it’s turning or pushing forward—proving that you don’t need complicated drawing skills to make art that feels “wow.”
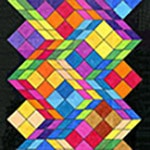
Many art historians credit Victor Vasarely as a key pioneer of the op art movement, often pointing to his 1938 work “Zebra” as an early example of the optical effects that later became famous.
Join “The Daily Draw” to grab this Tutorial!
Pin me to your Pinterest Board!

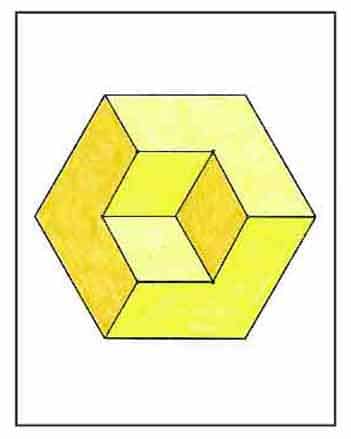
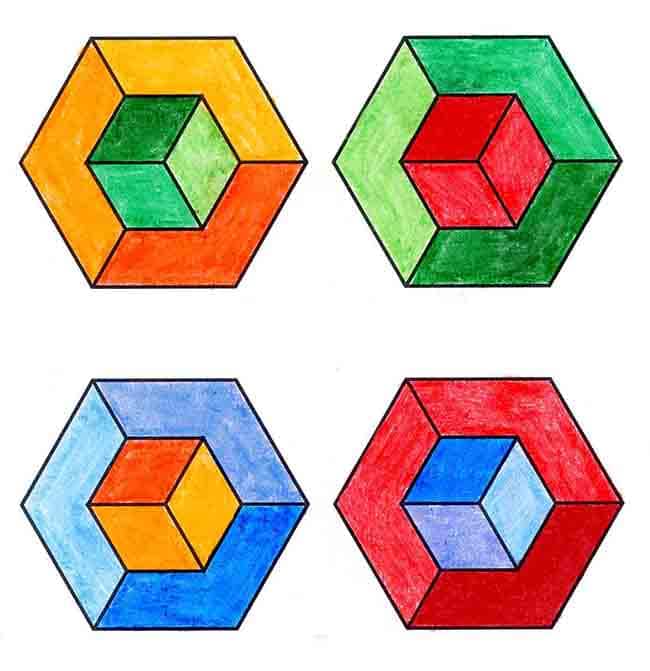
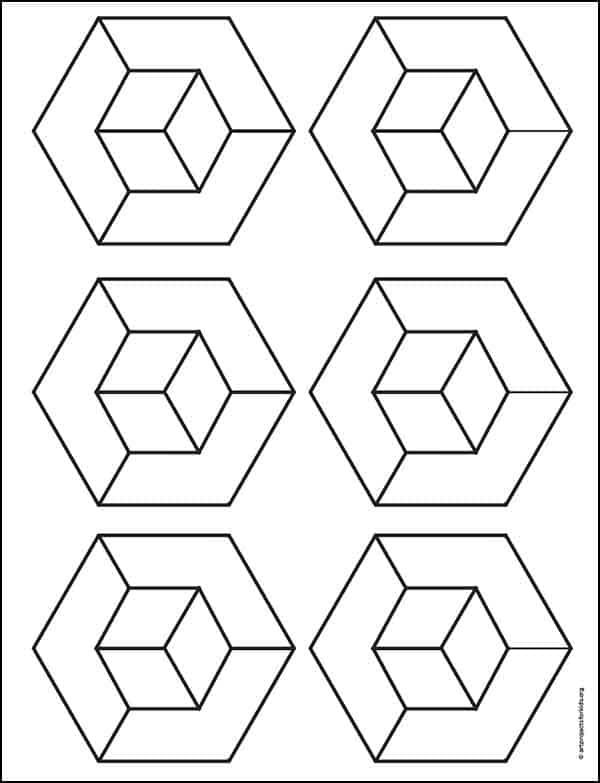
Op Art Cube Coloring Page
Materials for an Op Art Cube Drawing


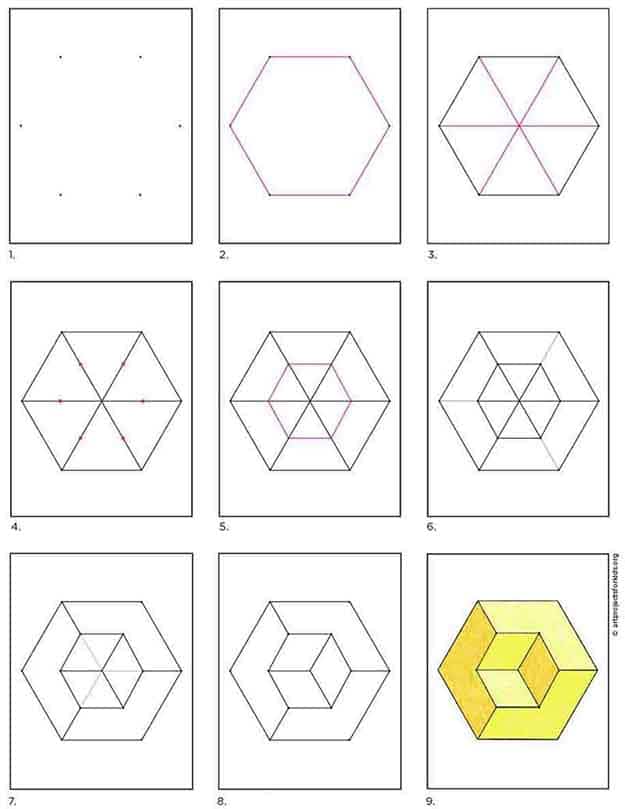
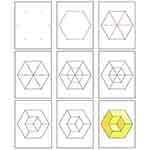
Step by Step Directions to Draw an Op Art Cube
Time needed: 45 minutes
Op Art Cube Directions
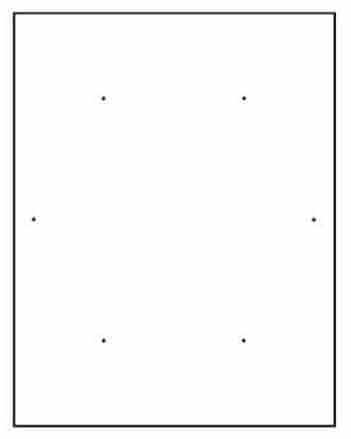
- Print the template page with dots.

- Use a straight edge to connect the dots.
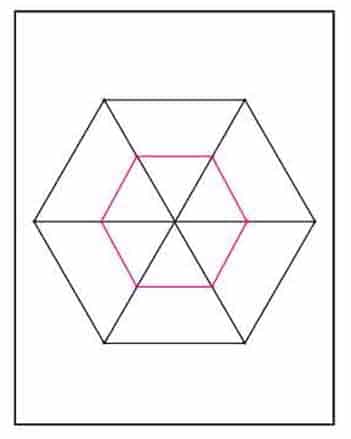
- Connect the dots inside with diagonal lines.
- Add dots that are centered on each line.
- Connect those dots with a straight edge.
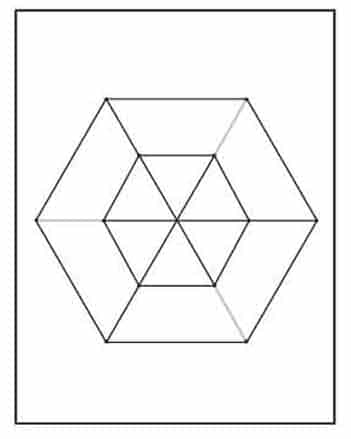
- Erase the gray lines shown.
- Erase three more lines.
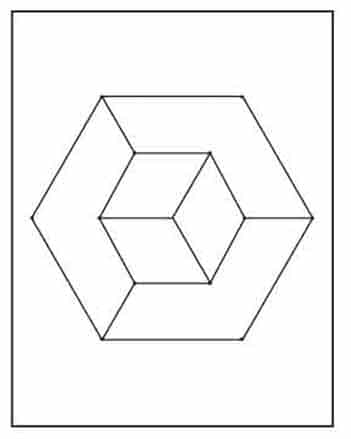
- Trace the drawing with a marker.
- Color the shapes with a light, medium, and dark shade of one color.