How to Draw a Celtic Knot: Easy Step-by-Step Art Lesson for Kids
Below you’ll find an easy step-by-step how to draw a Celtic Knot tutorial and Coloring page. Careful erasing will make it look like an endless loop.


Celtic Knot Drawing
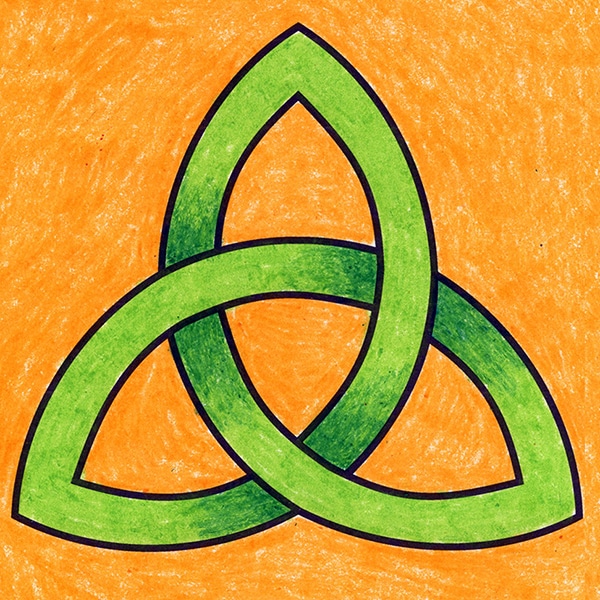
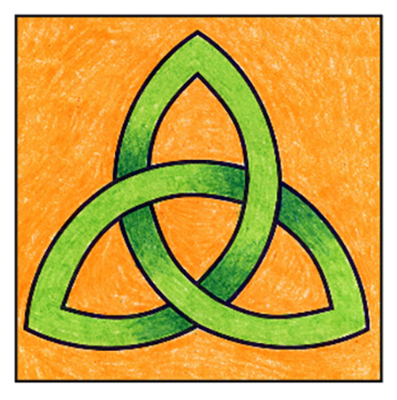
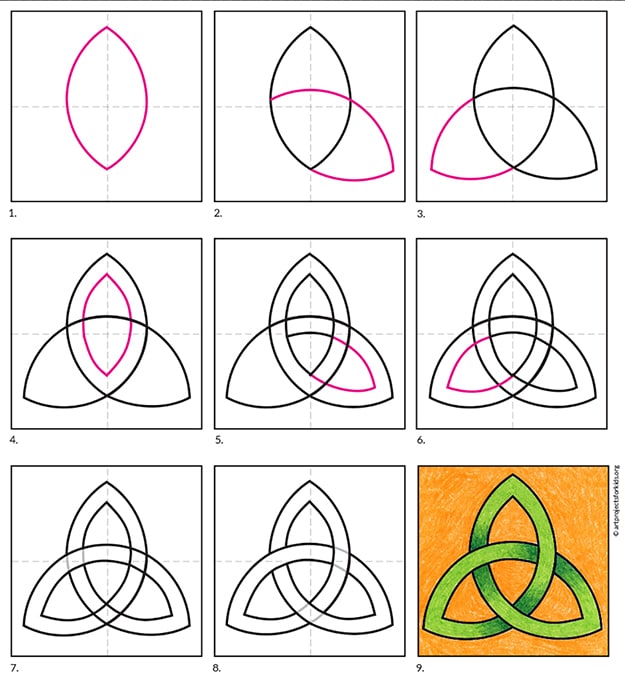
This How to Draw a Celtic Knot tutorial will show students how the Trinity Celtic knot is made. It’s one probably one of the most popular of all the many Celtic knots that are around. The three petal shapes are pretty simple, they just need to be drawn carefully, so all the loops are the same size and shape, and then erased in some strategic places to make the loop look like it’s infinite.
What is a Celtic knot? Basically they are knots that make complete loops with no start or finish. They are said to represent eternity, which could be interpreted as loyalty, faith, friendship and love.
Teachers that are looking for some connections to the Elements of Art, could note that LINES in this knot are used strategically to create a continuous SHAPE. And when a darker VALUE of the color is added along some lines, the knot appears to no longer be flat, but to have some dimensional FORM. Pretty cool, huh?
Use the Button below to grab this PDF Tutorial
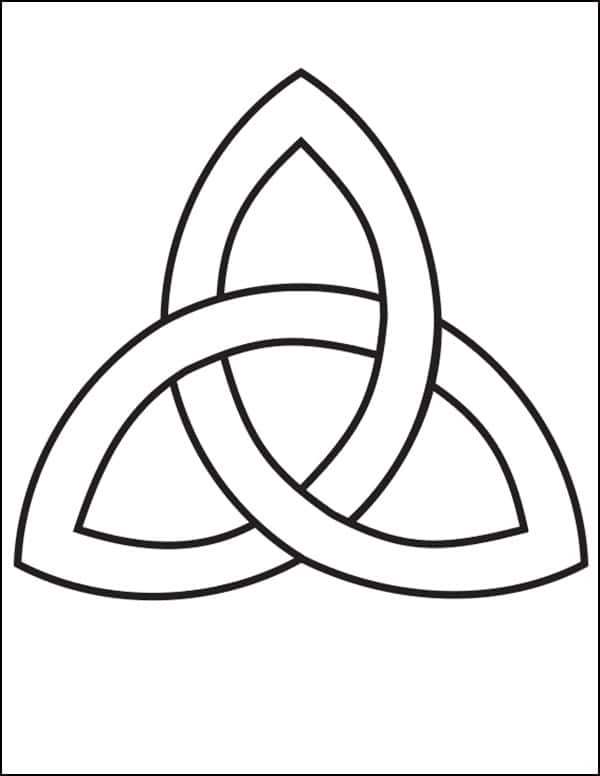
Celtic Knot Coloring Page
Materials for Celtic Knot Project


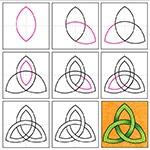
Step by Step Directions for Celtic Knot Project
Time needed: 45 minutes
How to Draw a Celtic Knot
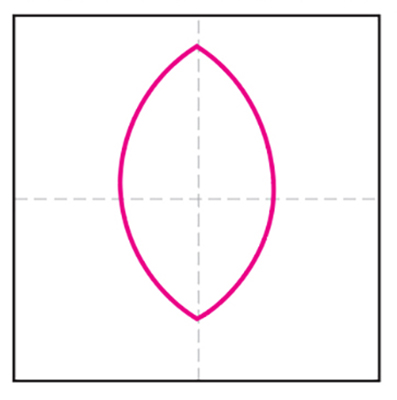
- Fold a square paper to make the guides. Draw a center petal shape.

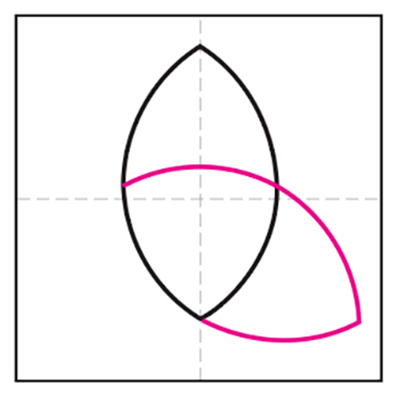
- Draw a similar size and shape petal attached to the right.
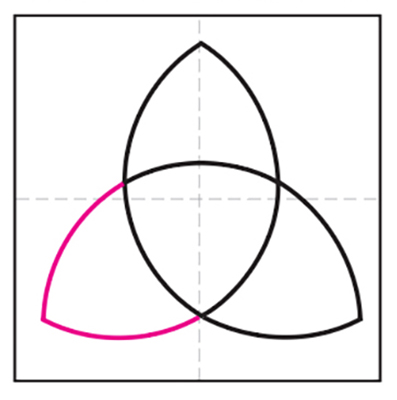
- Add a similar size and shape petal attached to the left.
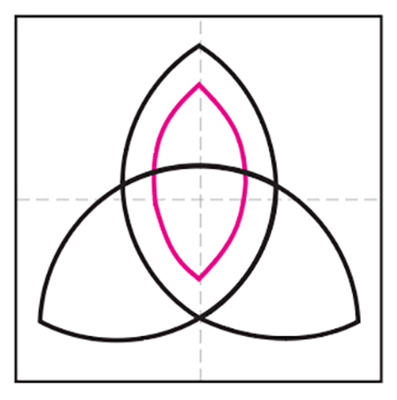
- Draw the inside edge of the center petal.
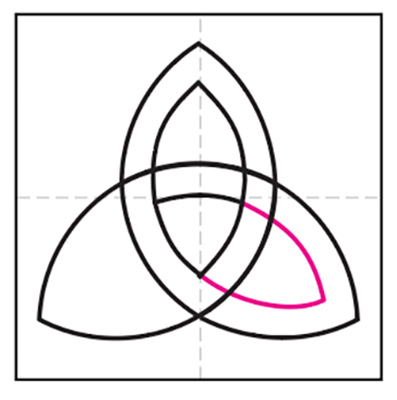
- Connect an inside edge to the right petal.
- Add inside edge to the left petal.
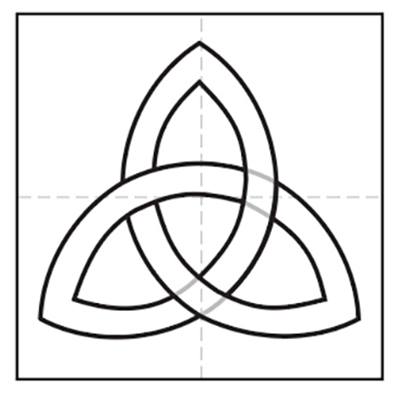
- Erase the pair of the gray lines.
- Erase two more pairs of the gray lines.
- Trace with a marker and color. Add a darker color as shown.