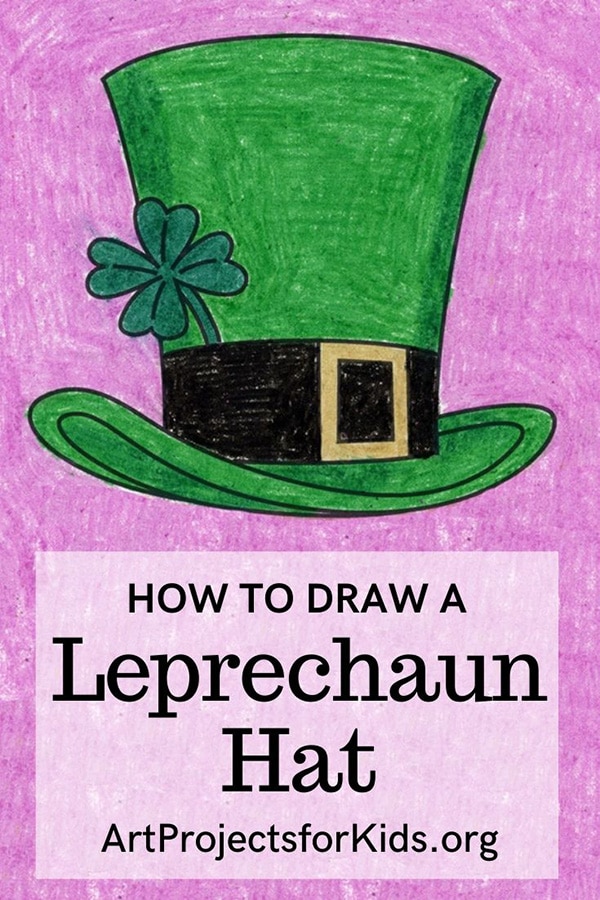
How to Draw a Leprechaun Hat: Easy Step-by-Step Art Lesson for Kids
Here you’ll find an easy step-by-step tutorial video for how to draw a Leprechaun Hat. It makes for a fun St. Patrick’s Day drawing project!


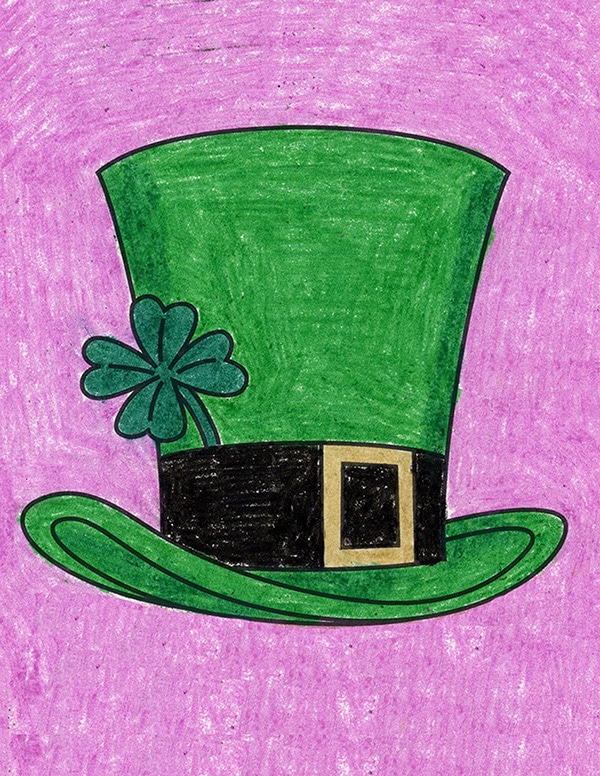
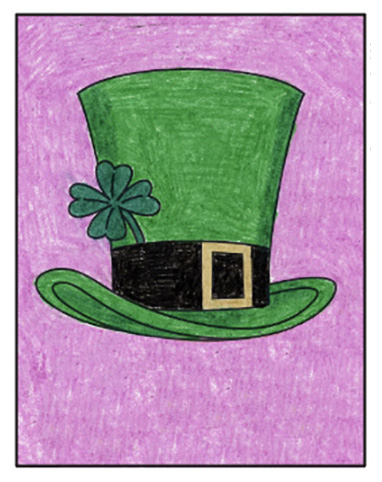
When students learn how to draw a Leprechaun hat, they can see how a few well-placed lines can make something look very dimensional. The usual profile of a Leprechaun’s hat often looks very flat, but this one will show them how a flipped up brim can make it look much more life like. Once the basic shape is in place, it’s lots of fun to add a buckle to the brim, along with a little four leaf clover. It could be used as a drawing and shading project by itself – or something they could add their face below too. All kinds of possibilities when you draw something all by yourself.
Use the Button below to grab a PDF Tutorial
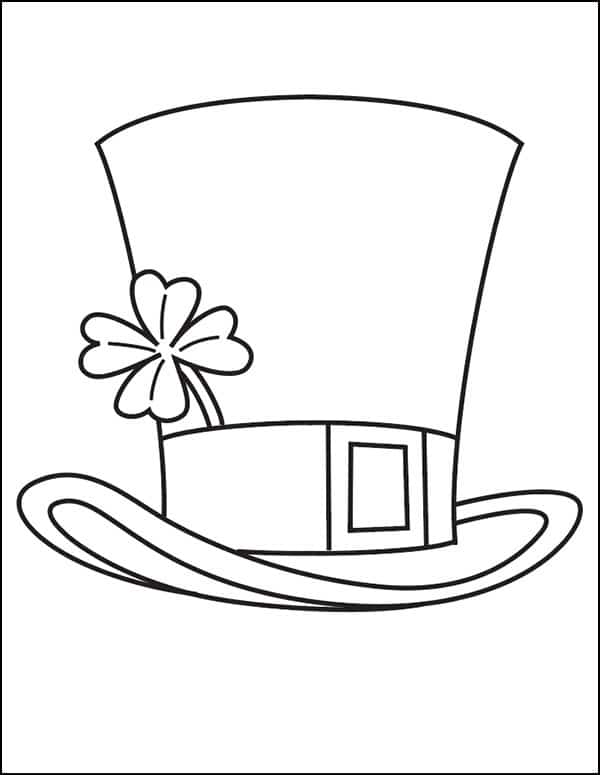
Leprechaun Hat Coloring Page
Materials


Directions to Draw a Leprechaun Hat
Time needed: 45 minutes
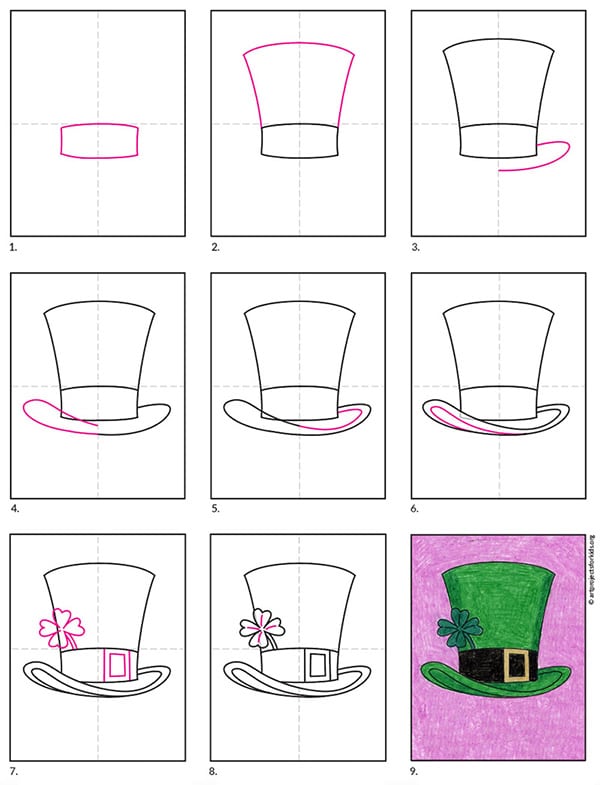
How to draw a Leprechaun Hat step by step
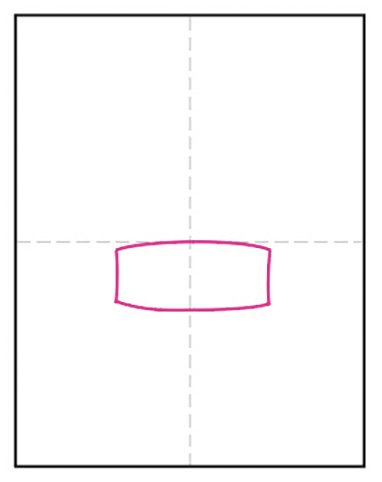
- Draw the band of the hat.

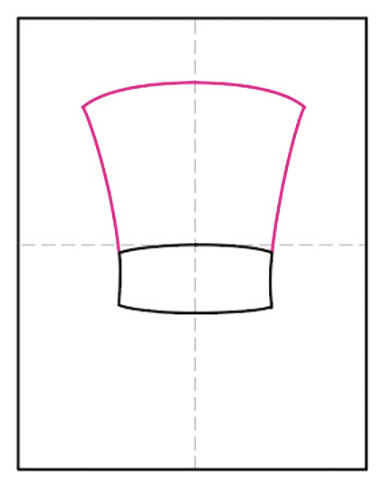
- Add the curved top above it.
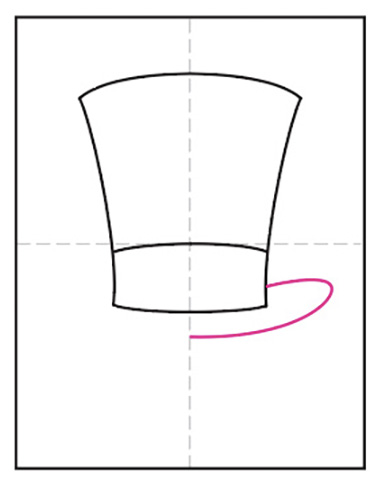
- Start the right brim of the hat.
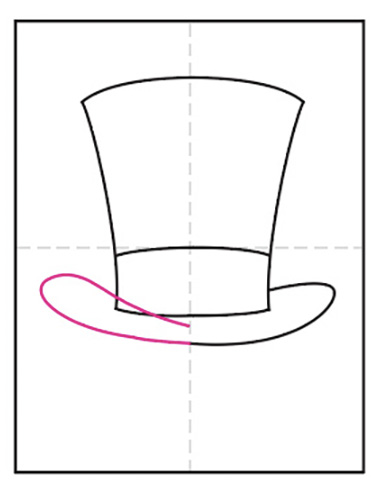
- Continue the left side of the brim.
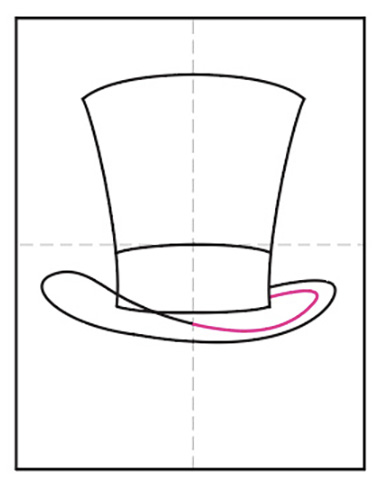
- Finish the curve on the right.
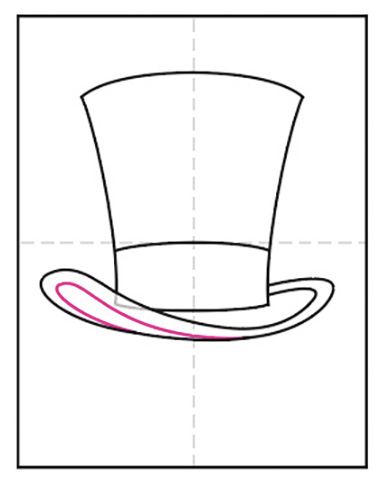
- Erase, add the curve underneath.
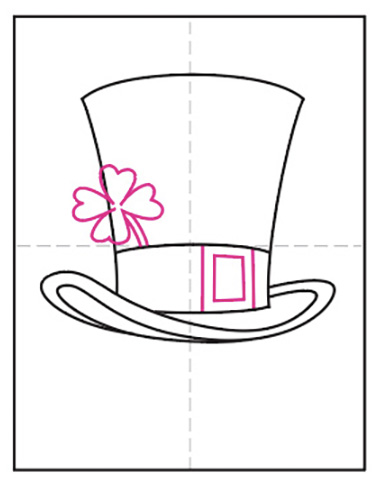
- Draw the hat buckle and add a 4 leaf clover.
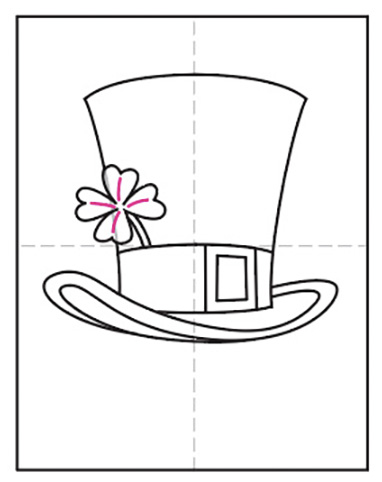
- Erase line and add clover details.
- Trace with a marker and color.
Pin me to your Pinterest Board