How to Make an Easy 3D Paper Cat Tutorial Video
Here you’ll find an easy 3D Paper Cat Tutorial video. Paper crafting skills are great for students of all ages.
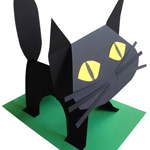

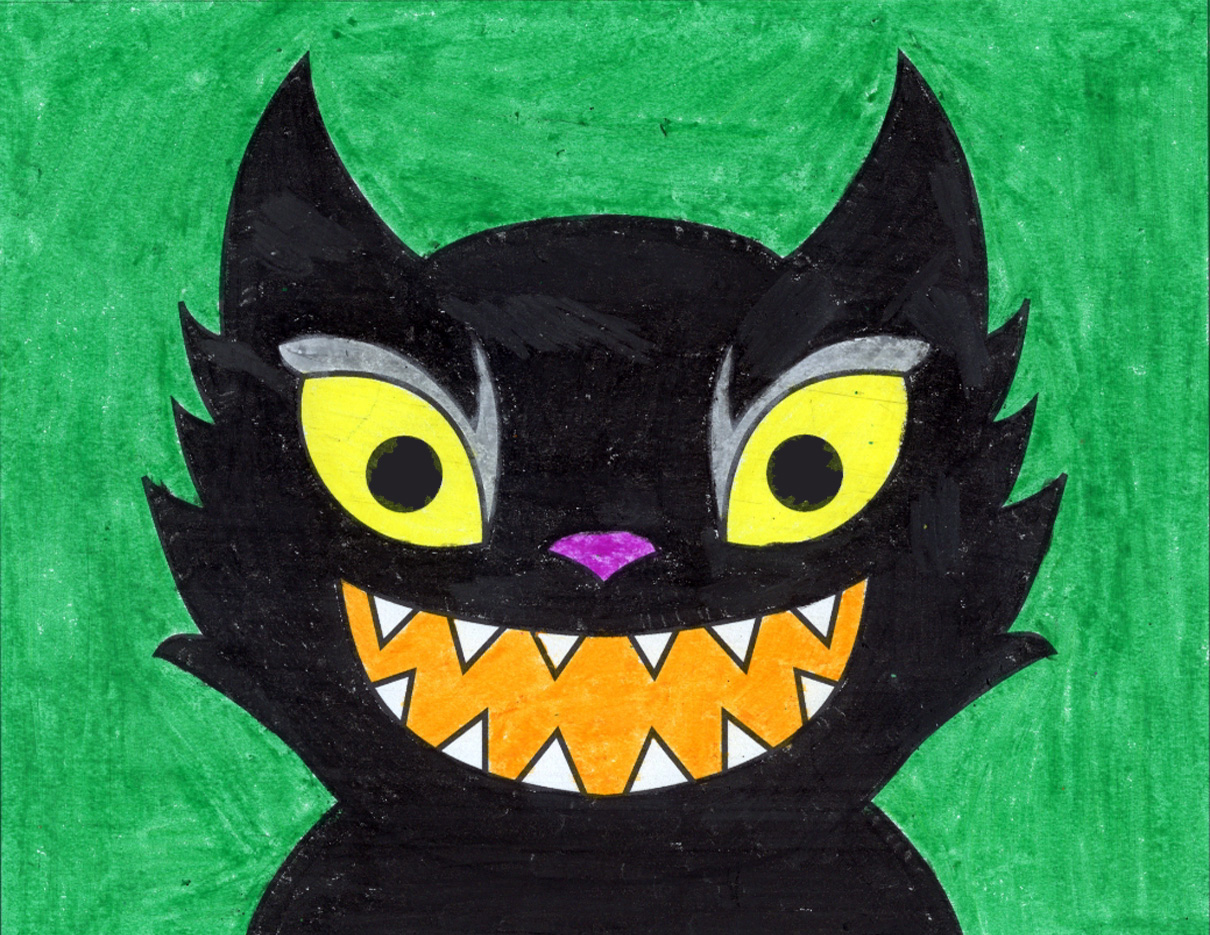
More fun color possibilities!

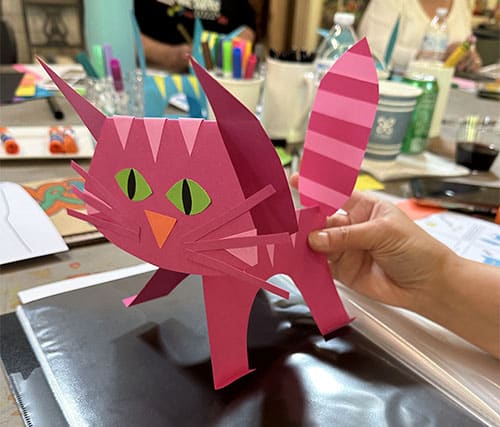
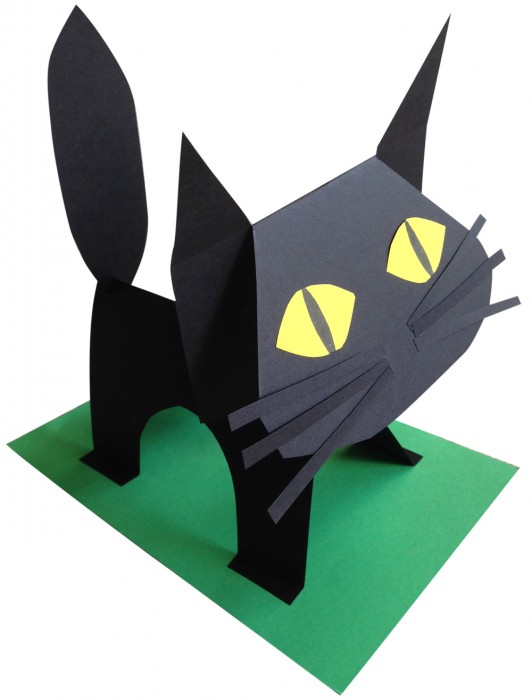
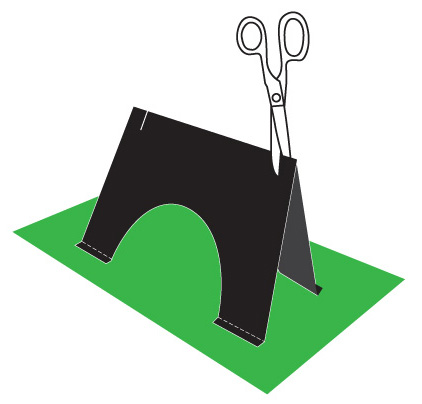
Making a 3D Paper Cat
Learning how to make a 3D paper cat needn’t be a tricky thing to do. This paper craft pattern and directions have been polished over many years to make this an easy project for all ages. Start with some crisp card stock paper, glue a body to the “grass” and then add slots to insert the head and tail. The PDF tutorial explains all these steps in detail.
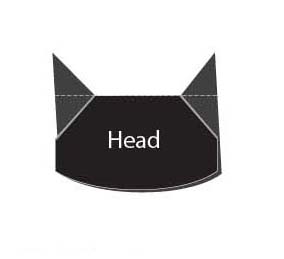
The biggest step young students may needed help with is cutting the slash for the ears. Drawing it in pencil first, before they cut, is one way to keep those mistakes from happening.
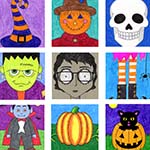
For some extra fun, try giving early finishers scrap colored paper to create collars, hats, and crowns. It’s a great way for them to add a little customization to their cat too.
Subscribe to “The Daily Draw” to get this PDF Art Lesson!

Materials to make a Black Paper Cat

Sharpie Marker Fine Tip
Glue Sticks
Scissors
Black Paper Cat Directions
Time needed: 45 minutes
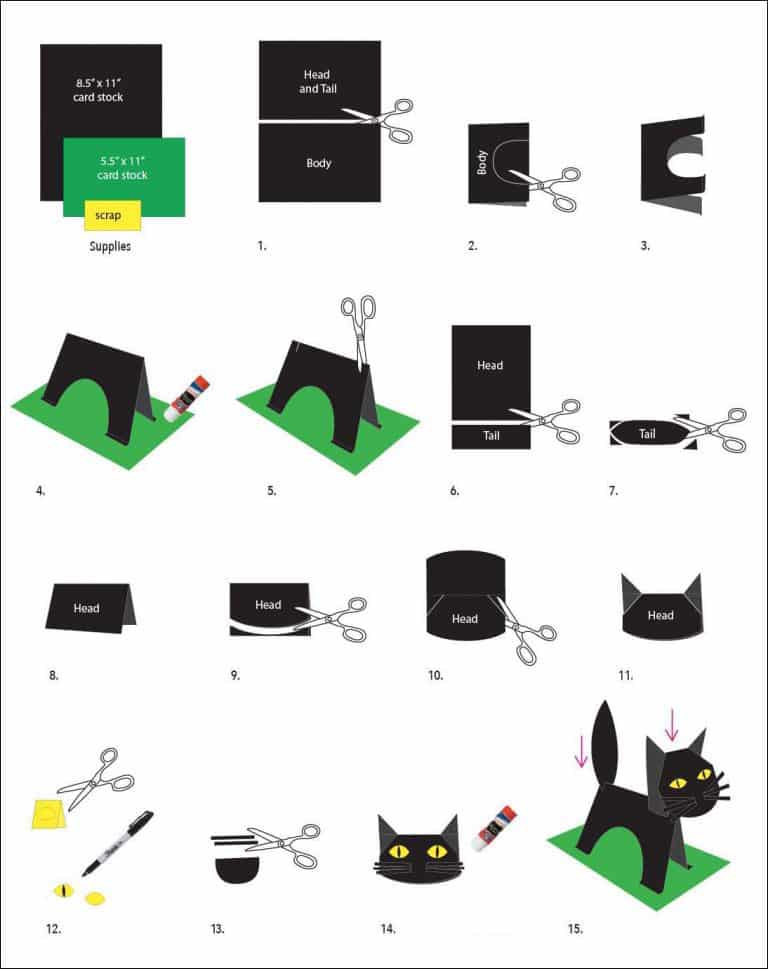
How to make a Paper Cat
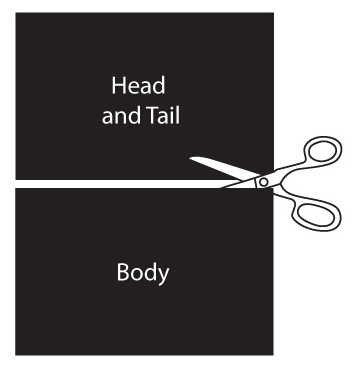
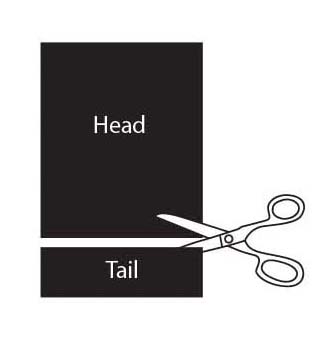
- Cut the black paper in half.

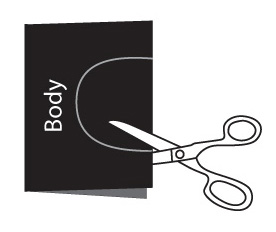
- Fold in half. Cut out half circle.

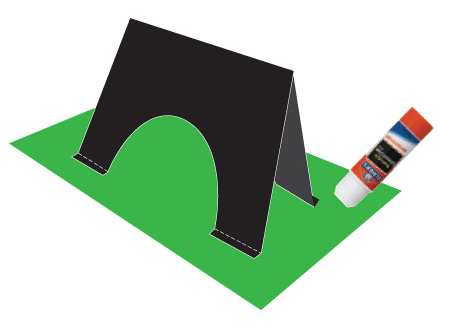
- Fold toes on all four legs.

- Glue toes to green paper.

- Cut two slits on back fold.

- Cut off bottom strip. Cut into a tail

- Cut out tail as shown.

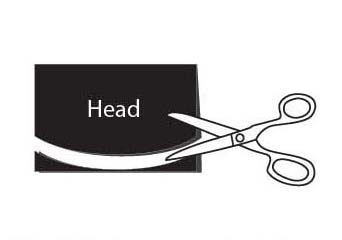
- Fold head paper in half.

- While folded, cut curve for chin.

- Open up and cut two slits.

- Fold and press ears up.

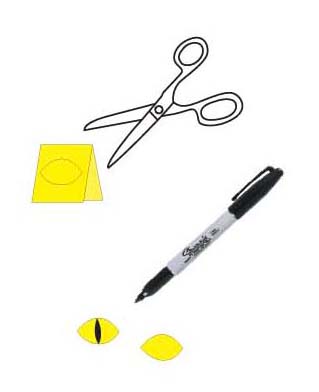
- Fold and cut two eyes. Use marker to finish.

- Cut whiskers from scraps.

- Glue eyes and whiskers to face.

- Insert back head and tail into slits.


Already subscribed to “The Daily Draw”?
Great, then use the button below to get your free 3D Paper Cat tutorial.
And thanks for wanting to bring more step-by-step, no-prep art lessons to your classroom!


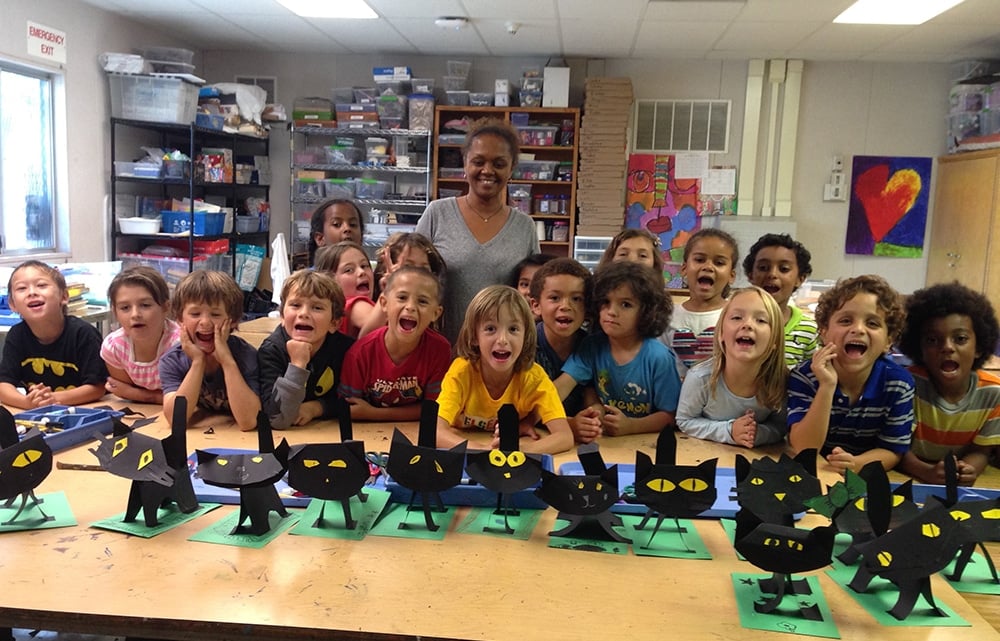
Thank you!! This craft saved me! I took too many kids in my class to do my original idea. This is perfect and the detailed How-to is excellent!
Hey Sofia! So happy to hear that! Someday I’d love to expand the idea to make more animals. So many projects, too little time. 🙂