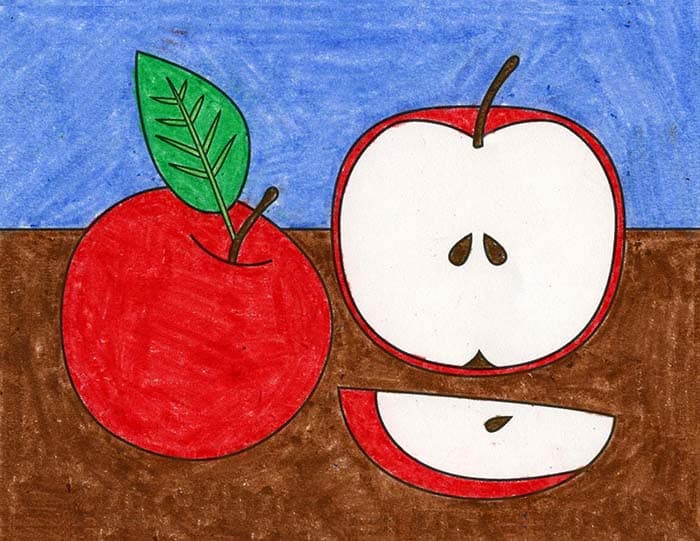
Easy How to Draw an Apple Tutorial and Apple Coloring Page
Below you’ll find an easy step-by-step tutorial for how to draw an Apple, both inside and out, and an Apple Coloring Page.


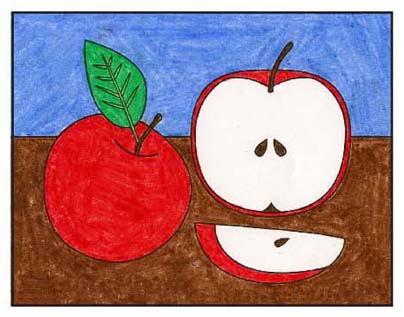
Drawing of an Apple
Whether your students are drawing the alphabet, or studying tree cycles, or looking for fall art, learning how to draw an apple can be the first step in making that happen.
Without any inspiration, many students might opt for just drawing a red circle and adding a stem, but that doesn’t always say apple in the way that a few more details can.
If your students learn how to add a stem and leaf that look like it’s coming out of the center, and maybe also show the inside of the apple, all of a sudden you have a very descriptive apple drawing.
Are your students in the upper elementary grades? Then try challenging them to think how a shadow might be added. They need to decide where the source of light is coming from, and then draw heavier and darker on the opposite side.
Use the Button below to grab a PDF Tutorial
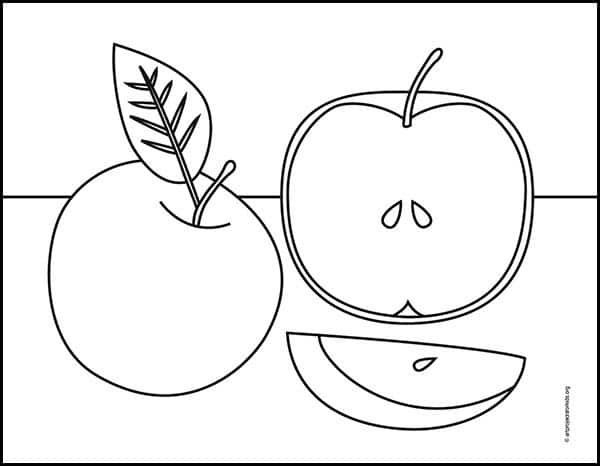
Apple Coloring Page
Materials


Step by Step Directions
Time needed: 45 minutes
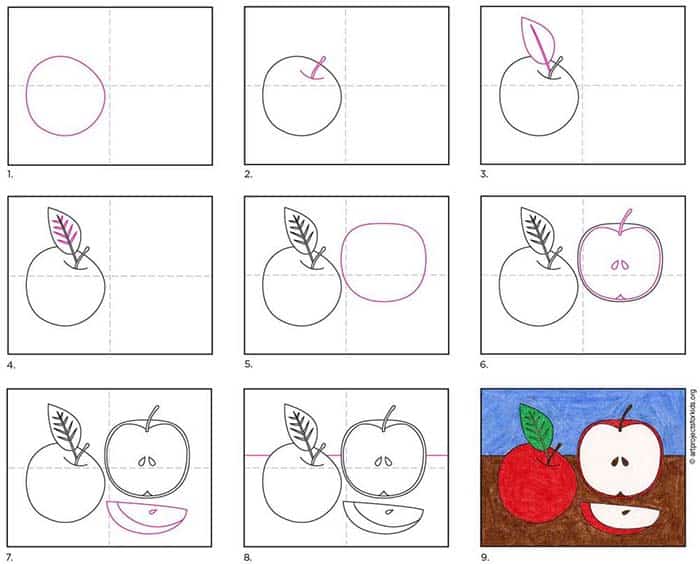
How to Draw an Apple
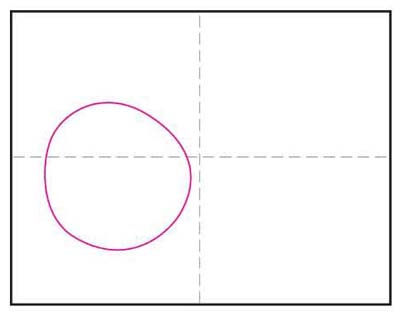
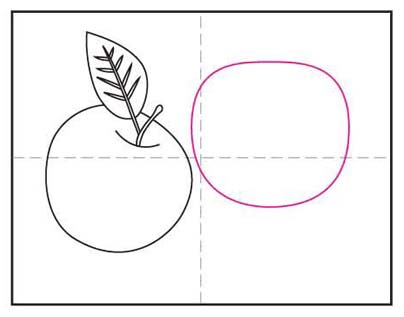
- Draw a circle.

- Add a curve and stem.
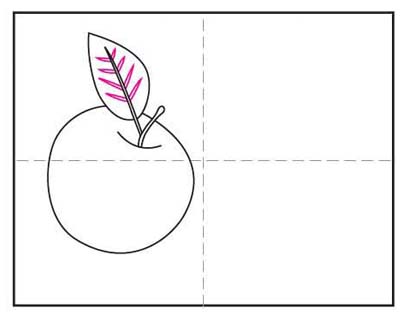
- Draw an attached leaf.
- Add details to the leaf.
- Draw another circle.
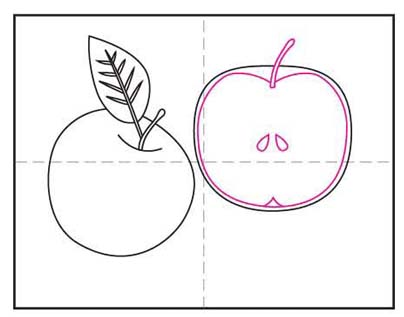
- Draw the peel line, stem and seeds.
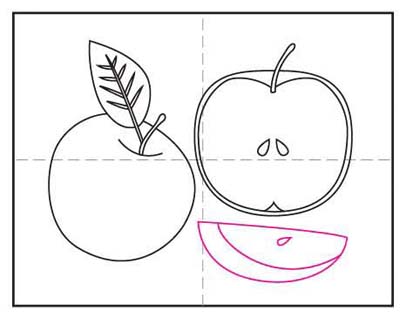
- Draw a slice of apple.
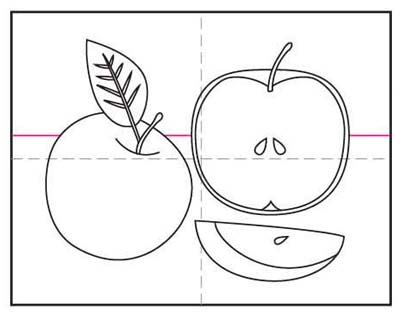
- Add a ground line in the background.
- Trace with marker and color.


More Fun Food Drawing Projects