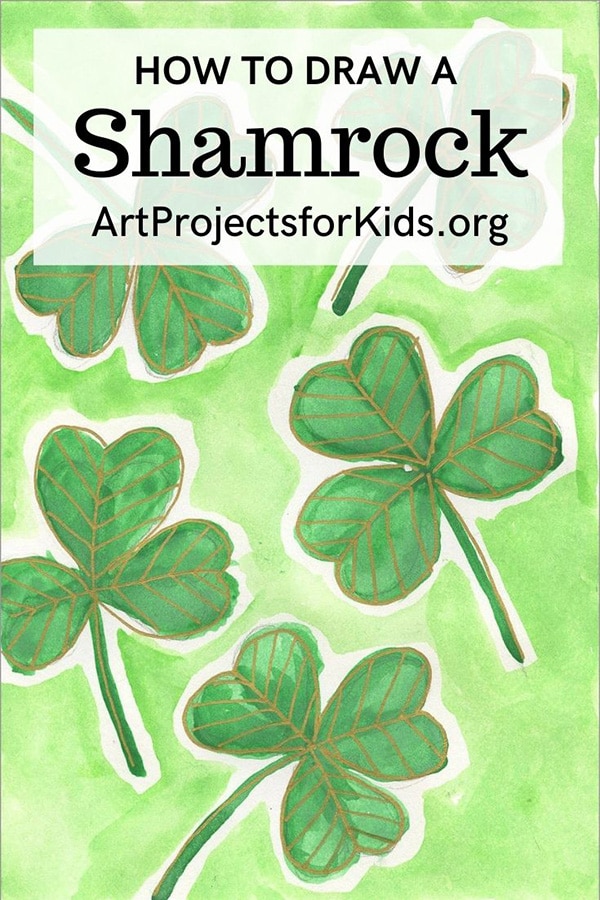
How to Draw a Shamrock: Easy Step-by-Step Art Lesson for Kids
Here you’ll find an easy step-by-step tutorial video for how to draw a Shamrock and a Shamrock Coloring Page. It makes a pretty drawing or painting.

St. Patrick’s Day

Shamrock Painting

More about this easy Shamrock art lesson
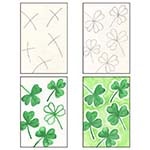
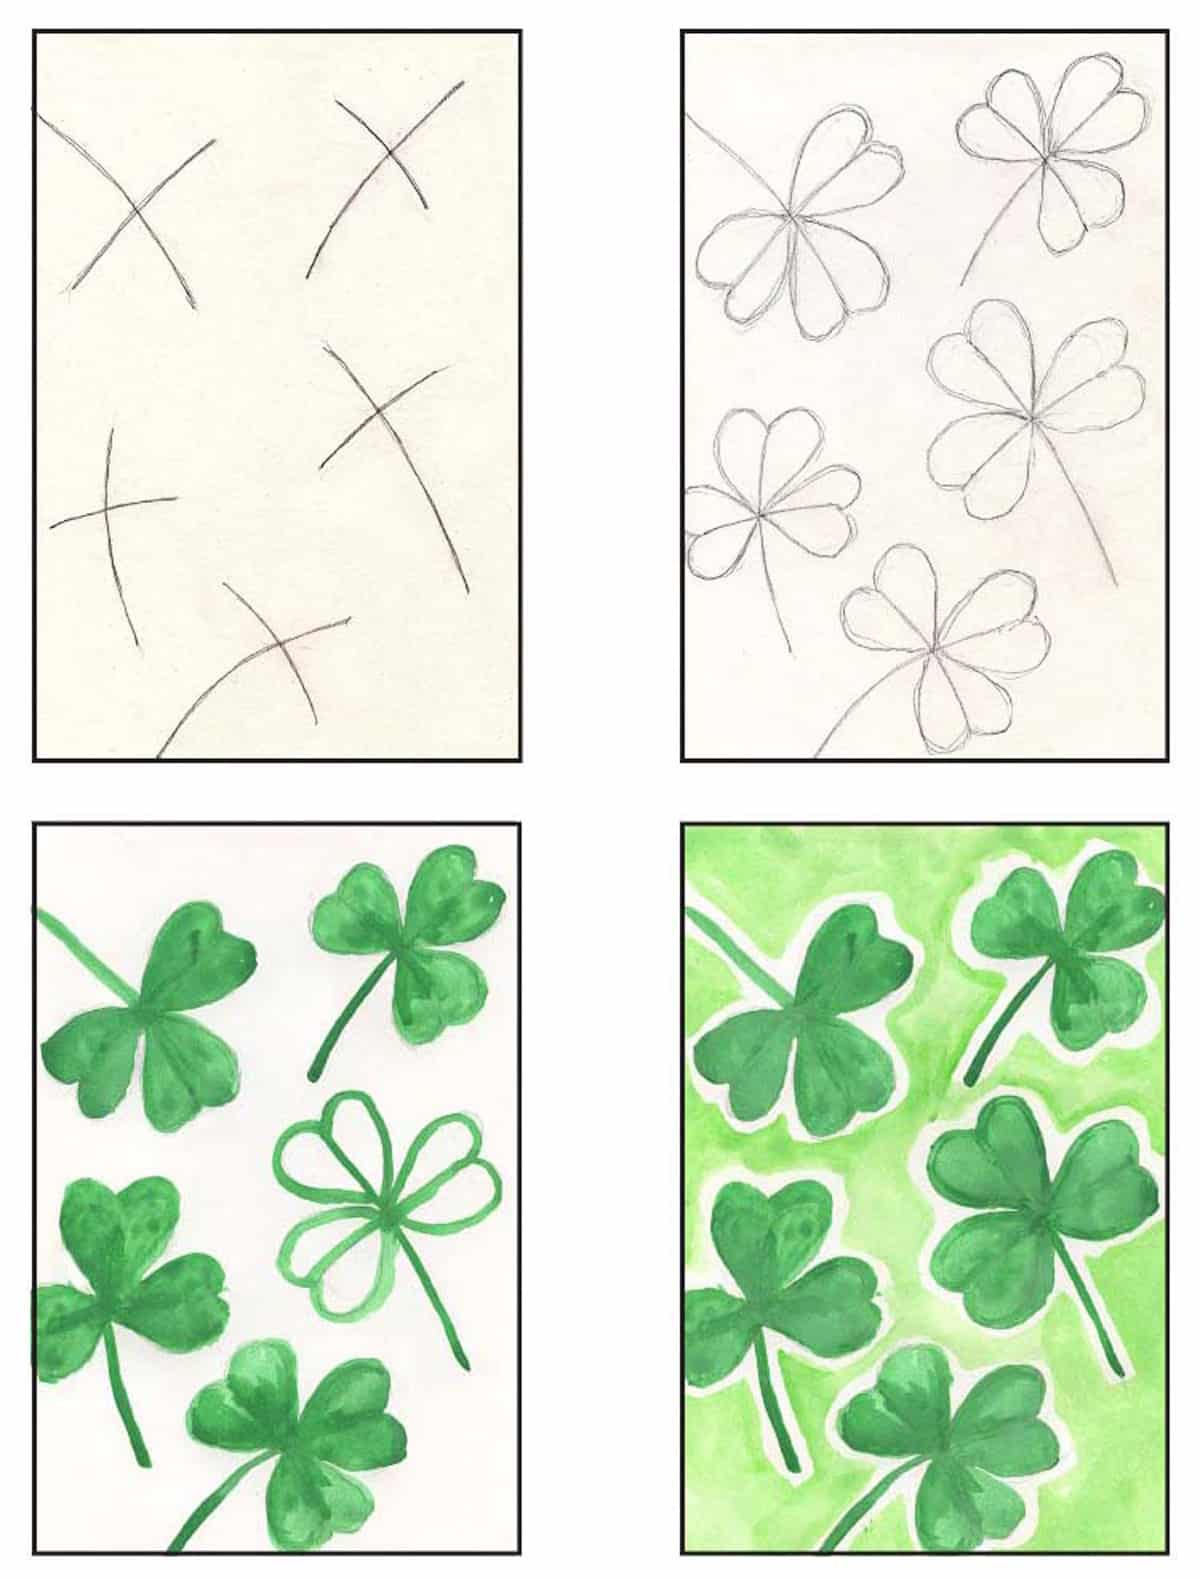
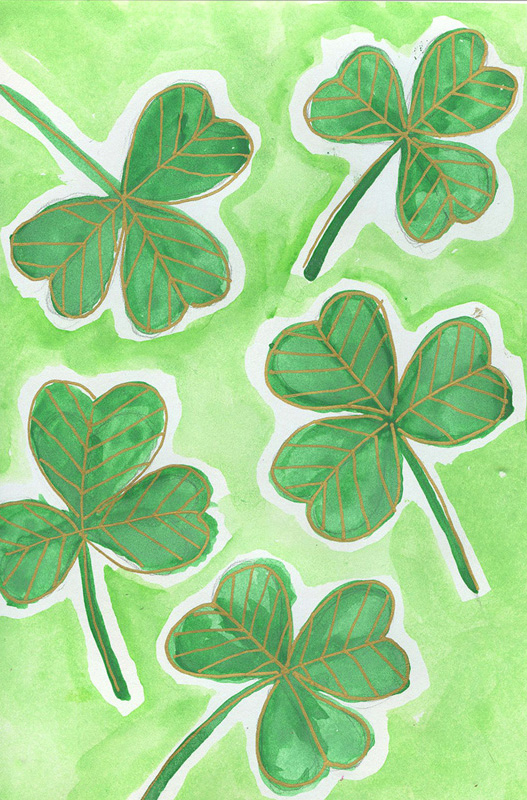
Here’s a super easy way for your students to draw not just one shamrock, but a whole page of them! Once students learn the formula for drawing one, it’s easy to fill their whole page with them.
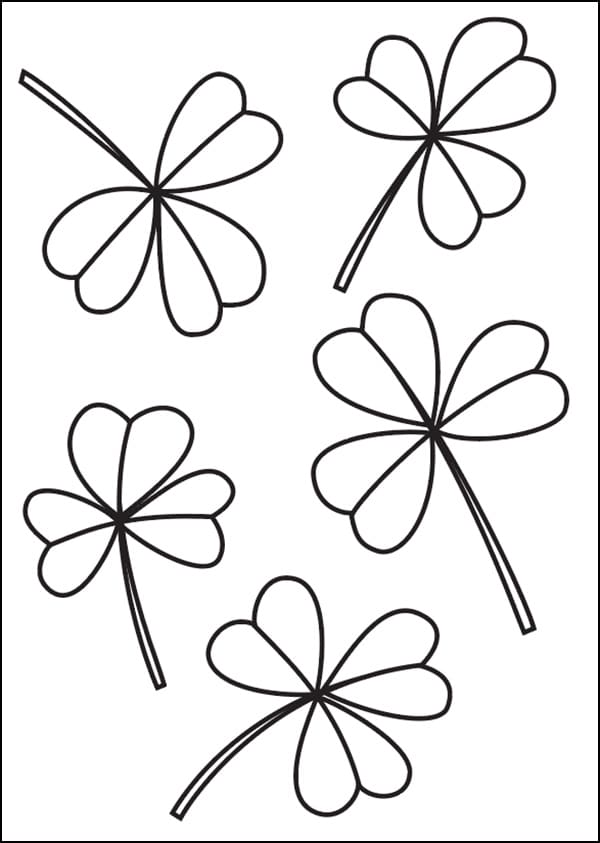
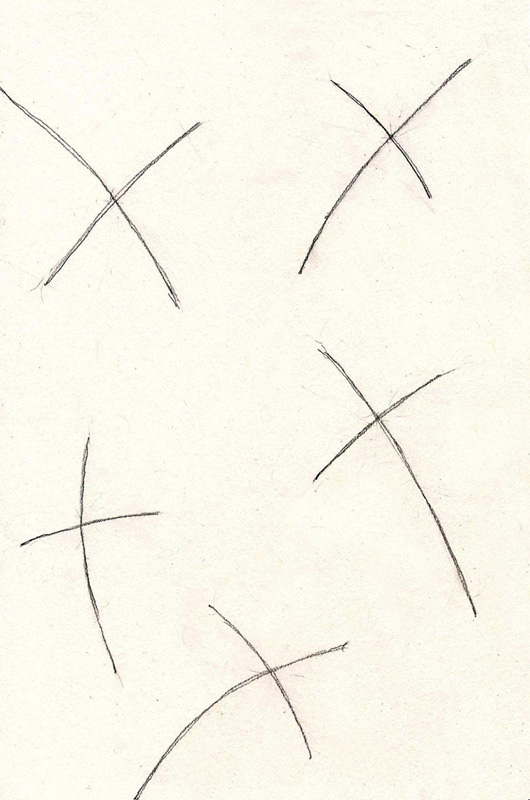
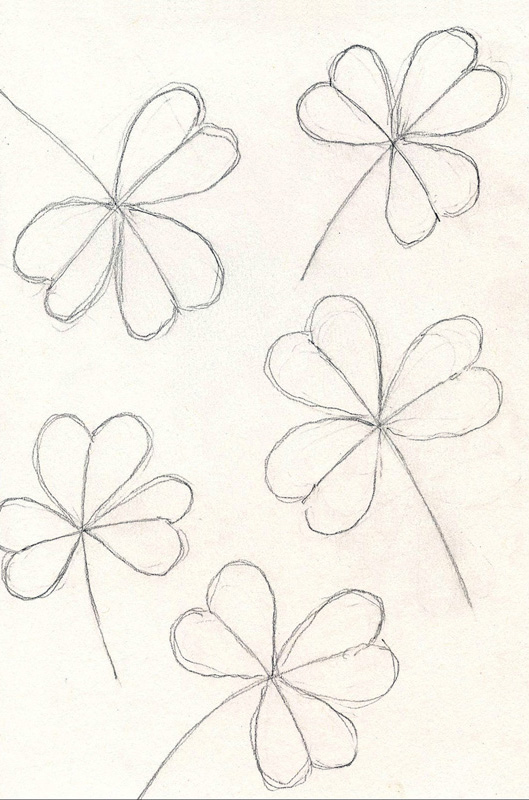
Either way, do use the trick of drawing some curvy cross shapes all over the paper to first create a balanced layout, and then turn those cross ends into heart shaped leaves. It’s an easy way to make a page full of dancing shamrocks. Press extra hard with crayon along the spines to give those leaves an extra dimensional look.
If you like the look of the painting though, with the gold lines on it, here’s all you need to do:
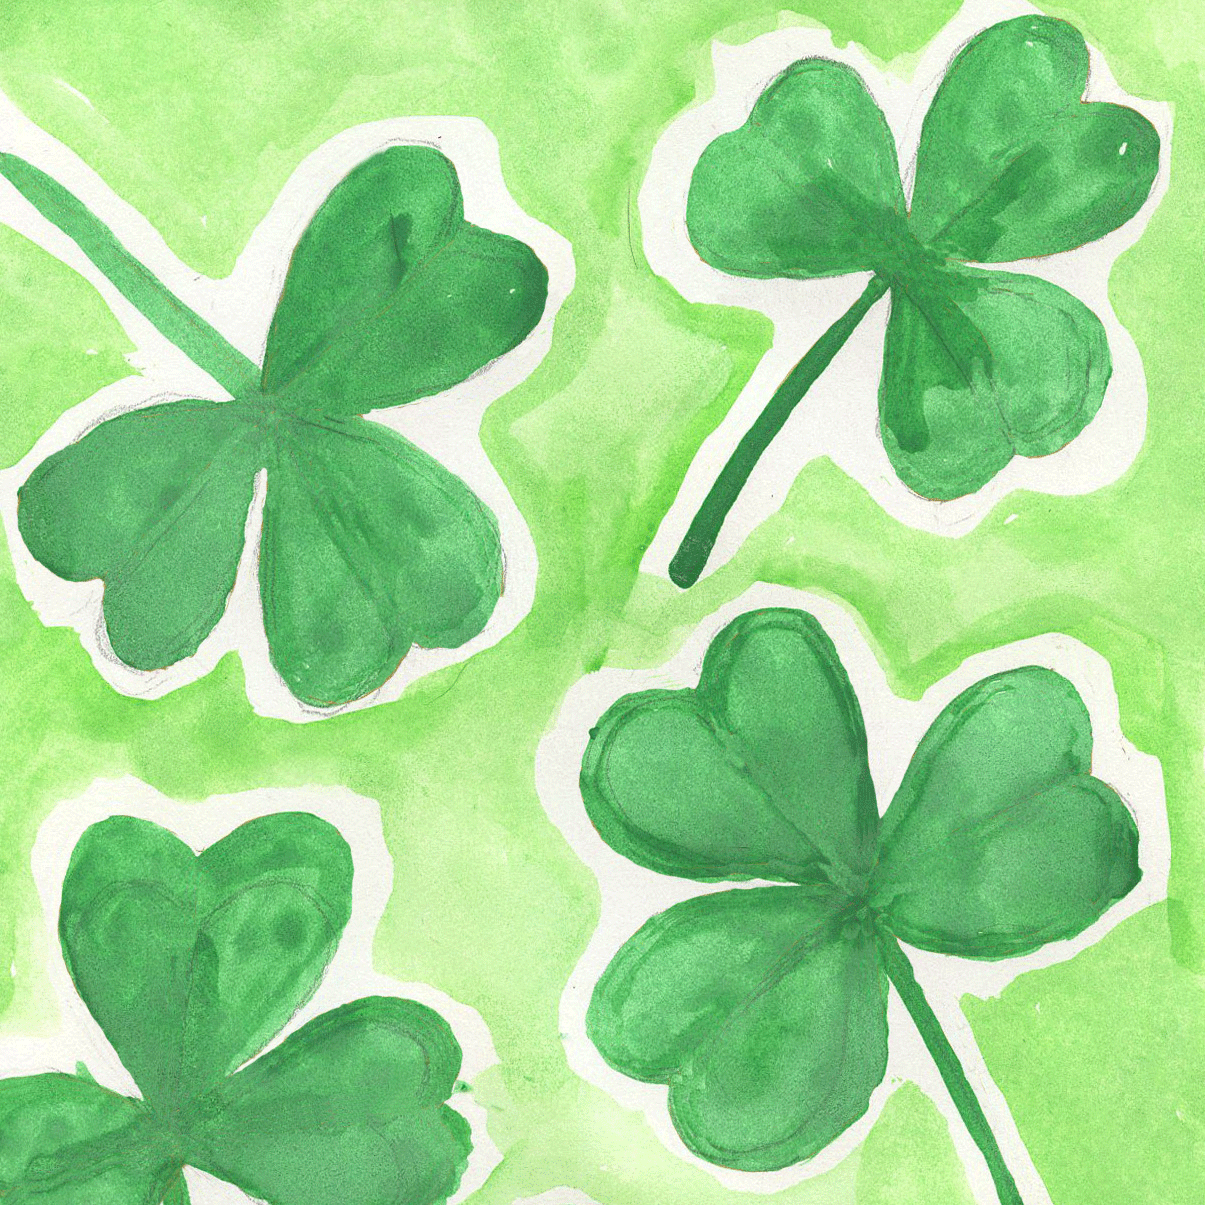
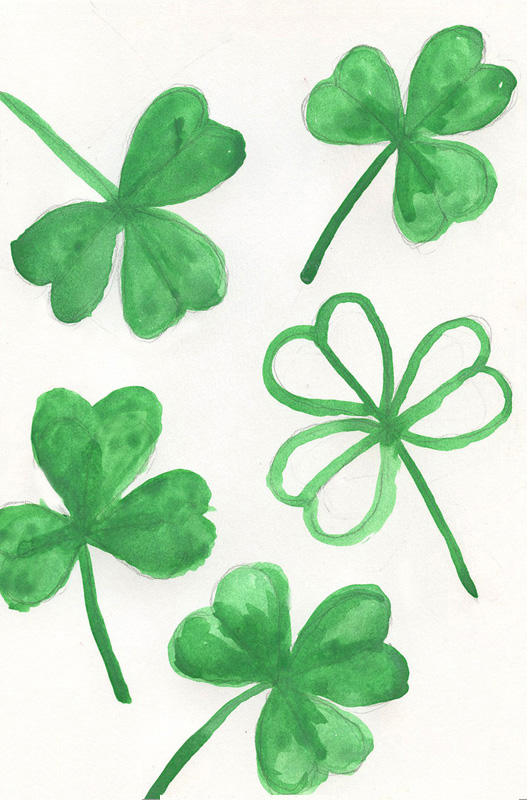
1. “Draw” the shamrocks with a dark green paint. Watercolor or tempera will work.
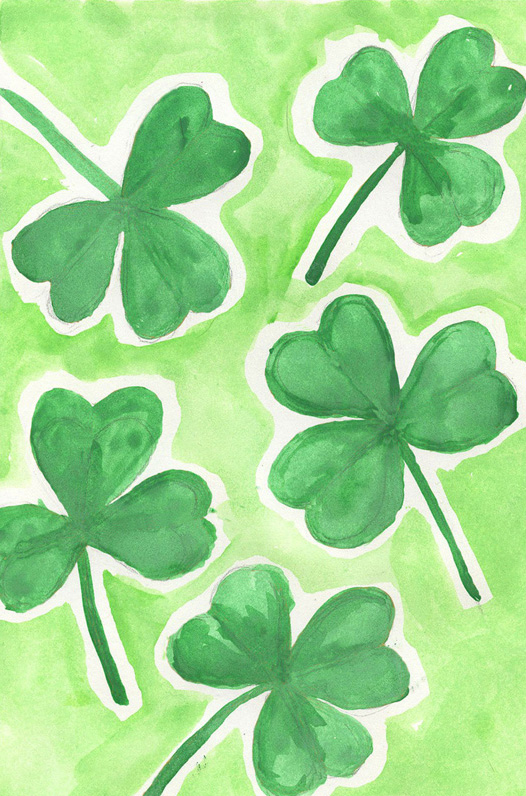
2. Water down the paint you are using, to make it a lighter value.
3. Paint around each shamrock, leaving a little white space. It will not only keep your paint colors from running together, it brightens up the artwork too!
4. When the paint is dry, use a gold metallic marker to outline the shamrock and add vein lines inside. No need to be exact, a quick tracing will look great!
Use the button below to grab this PDF Tutorial
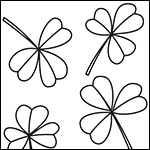
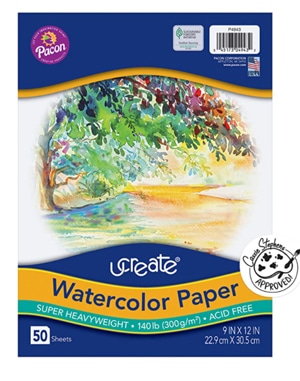
Shamrock Coloring Page
Shamrock Painting
Materials for Shamrock Project
Note: This products below contains affiliate links. If you click and take action, I will be compensated a small amount at no expense to you.
- Watercolor Paper.
- Real watercolor paper always makes the watercolor paint much more vibrant.
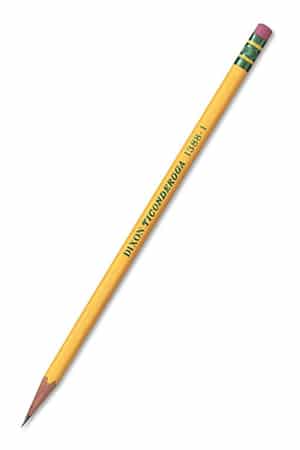
- Pencil.
- The Ticonderoga brand are the most reliable, make nice dark lines when you need them, and are the easiest to erase.

- Metallic Marker.
- This one is not too expensive and safe for children.
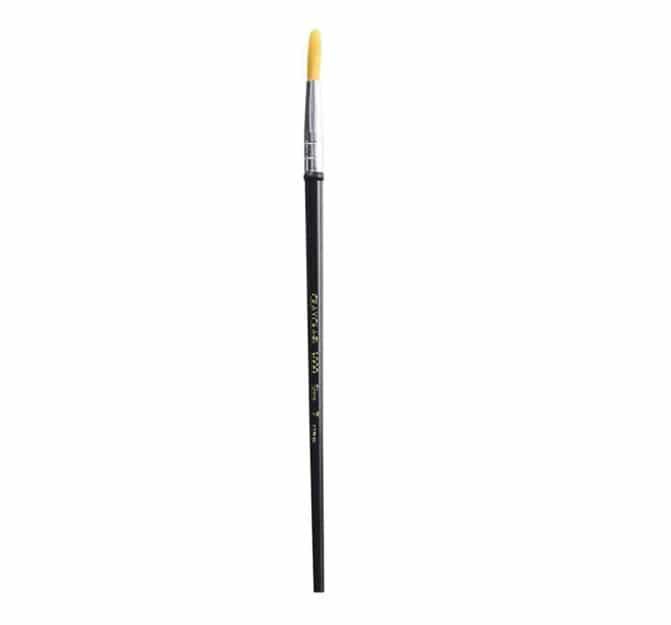
- Rounded Watercolor Brush.
- A good paint brush can make all the difference in the world. Who can paint small details with one of those big floppy brushes? This style with a sturdy rounded tip were my hands down favorite.
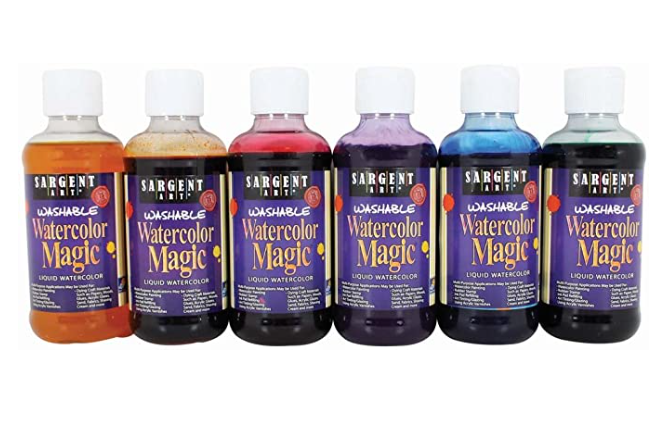
- Liquid Watercolor Paint.
- These paints are so easy to work with, leave such bright colors and last for a long, long time. Well worth the investment.
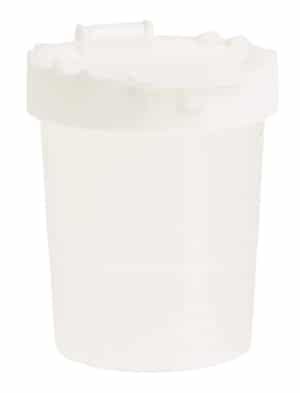
- Non-Spill Paint Cup.
- Train your students to leave the matching brush in each cup after they use it, and you have an easy system with very little cleanup.
Step by Step Directions for Shamrock Project
Time needed: 1 hour
How to Draw a Shamrock
- Draw about five cross shapes lightly with a pencil.

- Draw hearts lightly around the 3 short ends.

- Use a dark green paint to trace and fill in.

- Use a lighter green to fill in the back. Leave some space.
- Trace and add lines with a gold paint marker.
Pin me to your Pinterest Board
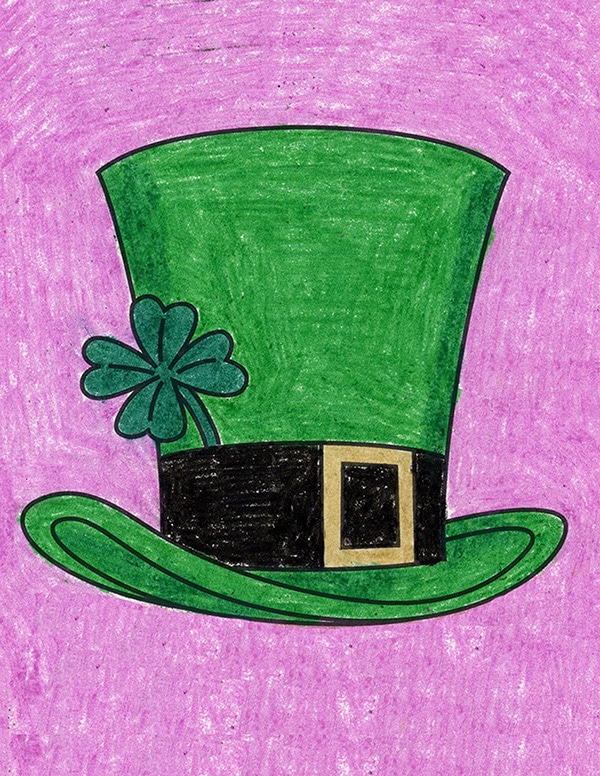
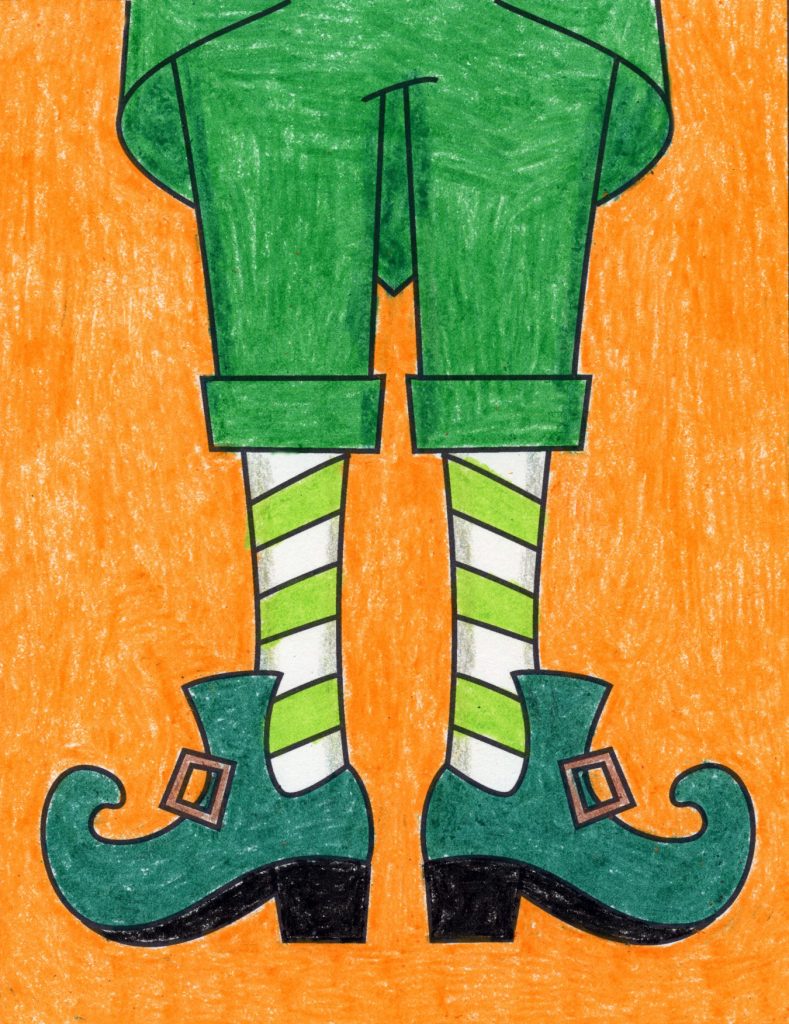
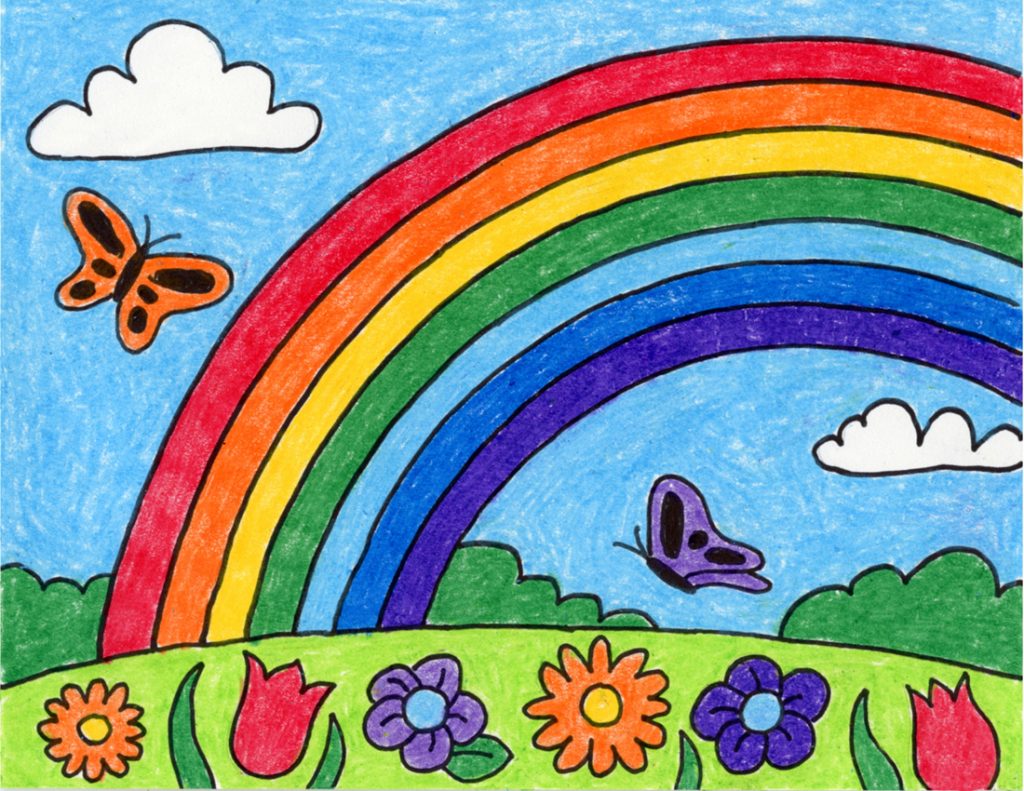
More St. Patrick’s Day Drawing Projects