How to Draw a Red Fox: Easy Step-by-Step Art Lesson for Kids
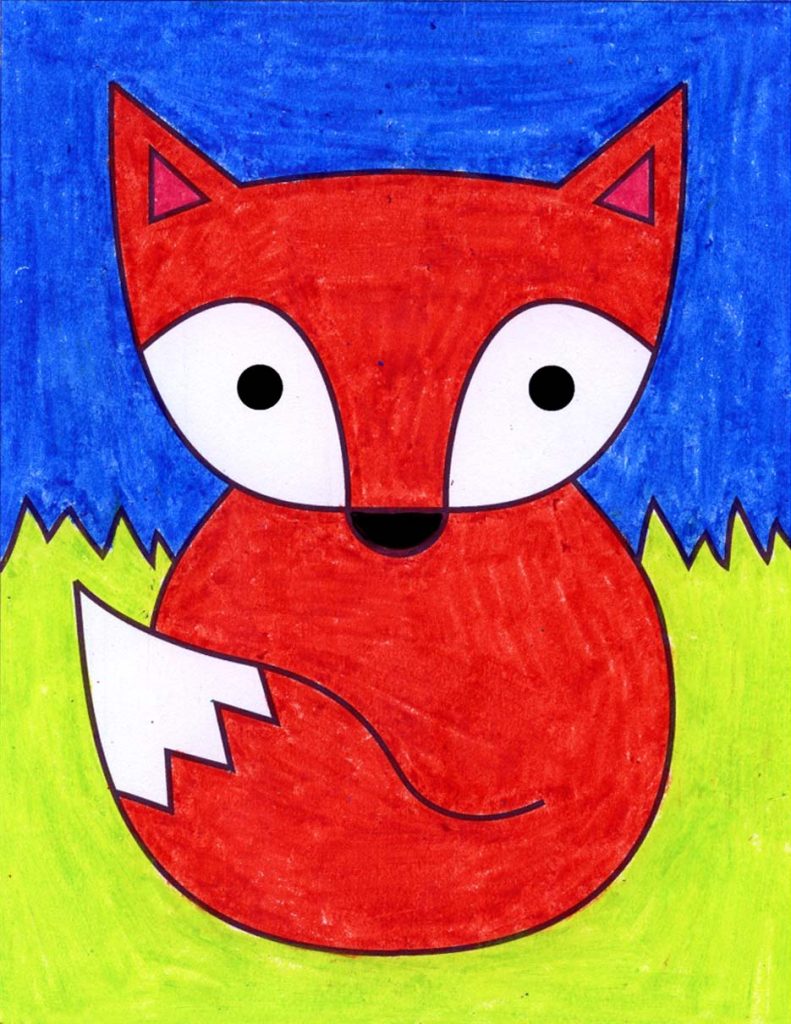
Here you’ll find an easy step-by-step tutorial for how to draw a Red Fox Tutorial Video. There are a few other fox options to choose from too!
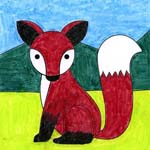





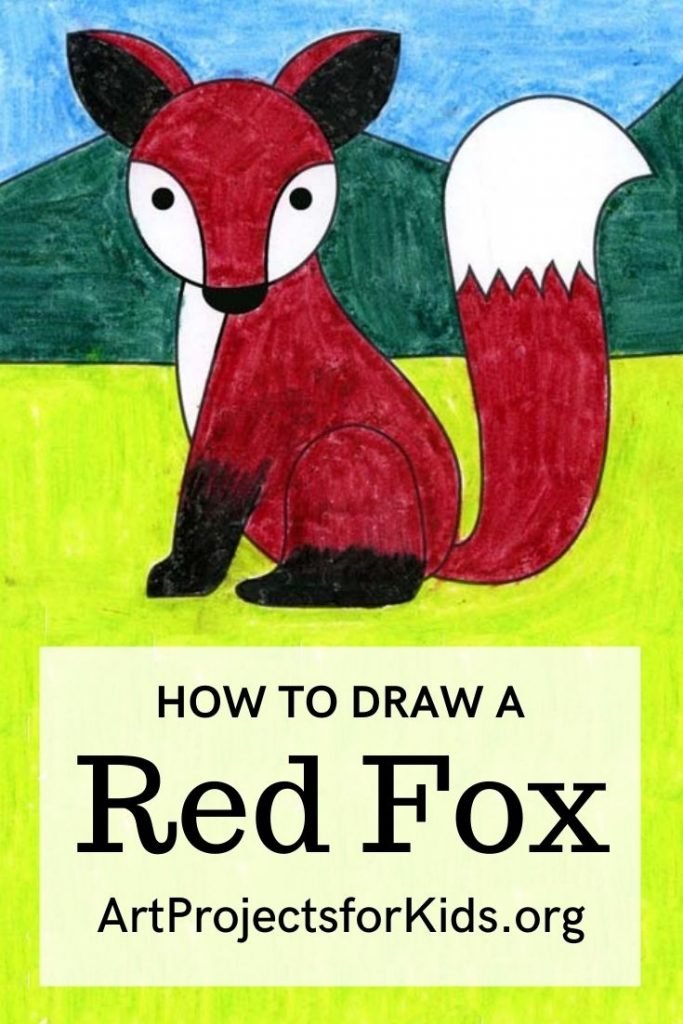
Drawing a fox from the side gives students a chance to notice one of its most distinctive features — the darker coloring on the lower legs and feet. And if you think blending is something you can only do with oil pastels, crayons might surprise you. Most black crayons will blend nicely with other colors if students go back and forth and overlap the colors several times. The goal is to create a soft transition between the dark feet and whatever reddish-orange color they choose for the body.
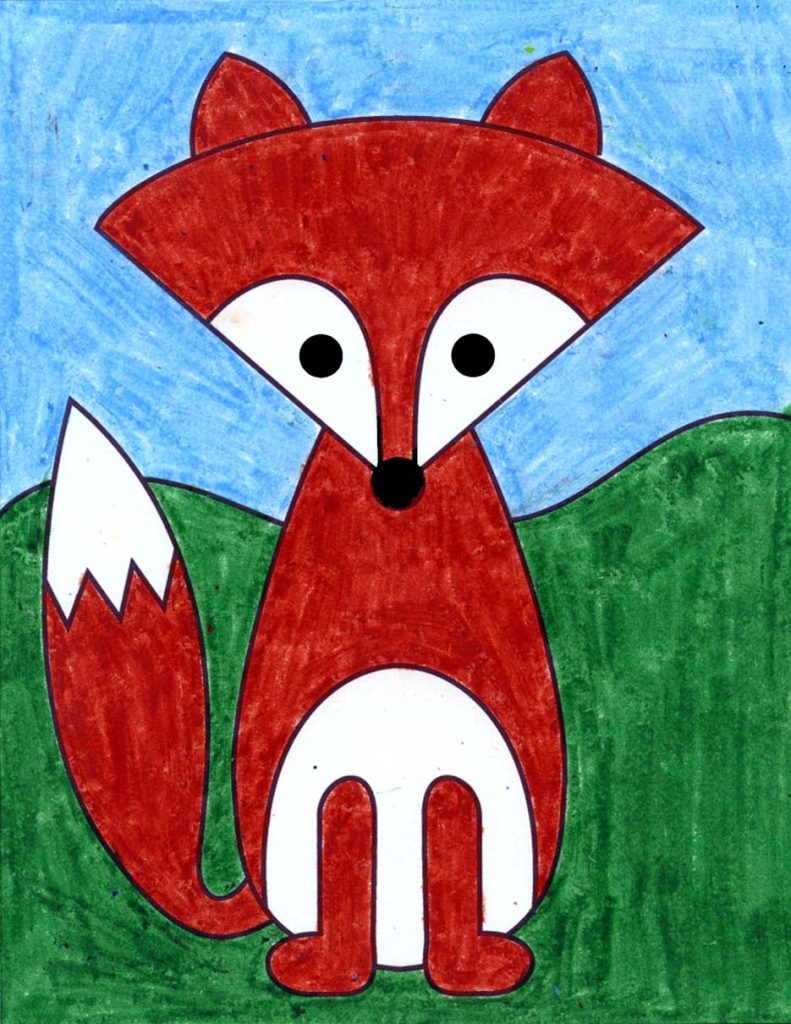
Not every animal keeps its recognizable “look” when you simplify it down to just a few basic shapes, but I think a fox is one of the exceptions. The long nose, large pointed ears, sturdy legs, and big fluffy tail are all still there. Put them together and the drawing definitely says, “I am a fox.” Not a dog, not a wolf — most definitely a fox.
Use the Button below to grab a PDF Tutorial
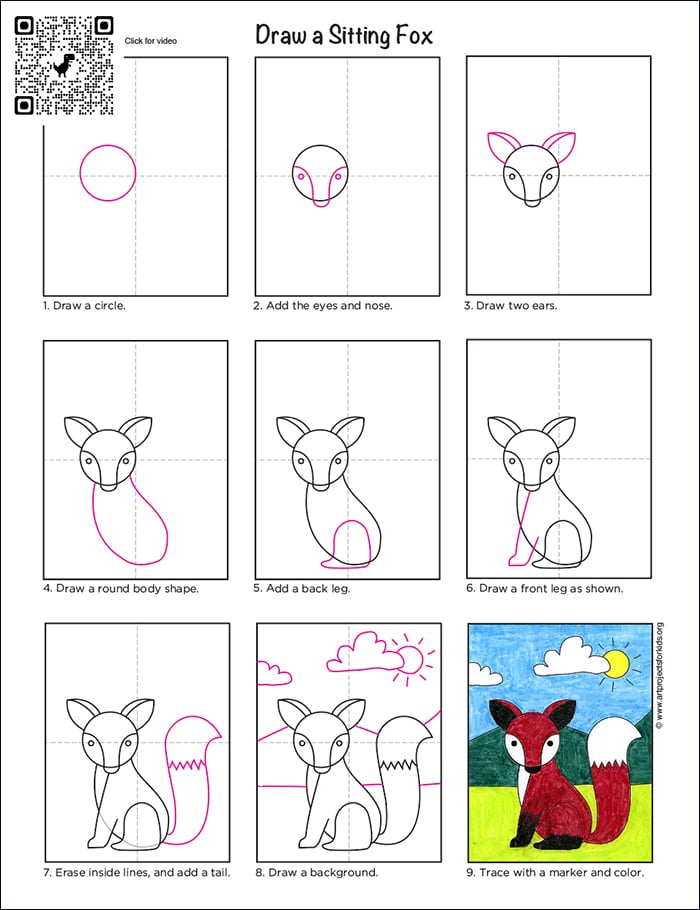
Red Fox Coloring Page
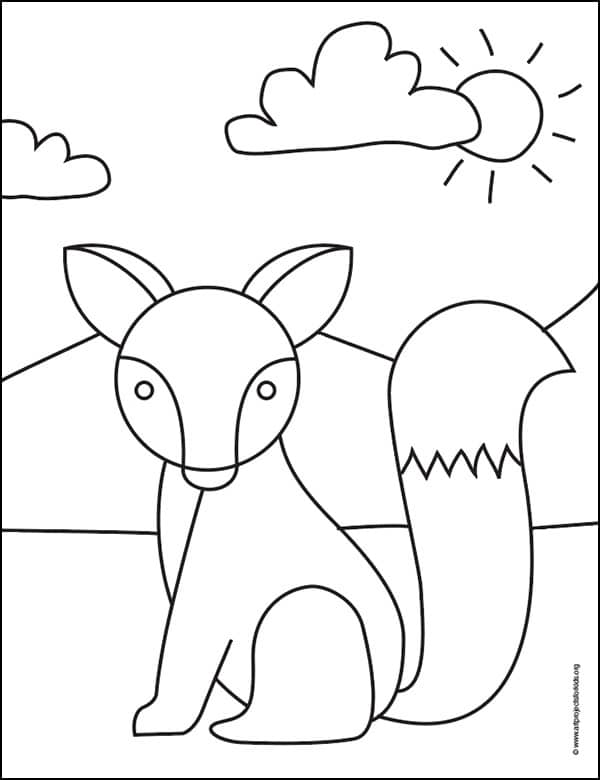
Materials for a Red Fox Drawing

Directions to Draw a Red Fox Step by Step
Time needed: 30 minutes
How to Draw a Red Fox
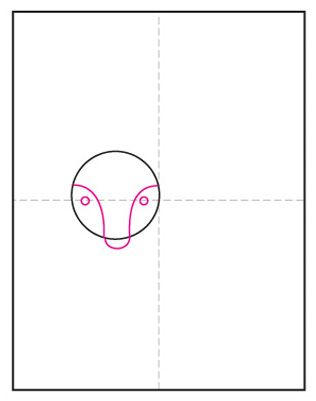
- Draw a circle for the head.

- Add the eyes and a nose line.
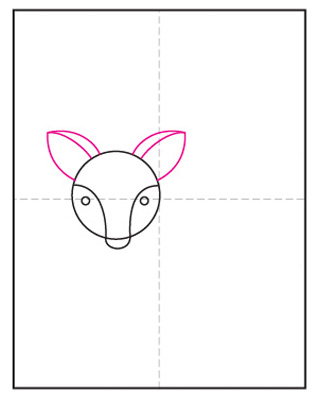
- Draw two large ears.
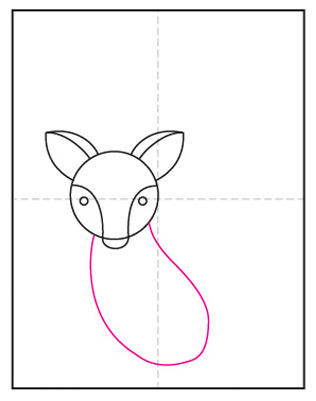
- Add a round body shape.
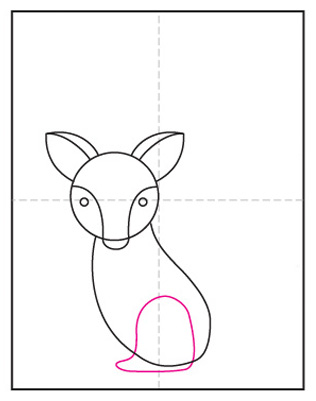
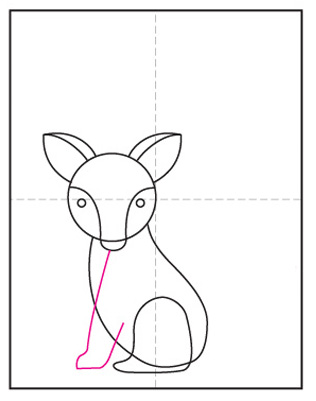
- Draw a back leg.
- Add a front leg as shown.
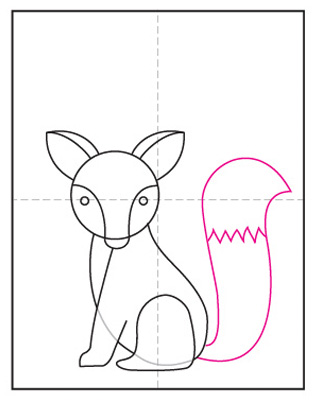
- Erase the inside lines, and add a tail.
- Draw a background.
- Trace with marker and color.



Pin Me to Your Pinterest Board
More Animal Drawing Projects