How to Draw Frosty the Snowman: Easy Step-by-Step Art Lesson for Kids
Here you’ll find an easy step-by-step tutorial video for how to draw Frosty the Snowman. He looks like he stepped right out of a storybook!
Frosty the Snowman
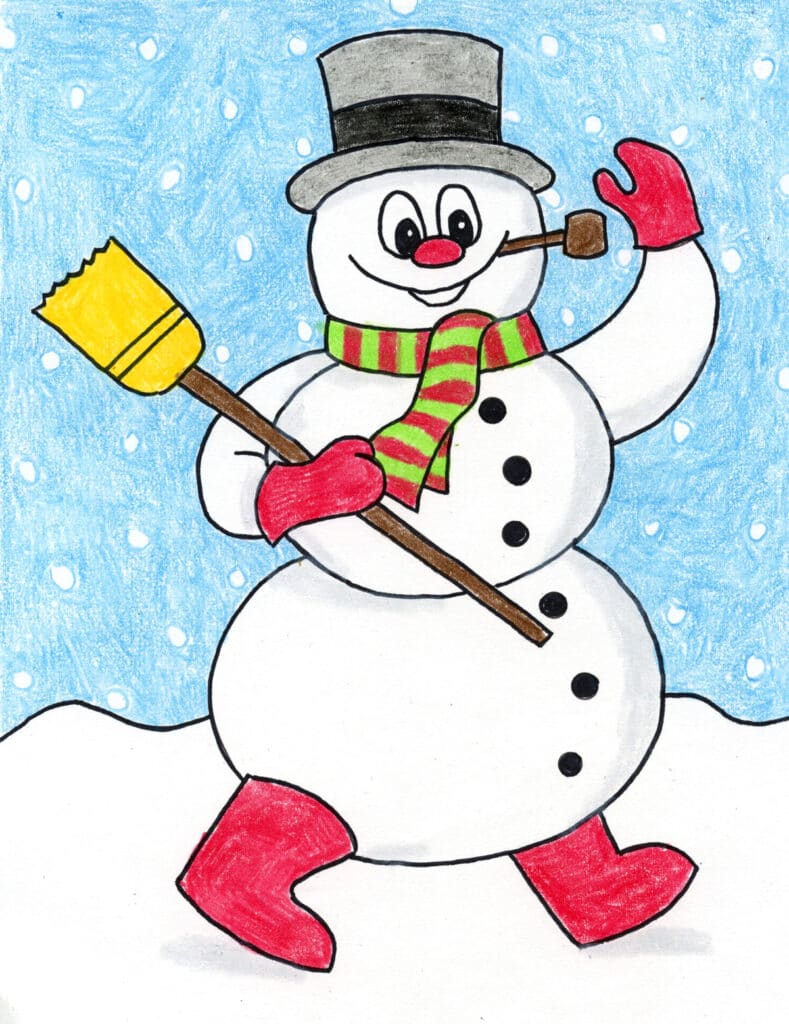
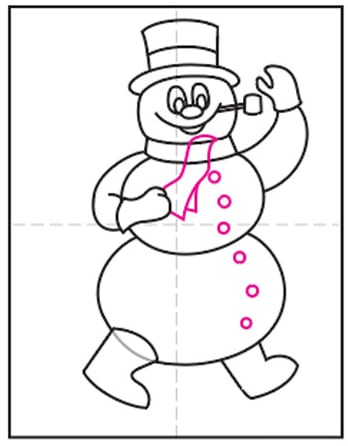
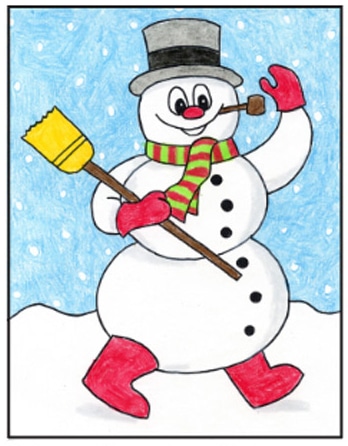
When children learn how to draw Frosty the Snowman, a few extra features are called for. He needs to be able to walk and play with children, as the story goes, so some arms and boots for feet are called for.
The famous story is that a group of children find a hat and place it on Frosty’s head. Frosty laughs and plays with the children until the hot sun threatens to melt him. Frosty says goodbye to the children, reassuring them, “I’ll be back again someday.”
“Frosty the Snowman” began as a popular Christmas song written by Walter Jack Rollins and Steve Nelson, and first recorded by Gene Autry. It was later recorded by Jimmy Durante in that year. It has since been covered by many artists, and included in Rolling Stone’s list of “The Greatest Rock & Rocll Christmas Songs”.
Use the Button below to grab a PDF Tutorial

Frosty the Snowman Coloring Page
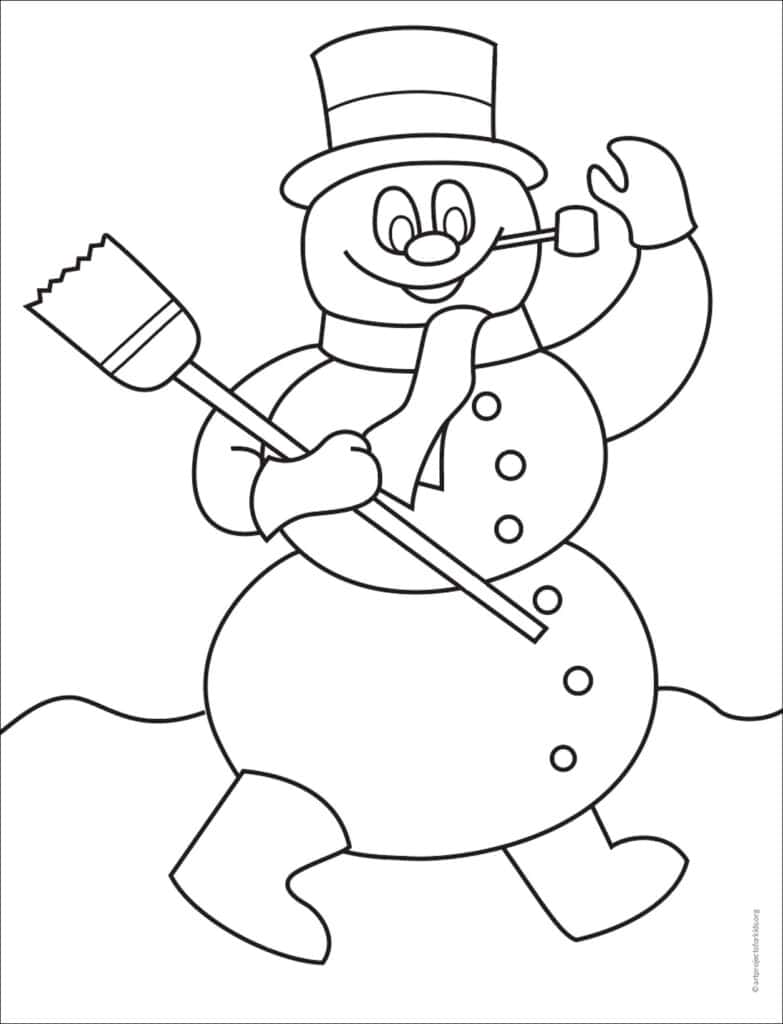
Materials to draw Frosty
- Drawing Paper. This is the good stuff you can buy in bulk for a good price.
- Pencils. I like how this brand always makes nice dark lines.
- Black Marker. A permanent marker will give you a dark black color.
- Crayons. The larger packs are nice for more color choices.
- Note: All of the above are Amazon affiliate links.
Step by Step Directions for a Frosty Drawing
Time needed: 45 minutes
Draw Frosty Step by Step
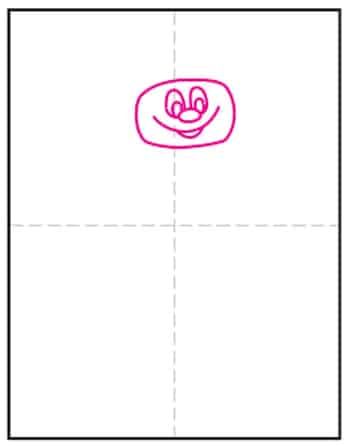
- Draw the head and face.

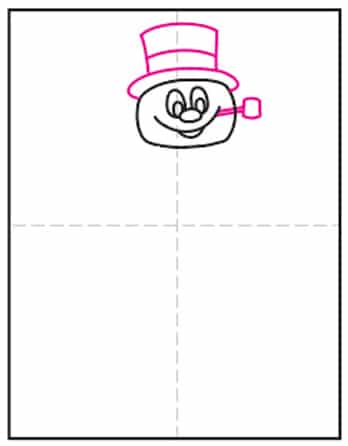
- Add a pipe and hat.

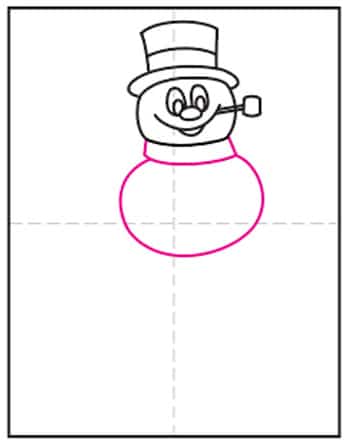
- Draw the scarf and round middle.

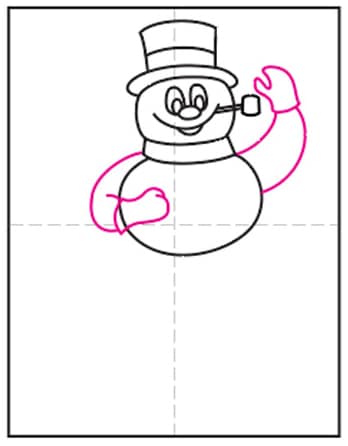
- Add the two arms.

- Erase the gray line and add bottom.

- Draw two boots.

- Erase the gray line, add buttons and scarf.

- Draw a broom and snow line.

- Trace with a marker and color.

