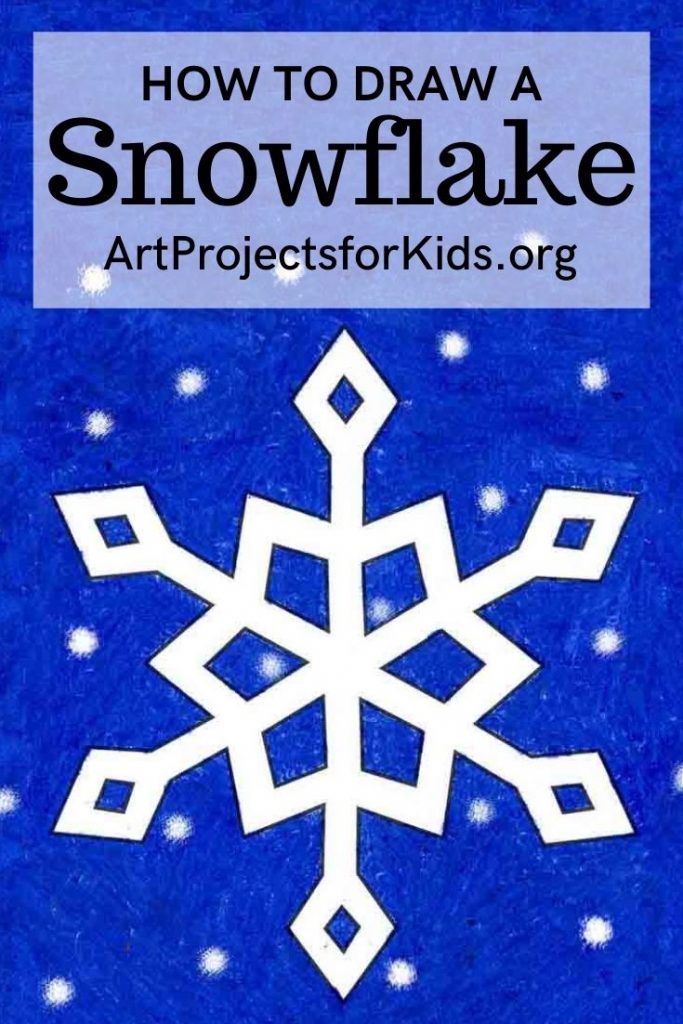
How to Draw a Snowflake: Easy Step-by-Step Art Lesson for Kids
Inside you’ll find an easy step-by-step How to Draw a Snowflake Tutorial and Snowflake Coloring Page. It’s a great way to mix a little bit of math with art.


Snowflake Drawing
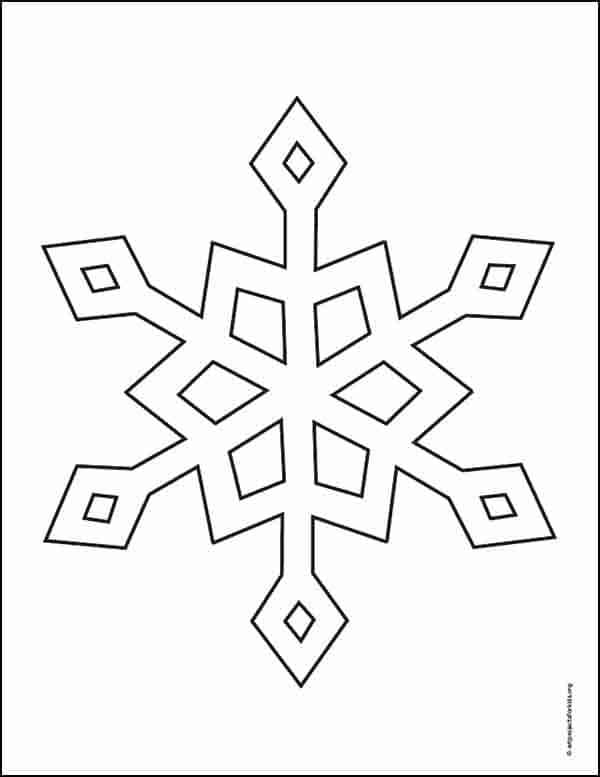
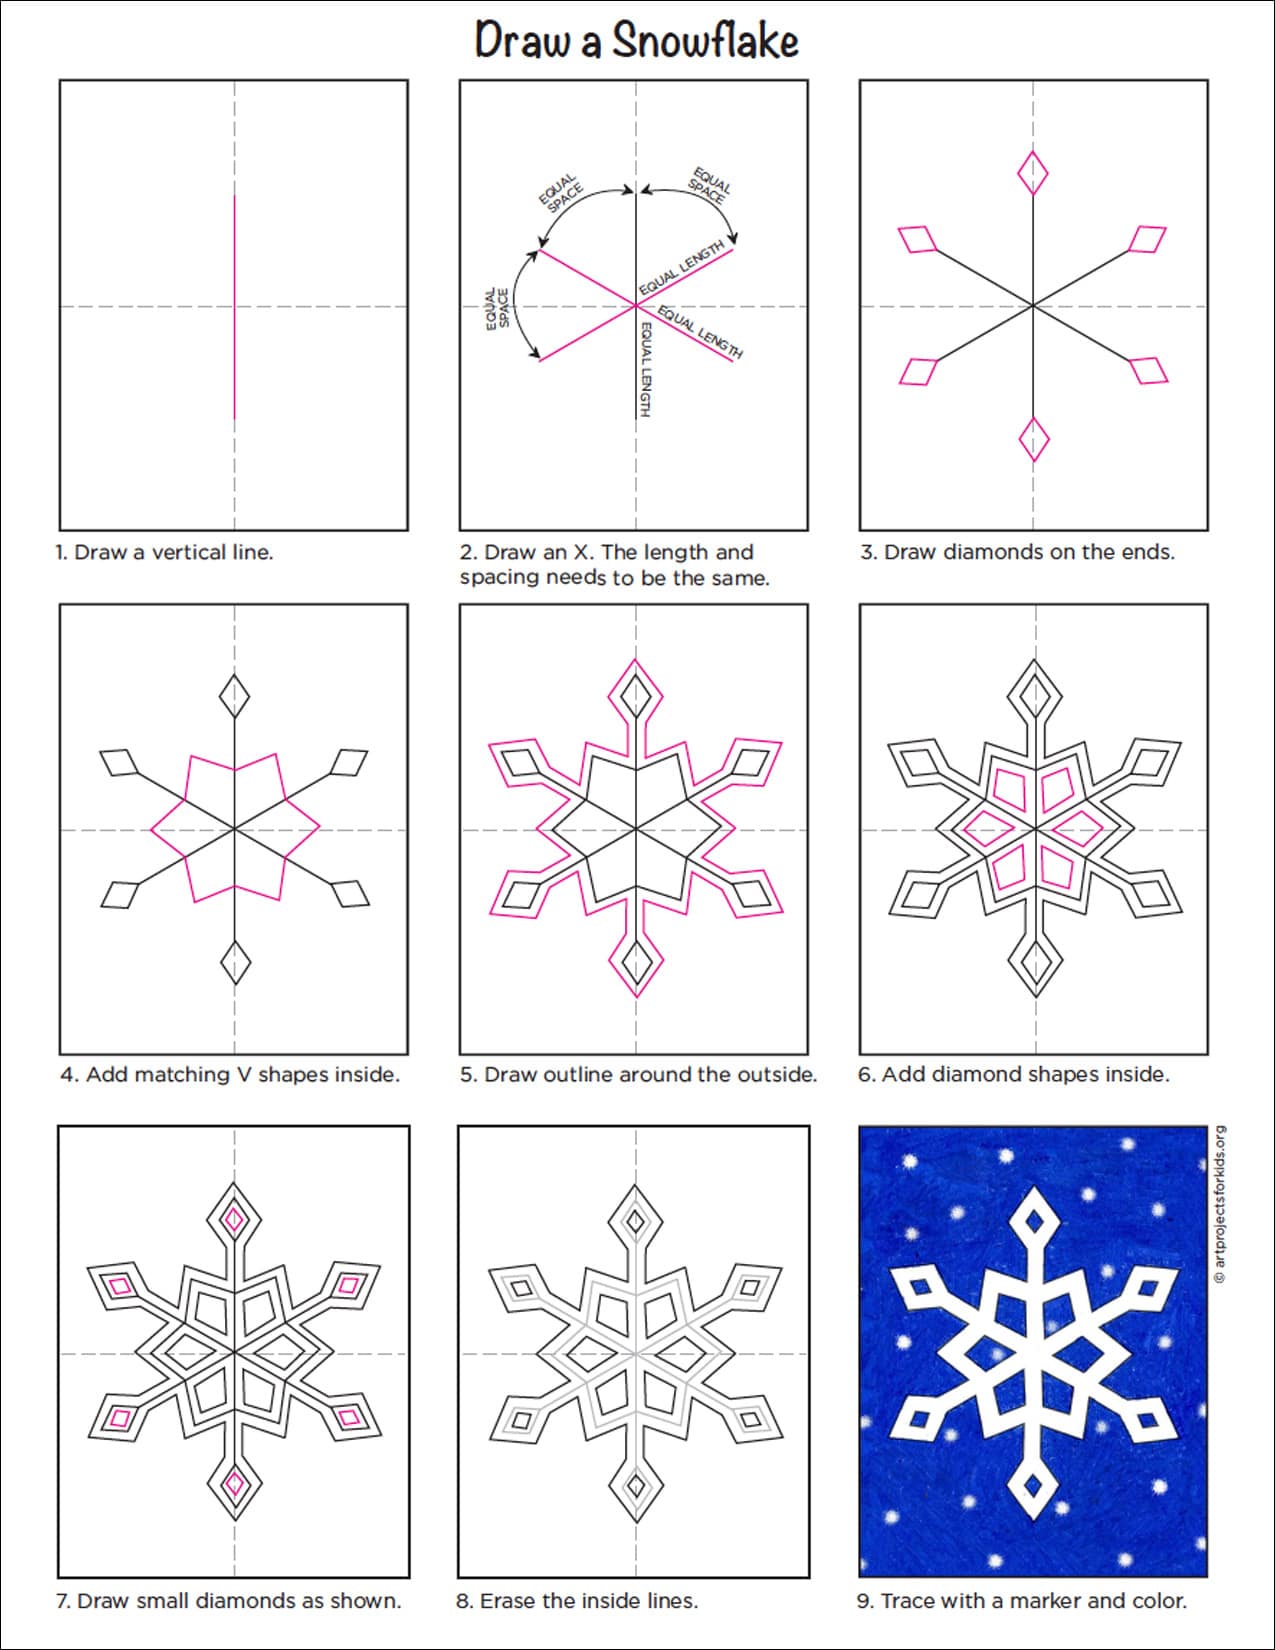
How to Draw a 6 Point Snowflake
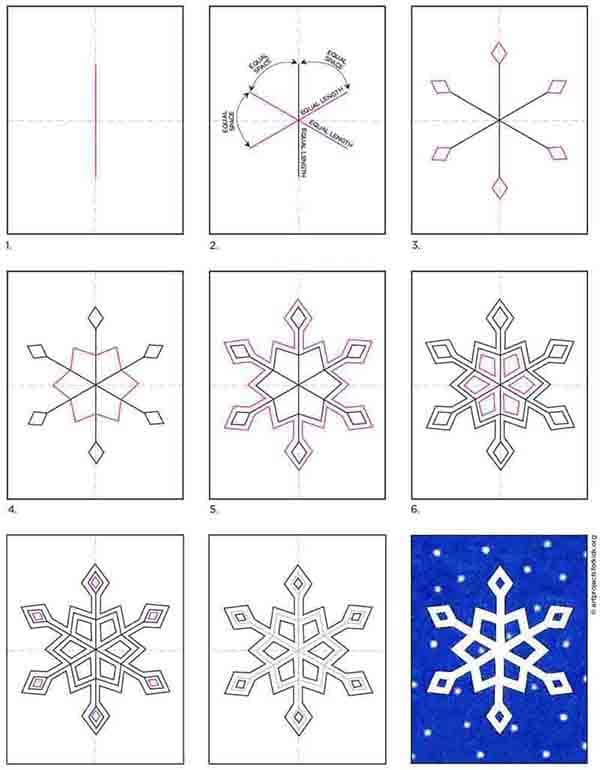
If you’d like to teach your students how to draw snowflakes that are a bit more realistic than just crossing a few Xs, but they are not quite ready for a discussion about geometry either, then try this beginner method for drawing a simple snowflake. They make an excellent example of radial symmetry, which is a topic that younger elementary students can understand. It’s also easy to tweak this simple snowflake drawing for a bit of variety. For example, the diamonds on the tips could be circles instead. And the Vs on the inside could be inverted or changed to lines. Just be sure to emphasize that all snowflakes have six sides to them, and that whatever they draw on one of the points, has to be repeated for the other five. That’s what makes radial symmetry work.
Subscribe to “The Daily Draw” to get this printable!
Save me to your Pinterest Board!
Materials
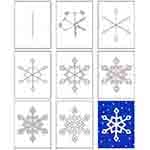
How to Draw a Snowflake Form Step by Step


Time needed: 45 minutes
Draw a Simple Snowflake
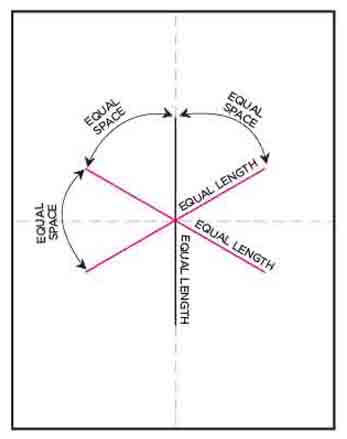
- Draw a vertical line.

- Draw an X. The length and spacing needs to be the same.
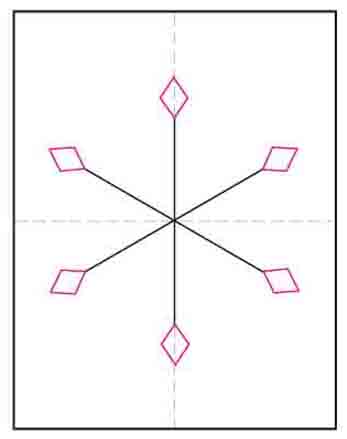
- Add diamonds on the ends.
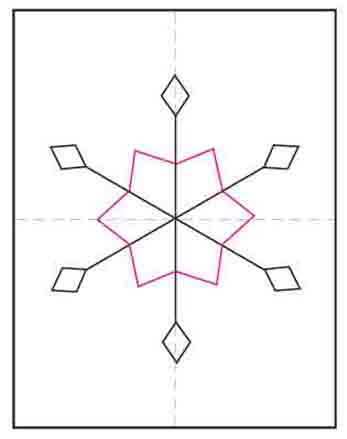
- Add matching V shapes inside.
- Draw outline around the outside.
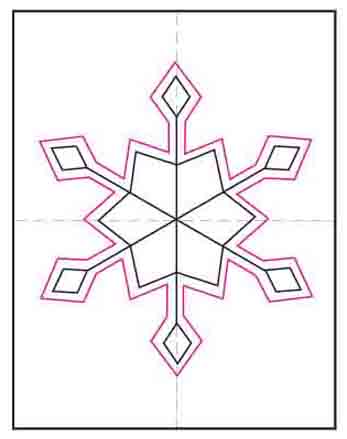
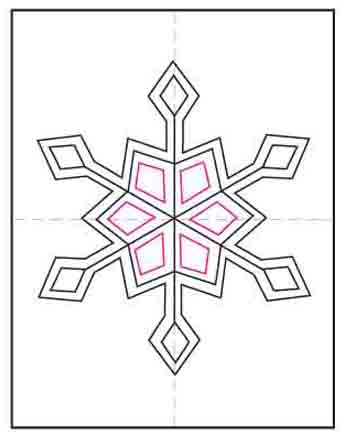
- Add diamond shapes inside.
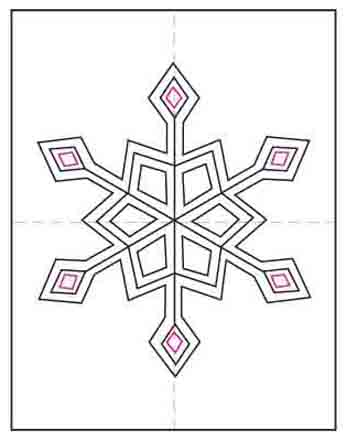
- Draw small diamonds as shown.
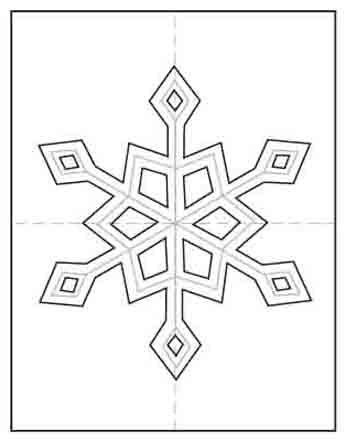
- Erase the inside lines.
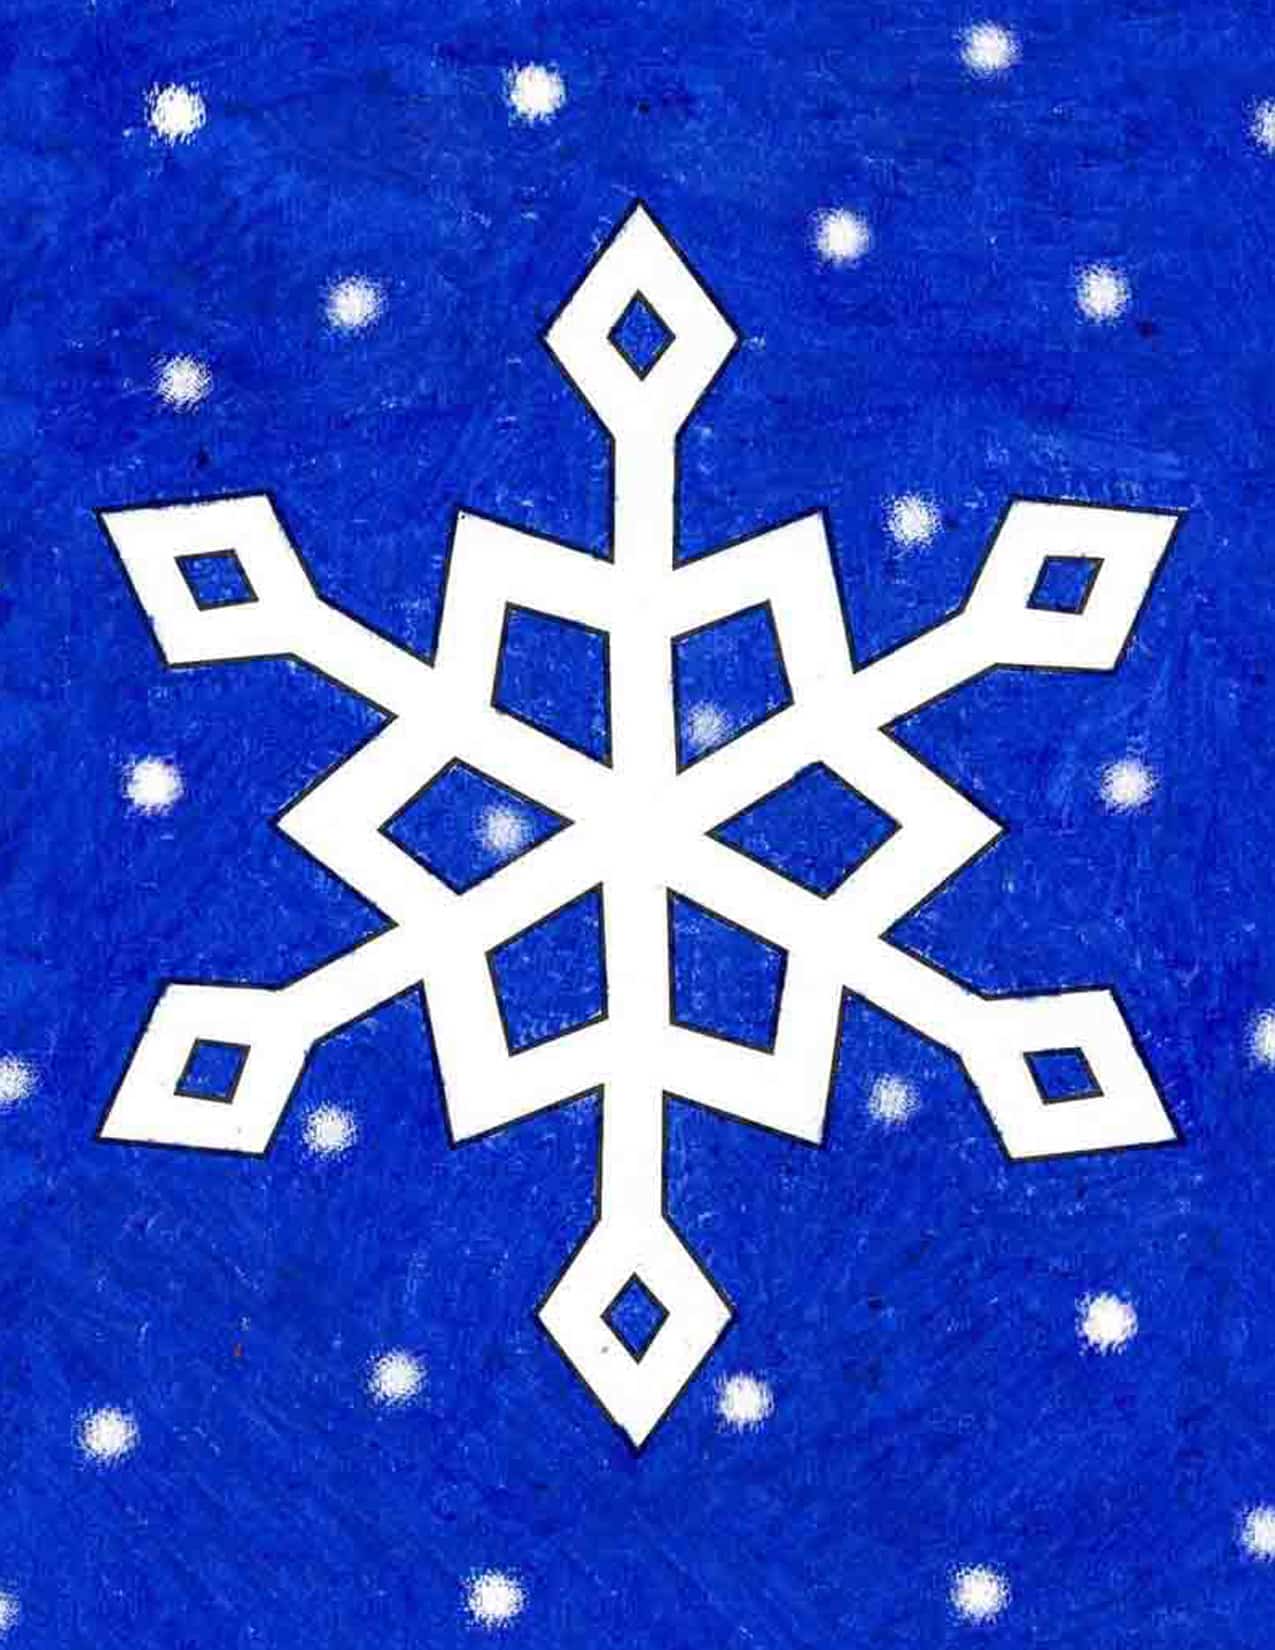
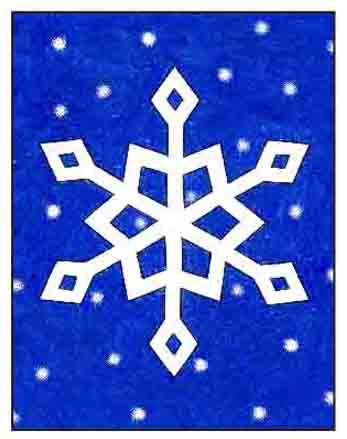
- Trace with marker and color.

Already subscribed to “The Daily Draw”?
Great, then use the download button below to get your free Christmas Tree tutorial.
And thanks for wanting to bring more step-by-step, no-prep art lessons to your classroom!
Snowflake Coloring Page