How to Draw Cherries: Easy Step-by-Step Art Lesson for Kids
Below you’ll find an easy step-by-step tutorial for how to draw Cherries and a Cherries Coloring Page.
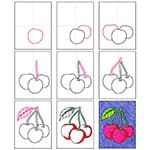

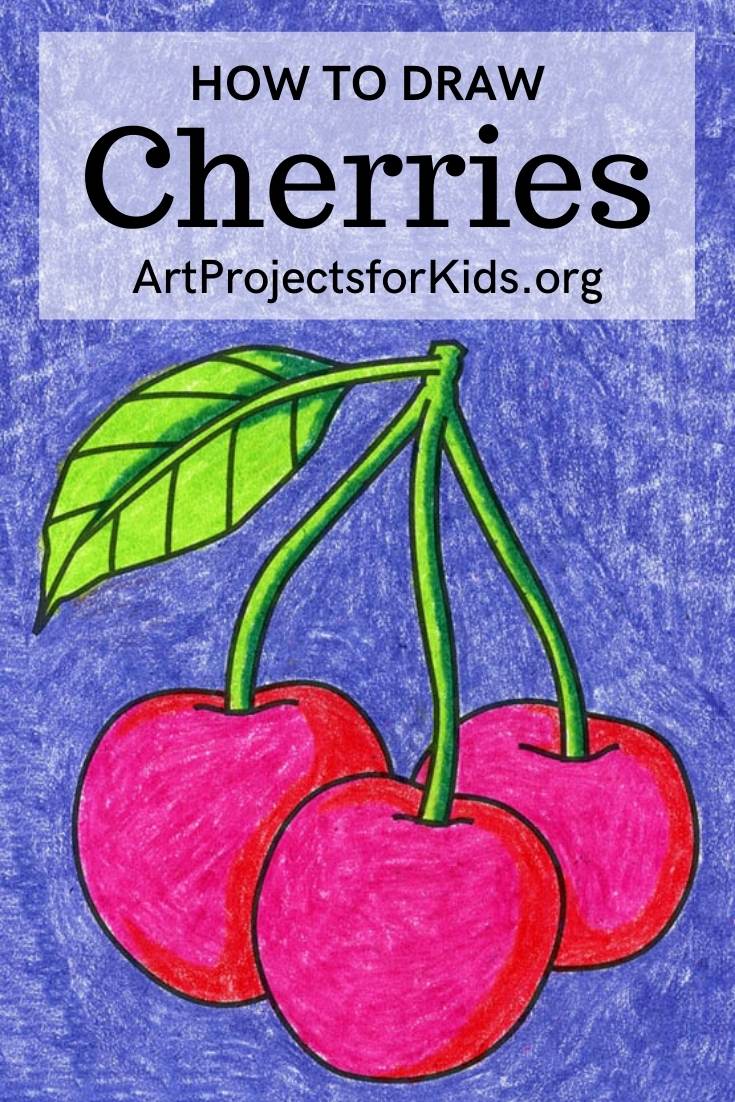
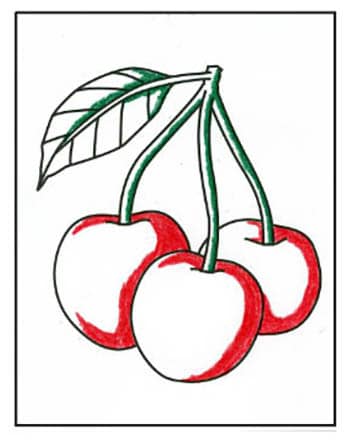
Cherry Drawing
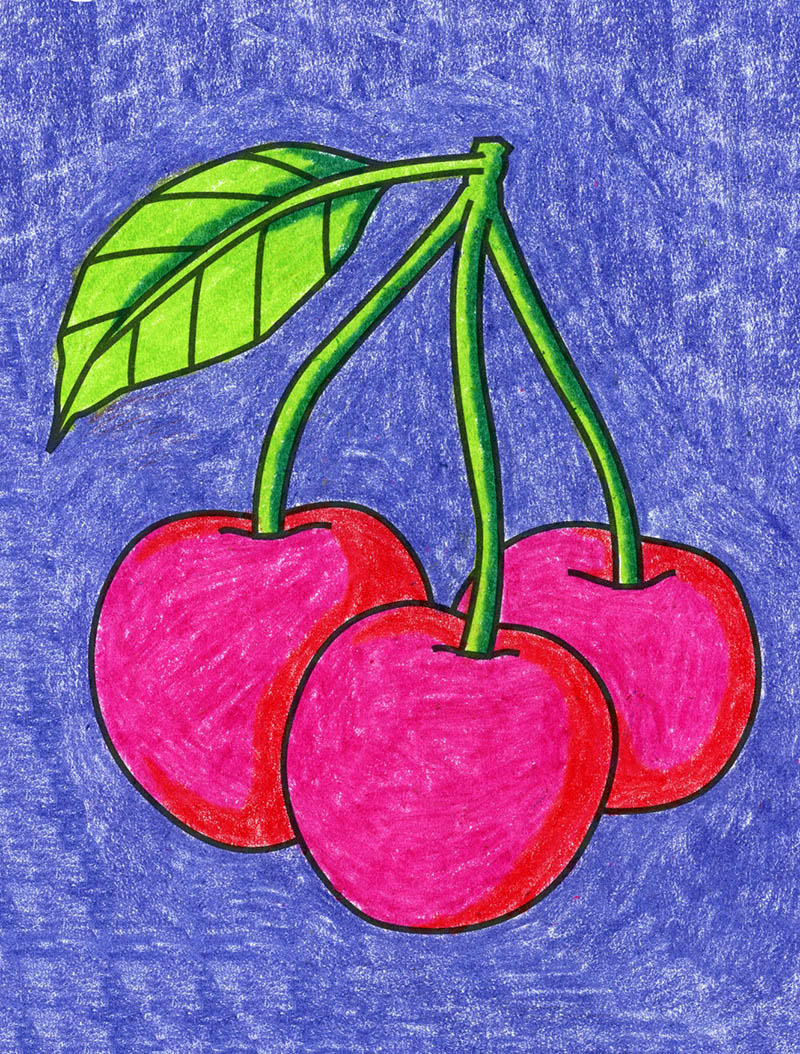
This cherry drawing is not only pretty to look as, it actually using a few of the Elements of Art too.
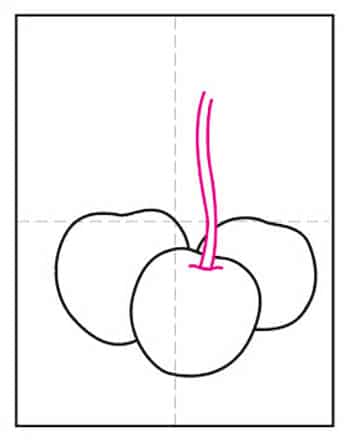
First, the LINES of the stem dip down inside the cherry, as opposed to just attaching at the edge. That alone gives them a dimensional look.
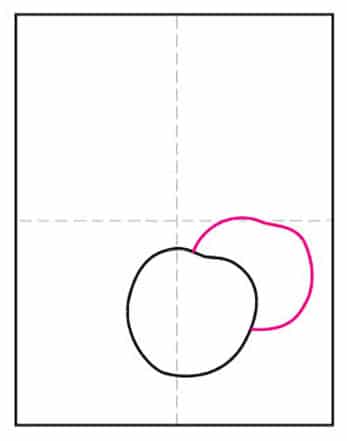
Second, the cherry SHAPES are overlapping each other, which also adds some depth.
Third, analogous COLORS (those that are next to each other on the color wheel) are used on the stem and the cherry to add some extra shadows.
Put them all together and you have a really pretty drawing of some summer fruit and a educational art lesson too!
Use the Button below to grab this PDF Tutorial
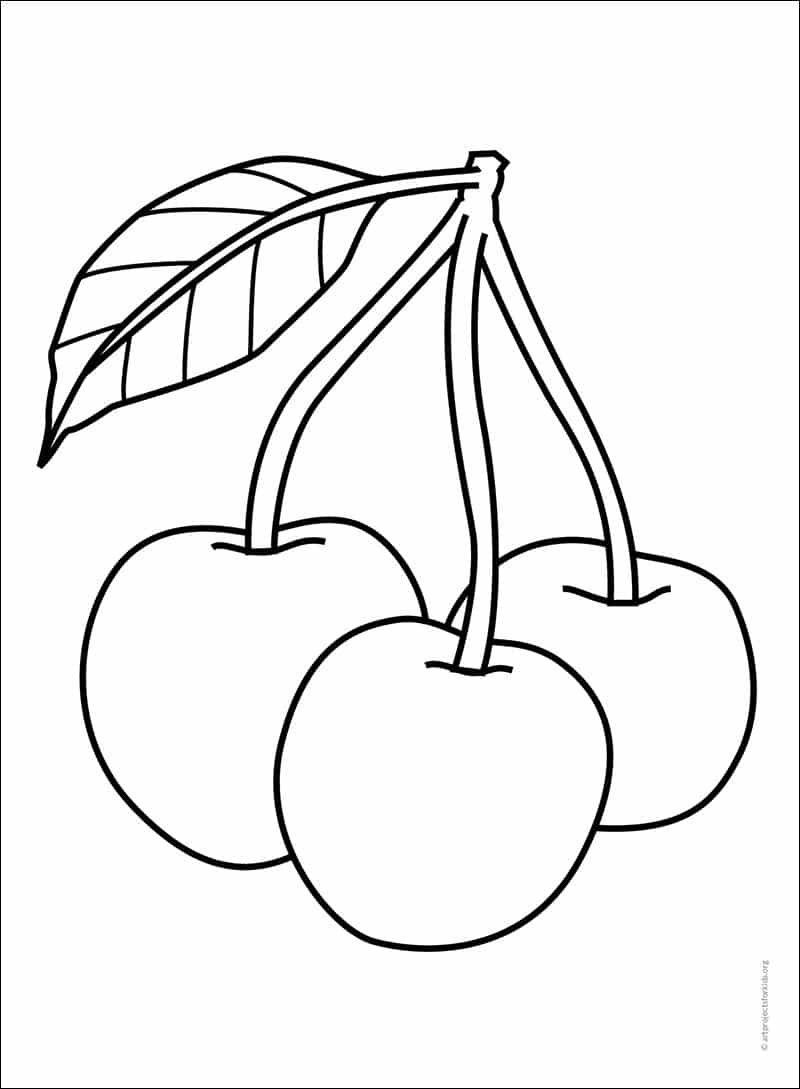
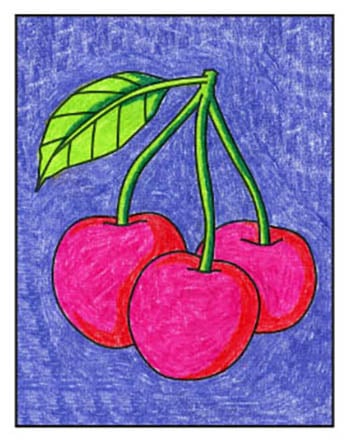
Cherry Coloring Page
Materials for Cherries Drawing


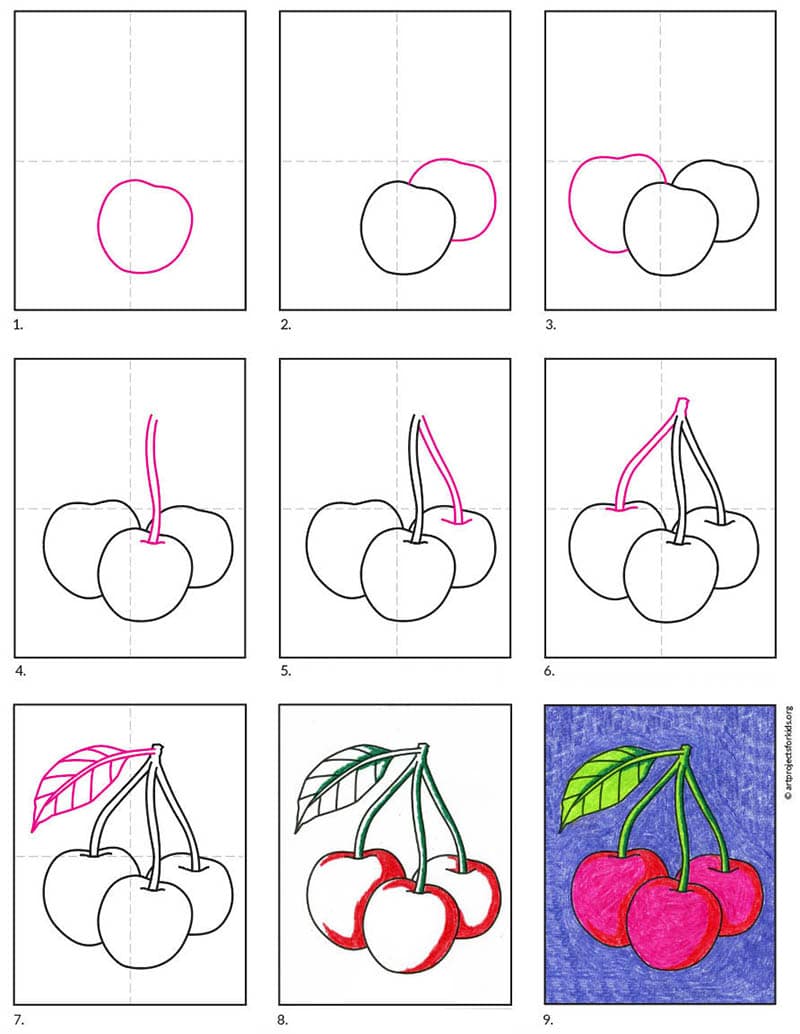
Directions to Draw Cherries Step by Step
Time needed: 25 minutes
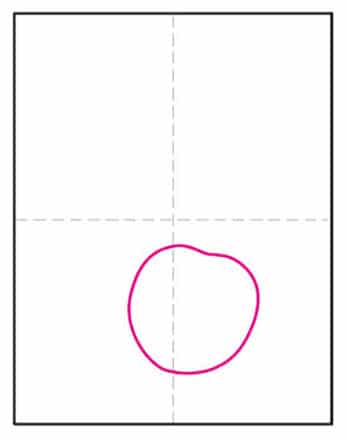
How to Draw Cherries
- Draw the center cherry.

- Add another on the right side.
- Draw another on the left.
- Add a stem to the middle cherry.
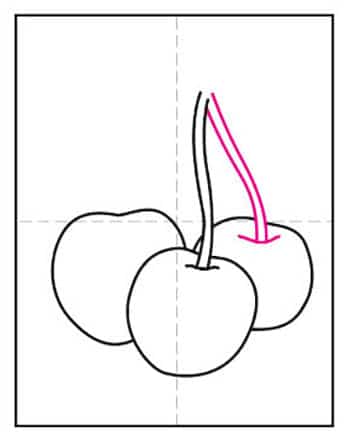
- Draw the stem on the right cherry.
- Add a joining stem on the left cherry
- Finish with a large and attached leaf.
- Trace and add the dark red and green.
- Add the pink / red and light green.


More Fun Food Drawing Projects