Easy Bleeding Tissue Paper Art Projects for Kids
These projects use bleeding tissue paper to create a lovely swirl and very random blend of color.


All you need to make these lovely blue and purple winter skies is watercolor paper, bleeding tissue paper, and water. (Please see the link below for an example bleeding tissue paper, which is very different from regular tissue paper. Regular tissue, or any tissue that does NOT specifically say it is bleeding tissue, will not bleed at all.)
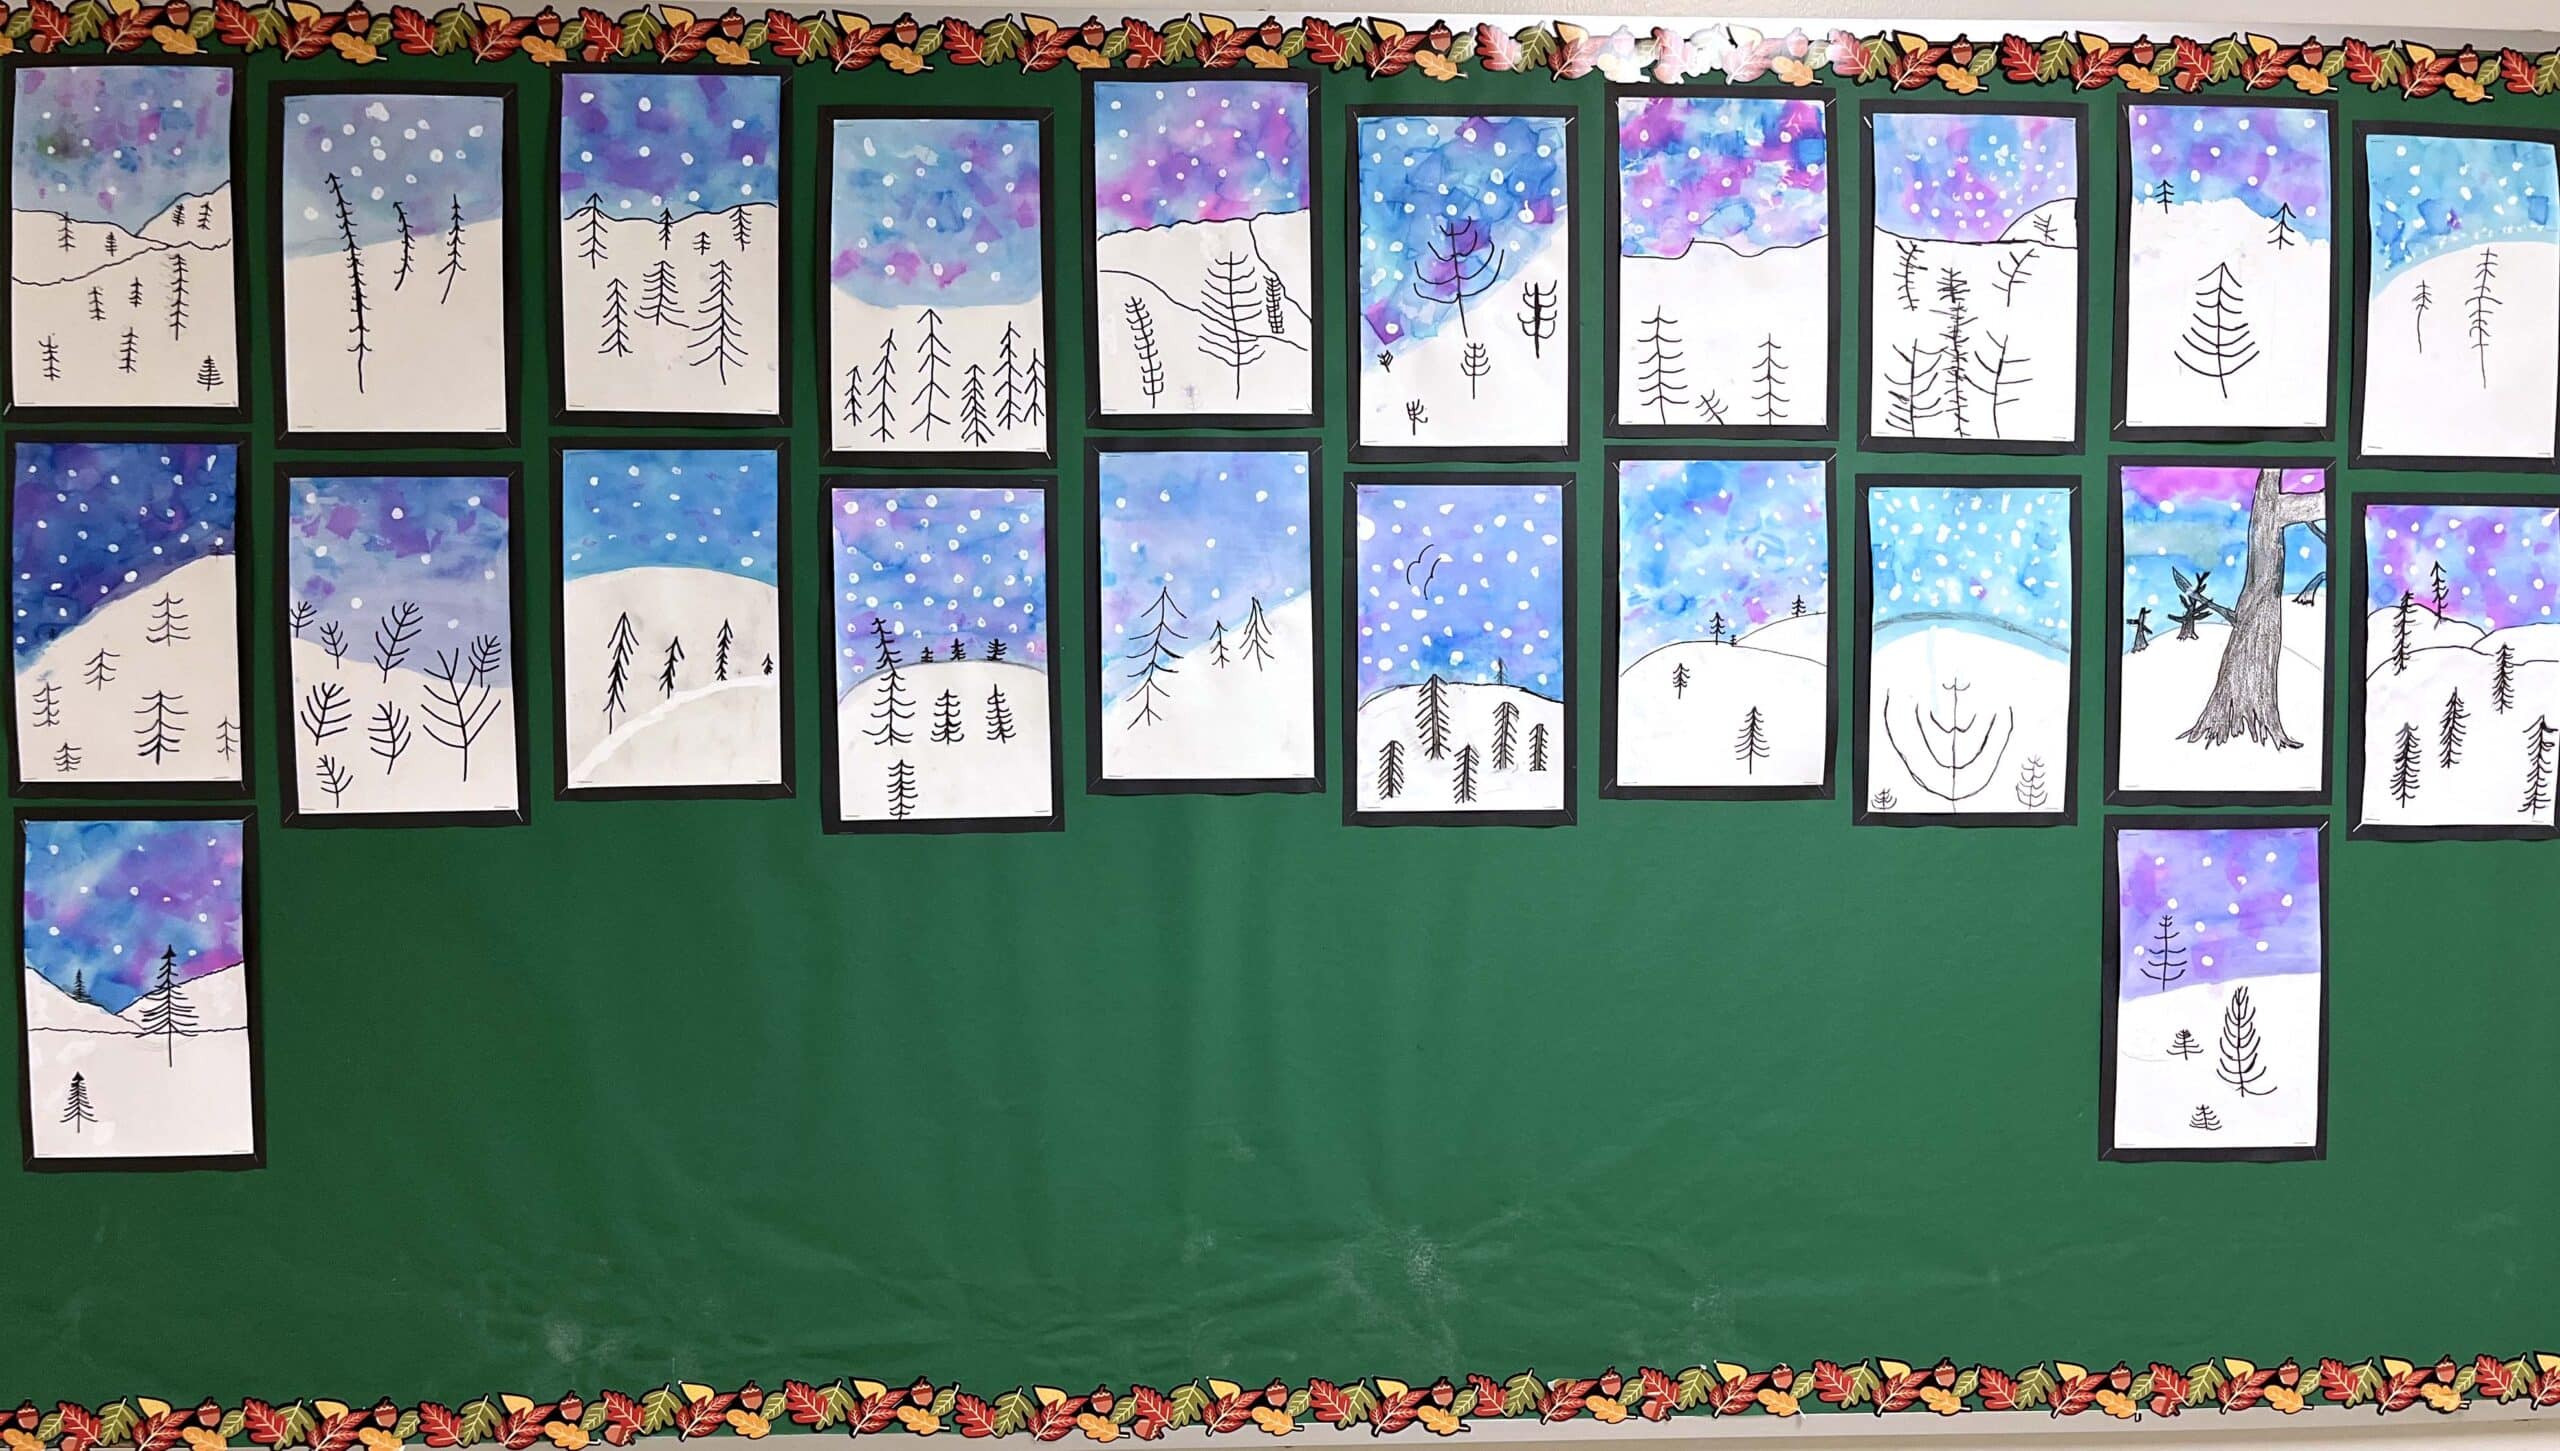
You would think that wetting a bunch of these bleeding tissue paper squares would leave geometric shapes behind, but instead, they swirl together and make a very soft mix of color. It’s a great way to have young artists see how pretty gently mixed colors can be, something that is easy to overdue when they mix colors the conventional way. The randomness that happens that makes a kinds of pretty skies, no matter what level your painting skills happen to be at.
What is Bleeding Tissue Paper?
Bleeding tissue paper is a special kind of art paper that “bleeds” its color when it gets wet. That means when you place pieces of it on paper and add a little water with a brush or spray bottle, the color transfers and creates beautiful, watercolor-like effects. It’s a fun, low-mess way for students to explore color blending and abstract art, and it’s perfect for all kinds of creative classroom projects!
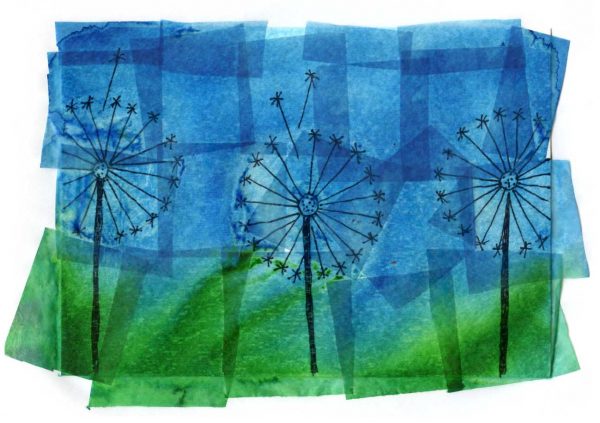
Bleeding Tissue Paper Trees from Canada
Materials to make Bleeding Tissue Paper Art
- Watercolor paper
- Bleeding tissue paper (affiliate link, if used with purchase I may be compensated)
- Sharpie marker, black, fine tip
- Water and paint brush
- White paint marker, fine tip, for snow dots
Directions to make Bleeding Tissue Paper Art
PREP: Cut watercolor paper to ATC size, if making cards (2.5″ x 3.5″)
Cut blue and purple tissue to 1″ squares or smaller, approximately.
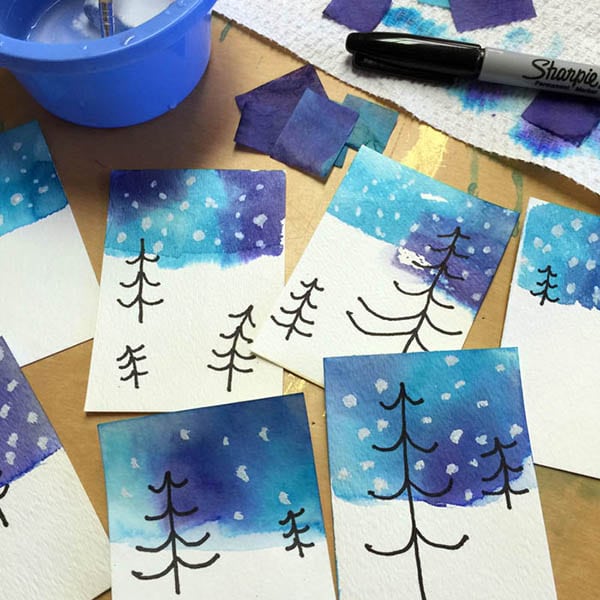
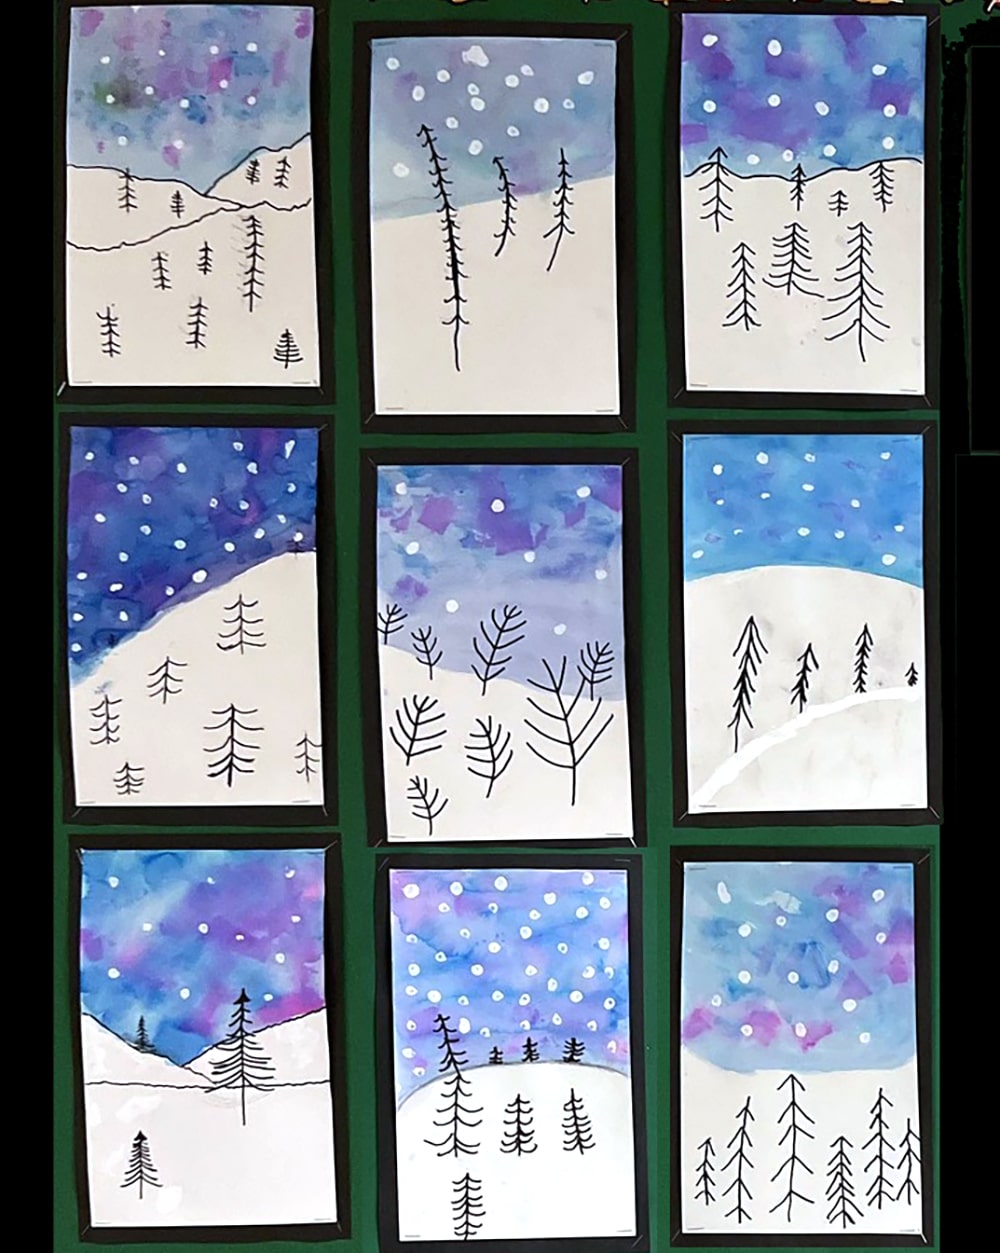
1. Students draw an assortment of line trees on the bottom of their cards. Some should be large, some small.
2. The sky is made from brushing water where it is desired, and placing an assortment of overlapping tissue squares on top. Let sit for about 5 minutes.
3. Carefully remove the tissue squares. Let dry.
4. Use a white Sharpie paint marker to add dots of snow in the sky.
Another Bleeding Tissue Paper Project
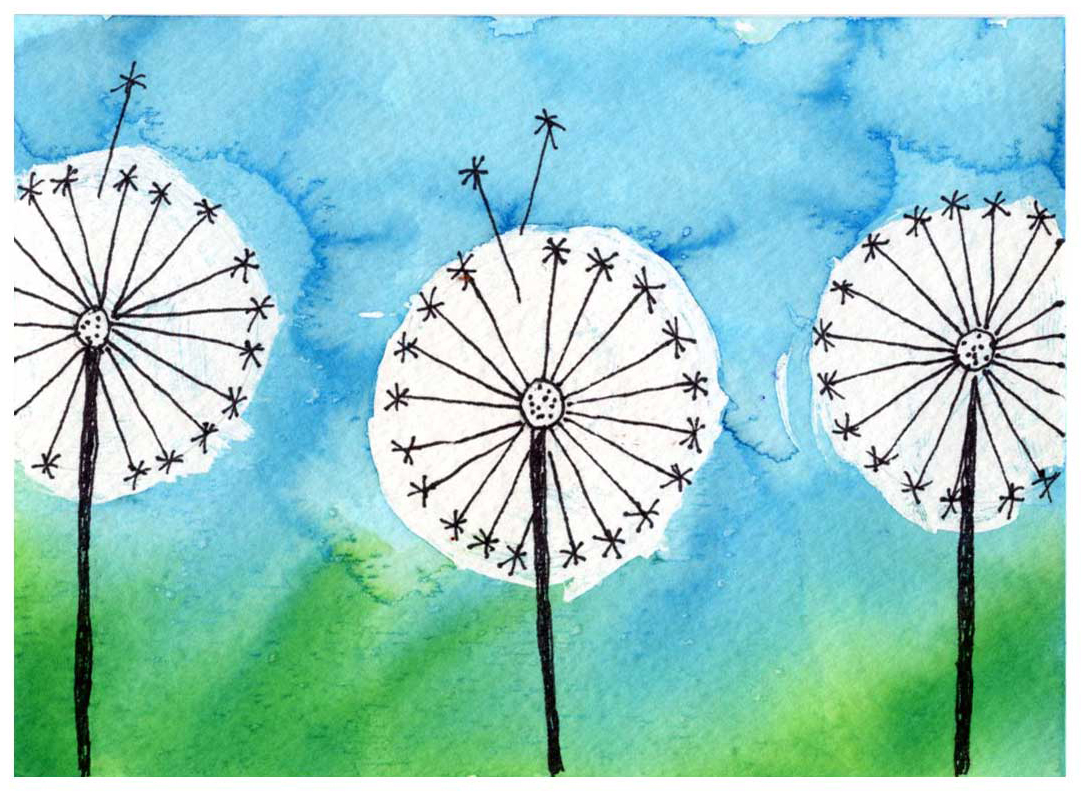
Paint a dandelion tutorial with bleeding tissue paper and rubber cement for masking the flower. Super fun combo of media.
Materials
- Watercolor paper
- Bleeding tissue paper
- Paint brush and water
- Sharpie markers
Directions
Time needed: 1 hour
Make a Dandelion Painting
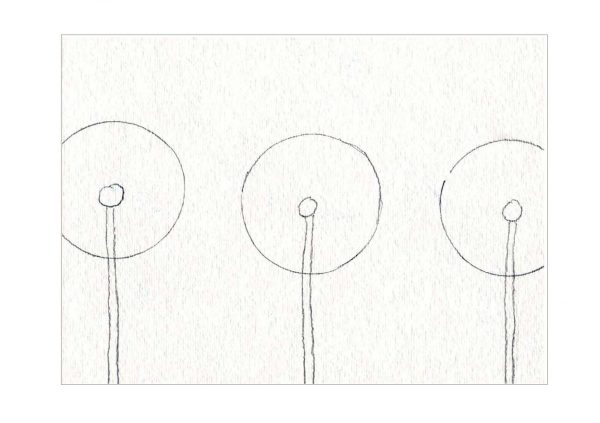
- Draw 3 circles in pencil on watercolor paper. Add stems.

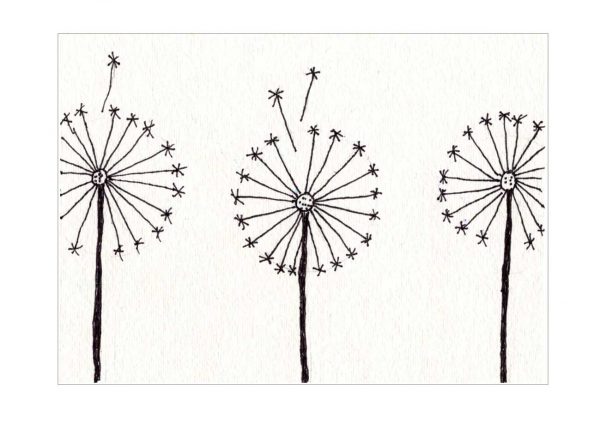
- Draw and trace with a thin permanent marker.
- Cut squares of bleeding tissue paper. Apply with brush and water to drawing. Let dry for 10 minutes.
- Remove tissue paper squares to reveal your final painting.

Is the Winter Skies free to download? it’s so Cute.
Thanks, I didn’t make any visual instructions, so there’s no PDF to download this time. Hopefully the written instructions will do the trick.