Easy How to Draw Stacked Pumpkins Tutorial and Coloring Page
Learn how to draw stacked pumpkins and make them look like a snowman. A hat and branches complete the look.

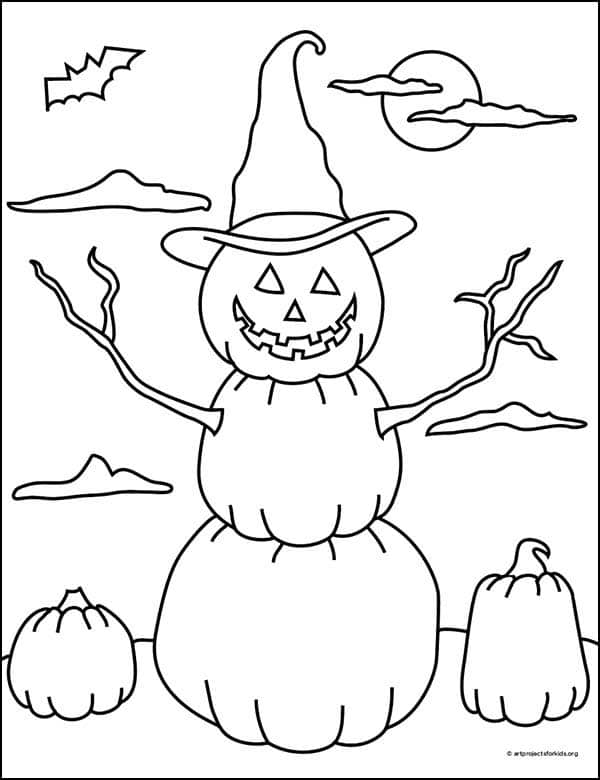
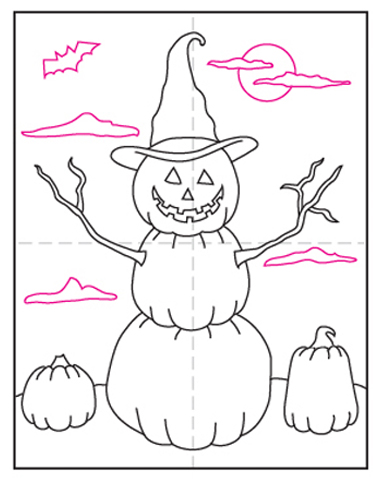
Stacked Pumpkin Drawing

Students can add a little twist to their Halloween projects by learning how to draw stacked pumpkins. Inspired by the classic snowman shape, it starts with a large, medium and small pumpkin and finishes with a fun hat and two arms.
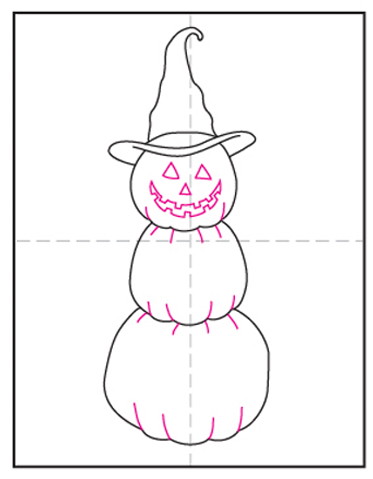
It only takes a few little touches to make those pumpkins look a little more real. A couple of curves along the bottom, and wrinkle lines that extend up, will add some extra dimension.
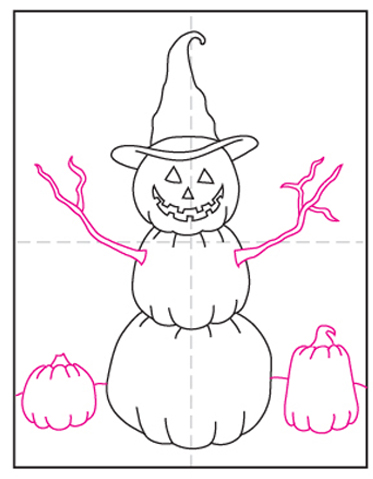
Lastly, when drawing those branch arms, be sure to make them very thin curvy and thin. That’s what makes them look like branches, instead of just wooden sticks.
Use the Button below to grab a PDF Tutorial
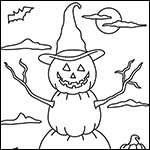
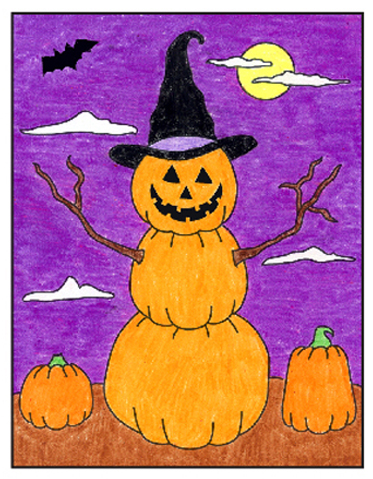
Stacked Pumpkins Coloring Page
Materials for Drawing Pumpkins


Directions
Time needed: 45 minutes
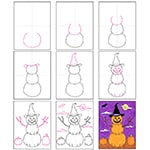
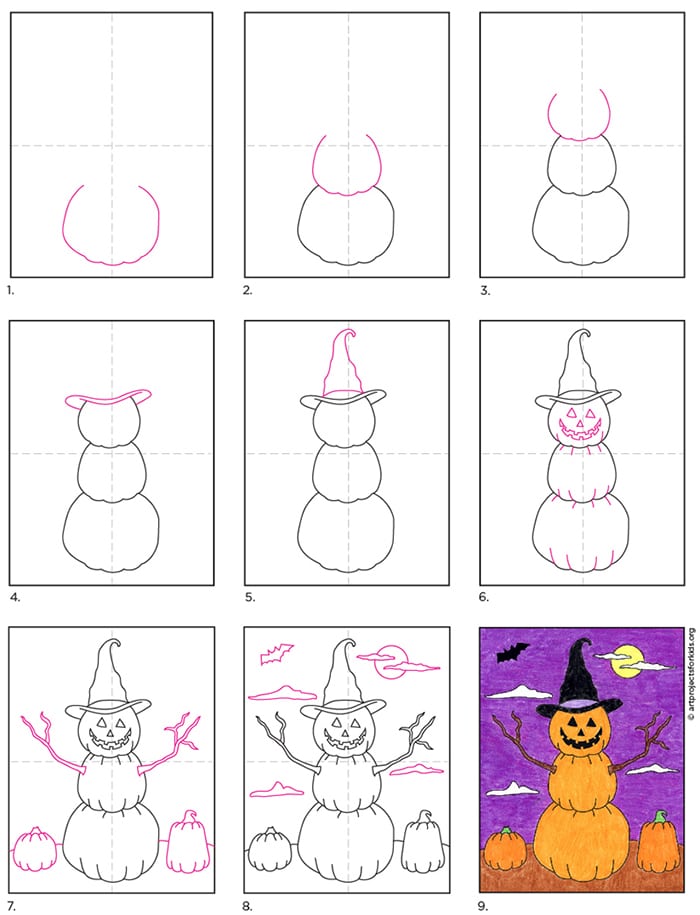
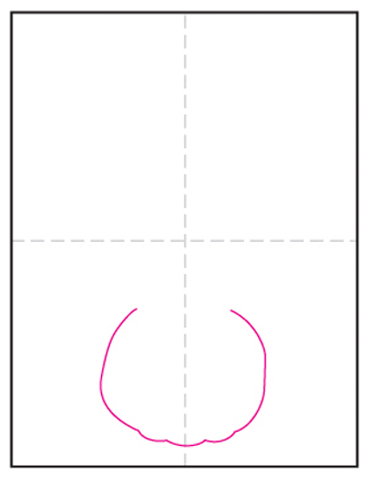
How to Draw Stacked Pumpkins Step by Step
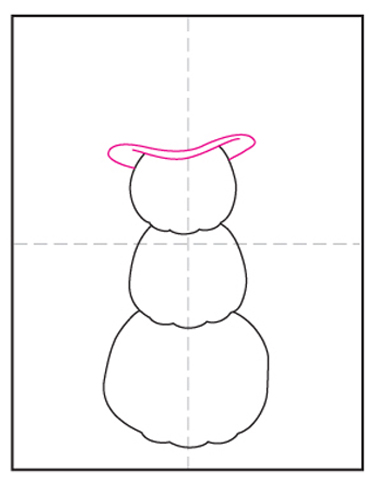
- Draw a large curved U shape.

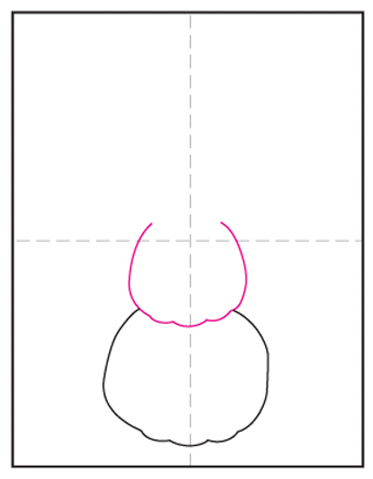
- Add a medium U shape above the large one.
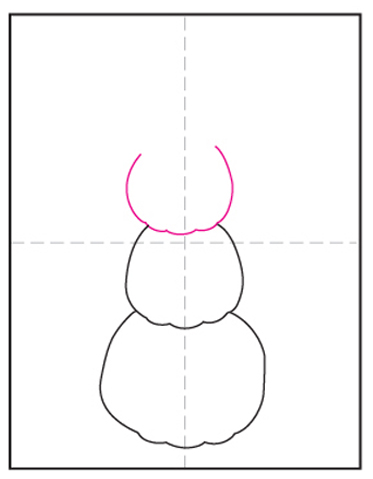
- Add a small U shape on top.
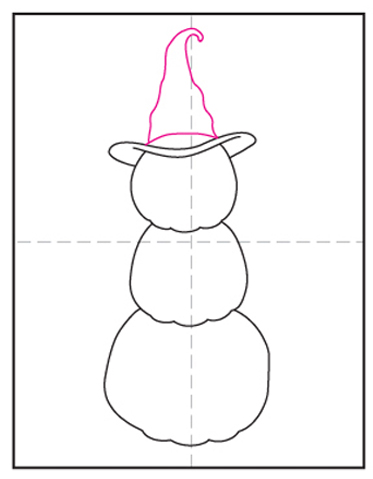
- Draw a curved brim.
- Add a pointy hat top.
- Draw a face and pumpkin wrinkle lines.
- Add branch arms and some pumpkins.
- Fill the sky with clouds and bats.
- Trace with a marker and color.

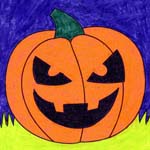
Read More Drawing Article✅ . Pumpkin Drawing Ideas