How to Draw a Cornucopia: Easy Step-by-Step Art Lesson for Kids
Here you’ll find an easy step-by-step tutorial for how to draw a Cornucopia and a Cornucopia Coloring Page. It’s great practice for drawing layers.


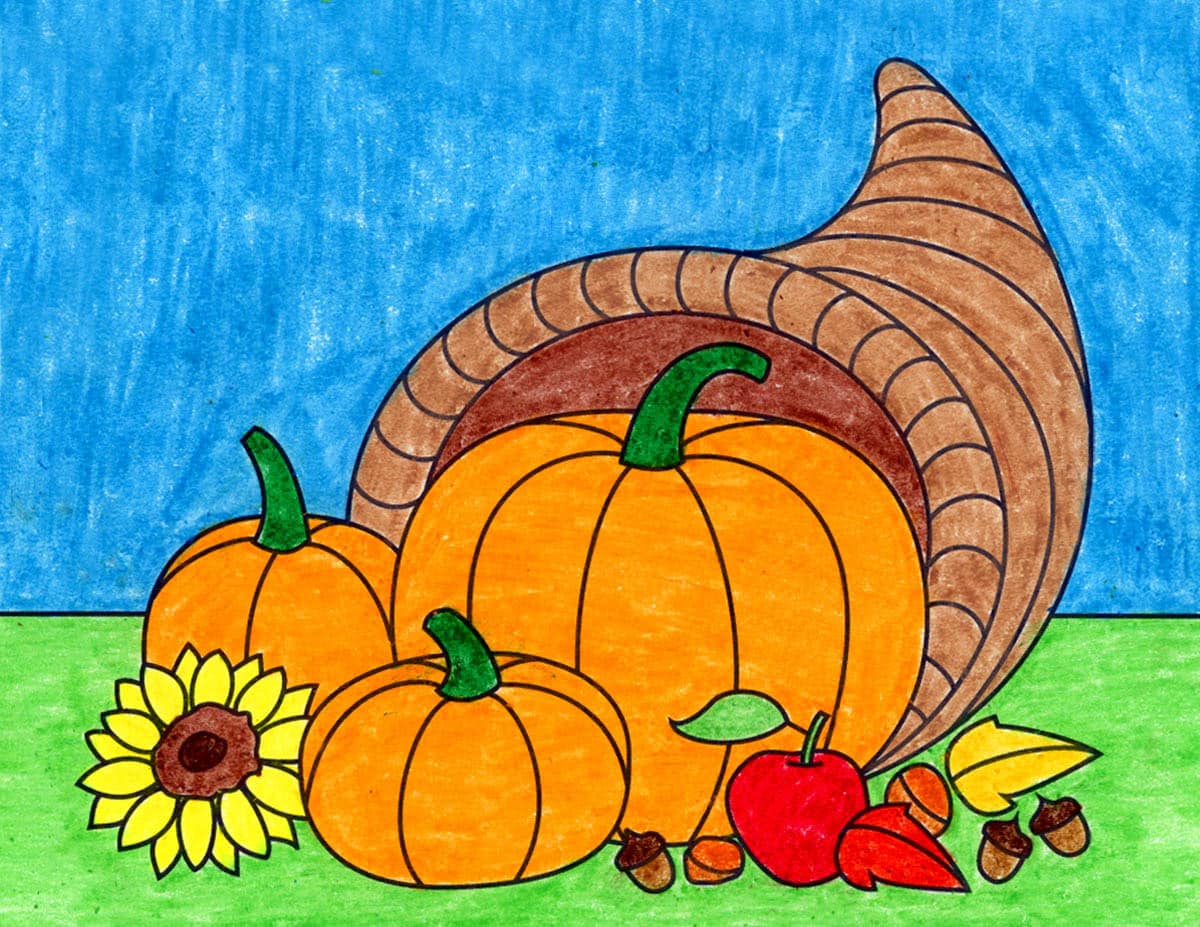
Drawing of a Cornucopia
A cornucopia has lots of little elements to it, and the best way to approach drawing one is with layers. Students first draw what I call the basket in the back, then the largest pumpkin, then medium and so on. For that reason, remind your students before and during to draw LIGHTLY. It kind of goes against their nature at a young age, but with practice, can be done. All the required layers in this drawing mean that lots of inside lines will need to be erased. Light ones are always so much easier to remove than dark ones.
A cornucopia is a symbol of plenty consisting of a goat’s horn overflowing with flowers, fruit, and more. And as the season of thanks draws closer, it is a nice to time be thankful for what we have, especially if it is more than what we need.
Join “The Daily Draw” to get this instant tutorial!
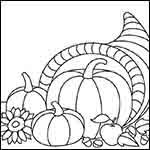
Cornucopia Coloring Page

Materials for a Cornucopia Drawing


Watch this fun short video for a Cornucopia Drawing
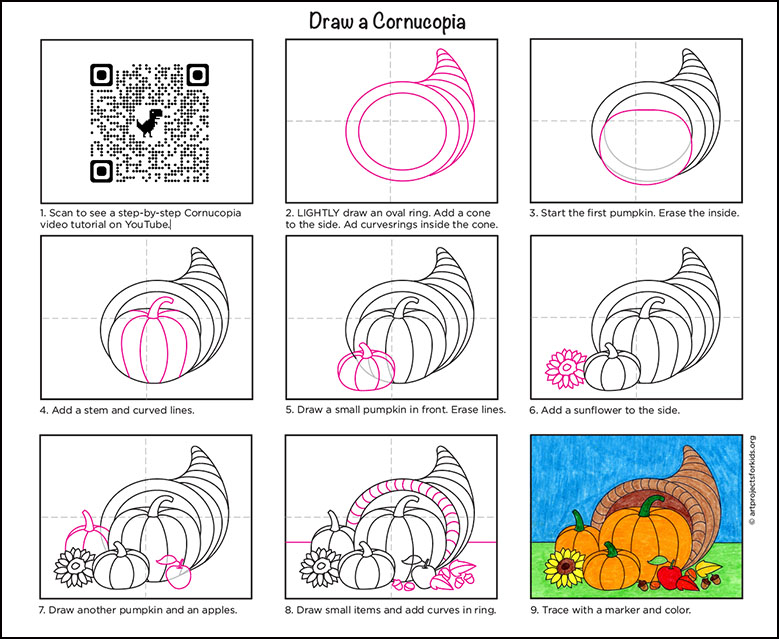
Step by Step directions
Time needed: 1 hour
How to Draw a Cornucopia
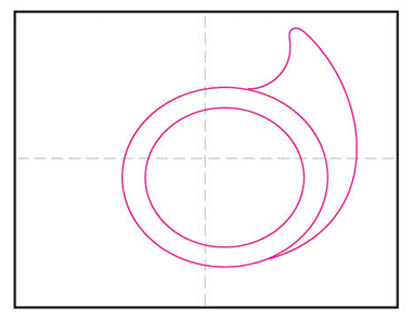
- Draw an oval ring. Add a cone to the side.

- Draw rings inside the cone as shown.
- Start the first pumpkin. Erase inside.
- Add a stem and curved lines.
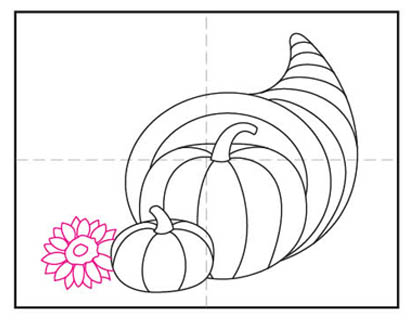
- Draw a small pumpkin in front. Erase lines.
- Add a sunflower to the side.
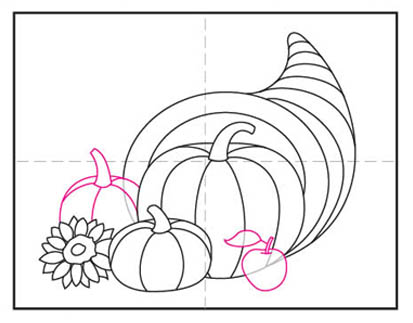
- Draw another pumpkin and an apple.
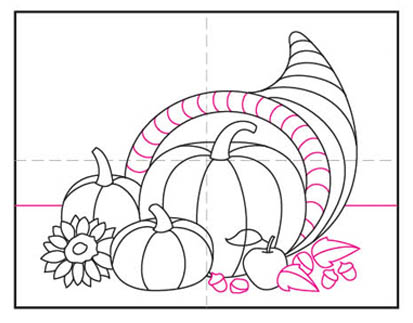
- Draw small items and add curves in ring.
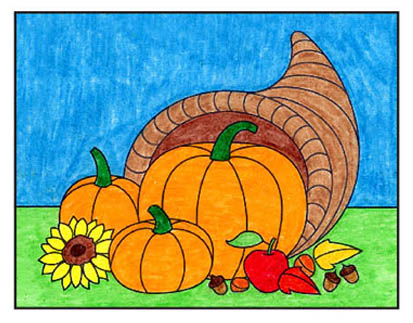
- Trace with marker and color.


Already subscribed to “The Daily Draw”?
Great, then use the button below to get your free Cornucopia tutorial. And thanks for wanting to bring more step-by-step, no-prep art lessons to your classroom!
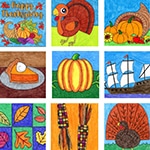
More Fall Drawing Projects