How to Draw Pumpkin Pie: Easy Step-by-Step Art Lesson for Kids
Below you’ll find an easy step-by-step tutorial video for how to draw Pumpkin Pie and a Pumpkin Pie Coloring Page.


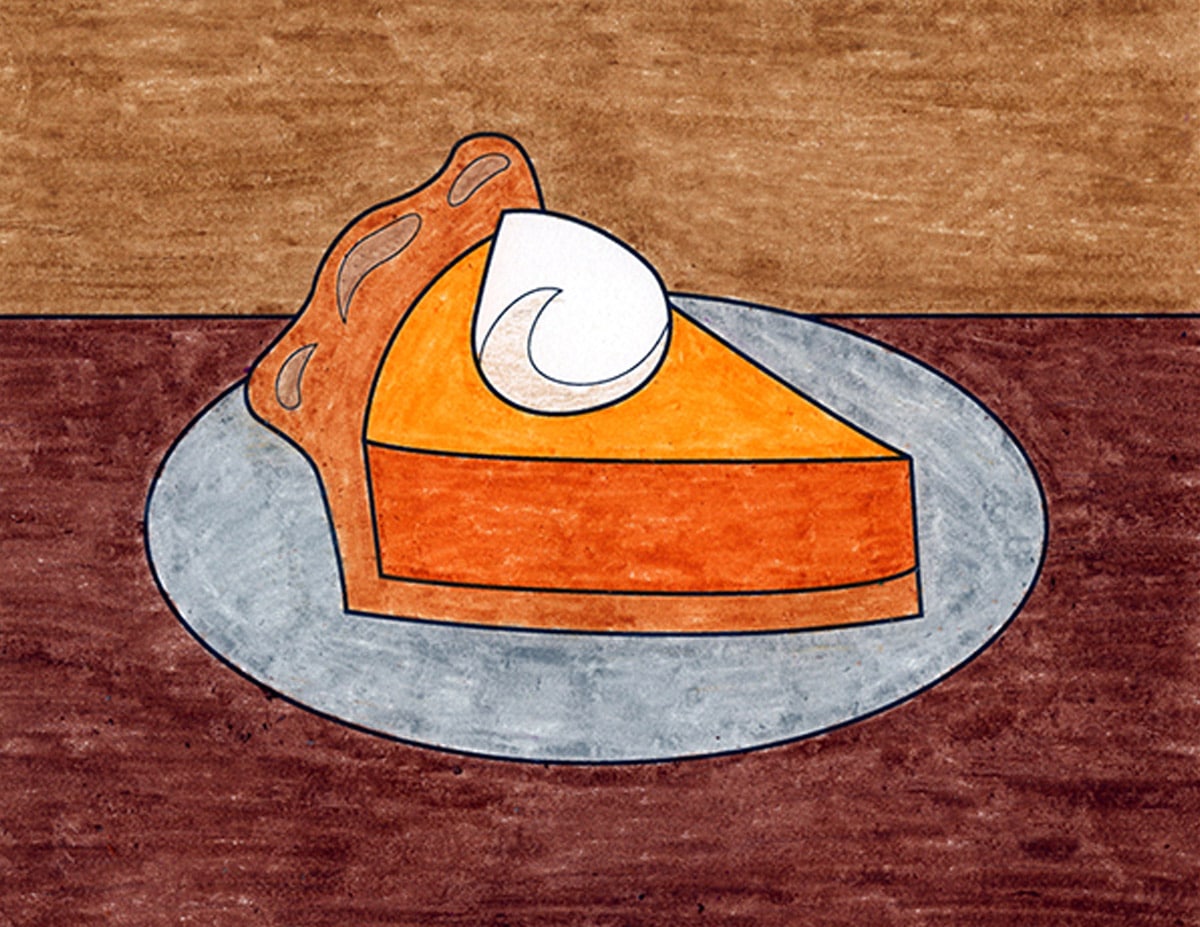
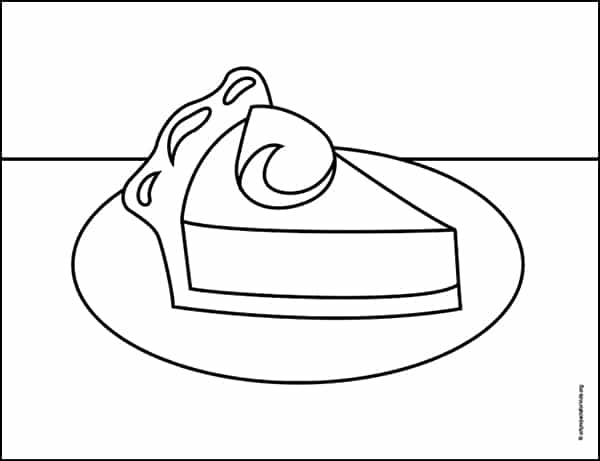
Drawing of Pumpkin Pie
Why Draw a Slice of Pumpkin Pie?
This tutorial will show students how to draw pumpkin pie, make it look dimensional, and then add a pretty dollop of whipped cream on top. The side view reveals a peek at the inside filling, and is an easy way to make the pie look a little more dimensional too.
This drawing sample uses a different crayon to show the side shadows, but students could always use one crayon to make changes in the color value too. If students just use more pressure with their pie color crayon on the side, and a little lighter on the top, it will create its own shadow kind of look. It’s also a great example of using Value, which is one of the Elements of Art.
There aren’t many foods more symbolic of Thanksgiving than pumpkin pie, aside from the turkey of course. The built in fall colors make it one of the prettiest endings to a special holiday meal.
Use the Button below to grab a PDF Tutorial
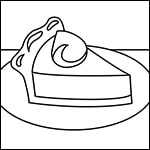
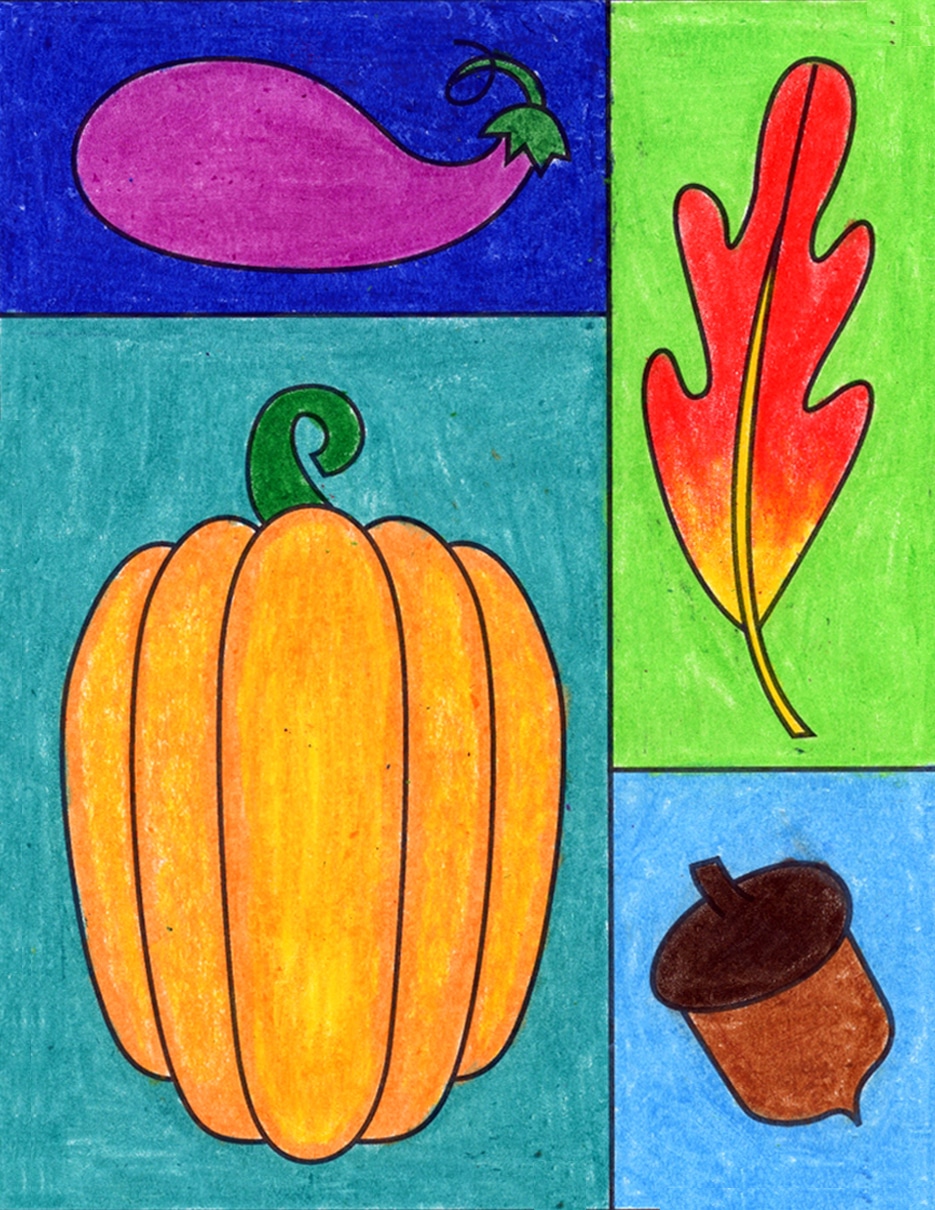
Pumpkin Pie Coloring Page
Materials for a Pumpkin Pie Drawing


Watch a fun short Pumpkin Pie video!
Directions to Draw a Pumpkin Pie Step by Step
Time needed: 45 minutes
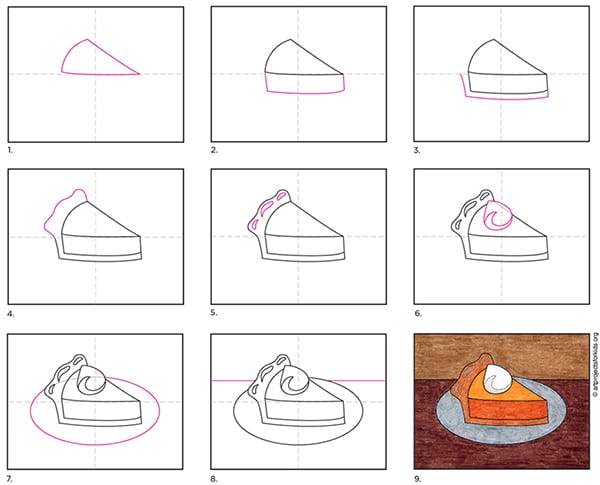
How to Draw Pumpkin Pie
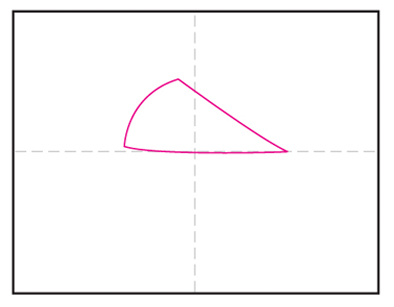
- Start the top of the pie with a triangle.

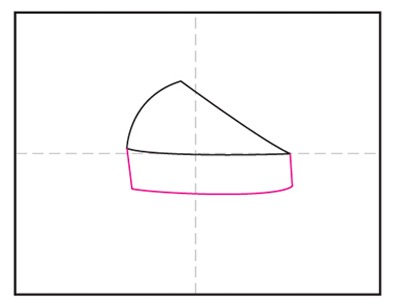
- Add a rectangle shaped side.
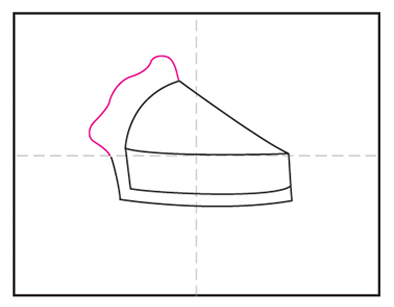
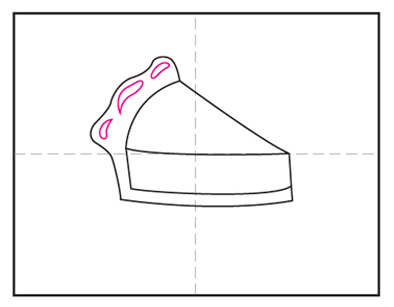
- Start the bottom of the crust.
- Finish with the top of the crust.
- Add bump shapes to the crust.
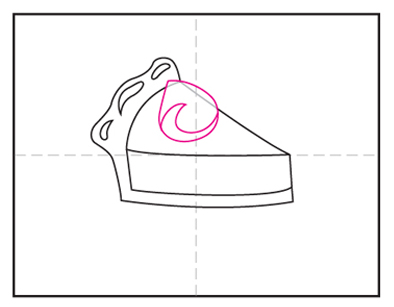
- Draw whip cream and erase lines inside.
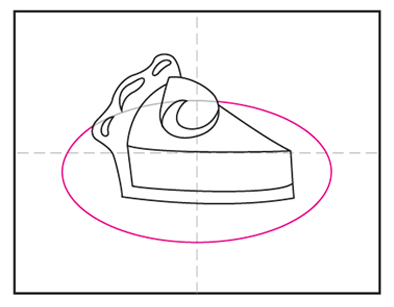
- Draw an oval plate in the background.
- Finish with table line.
- Trace with marker and color.


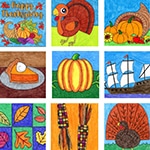
More Thanksgiving Drawing Projects


I love my whole purchase. You have certainly worked hard at this.
KH
Thank you Kristine! I appreciate your taking time out to share that!