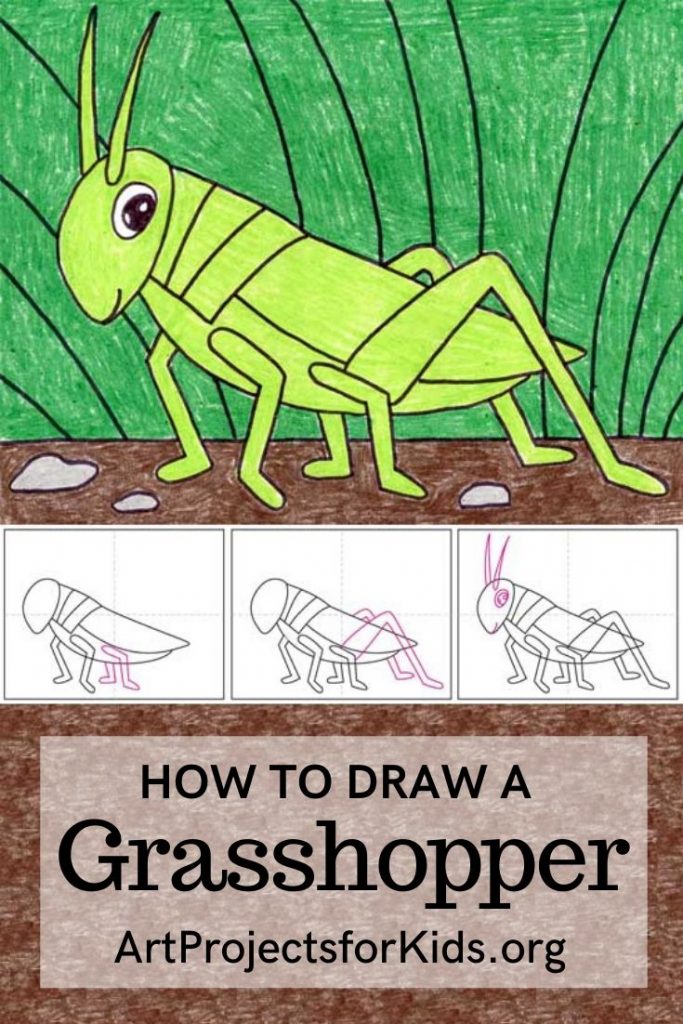
Easy How to Draw a Grasshopper Tutorial and Grasshopper Coloring Page
Below you’ll find an easy step-by-step tutorial for how to draw a Grasshopper and a Grasshopper Coloring Page. Save it for when you want to draw one that looks real, but is still kinda cute.
Jump to Tutorial 
Coloring Page

Grasshopper Drawing
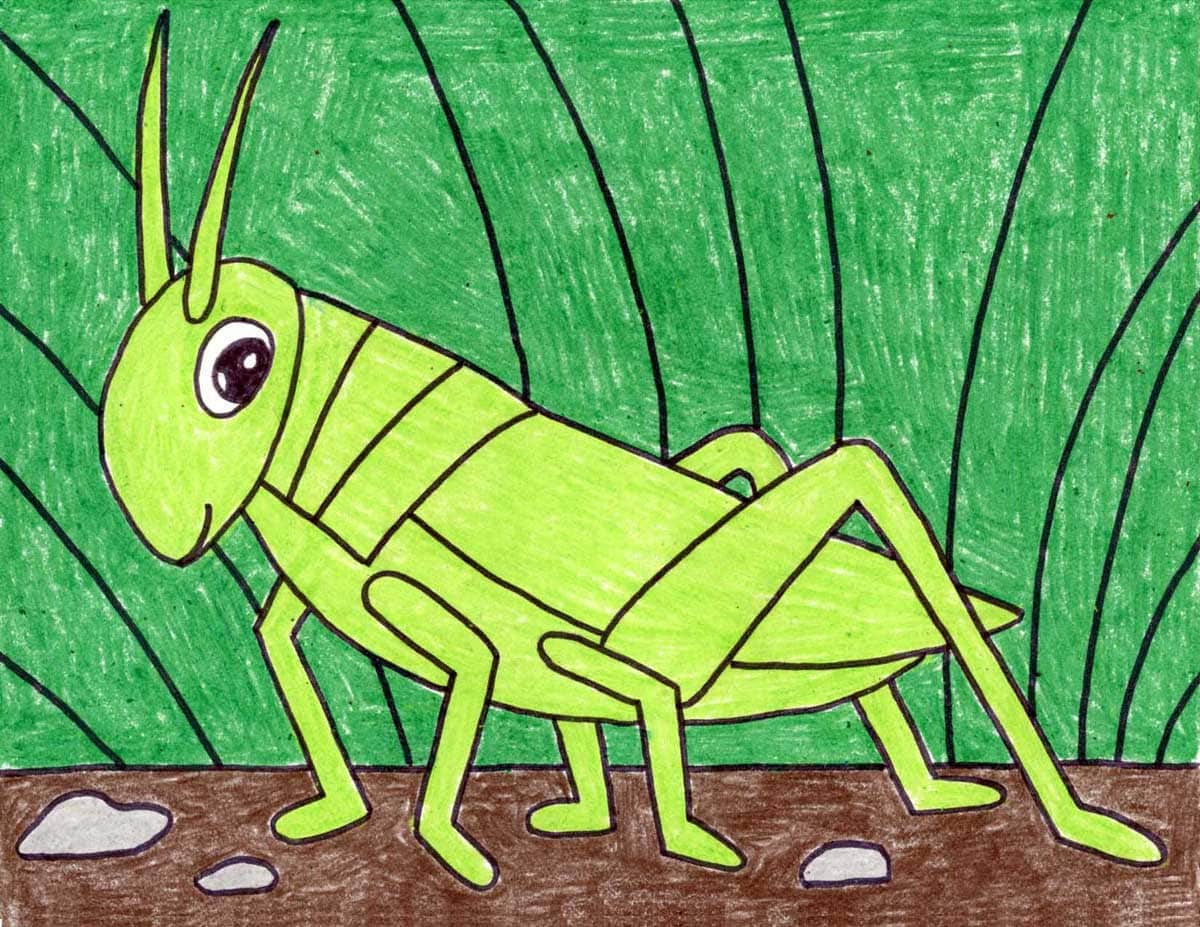
Most of the “how to draw a grasshopper” tutorials that I have seen have either been meant for kids just learning how to draw (the circle head is a giveaway) or best for high schoolers learning how to shade. That’s quite a gap, to say the least.
What’s an older elementary student to do? Well, here’s a new easy tutorial that has all the necessary science-y body parts (head, thorax, wing, abdomen) with a touch of cuteness too. A little twinkle in the eye adds some storybook charm to what otherwise might be just more of a grasshopper diagram. Why not have a little of each?
Use the button below to download this step by step tutorial
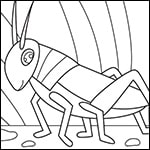
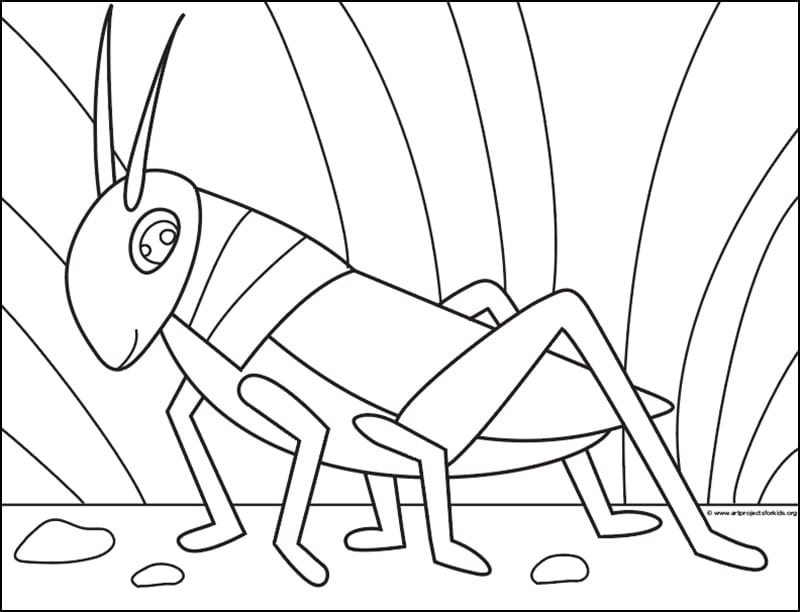
Grasshopper Coloring Page
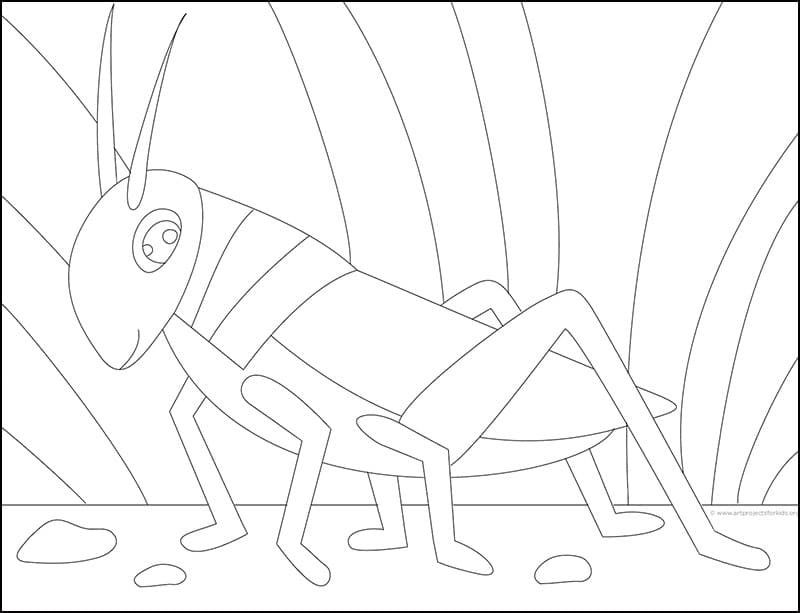
Grasshopper Tracing Page
Materials
- Drawing Paper. This is the good stuff you can buy in bulk for a good price.
- Pencils. I like how this brand always makes nice dark lines.
- Black Marker. A permanent marker will give you a dark black color.
- Crayons. The larger packs are nice for more color choices.
- Note: All of the above are Amazon affiliate links.
Save me to your Pinterest Board
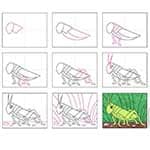
Step by Step Directions
Time needed: 45 minutes
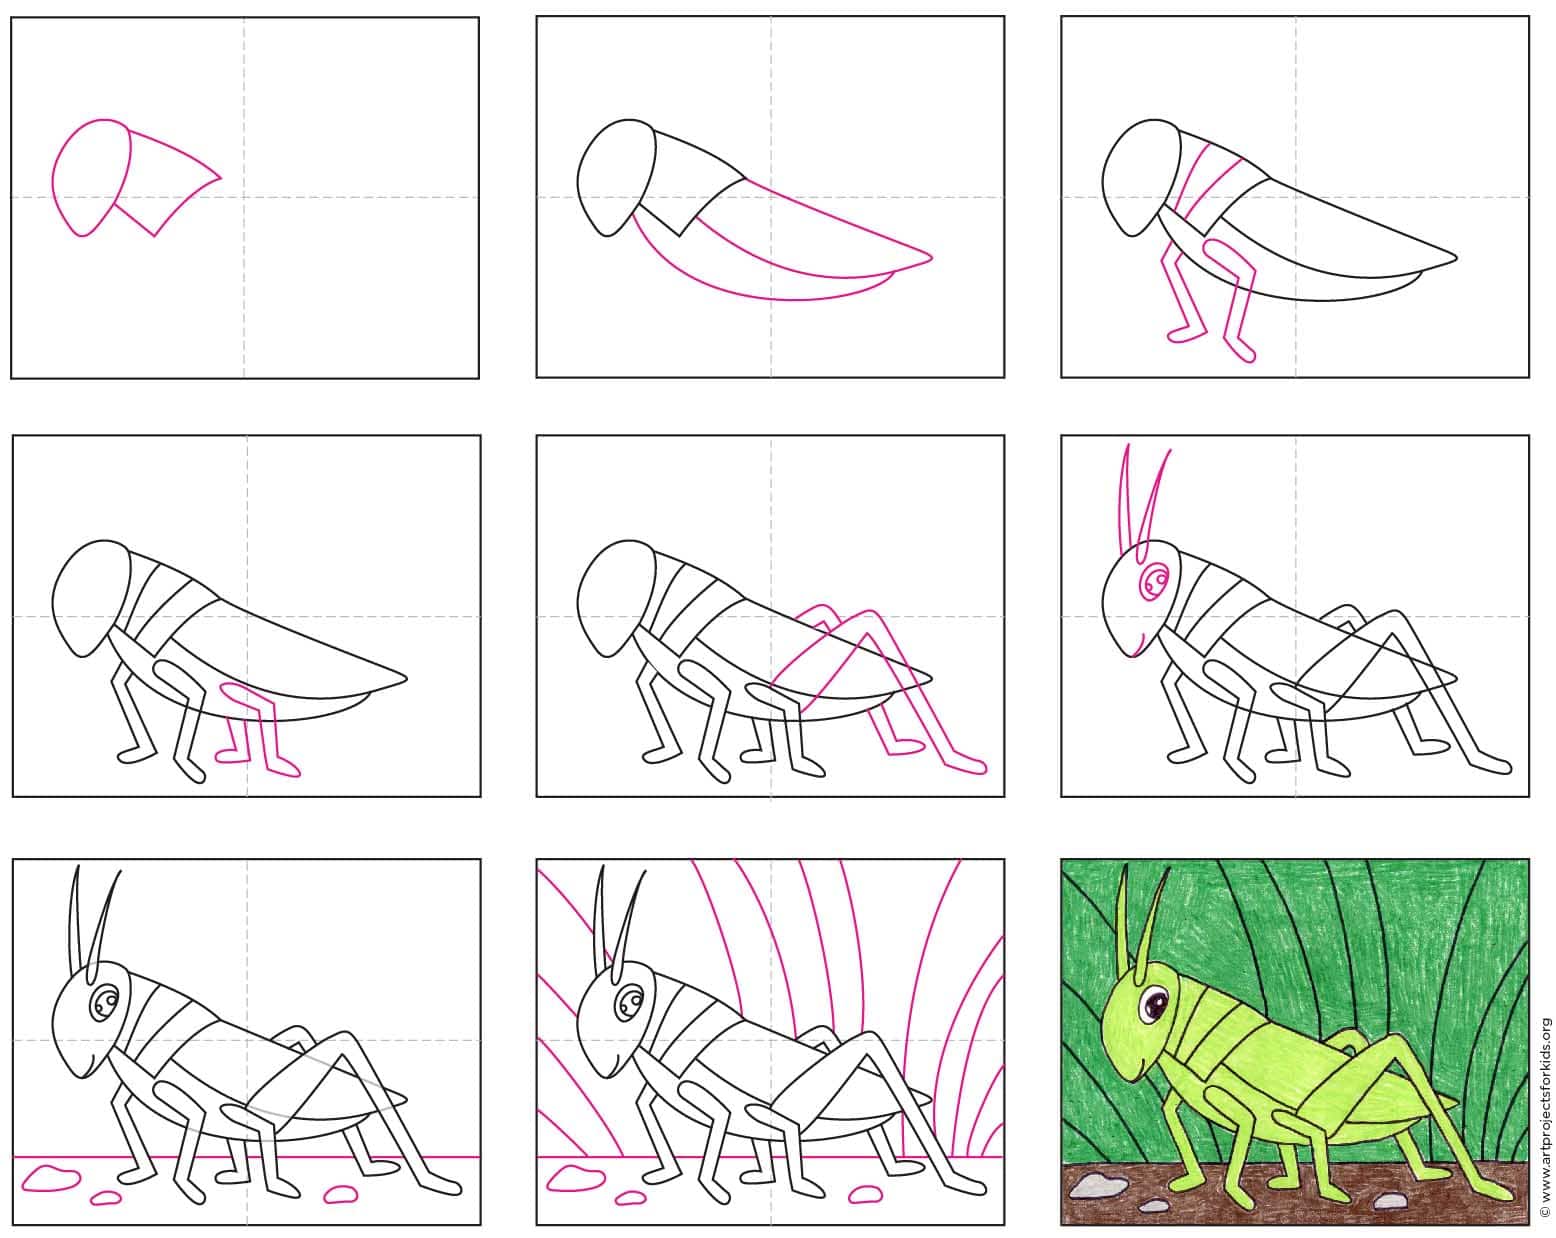
How to Draw a Grasshopper
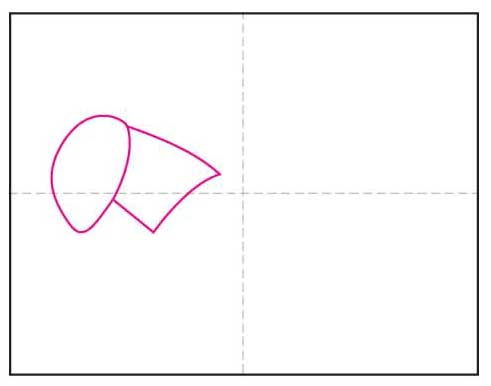
- Draw the head and thorax.

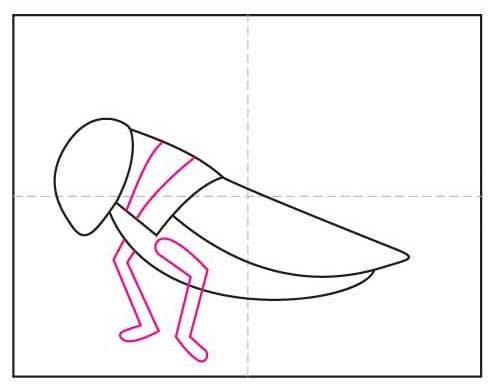
- Add a wing and abdomen below.
- Draw lines on the thorax, and add two front legs.
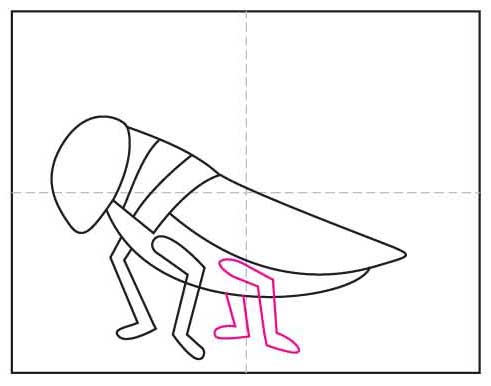
- Add two middle legs.
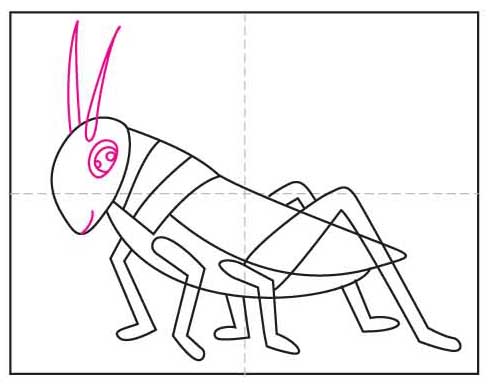
- Draw two back legs.
- Add antennae, eye and mouth.
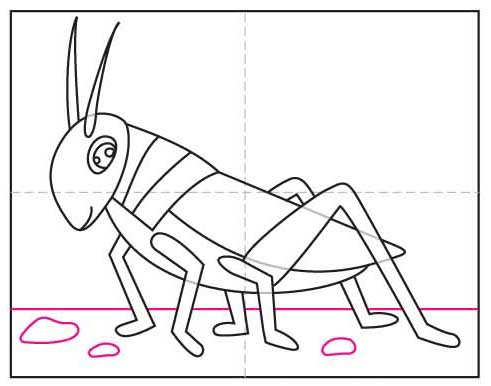
- Erase the lines shown as gray. Add grass line and stones.
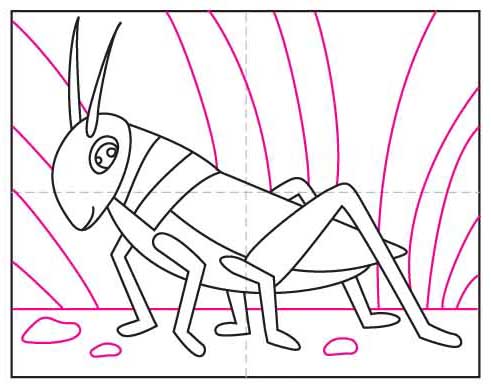
- Finish with grass going in all directions.
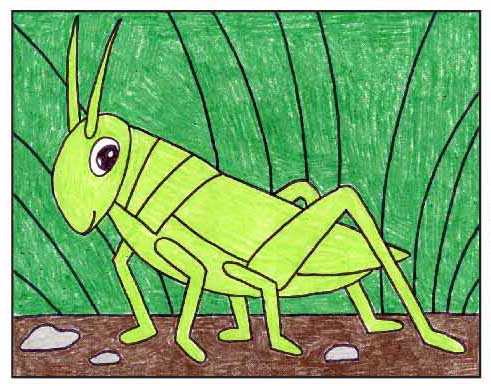
- Trace with a marker and color.


More Fun Insects to Draw