How to Draw Corn: Easy Step-by-Step Art Lesson for Kids
Here you’ll find an easy step-by-step tutorial video for how to draw Corn and a Corn coloring page. A grid helps to line up all those kernels in neat and orderly rows.

Drawing of an Ear of Corn
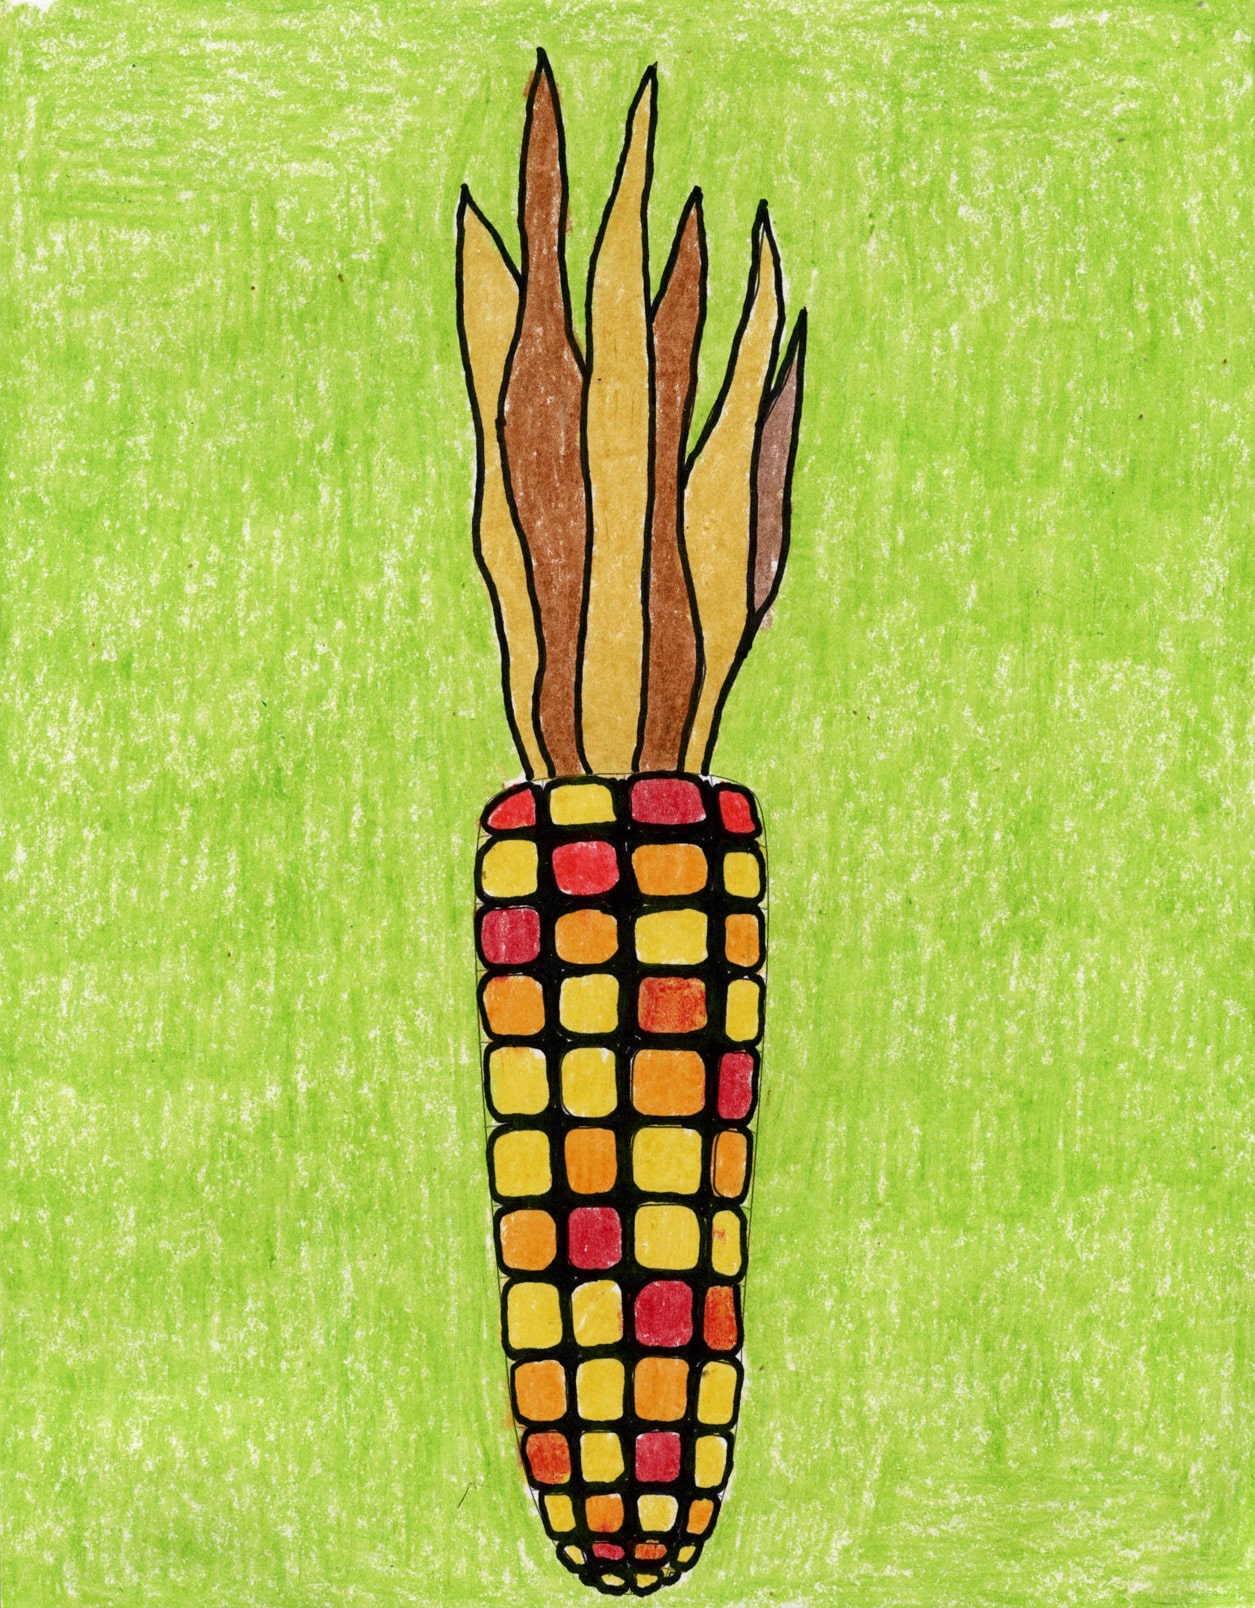
Fall art brings a new palette of colors, and there’s nothing like drawing an ear of corn to include as many in one place as possible. All those colorful little kernels look amazing, especially when they all line up in nice an even rows.
But rather than just drawing lots and lots of little squares, OR drawing just a quick grid, this tutorial will show students how to do a little of each. By creating a light grid to plan the rows first, and then filling them with rounded kernel shapes, they are guaranteed to have a very orderly ear of corn when they are done.
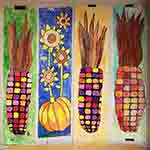
Another tip? If you need some large size decorations for an event, say a fall festival, try this drawing process on a long sheet of butcher paper. A few black Sharpies and crayons can do some amazing things together!
Why Draw with Guides?
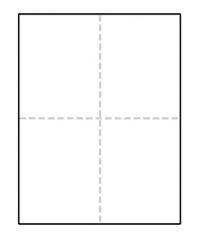
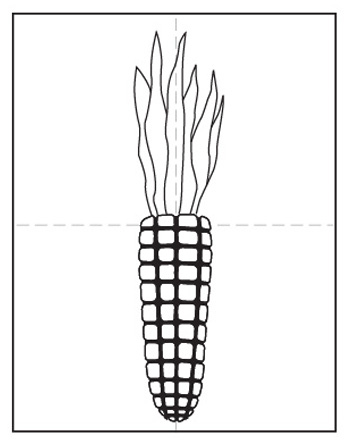
You may have noticed that all of the tutorials on this website have a dashed vertical line and horizontal line running through each step. If students make their own centered lines on their own paper, before drawing, they will have an easy reference to follow. All they need to do is fold their sheet of paper in half both ways, and make a crease. The best part is, by the time the drawing is done, the creases will have disappeared!
Join “The Daily Draw” to get this free tutorial!
Corn Coloring Page
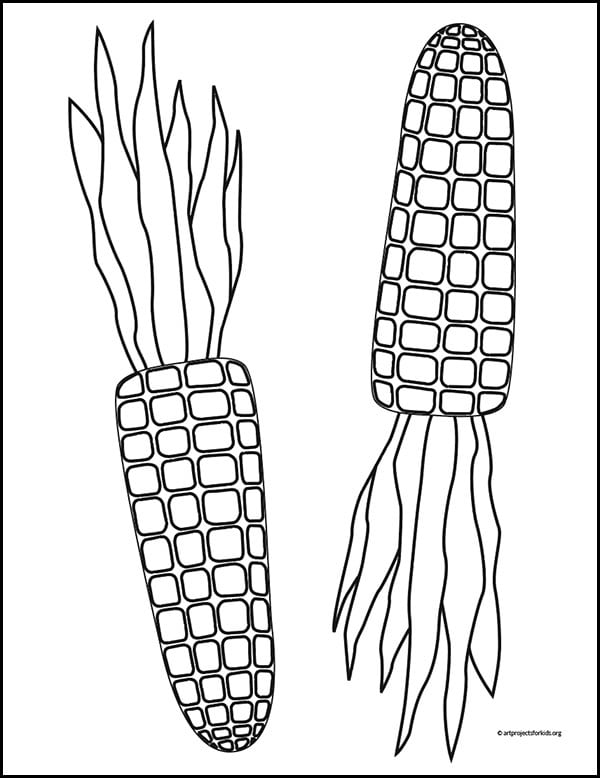
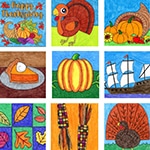
Make a Large Scale Harvest Banner

Materials to Draw Corn on the Cob


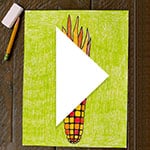
Watch this fun short Corn Drawing Video
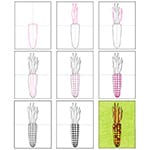
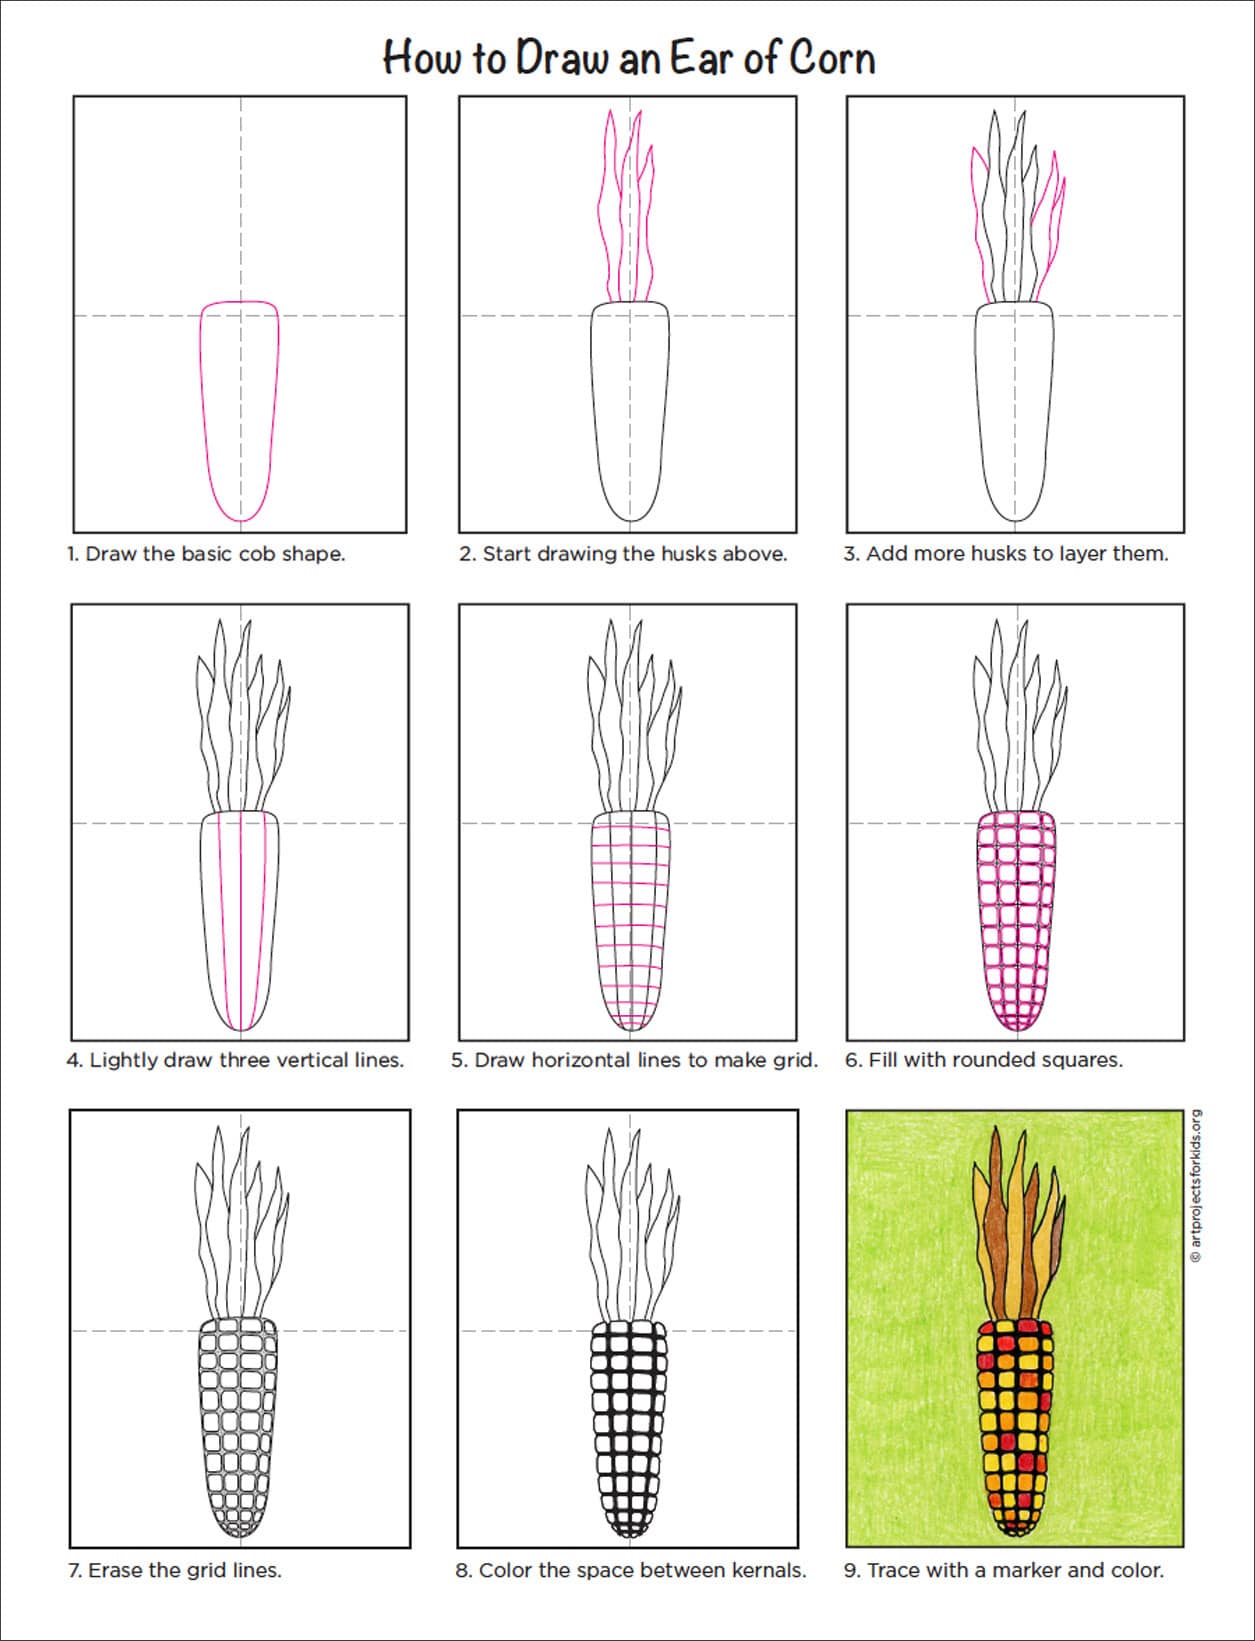
Step by Step Directions to Draw Corn
Time needed: 45 minutes
How to Draw Corn
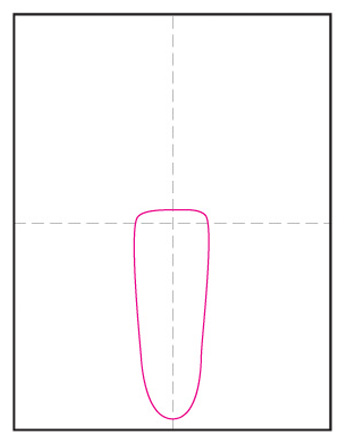
- Draw the basic cob shape.

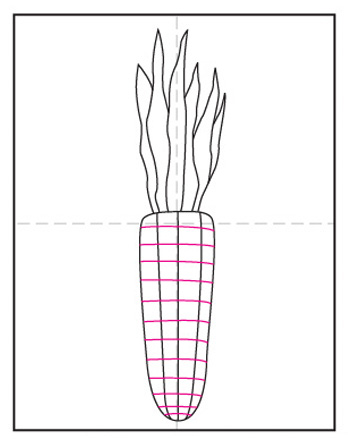
- Start drawing the husks above.
- Add more husks to layer them.
- Lightly draw three vertical lines.
- DrW horizontal lines to make grid.
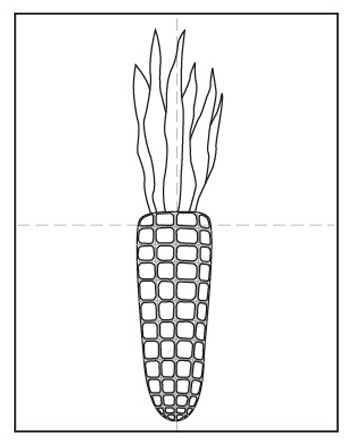
- Fill with rounded squares.
- Erase the grid lines.
- Color the space between kernels.
- Trace with marker and color.


Already subscribed to “The Daily Draw”?
Great, then use the download button below to get your free Corn tutorial. And thanks for wanting to bring more step-by-step, no-prep art lessons to your classroom!
DIY Giant Fall Banners

More Fun Fall Drawing Projects