How to Draw a Turkey: Easy Step-by-Step Art Lesson for Kids
Here you’ll find an easy step-by-step how to draw a Turkey Tutorial Videos, Turkey Coloring Pages and much more inspiration.

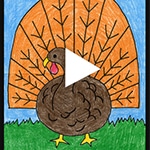


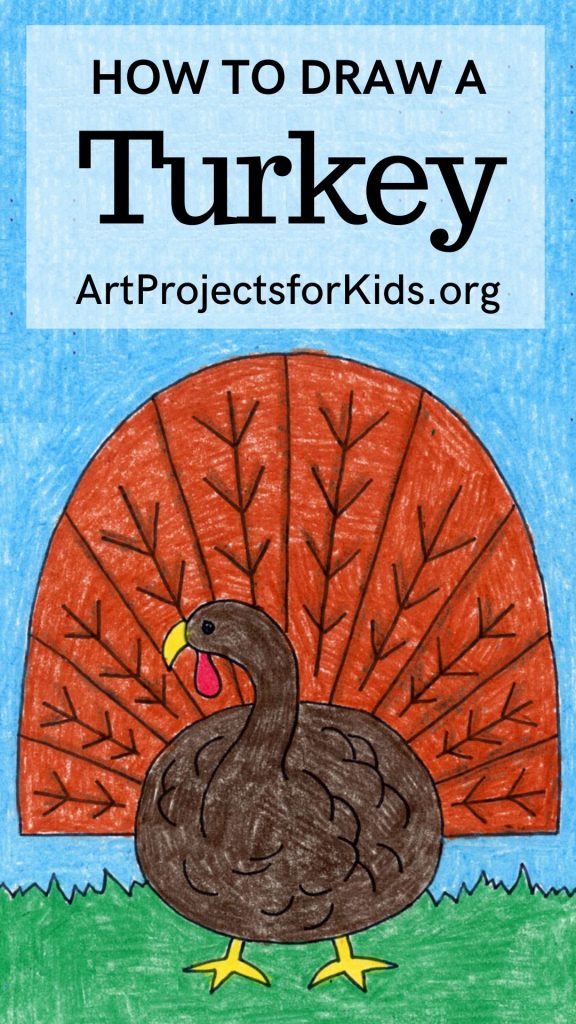
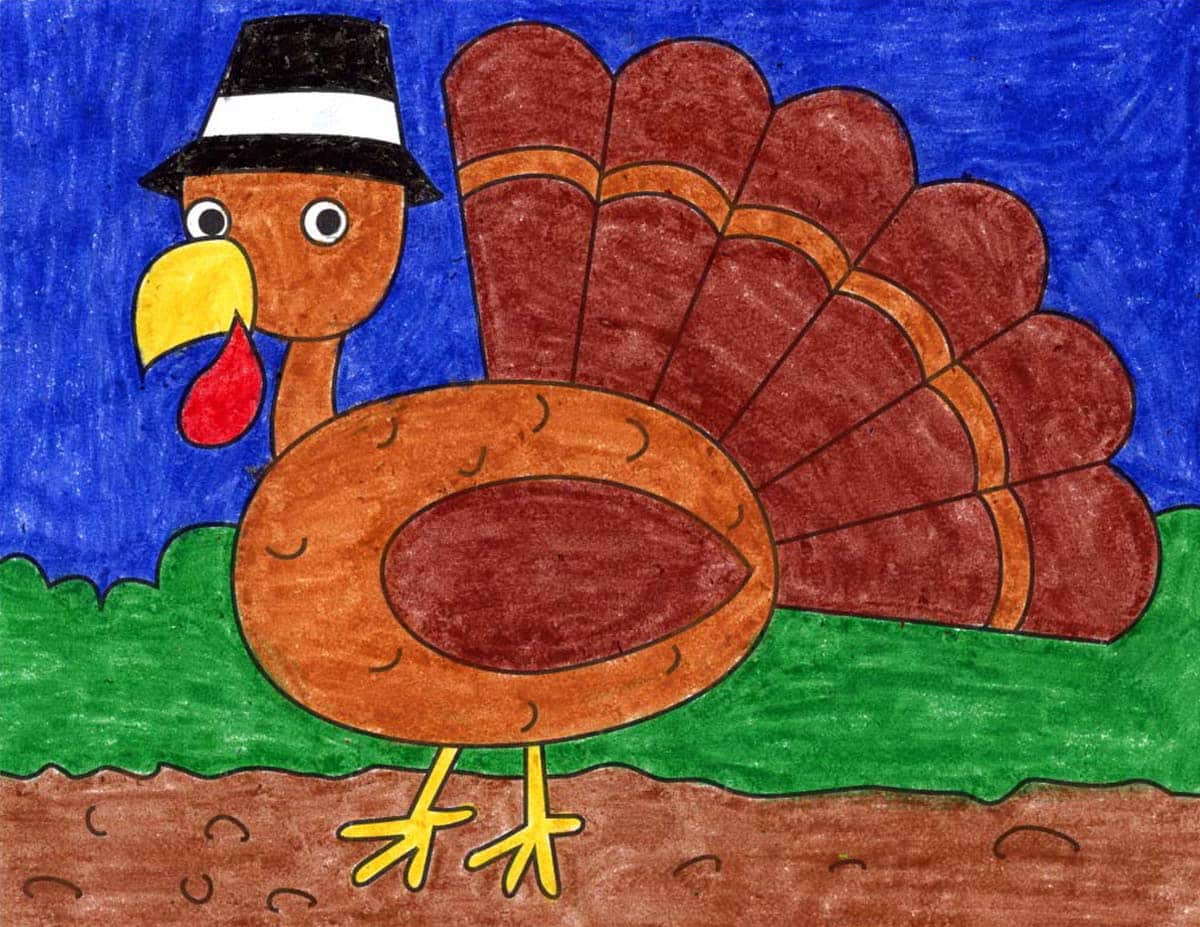
Turkey Drawing

More about Turkey Drawing
This How to Draw a Turkey lesson has proven to be a very successful drawing project over the years, and one that I would bring out for just about any age level. Most kinders can navigate drawing an oval, neck and fan shapes, and older students have fun adding more details to their feathers.
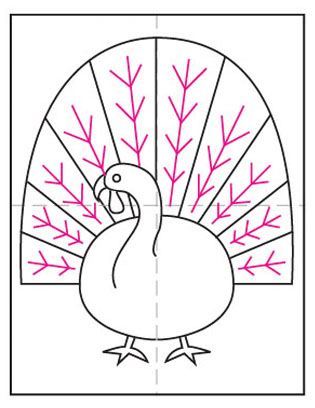
There’s even a little bit of radial symmetry drawing practice, in the way that the feathers radiate out from the body. Kinders can concentrate on that basic idea and the older ones can see how evenly they can distribute the lines. The most pleasing and balanced look will come from having the same number of feathers on one side as there is on the other.
For another option, scroll down to see a Cartoon Turkey Tutorial that has been added to this post. Lots of fun turkey drawing ideas all in one place!
Join “The Daily Draw” to get this art lesson!
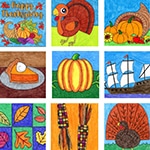
More Turkey Media Options

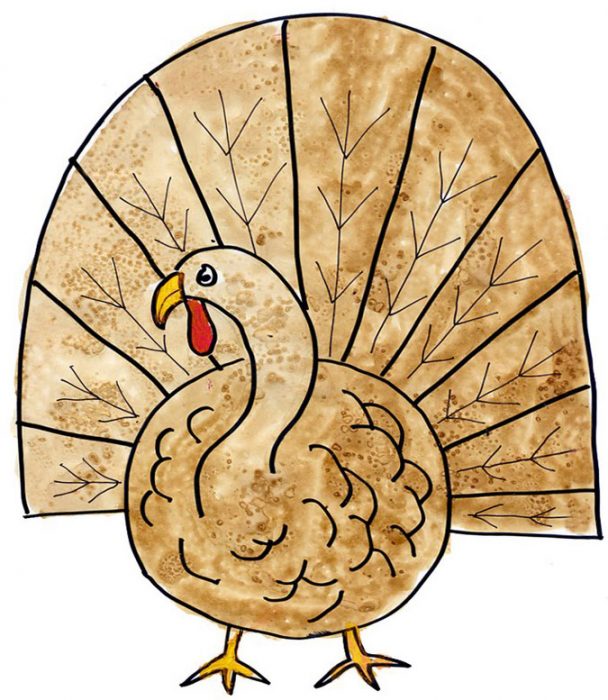
Coffee Painting 
Colored Markers

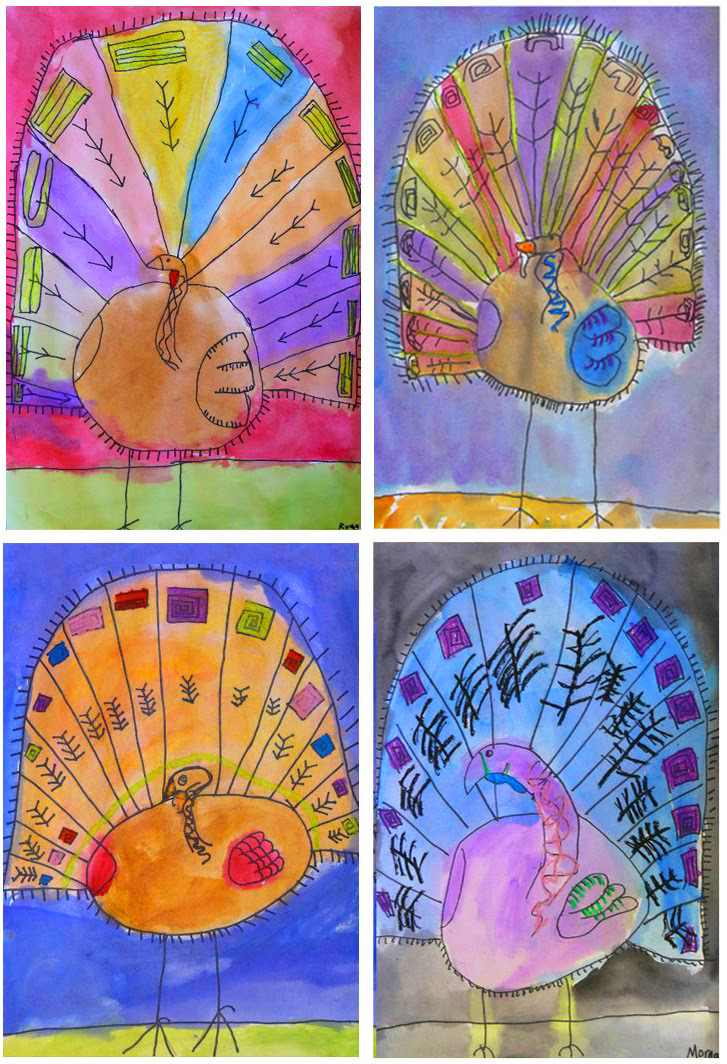
Student Line Art Gallery


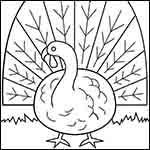
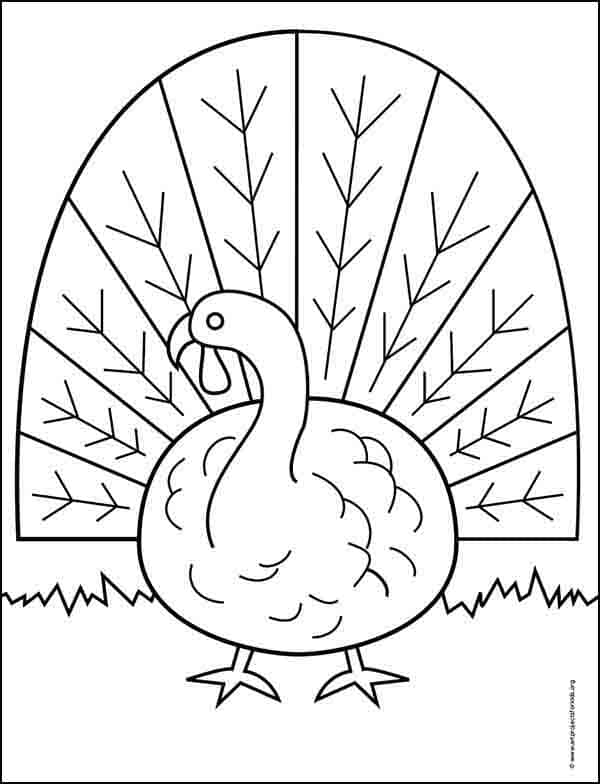
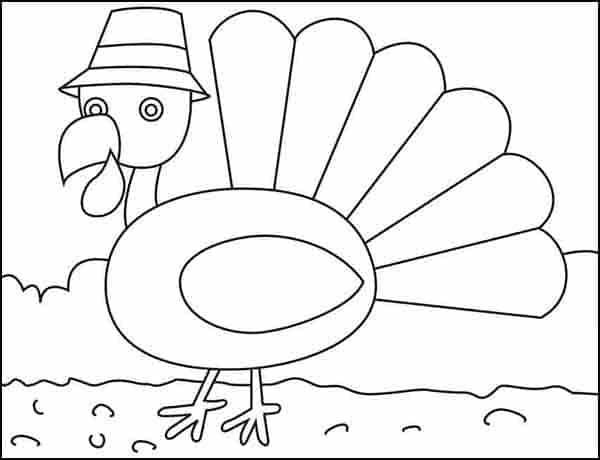
Turkey Coloring Page
Materials for a Turkey Drawing


Directions
Time needed: 45 minutes
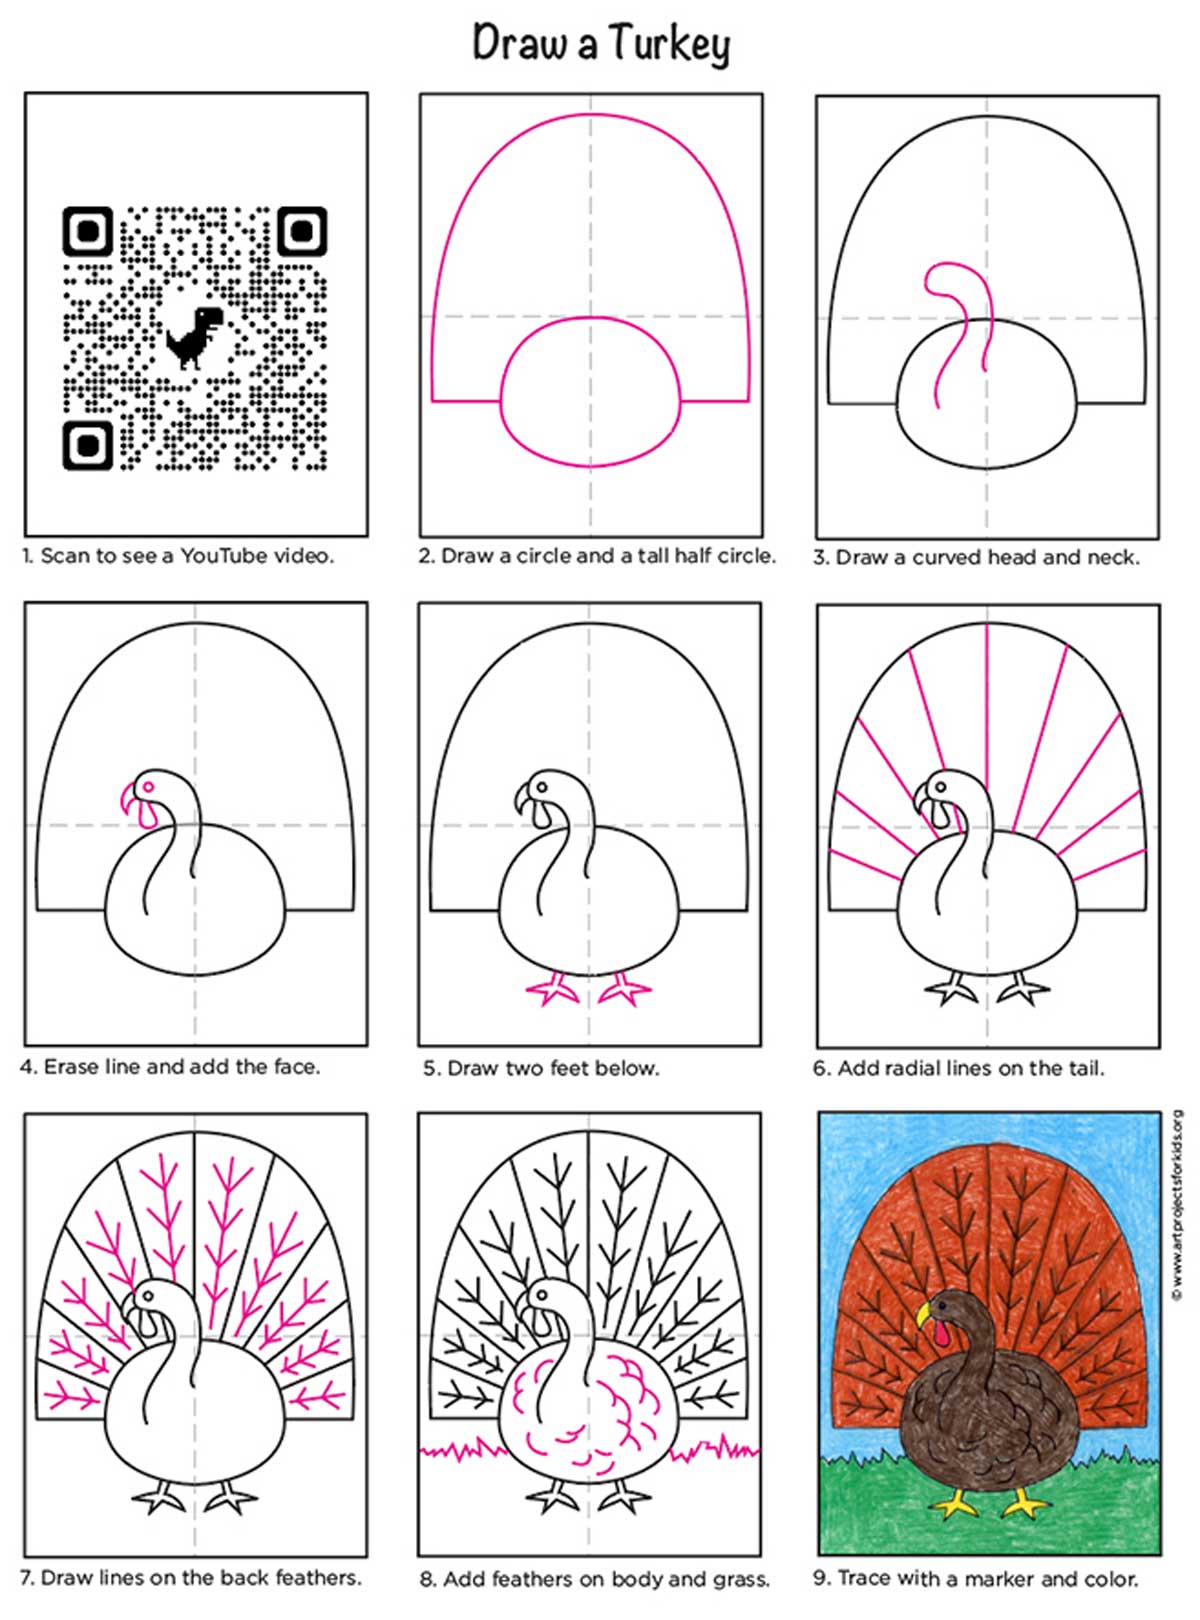
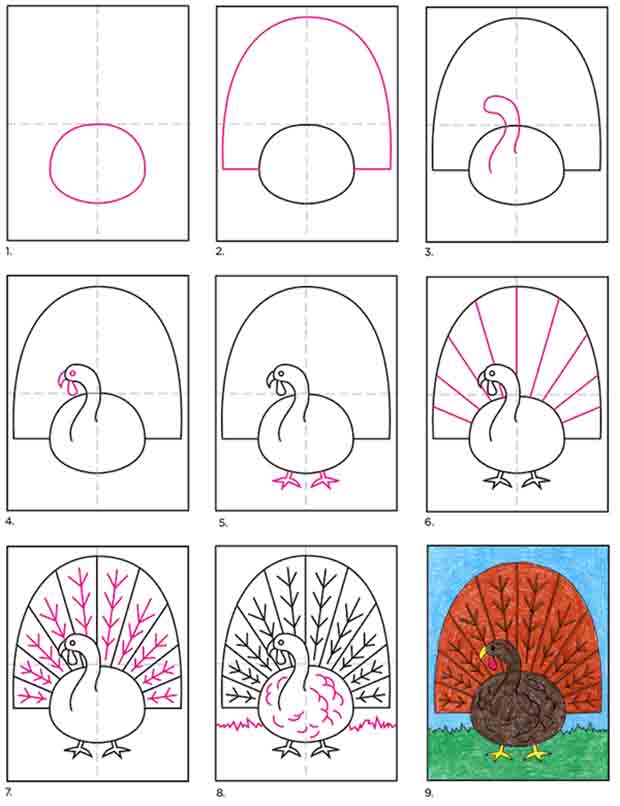
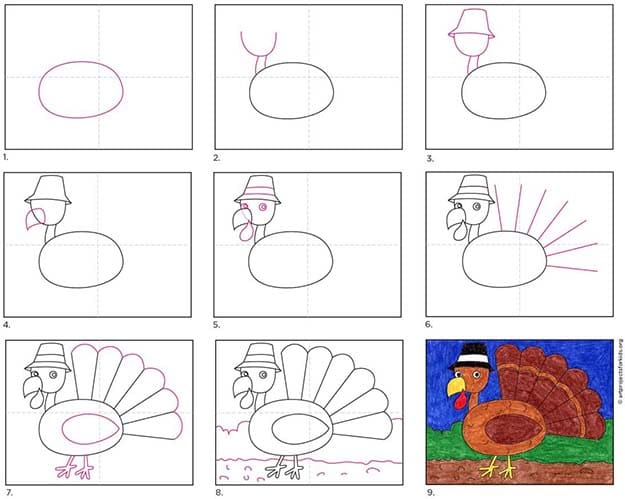
Draw a Turkey in 9 Easy Steps
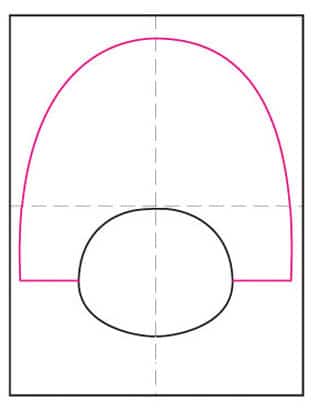
- Draw an oval for the body.

- Add a half circle for the tail.
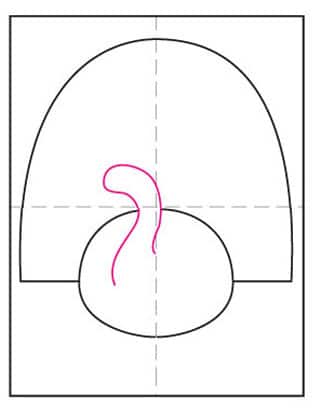
- Draw a curved head and neck.
- Add the face details as shown.
- Draw the two feet below the body.
- Add radial lines on the tail.
- Draw lines on the feathers.
- Add texture feather lines to the body.
- Trace the drawing with a marker and color.


Already subscribed to “The Daily Draw”?
Great, then use the button below to get your free Turkey tutorial. And thanks for wanting to bring more step-by-step, no-prep art lessons to your classroom!
How to Draw a Cartoon Turkey
Cartoon Turkey Coloring Page
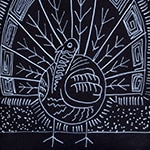
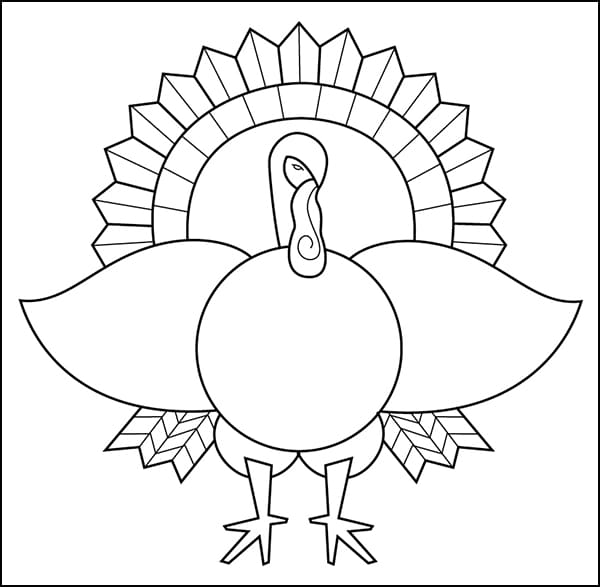
Draw a Line Art Turkey


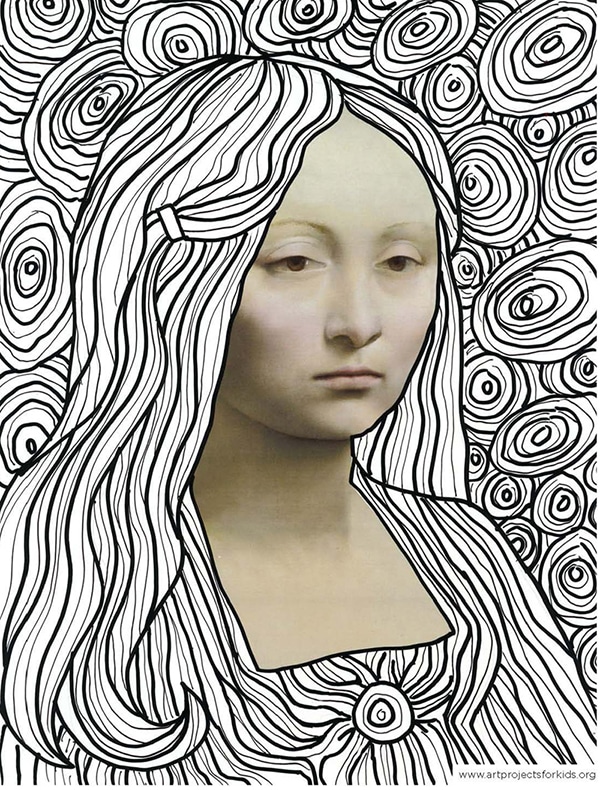
Abstract Turkey Coloring Page
Pin me to your Pinterest Board