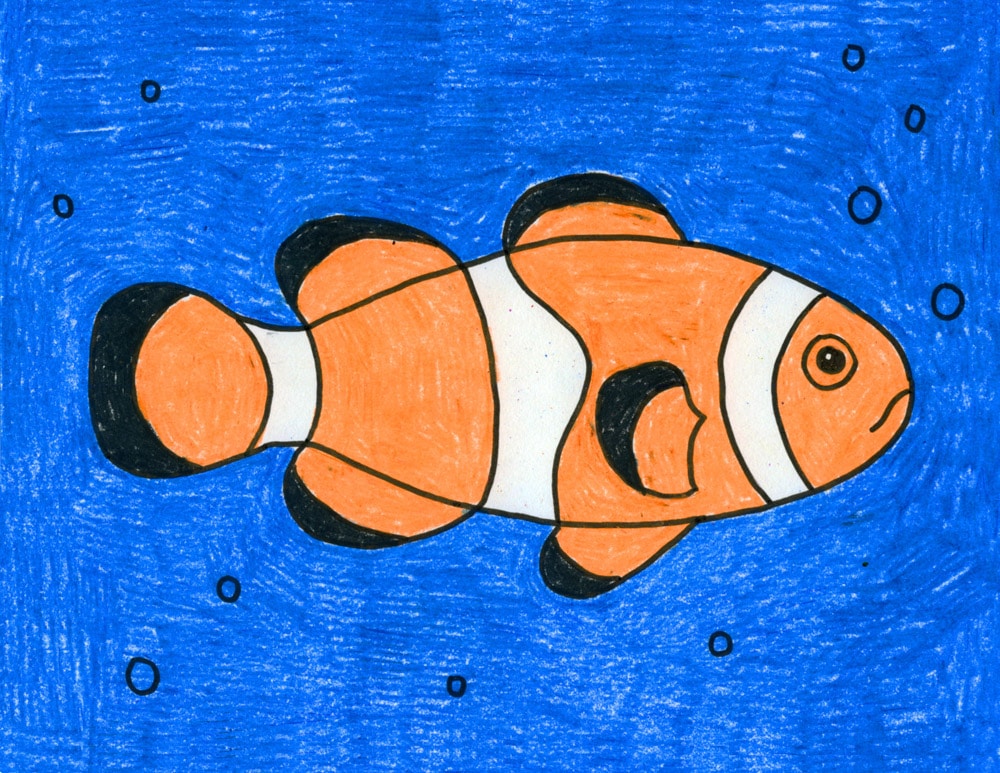
How to Draw a Clownfish
Learn how to draw a clownfish with their very distinct patterning of white stripe bodies and black tipped fins.
Clownfish are perhaps best known for being featured in the movies “Finding Nemo” and “Finding Dory.” It has since become a very popular aquarium pet for kids of all ages.
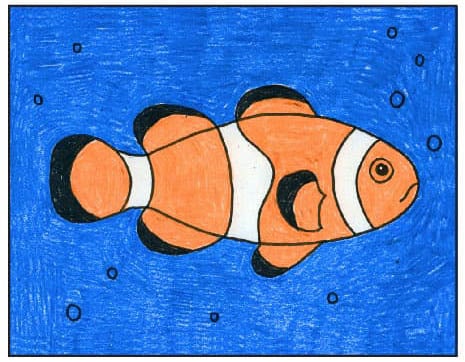
Bright orange with three distinctive white bars, clownfish are among the most recognizable of all reef-dwellers. They reach about 4.3 inches in length, and are named for the multicolored sea anemone in which they make their homes.
Drawing a clownfish is a great beginner project as it kind of works like a large puzzle. The large white stripes will tell you where to place those fins that sit on the top and bottom of the body. Shapes that line up with each other don’t often happen in nature, so it’s nice when they do.
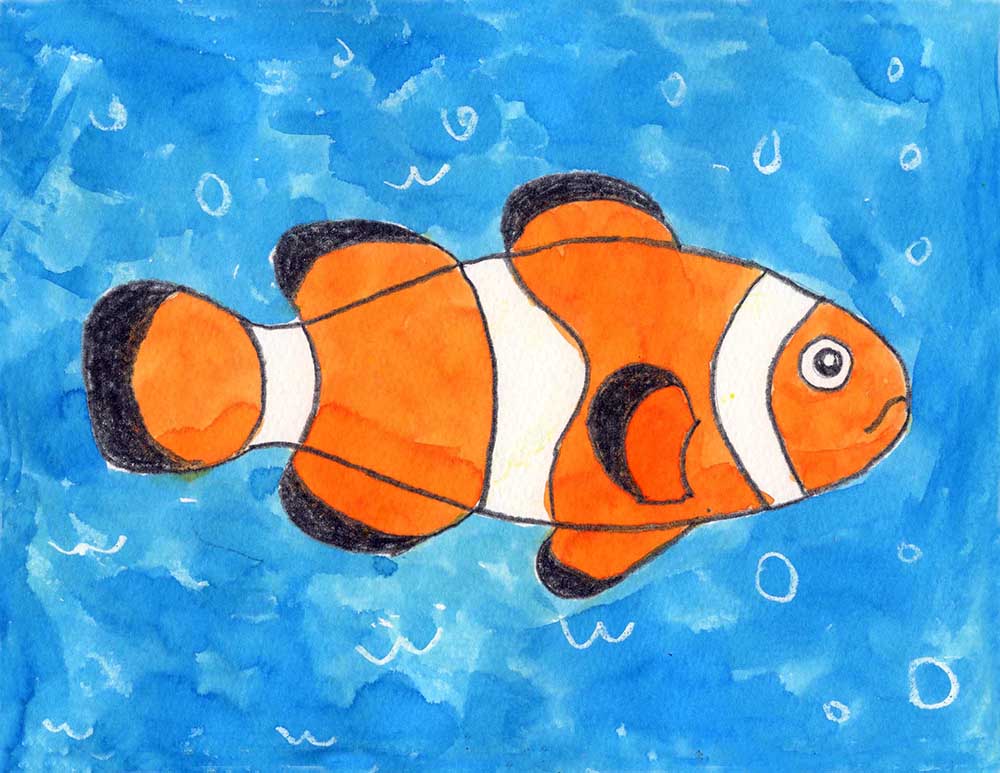
How to Paint a Clownfish
Fish make for great watercolor lesson too as the white crayon bubbles and watery blue paint always look so good together. And that’s before you even get to the pretty fish colors!
To paint this clownfish, just follow the same instructions on the download for drawing, just use a black crayon to trace the art, instead of a marker. Also, add white crayon bubbles in the background before painting. The black crayon will keep the orange and blue from mixing, and the white bubbles will show up after the blue paint is washed over them.
Working with Drawing Guides
The best way to get students off to a good start to any drawing project is to show them how to use guides as a reference point.
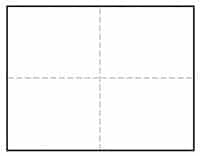
You may have noticed that all of the tutorials on this site have a dashed line running through the center of each step, both in the horizontal and vertical direction. If students make their own centered lines on their own paper, before drawing, they will have an easy reference to follow.
For instance, as seen in step one below, this clownfish body starts above the horizontal line, and in the middle of the left side of the paper. The body then continues to the right and fill up the right half of the page.
Drawing skills are all about getting the size and placement of lines on paper, so having some visual reference point to get started, will always help anyone learn how to be a little more accurate.
So does that mean students need to draw a big fat lines down the center of their paper before they start? Goodness no, please don’t! That will most likely be hard to erase and distract from any finished art. No, simply fold the paper in half both ways, make a crease, and unfold. The beauty is that by the time the drawing is done and colored in, the creases will disappear.
And now, on to our drawing project.
Pin me to your Pinterest Board
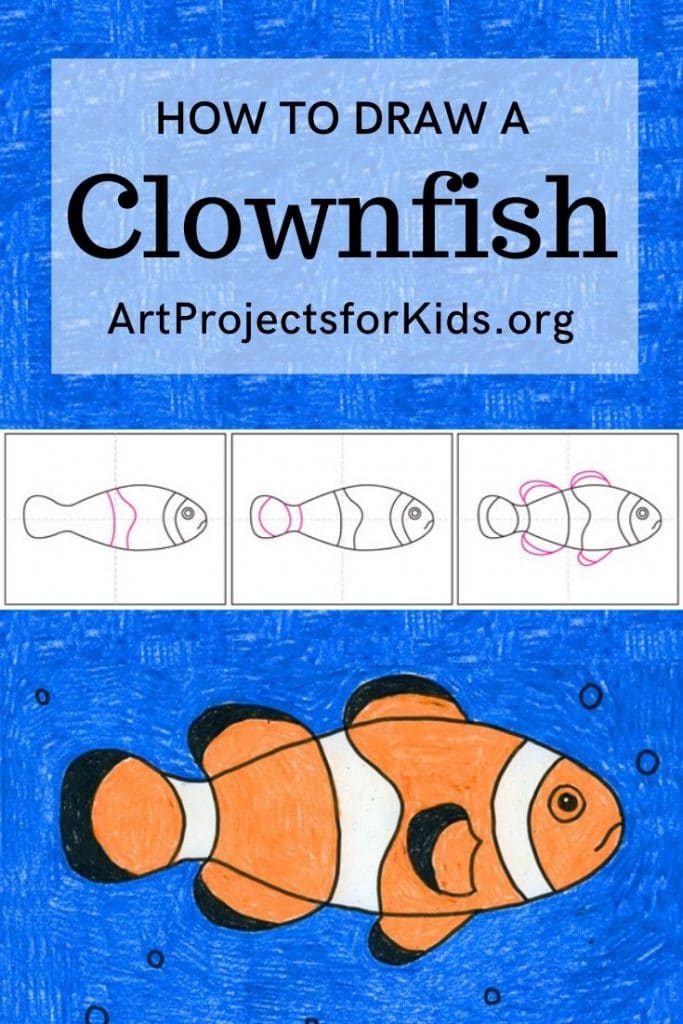
Preview of the Step by Step Clownfish Tutorial
RECOMMENDED MATERIALS
DIRECTIONS
Time needed: 1 hour
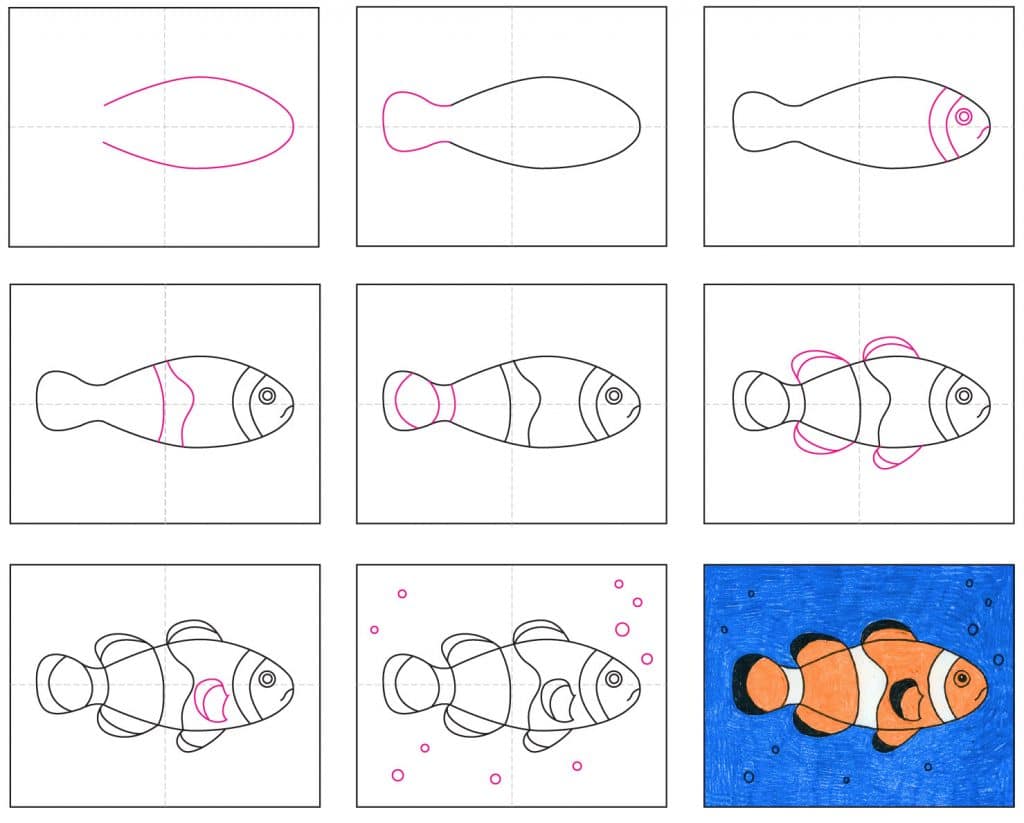
How to Draw a Clownfish in 9 Easy Steps
- Start the fish body.

- Finish with the tail.
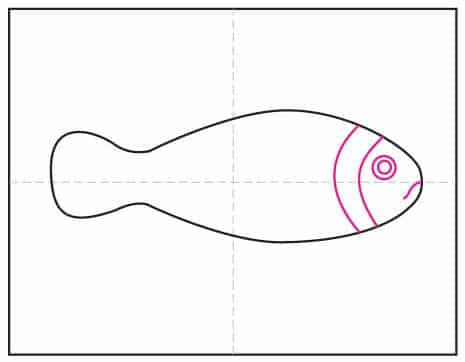
- Draw the fish face.
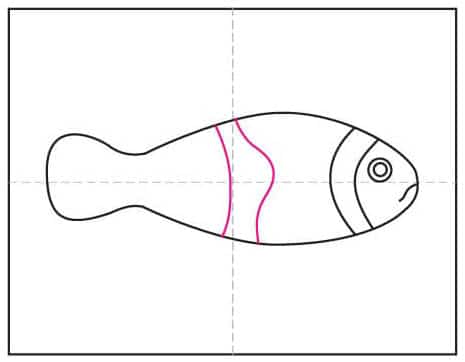
- Add the wavy center stripe.
- Add stripes to the tail.
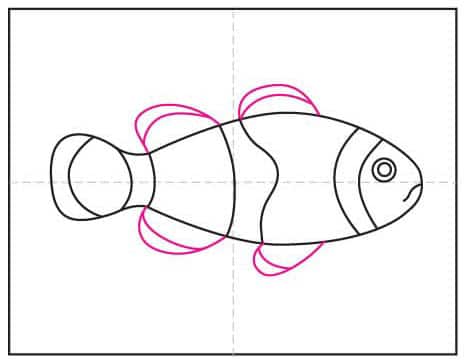
- Draw the fins in between the stripes.
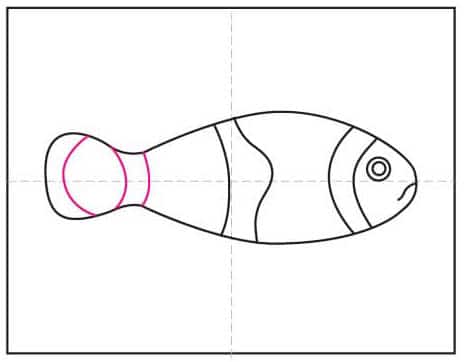
- Add the side fin.
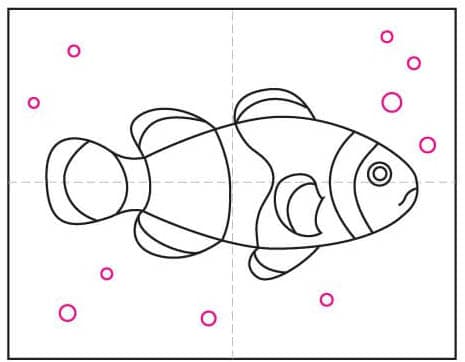
- Add bubbles to the background.
- Trace with a marker and color.


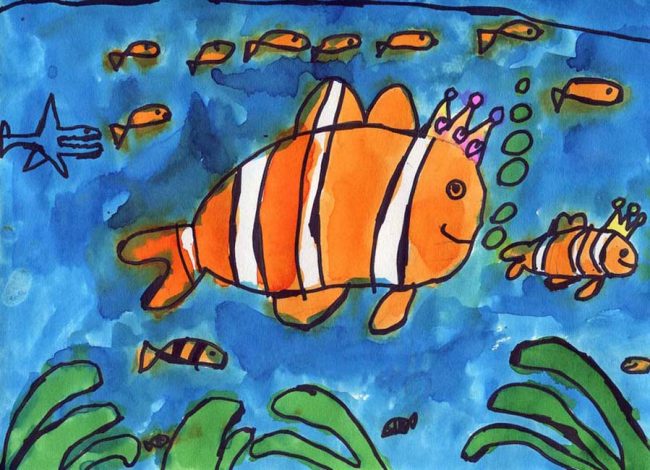
This adorable clown fish was made by a talented 1st grader, Neariah. If it looks familiar, it’s because it graced the cover of a Strathmore Paint Pad of paper for quite a few years. I still see it from time to time at Michael’s and JoAnn’s. So proud of her!
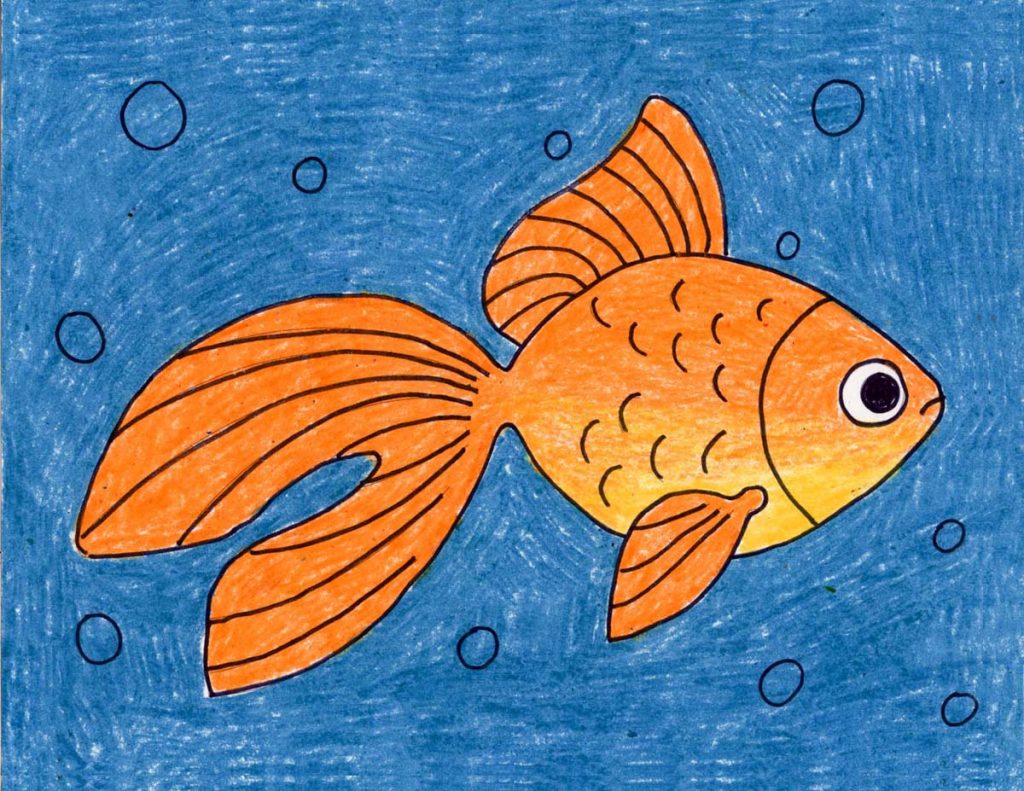
More Fish Drawing Projects


Thanks for these tips! I will definitely try it with my daughter 🙂 we always like drawing in our smart outdoor playhouse. She is only 4 but already making a progress in art! 🙂