Mary Blair Art Projects for Kids
Here you’ll find an easy step-by-step tutorial video for how to draw like Mary Blair and Coloring Page. She was a prominent artist for Disney.


Drawing in the style of Mary Blair
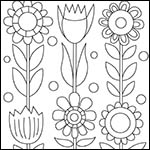
A Mary Blair-Inspired Flower Drawing
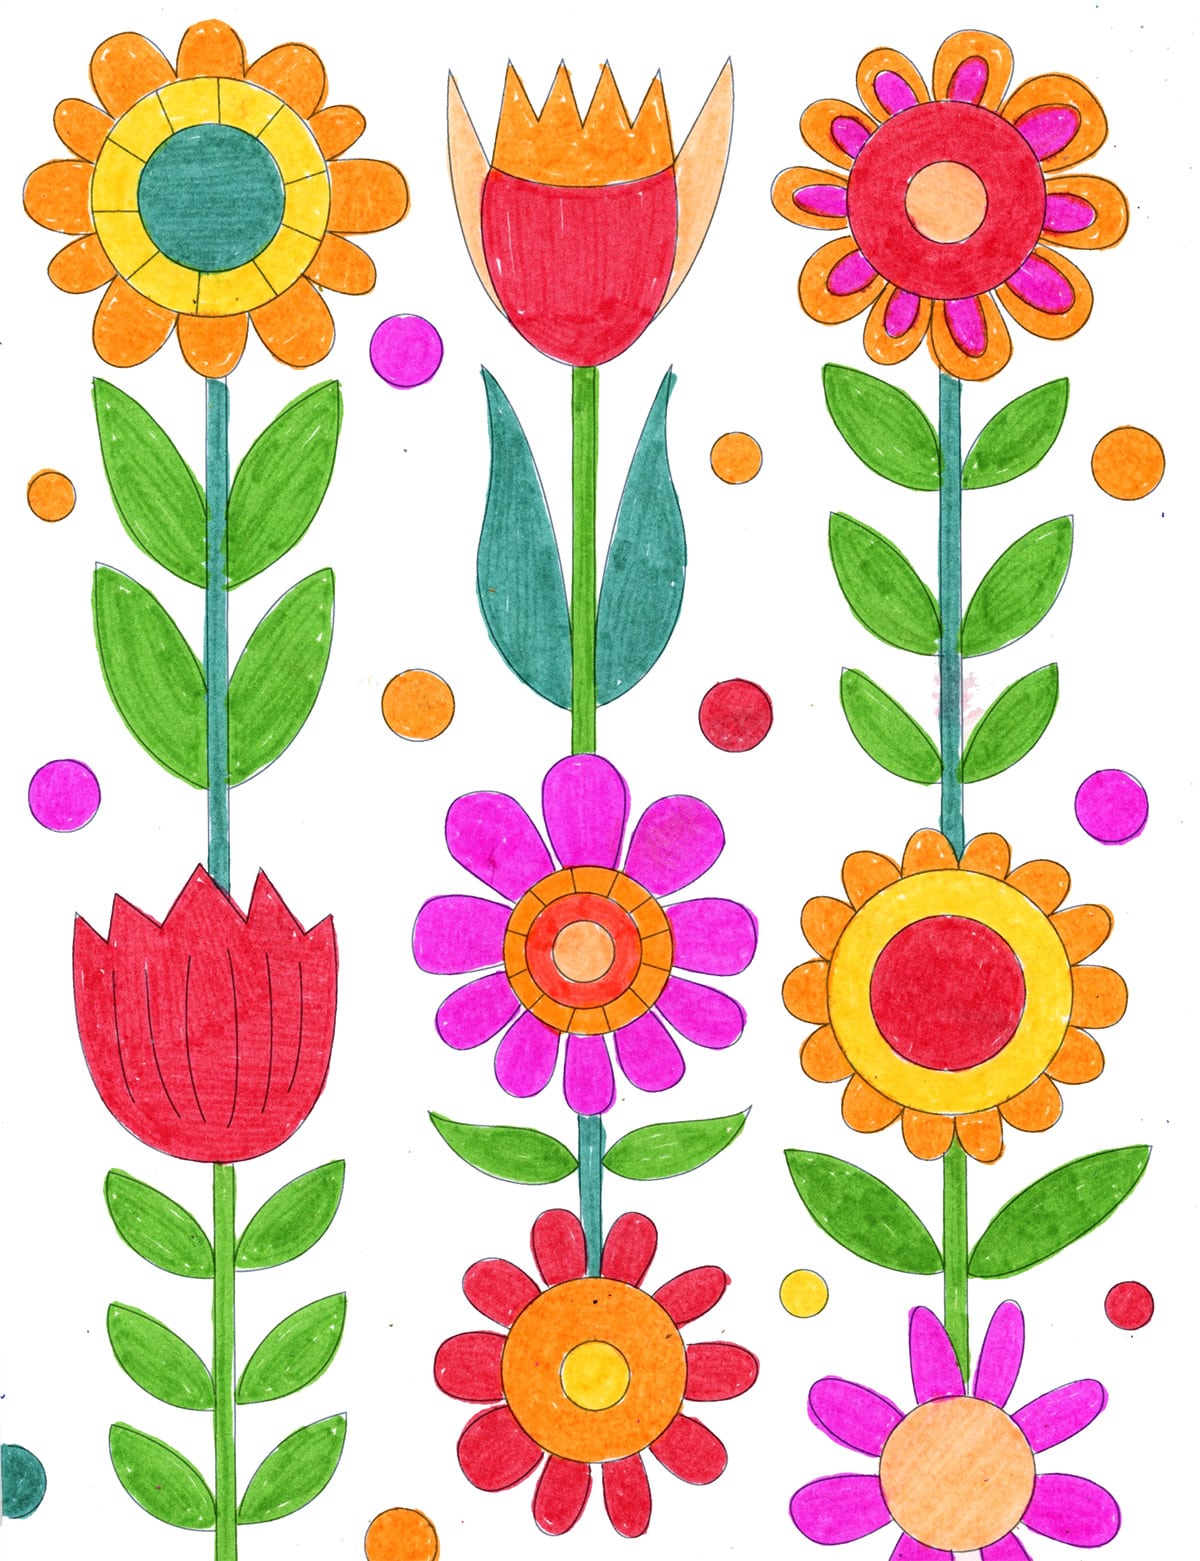
This flower tutorial borrows a bit of Mary Blair’s signature approach: simple shapes, strong color choices, and an organized design that still feels fun and creative. Instead of drawing tiny flowers scattered around the page, students stack large flowers in a neat arrangement, filling the whole sheet of paper.
That’s an important art skill: drawing big. When students draw large, they have more room for details, patterns, and bold color—and their artwork instantly feels more confident.
What students can practice with this project
- Shape building: turning basic shapes (circles, ovals, teardrops) into petals and leaves
- Composition: arranging flowers in a planned, organized layout
- Color choices: experimenting with bright, unexpected combinations
- Craftsmanship: filling the page neatly and carefully, with fewer tiny “hard-to-color” spaces
Art Tip for Kids
Mary Blair didn’t try to make everything look realistic. She simplified what she saw into shapes and colors that felt expressive. So if your flower doesn’t look like a real flower, that’s okay—it can look like a “Mary Blair flower” instead. Try changing petal shapes, adding stripes or dots, and choosing colors you wouldn’t normally see in nature.
By the end, students will have a bold, cheerful flower artwork that feels bright, graphic, and full of personality—just like Mary Blair’s designs.
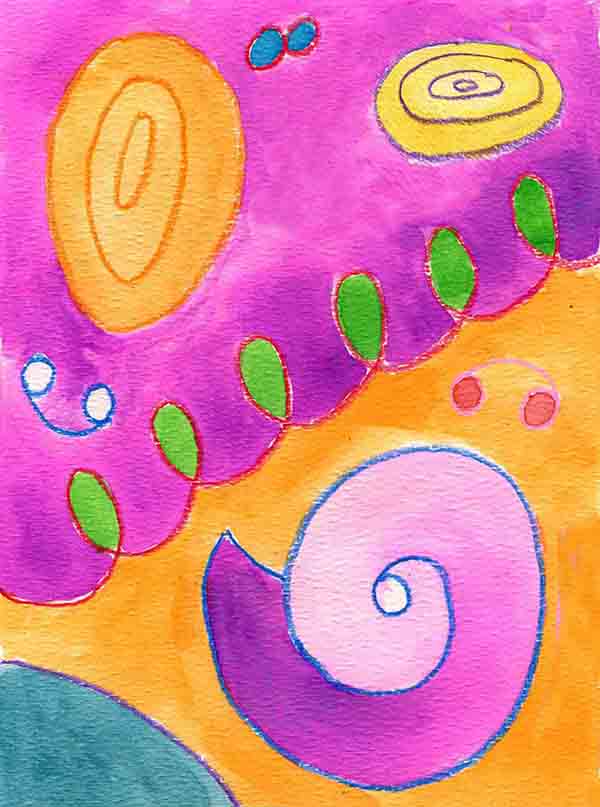
Mary Blair Concept Art for It’s a Small World

Join “The Daily Draw” below to get this art lesson!
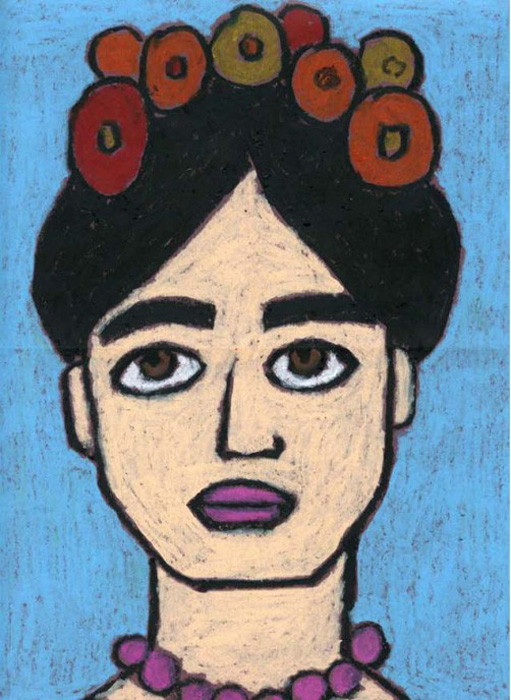
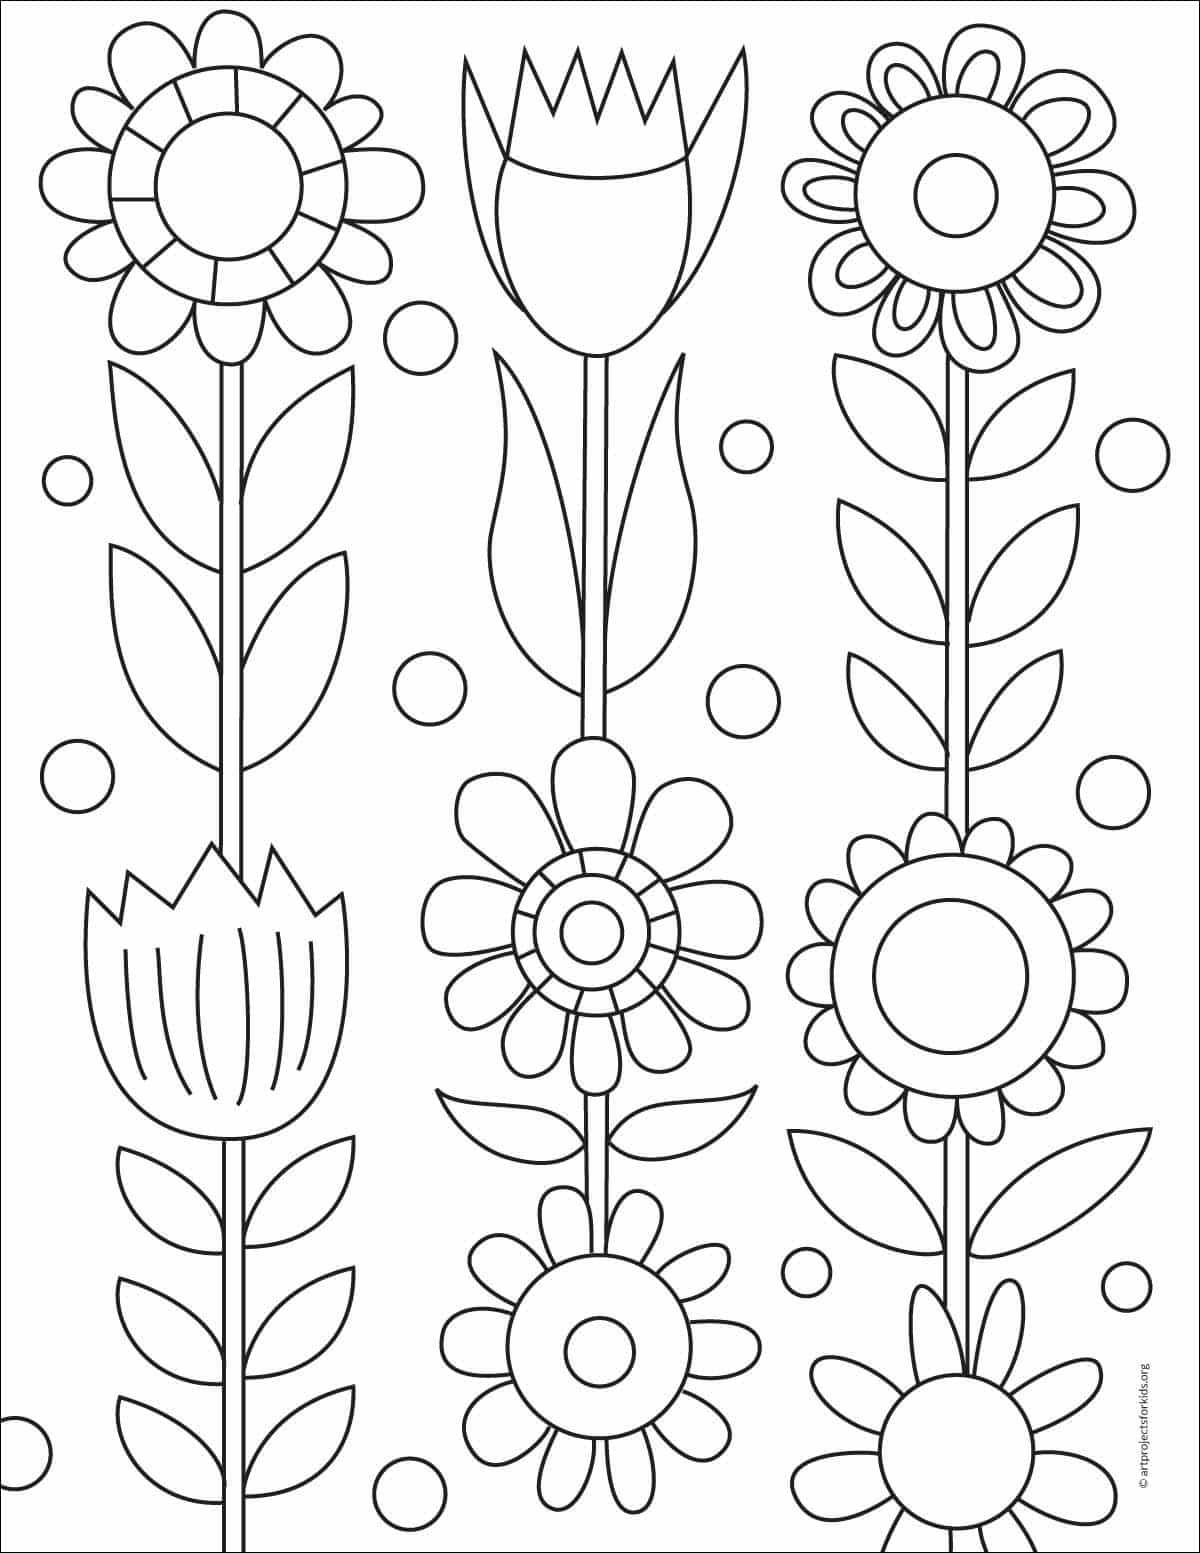
Mary Blair Coloring Page
Materials
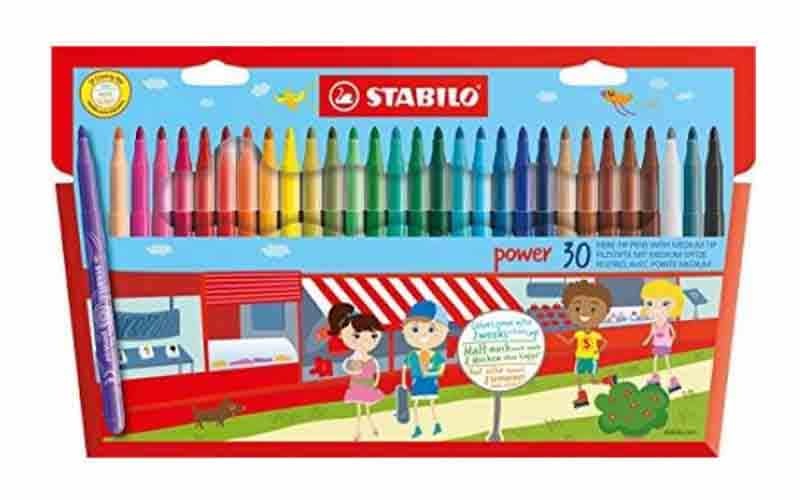
- Stabilo Markers. Medium Fiber-Tip Pen – STABILO power – Pack of 30 – Assorted Colors *affiliate link

- Drawing Paper. Don’t substitute it with copy paper or construction paper. The surface will get fuzzy, erasing might cause holes, and the colors will generally not look as bright. *affiliate link
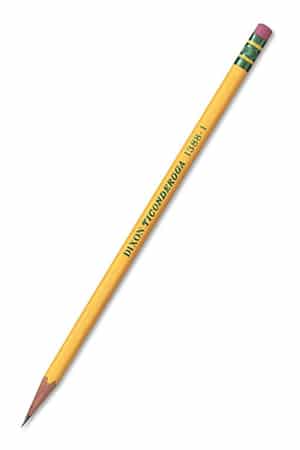
- Pencil. The Ticonderoga brand are the most reliable, make nice dark lines when you need them, and are the easiest to erase. *affiliate link

- Black Sharpie Marker. Great for making a crisp outline to your drawing. Use them when you want your outline show up, but not be so heavy that it detracts from other things. *affiliate link
Directions
Time needed: 45 minutes
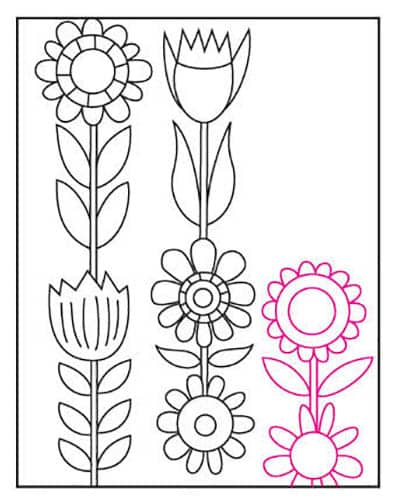
Step by step directions for a Mary Blair drawing
-
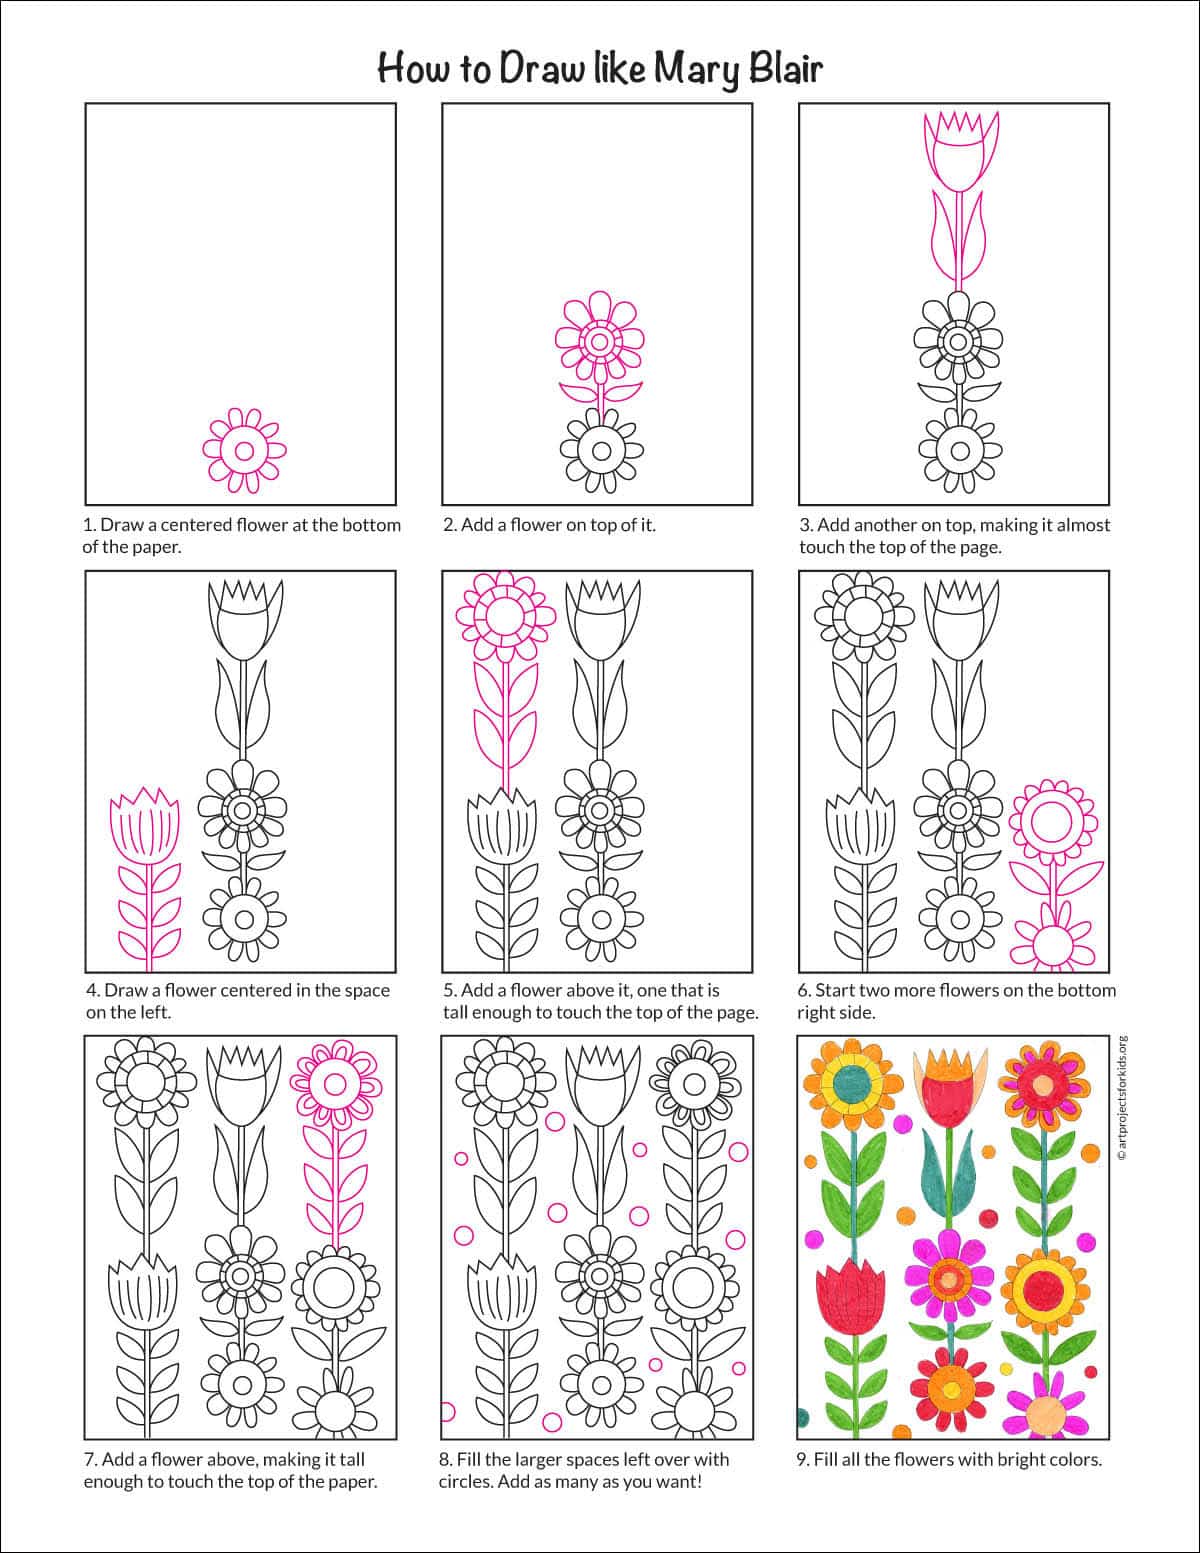
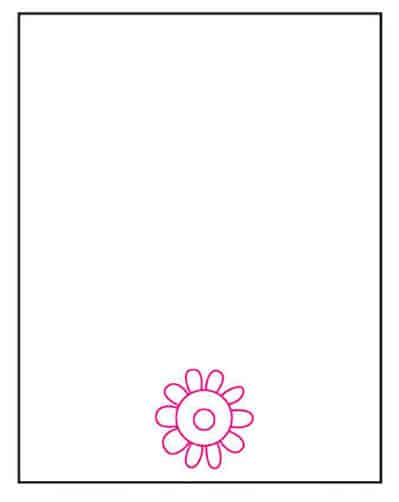
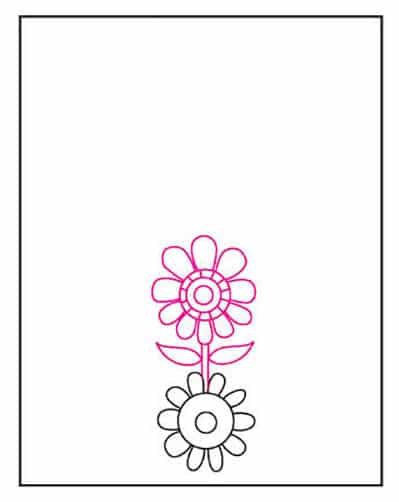
Draw a centered flower at the bottom of the paper.

-
Add a flower on top of it.
-
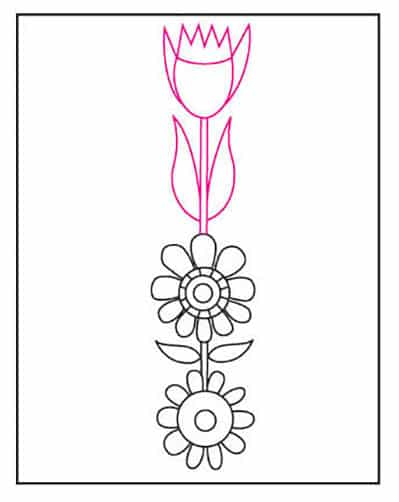
Add another on top, making it almost touch the top of the page.
-
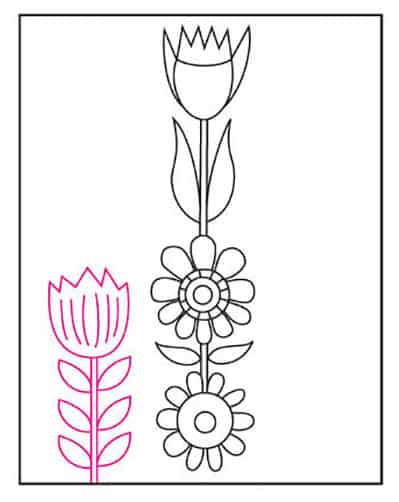
Draw a flower centered in the space on the left.
-
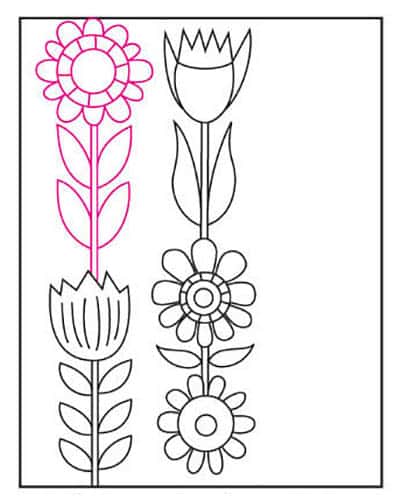
Add a flower above it, one that is tall enough to touch the top of the page.
-
Start two more flowers on the bottom right side.
-
Add a flower above, making it tall enough to touch the top of the paper.
-
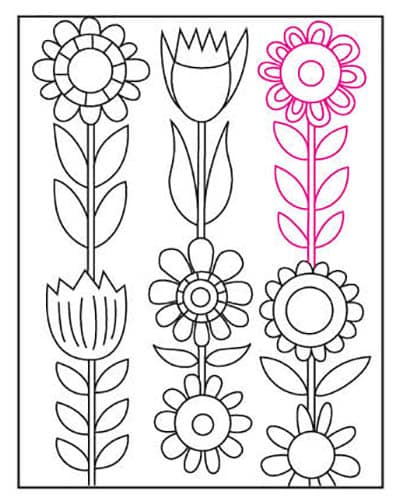
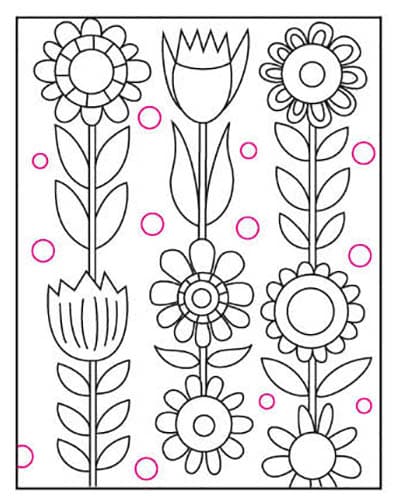
Fill the larger spaces left over with different size circles. Add as many as you want.
-
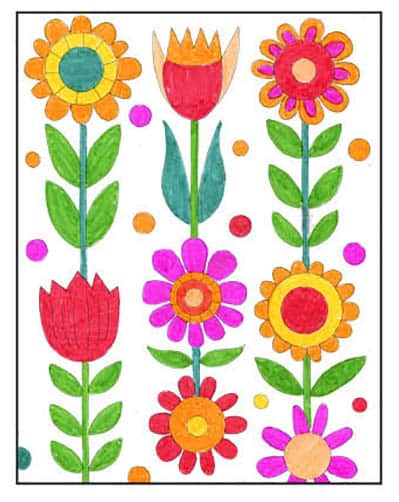
No need to trace with a black marker. Just color with markers inside to keep the drawing light and fresh looking.
Already subscribed to “The Daily Draw”?
Great, then use the download button below to get your free May Blair tutorial.
And thanks for wanting to bring more step-by-step, no-prep art lessons to your classroom!