Easy Fall Drawing Ideas: Easy Step-by-Step Art Lesson for Kids
Here you’ll find a step-by-step tutorial video for easy Fall Drawing Ideas and a Fall Drawing Coloring Page. Use a grid to fill the whole page.


Easy Fall Drawing
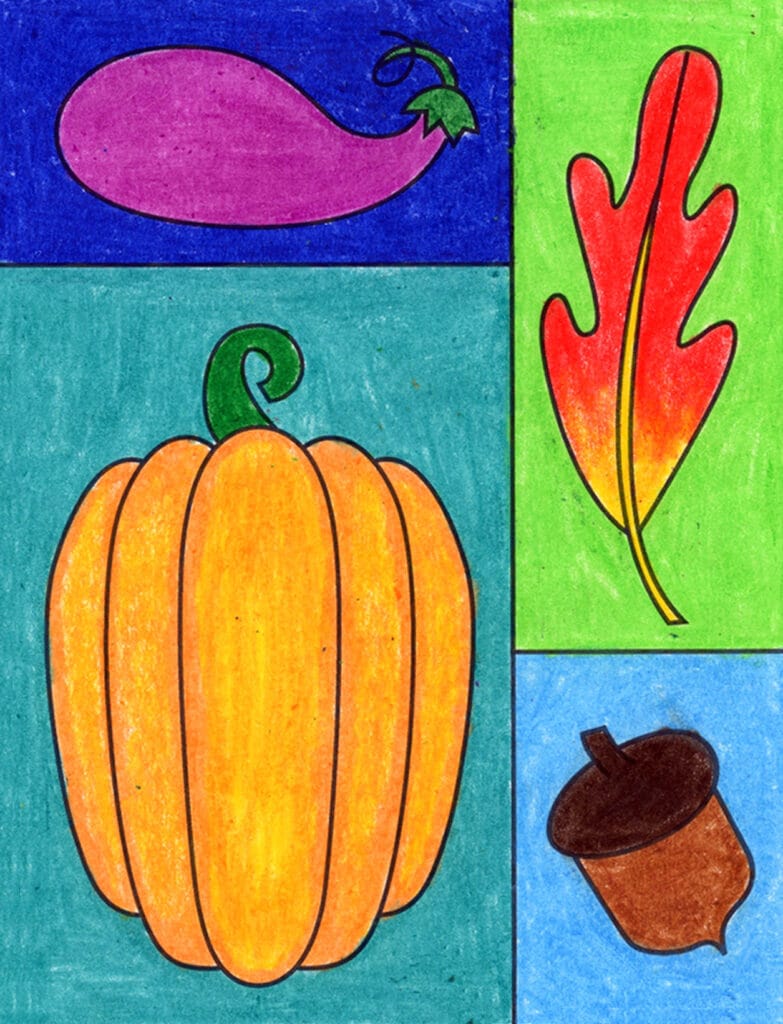
Fall Drawing
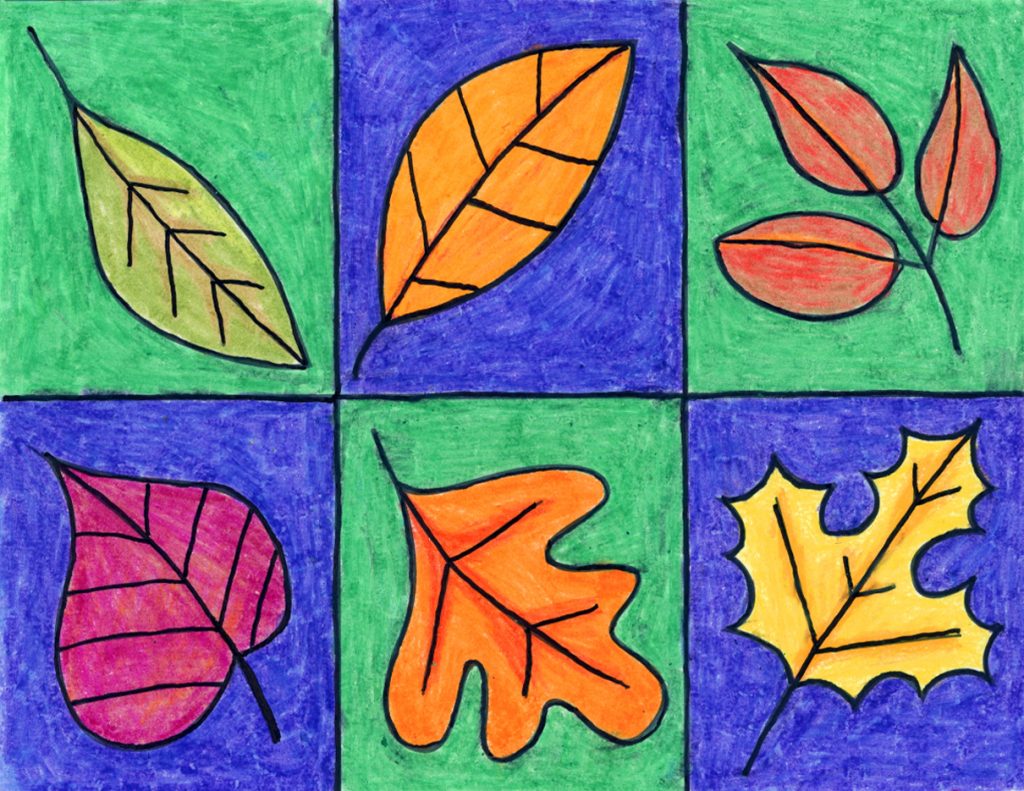
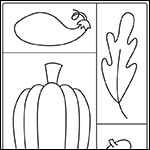
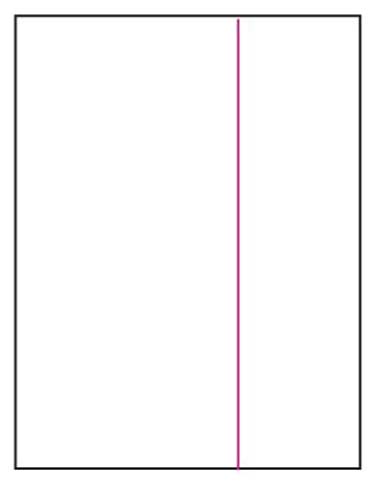
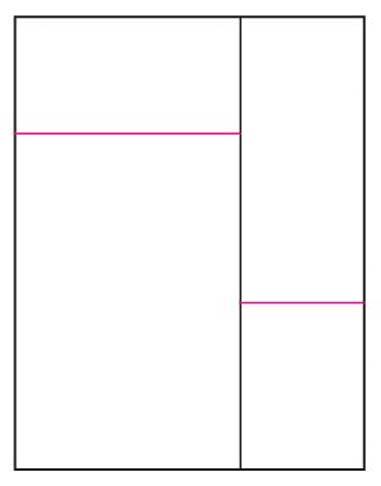
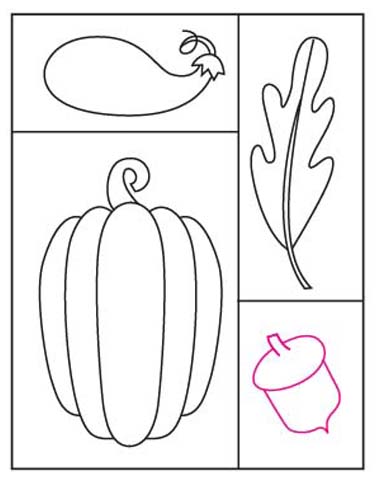
Now students can make a simple fall drawing project that adds a little bit of math to their art lesson. This project starts by making a grid that can be ESTIMATED to break the page into thirds. The first vertical line starts about two thirds of the way across, and the two horizontal ones about a third down and up.
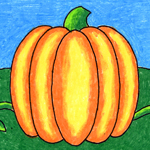
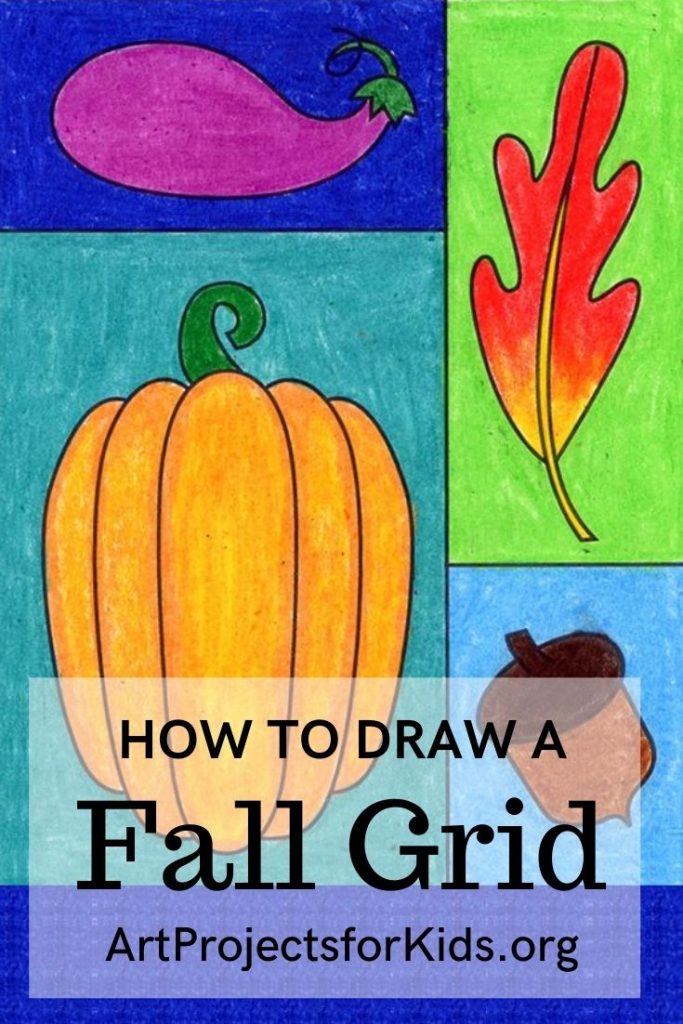
It just so happens that the fall shapes will fit nicely into those size boxes, and is guaranteed to have a nice BALANCE (Principle of Design) when complete. Young students might do best by just concentrating on drawing the shapes, but those looking for more of a challenge could add some shading too. That pumpkin is just begging to have some yellow highlights with orange shadows.
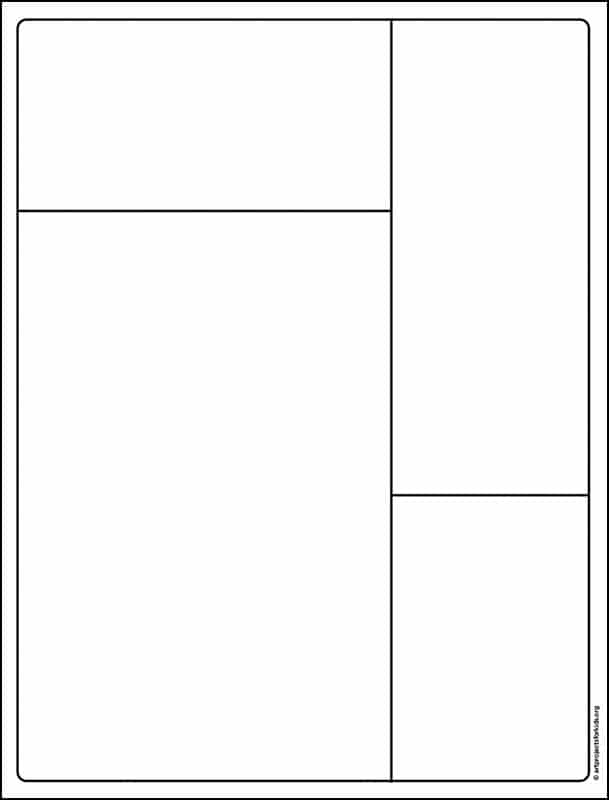
Are your students a bit young to draw the grid themselves? Or is your class time extra short these days? No problem, just use on the red button below to open the Frame file so you can download and print a copy.
Subscribe to “The Daily Draw” to get this free PDF
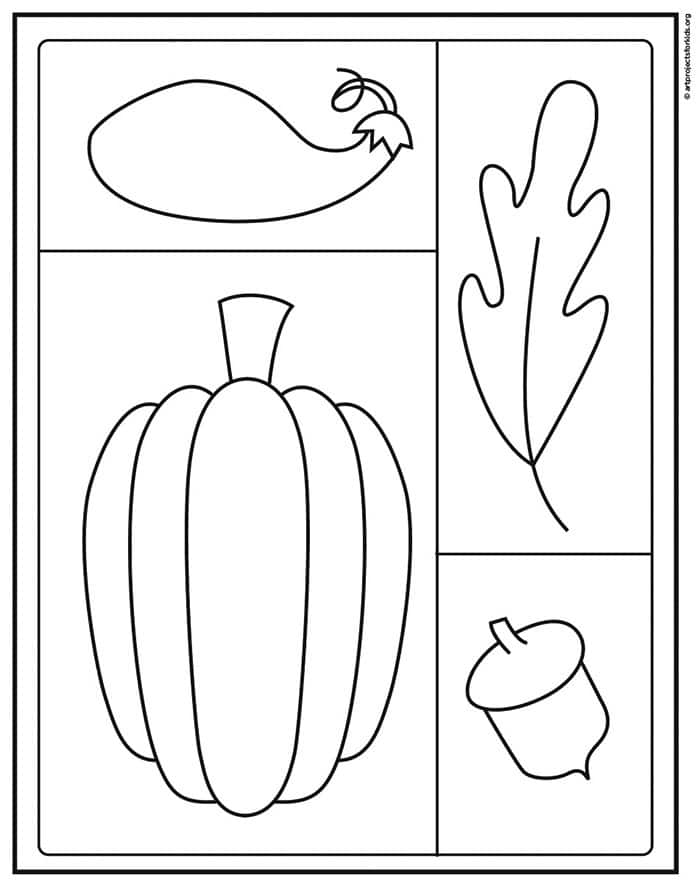
Easy Fall Drawing Coloring Page
Materials to make an Easy Fall Drawing
- Drawing Paper. This is the good stuff you can buy in bulk for a good price.
- Pencils. I like how this brand always makes nice dark lines.
- Black Marker. A permanent marker will give you a dark black color.
- Crayons. The larger packs are nice for more color choices.
- Note: All of the above are Amazon affiliate links.
Watch this fun Short Video
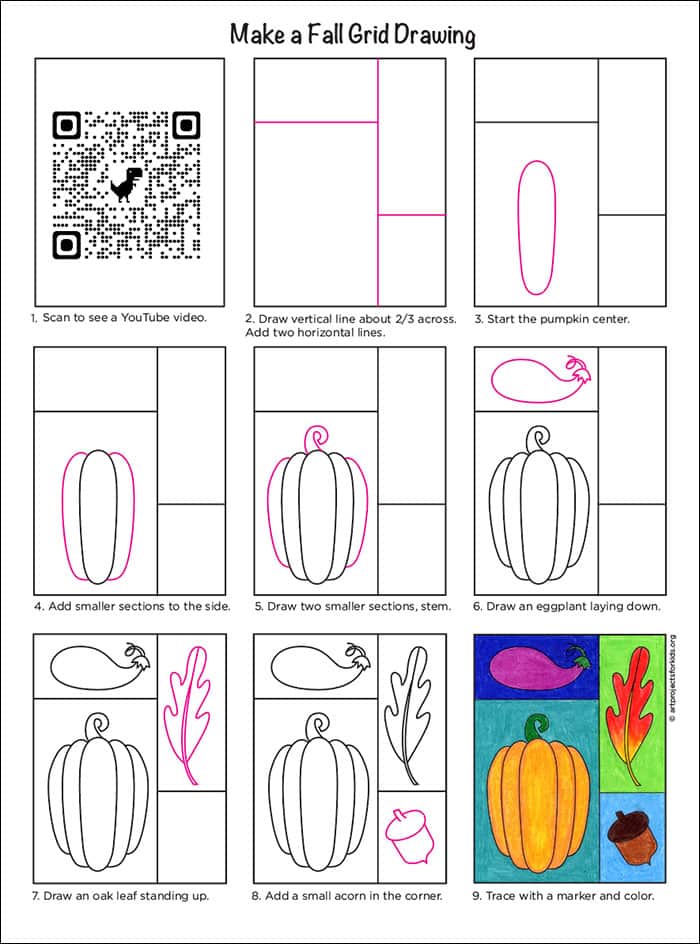
Step by Step Directions for a Fall Drawing
Time needed: 45 minutes
Draw a Fall Grid
- Draw a vertical line about 2/3 across the paper.

- Add two horizontal lines.
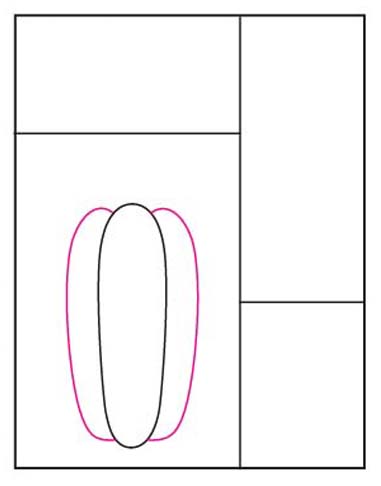
- Start the center of the pumpkin with an oval.
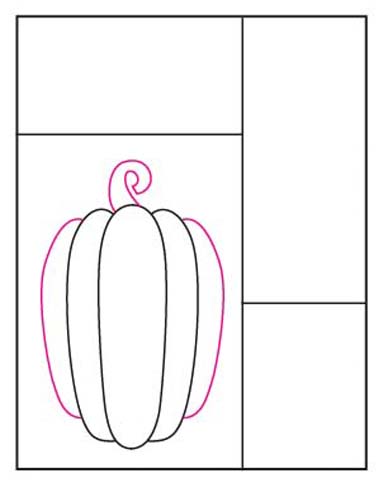
- Add smaller sections to the side of the pumpkin.
- Draw two smaller sections, stem.
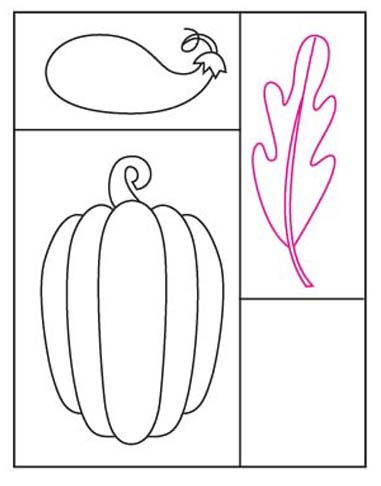
- Add an eggplant laying down on its side.
- Draw an oak leaf standing up in the top corner.
- Add a small acorn in the bottom corner.
- Trace the drawing with a marker and color.


Already subscribed to “The Daily Draw”?
Great, then use the button below to get your free Fall Drawing tutorial. And thanks for wanting to bring more step-by-step, no-prep art lessons to your classroom!
Pin Me to Your Pinterest Board
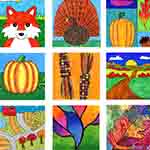
More Fall Drawing Projects