Easy How to Draw like Gustav Klimt Tutorial
Inside you’ll find an easy step-by-step how to draw like Gustav Klimt lesson for elementary students. Stop by and grab yours now.
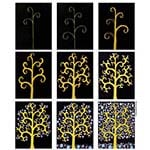
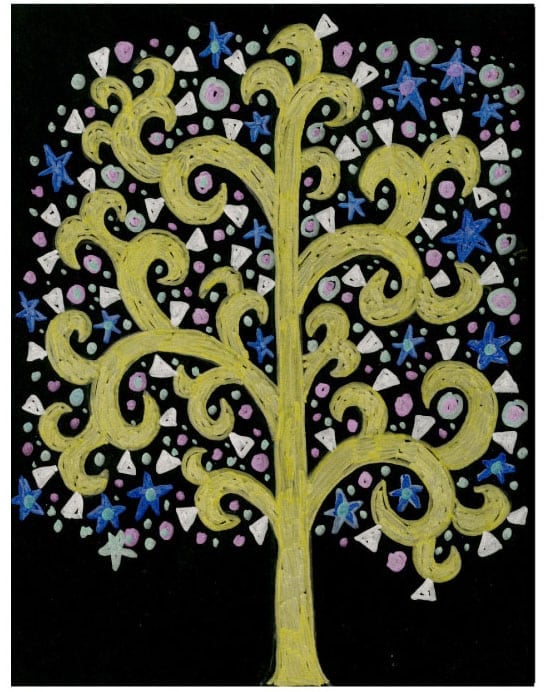
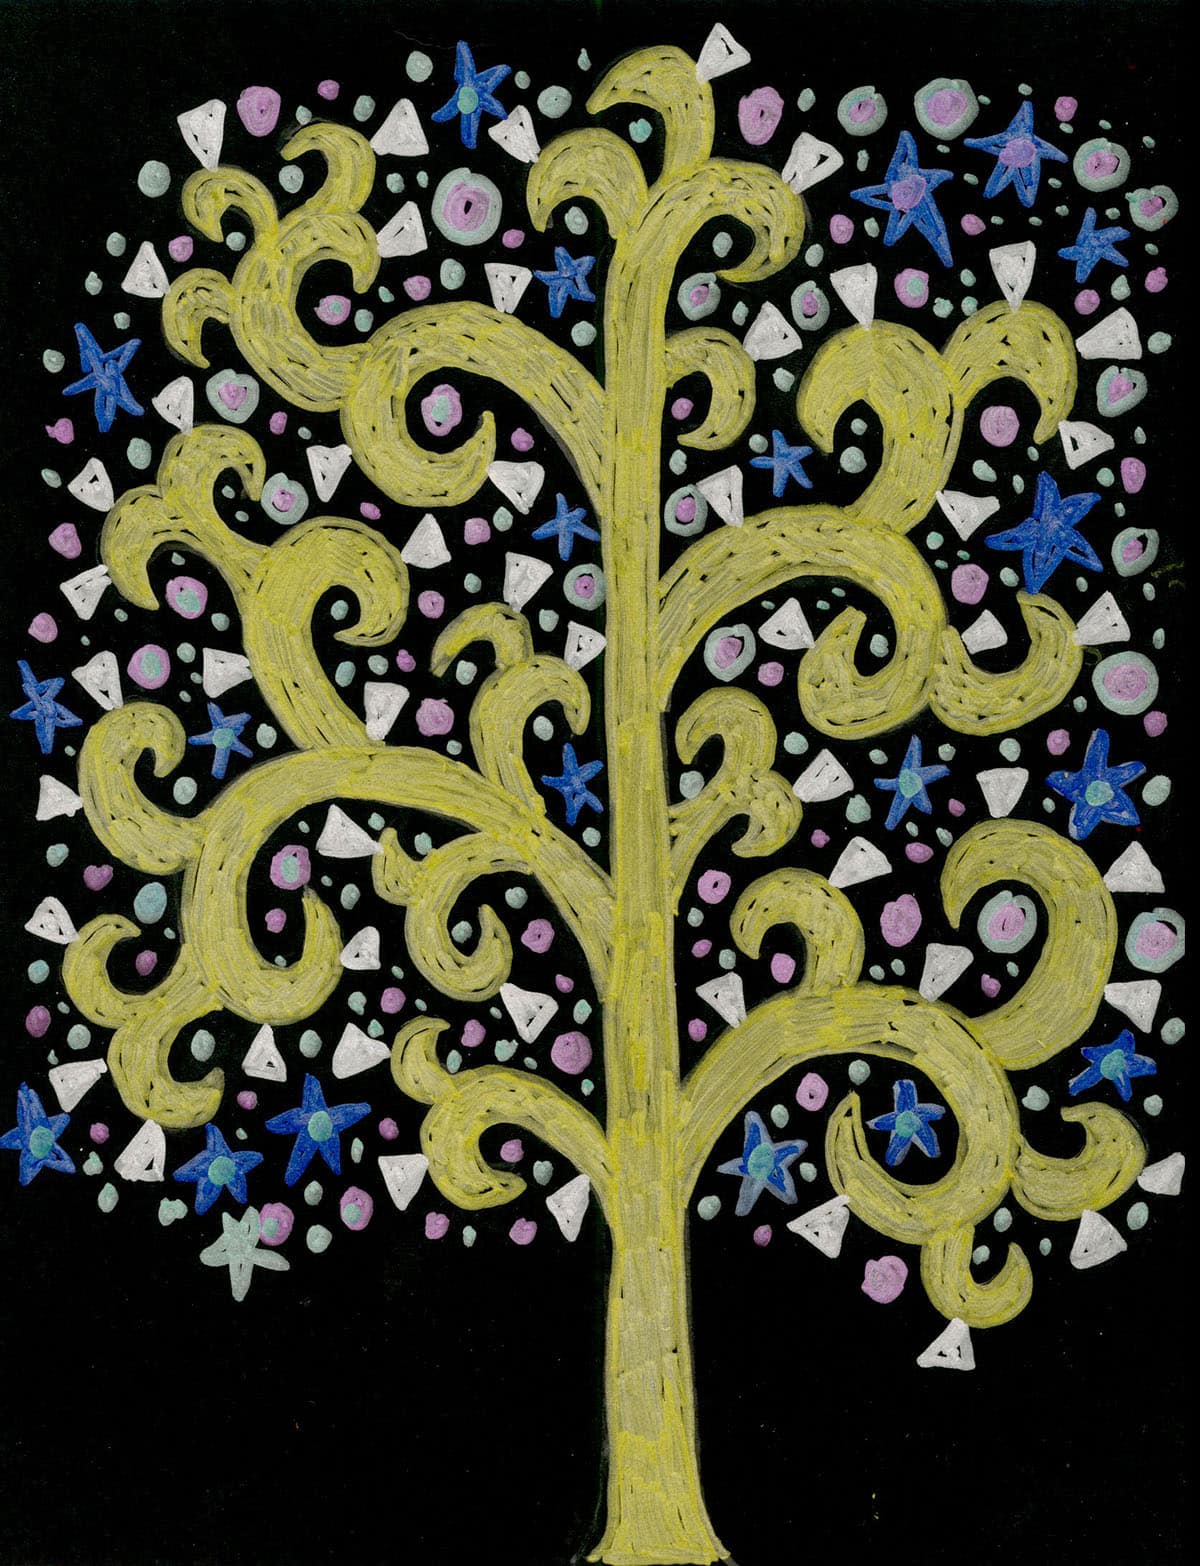
Klimt Tree Drawing with Metallic Markers
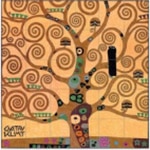
About Gustav Klimt
Gustav Klimt was an Austrian symbolist painter and one of the most prominent members of the Vienna Secession movement. He is known for his paintings, murals, sketches, including portraits and landscapes.
Klimt had in the early 1900’s what some call a “golden phase” in his career. It was named for his love of metallic paint, and his critical success at the time for paintings like the Portrait of Adele Bloch-Bauer I (1907) and The Kiss (1907 – 1908). His trips to Venice and Ravenna, both famous for their beautiful mosaics, most likely inspired his gold technique and his Byzantine imagery.
Today students that are learning about Gustav Klimt can try out his style of abstract decorate art with the help of some easy-to-use metallic markers. Drawing with them on dark paper makes it easy to create lots of details, and the colors will just pop off the page. Trying to paint Klimt’s curly “Tree of Life” drawing would take lots of dexterity with a brush, but drawing one with thick markers is a walk in the park.
Use Button below to grab this PDF Tutorial

How to Draw like Klimt Materials

- Crayola Metallic Markers. 8ct Crayola Metallic Markers that help your artwork shine *affiliate link
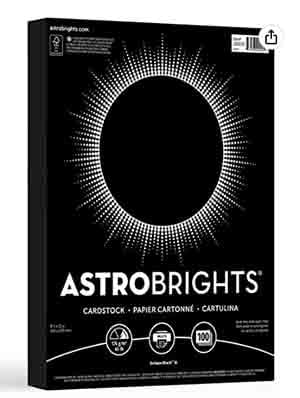
- Astrobright Color Card stock. Don’t substitute with construction paper, which is not as black and difficult to draw on. *affiliate link
- Pencil. The Ticonderoga brand are the most reliable, make nice dark lines when you need them, and are the easiest to erase. *affiliate link
How to Draw like Klimt Directions
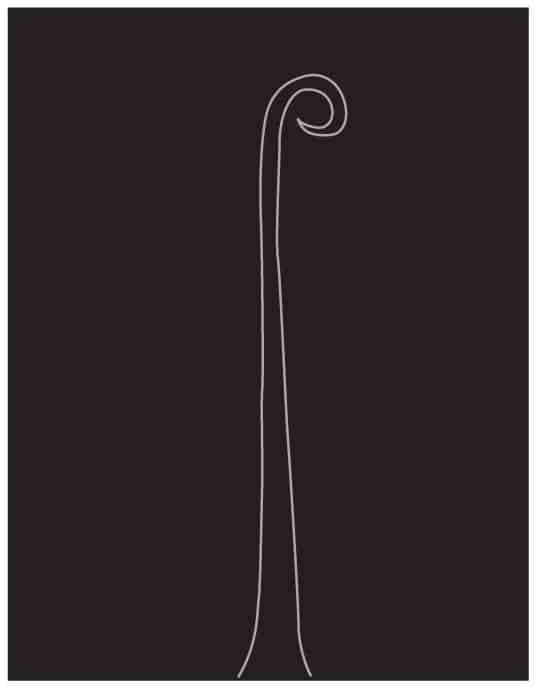
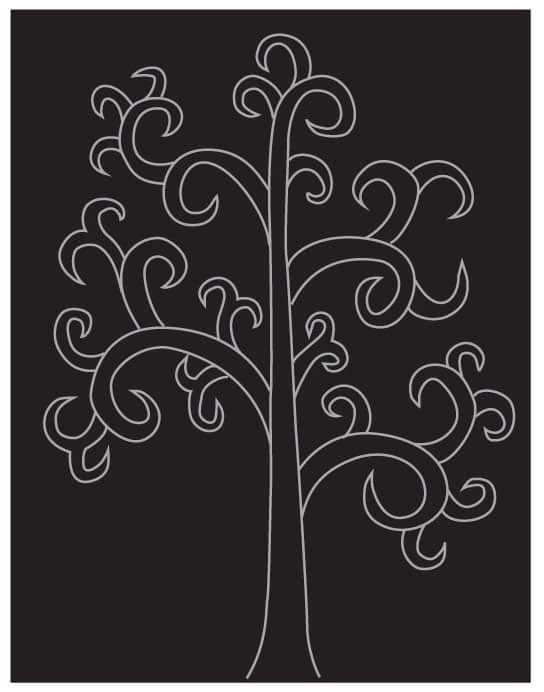
How to Draw like Gustav Klimt
- Draw the trunk with a curl at the top.

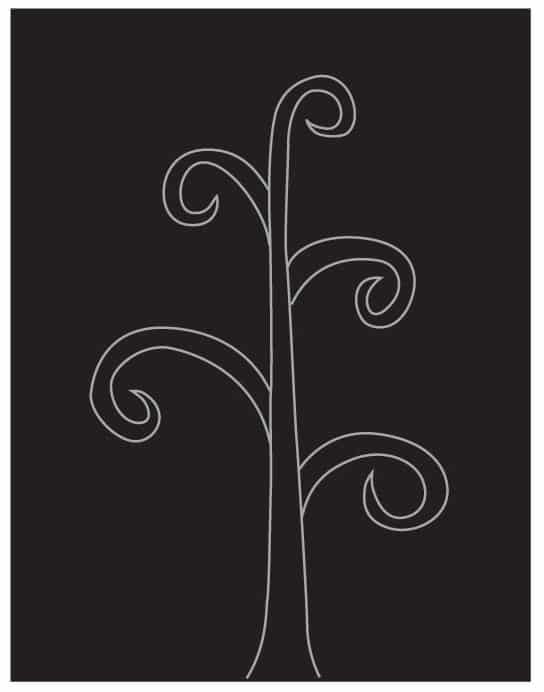
- Add four larger branches below.
- Add curly ends to the branches.
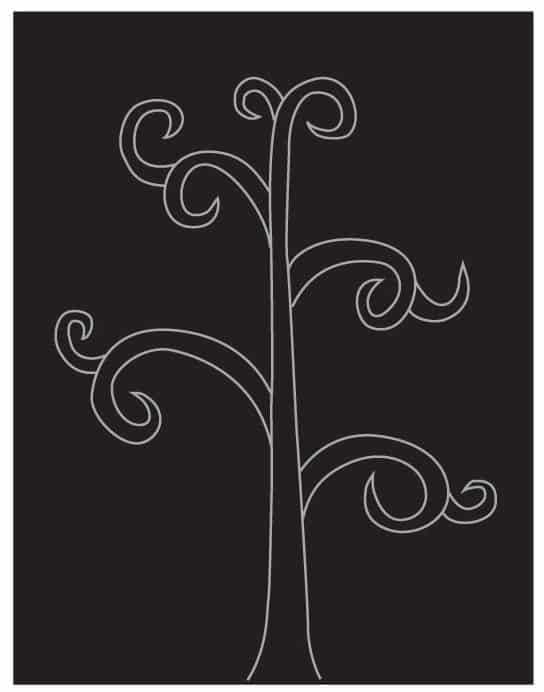
- Add smaller curly branches.
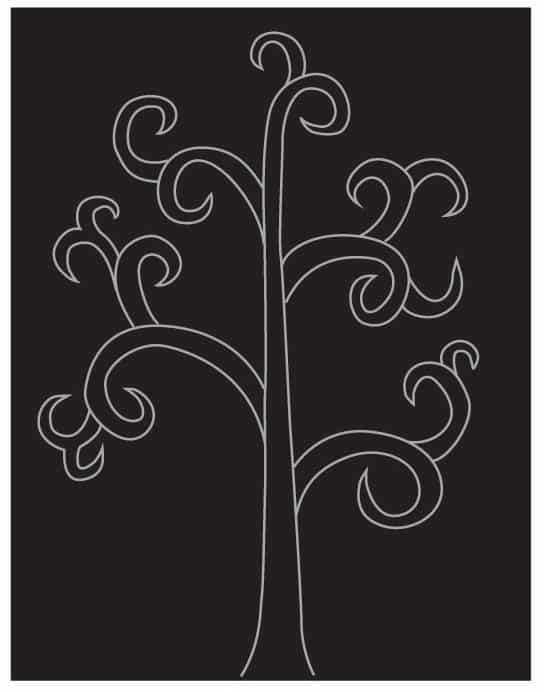
- Fill in any empty spaces with more curls.
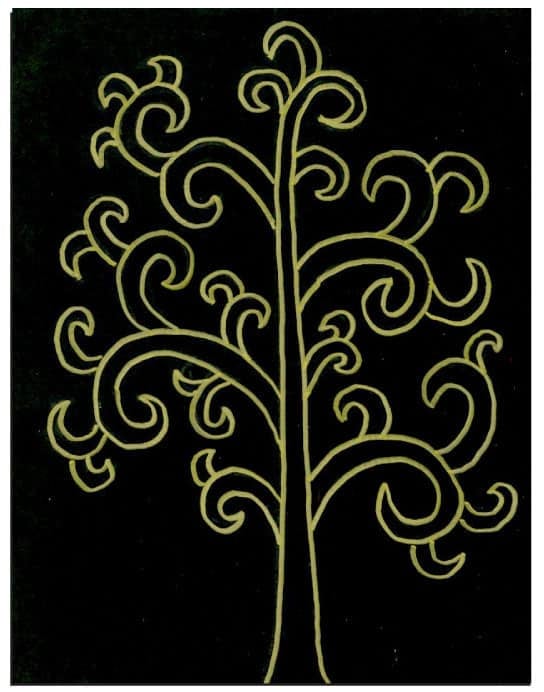
- Trace the tree with a metallic marker.
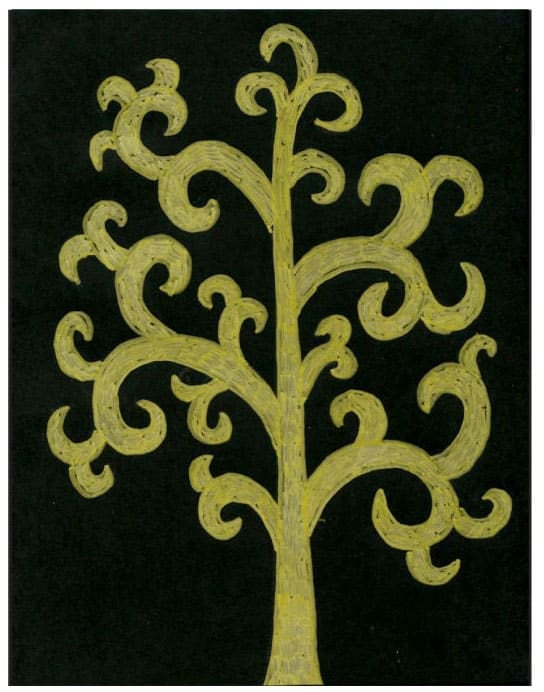
- Fill it in with metallic color.
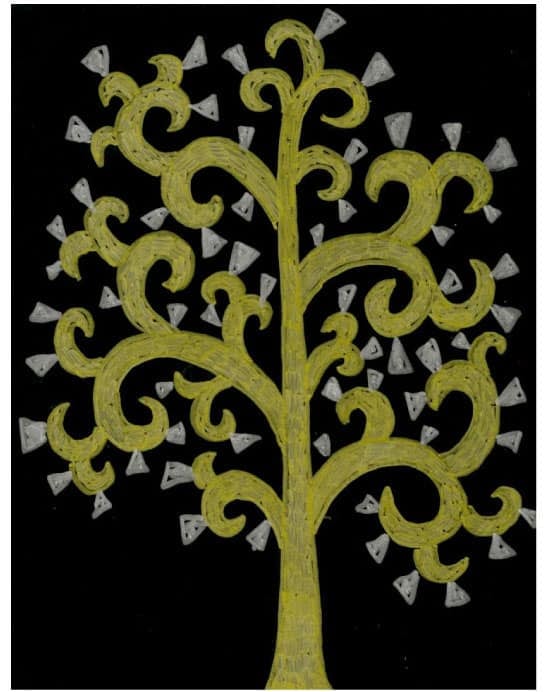
- Add lots of triangle “leaves” on the branches.
- Keep adding shapes, with different colors, until it feels finished.