How to Draw a Cubism Self Portrai: Easy Step-by-Step Art Lesson for Kids
Here you’ll find an easy step-by-step tutorial for how to draw a Cubist Self Portrait Tutorial Video.

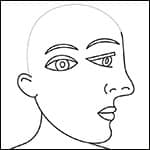
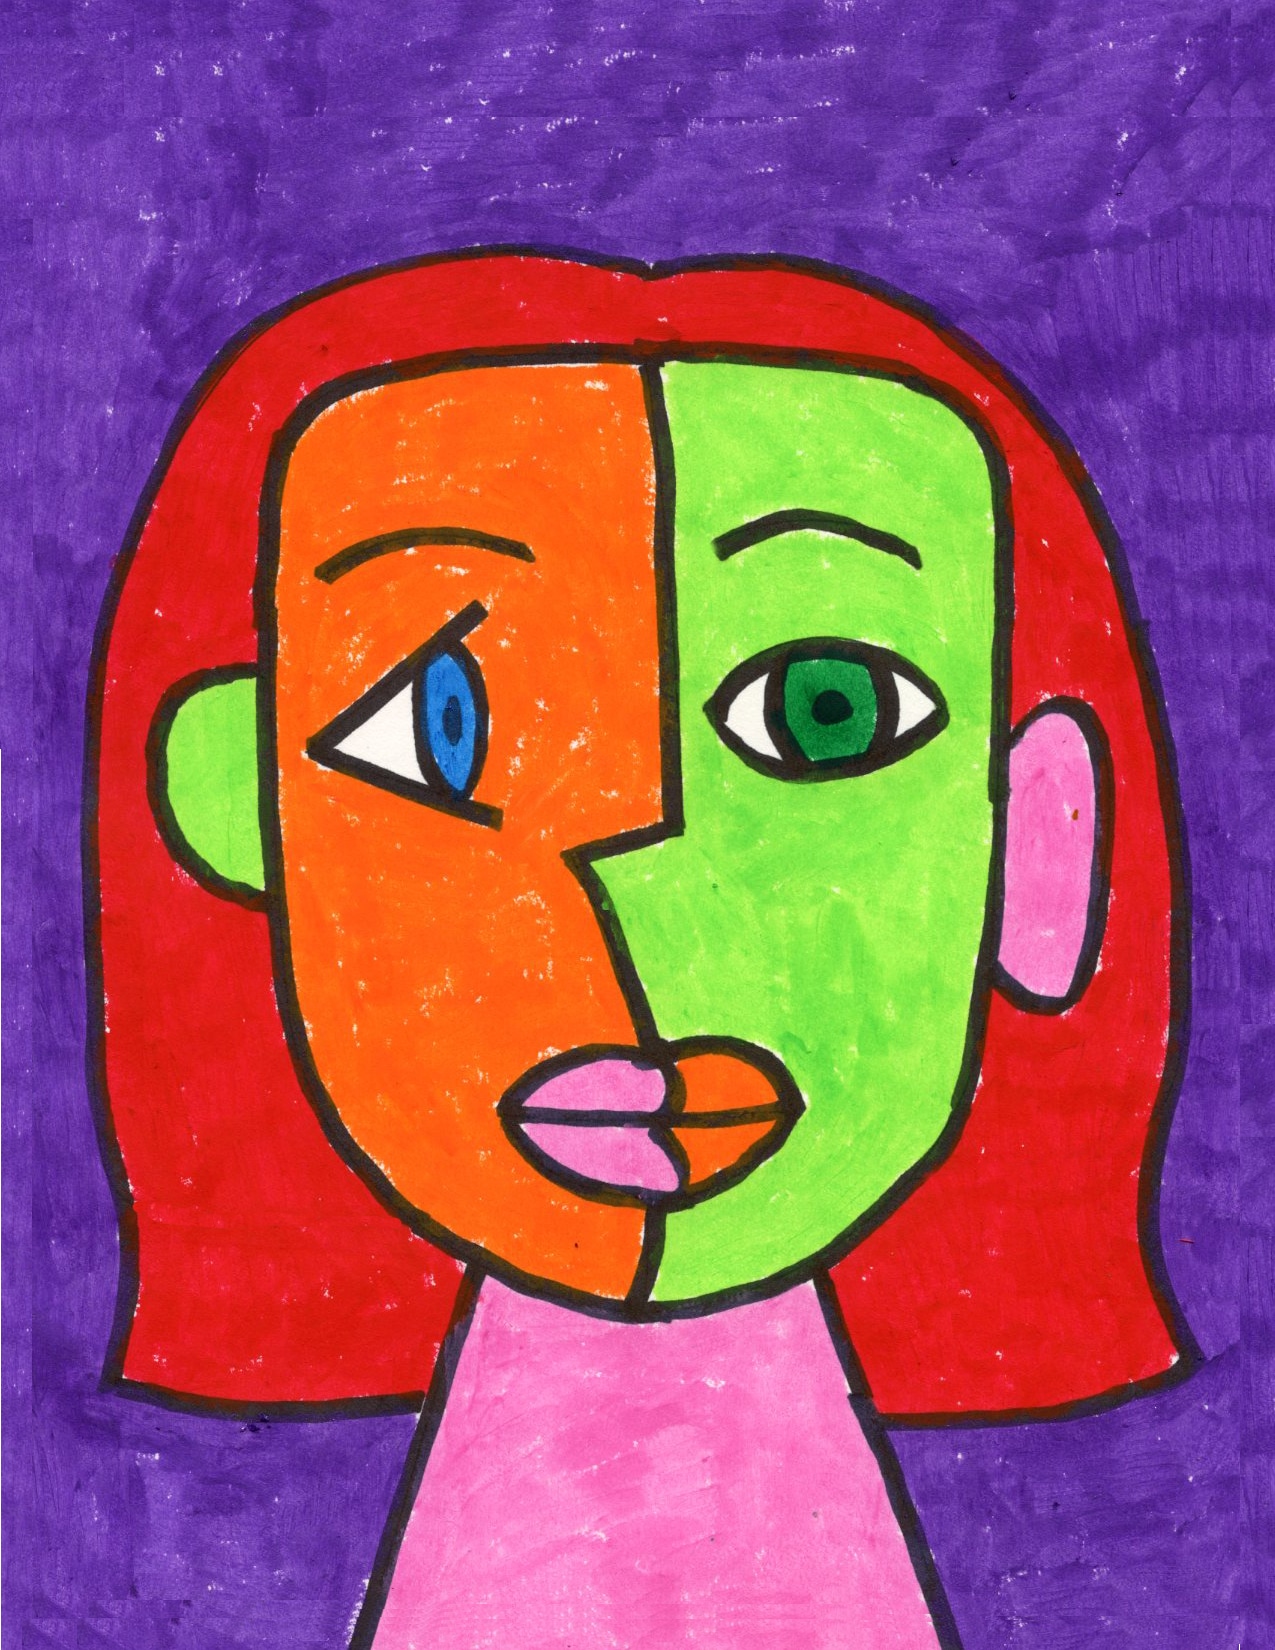
Cubist Self Portrait
Why make a Cubist Self Portrait?
When students learn how to make a Cubist Self Portrait, they can combine several different valuable art lessons. For instance, they can …
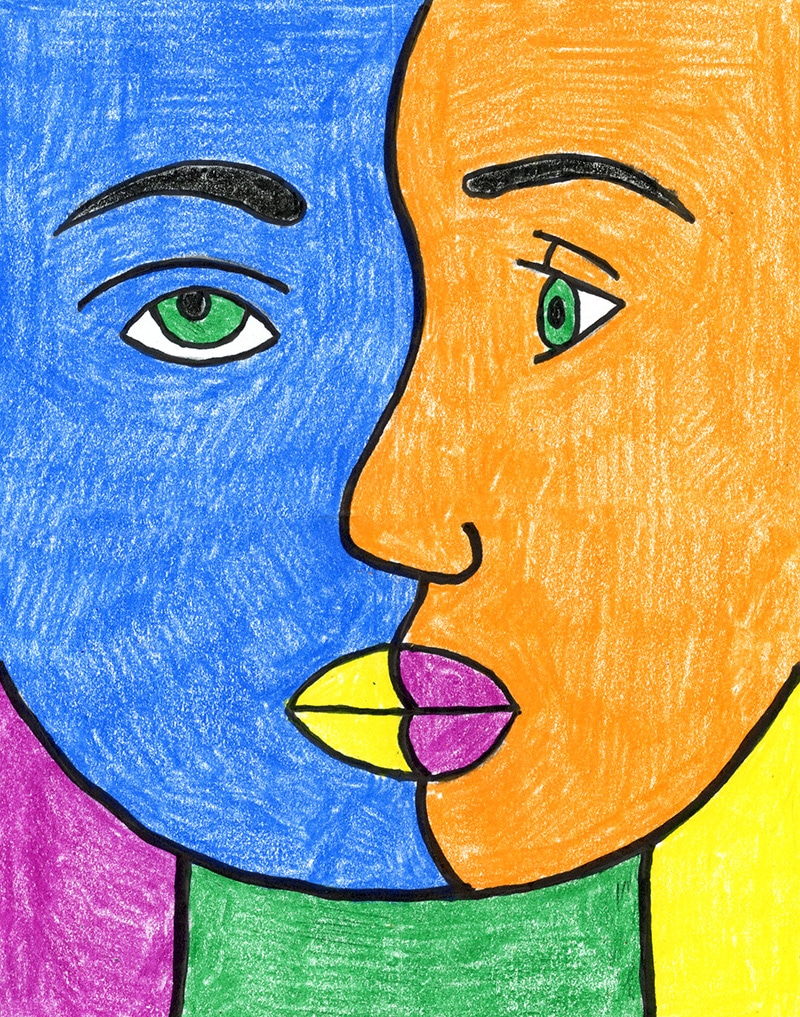
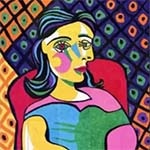
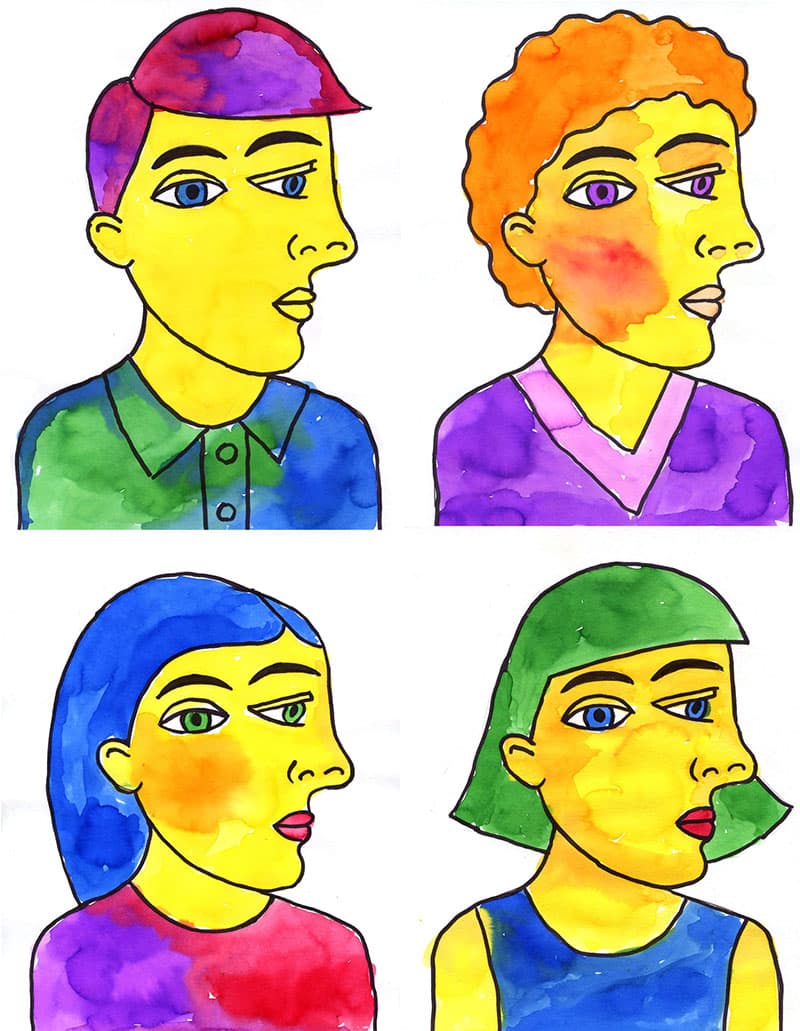
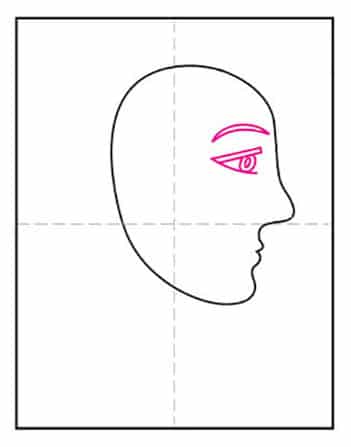
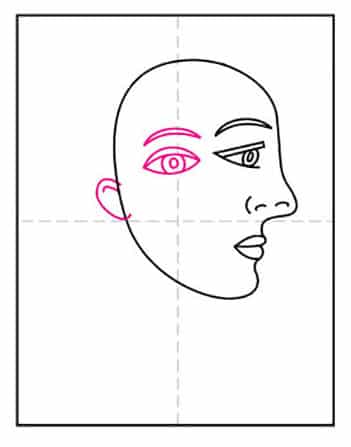
• Try out Picasso’s style of drawing a face, while in his cubism period. If you take a look at some examples, you’ll see how they have similarities. The head is made with a profile shape, there are two different styles of eyes, the nose includes front view of the nostril lines.
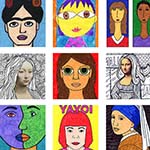
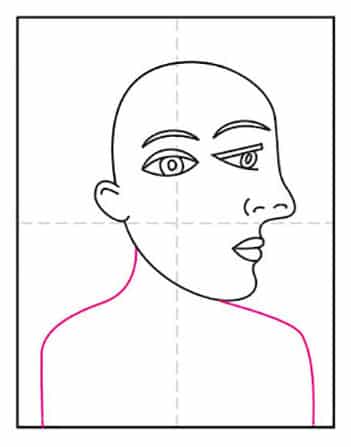
• Explore how to make personalize their drawing by way of hair and clothing. Sometimes the most creative results happen when there are limitations applied.
• Make color choices based on something other than what real life holds. These portraits are traced with a permanent marker and painted with liquid watercolor, which creates that wonderful texture, but other media could be fun too!
What is Cubism?
So … what in the world does the term Cubism actually mean? Well, it’s the idea that maybe finding the essence of something, or someone, is more than just imitating exactly what you see in nature. That breaking objects and figures into distinct areas, might present them in a way that brings new insight. It was a brand new idea in the 1900s, and Picasso explored it for a good bit of his career.
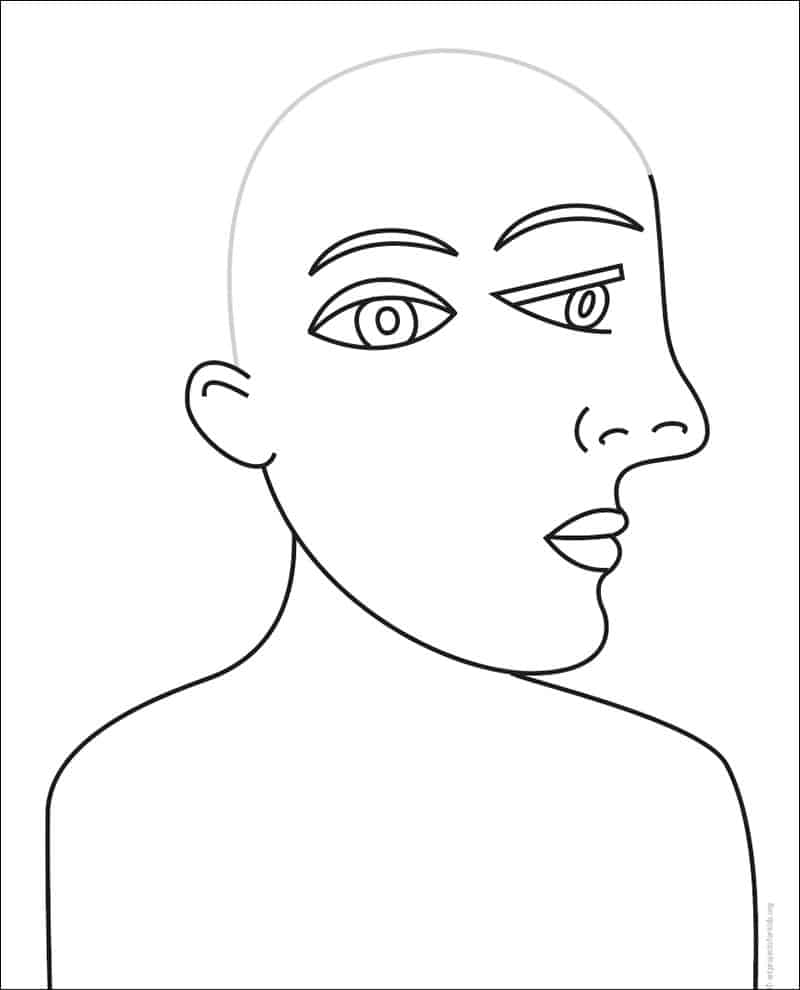
Use the button below to get this free printable!

Cubist Self Portrait Coloring Page
Materials or a Cubist Self Portrait painting
Note: This post contains affiliate links. If you click and take action, I will be compensated a small amount at no expense to you.
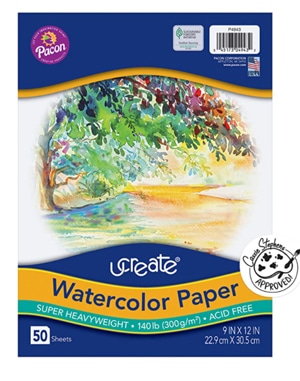
- Watercolor Paper.
- Real watercolor paper always makes the watercolor paint much more vibrant.
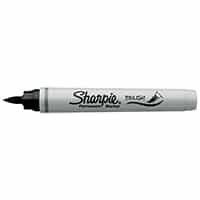
- Sharpie Brush Marker.
- Perfect for getting that irregular brush line look, and the permanent color will never bleed into the watercolor. Plus the tip is perfect for filling in tiny shapes, like the pupils.
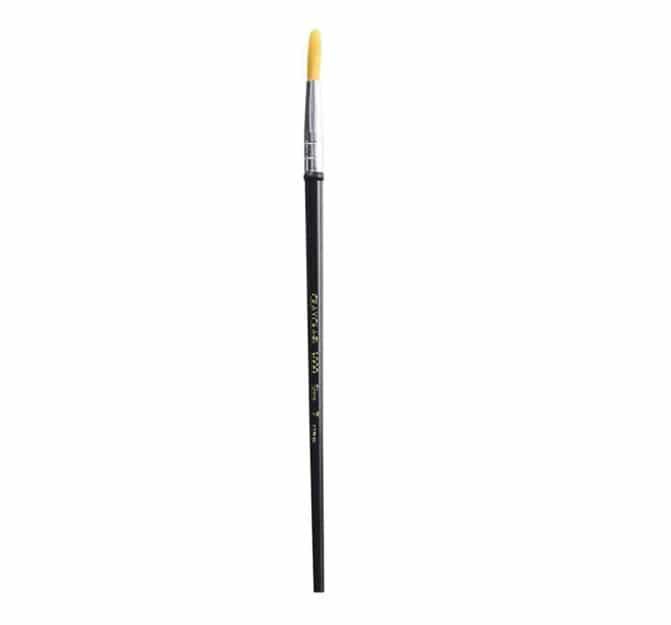
- Rounded Watercolor Brush.
- A good paint brush can make all the difference in the world. Who can paint small details with one of those big floppy brushes? This style with a sturdy rounded tip were my hands down favorite.
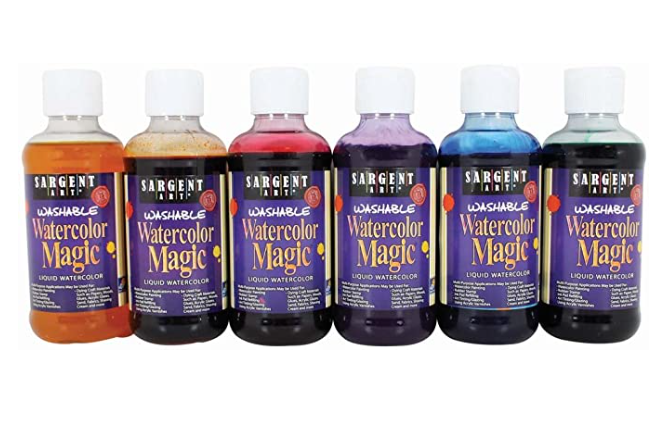
- Liquid Watercolor Paint.
- These paints are so easy to work with, leave such bright colors and last for a long, long time. Well worth the investment.
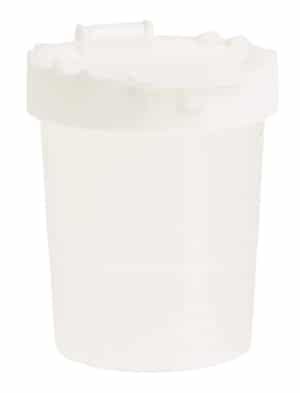
- Non-Spill Paint Cup.
- Train your students to leave the matching brush in each cup after they use it, and you have an easy system with very little cleanup.
Step by Step Directions
Time needed: 45 minutes


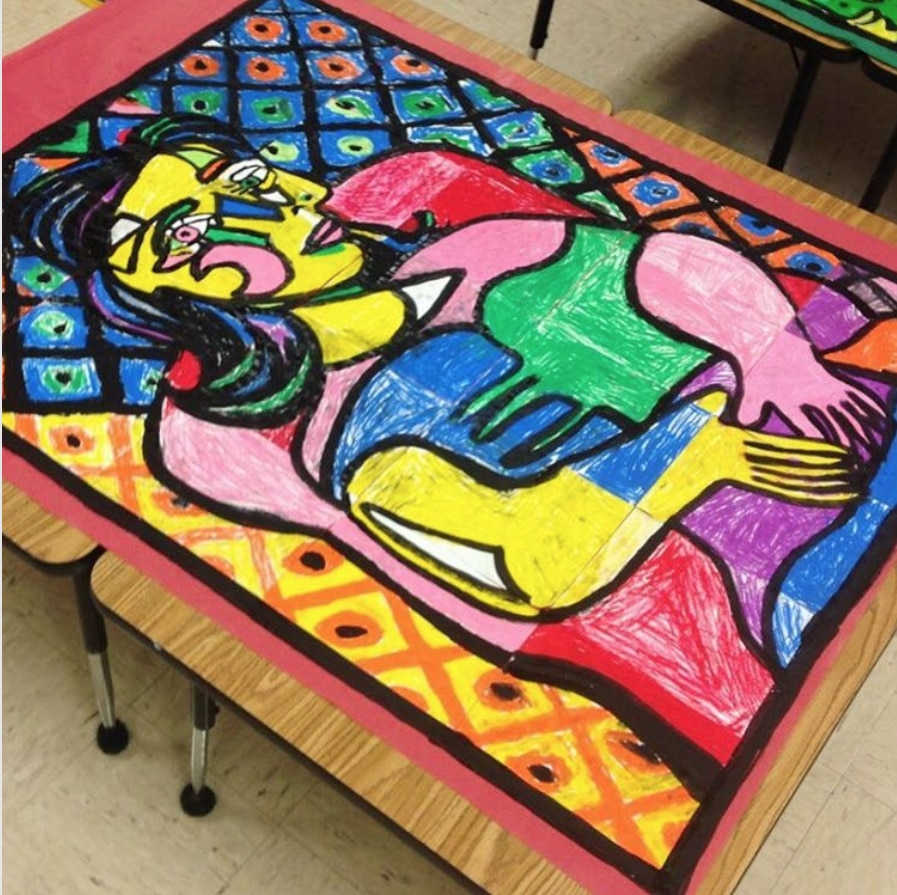
Follow up with this Collaborative Art Project Mural