Easy How to Draw a Menorah Tutorial Video and Menorah Coloring Page
Below you’ll find an easy step-by-step tutorial video for how to draw a Menorah and a Menorah Coloring Page.


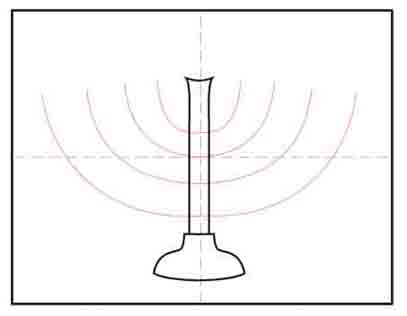
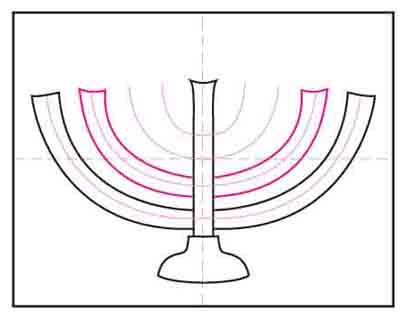
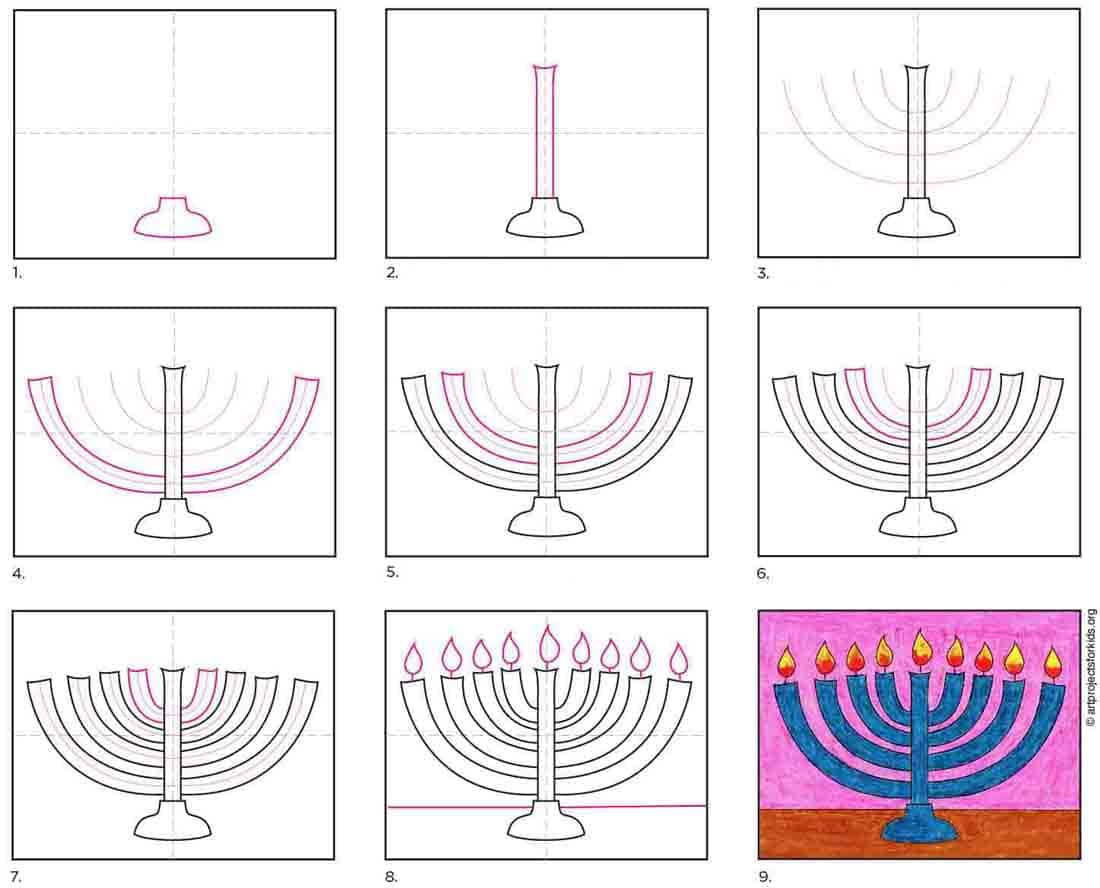
The first step to learn how to draw menorah is to plan for the arm placement with light lines. These lines will end up being the center of each, and are the best way to insure that arms are as balanced and even when the drawing is all done. Be mindful though that most young artists tend to draw really heavy, so an extra reminder to draw LIGHT always helps. They need to know these are temporary lines, and will be erased as soon as their menorah is done.
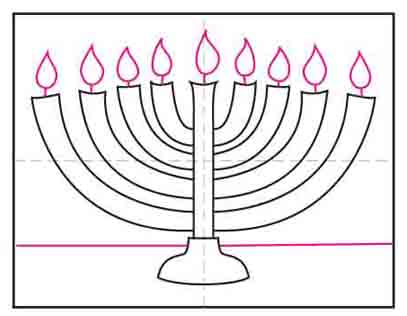
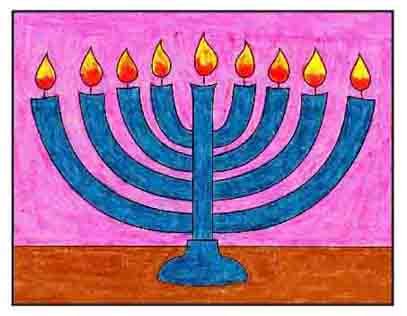
A Kosher Hanukah menorah is when 8 candle holders are in one line with a ninth Shamash, out of placed in height or position on the 9 branched menorah. This type of menorah holds a symbolic meaning as it is a symbol of the Hanukkah miracle, oil burning miracle that lasted for eight days instead of one.
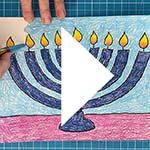
This menorah has just the classic blue color, but many include lots of fun patterns and colors too. One twist to the project might be asking students to design their own!
Use the Button below to grab a PDF Tutorial
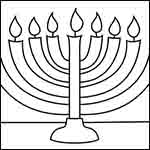
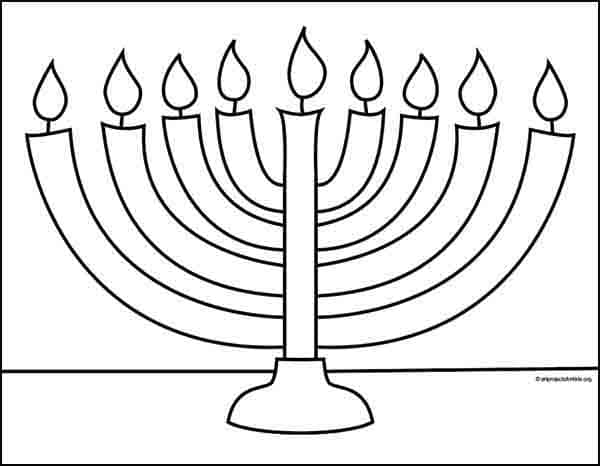
Menorah Coloring Page
Materials to draw a Menorah
- Drawing Paper. This is the good stuff you can buy in bulk for a good price.
- Pencils. I like how this brand always makes nice dark lines.
- Black Marker. A permanent marker will give you a dark black color.
- Crayons. The larger packs are nice for more color choices.
- Note: All of the above are Amazon affiliate links.
Watch a fun short video for a Menorah drawing
How to Draw a Menorah Step by Step
Time needed: 45 minutes
How to Draw a Menorah
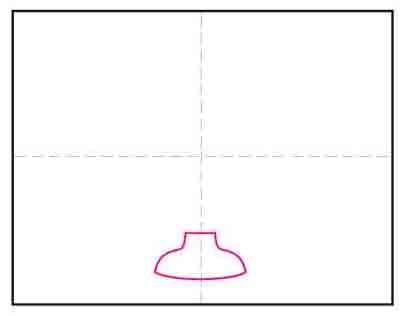
- Draw the base in the bottom center of the paper.

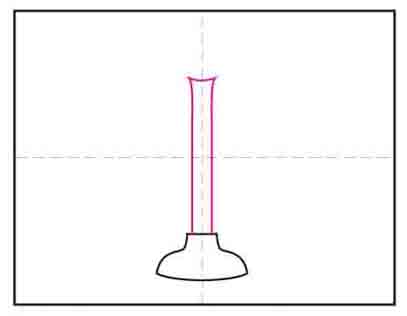
- Add the center post above the base.
- Lightly draw four U shapes, evenly spaced.
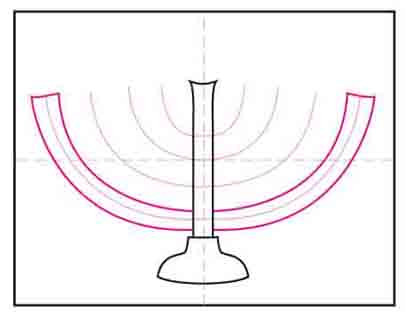
- Outline the largest U shape.

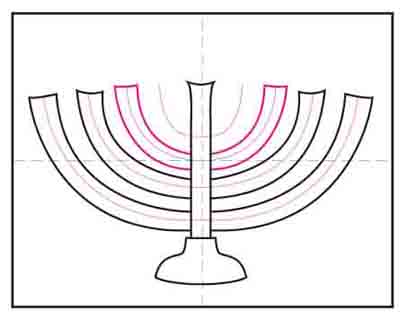
- Do the same for the next U shape.
- Outline the next U shape.
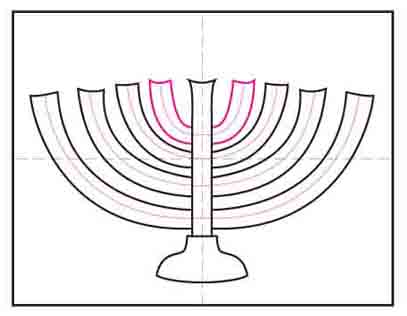
- And do the same for the final U shape.
- Add flames, table and erase inside lines.
- Trace with marker and color.